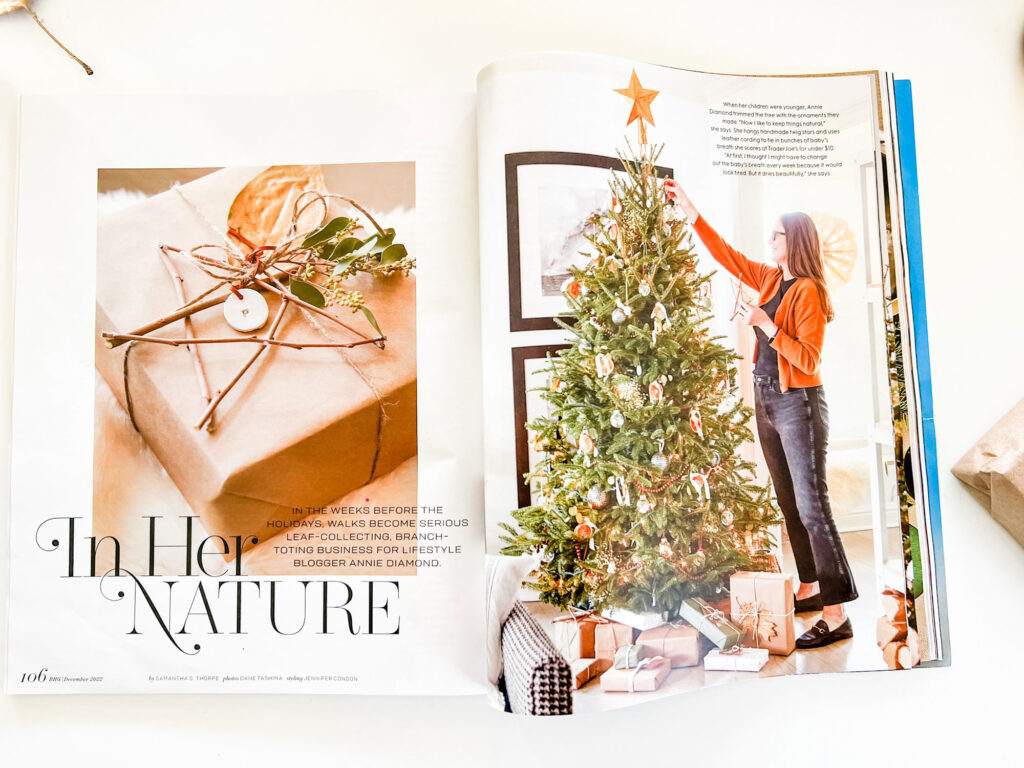
Simple kraft wrap and some leaves painted gold.

How it happened
Most Lovely Things featured in the December issue of BHG! A total pinch-me moment. Last December, the Deputy Editor reached out and asked if I would be up for doing a shoot in January for the December 2022 issue! Of course, I responded in about two seconds with a YES, even before I knew what it meant!
This post is a little about the experience but mostly about the simple projects featured in the BHG story “In her Nature.” The projects are a little rustic and lean into my favorite thing...foraging and using regular household items.
Most Lovely Things featured in the December issue of BHG!
About the BHG photoshoot
Once a date was set, fresh trees, wreaths, and garlands arrived a few days before the shoot. The stylist for the shoot, Jennifer Condon, came to the house and assessed what we would use and what we needed to buy or source. Jennifer went to the flower market for armloads of branches and fresh flowers. I put them into my large Anchor Hocking jars from the pantry.
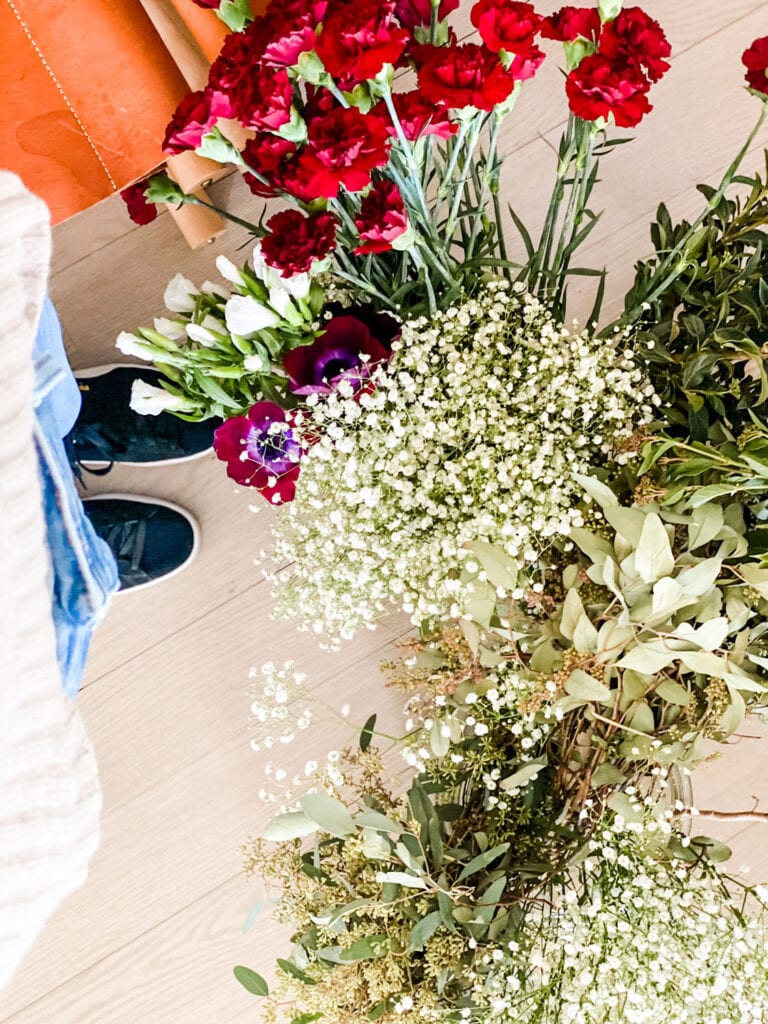

We had two full days of shooting! They asked if the whole family could be at the house, so both kids came home for a few days from the city. It was so fun to have it all happening while we were around, and of course, they could work from home.
The photographer, Dane Tashima, and a second photographer had us all feeling pretty comfortable…at least by the second day. It was a blast to watch and see their work.
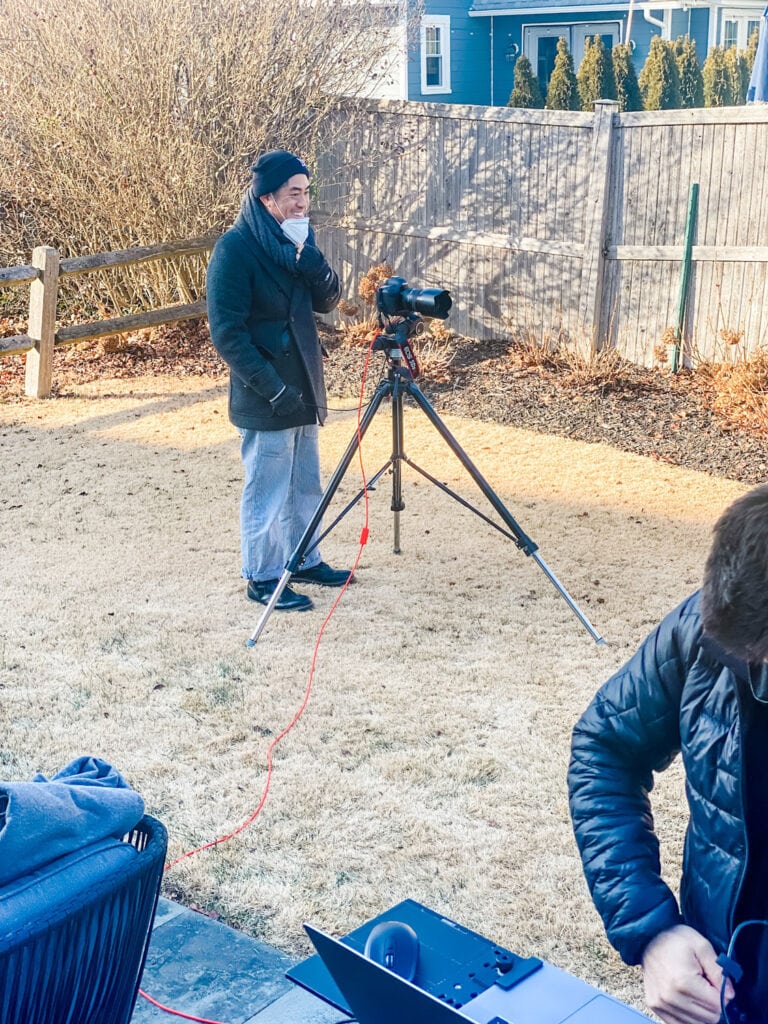
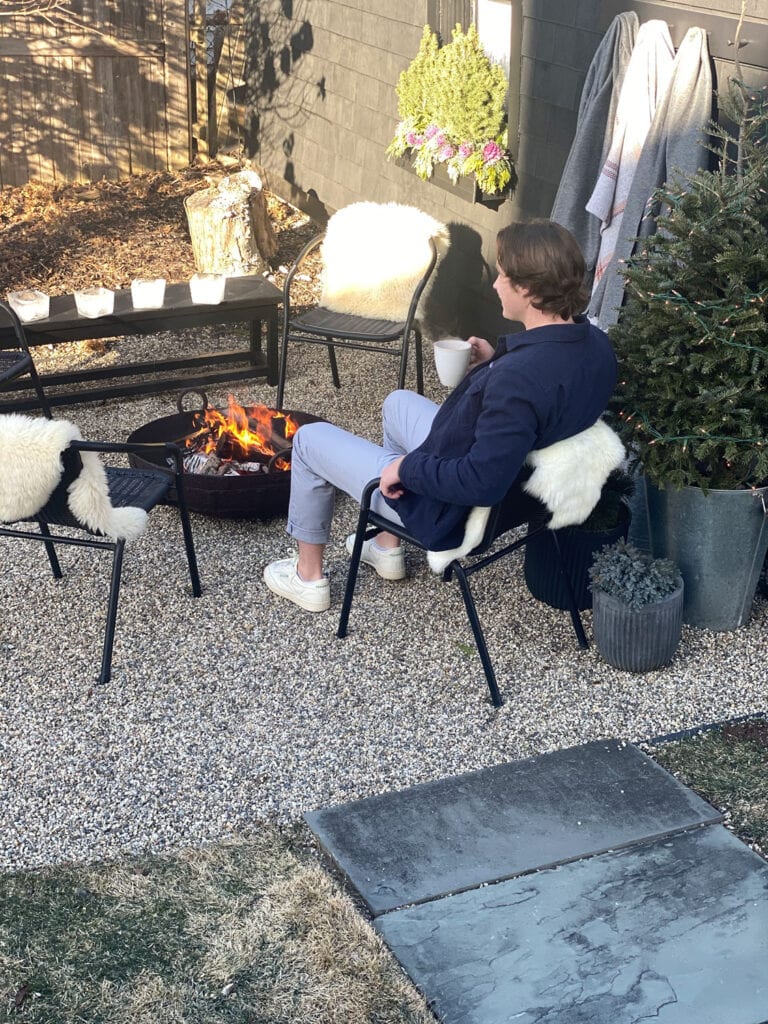
They were very accommodating. Patrick had an interview on Zoom, so they took photos of him by the firepit in case he couldn’t be out there when we did the family shoot. It turns out we were all able to do it simultaneously. Patrick said Dane asked him to hold his breath while he took photos! Yes, it was that cold! I mean, it was January in Connecticut.
So basically, it was a dream come true and an amazing experience for someone who has been an avid magazine reader for years! Here’s from the day we walked into McNally Jackson Books in SoHo to see if the magazine was out yet.
The Simple DIY projects that BHG highlighted – “In Her Nature.”
Clay Diffuser Tags and Ornaments
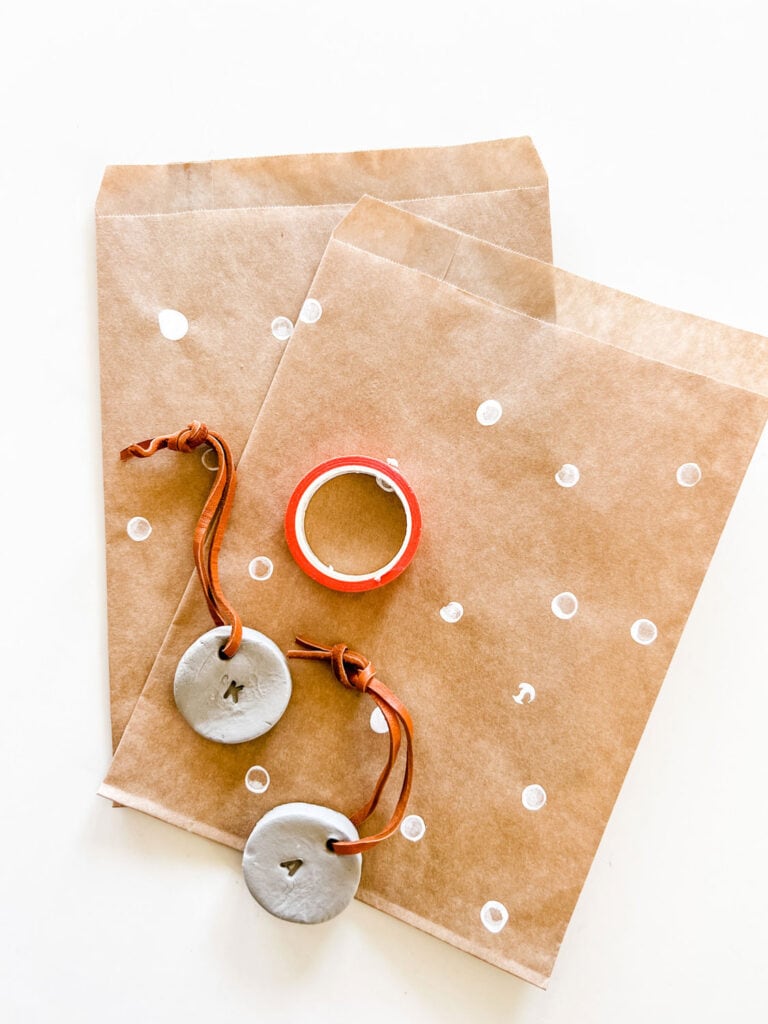

Kraft wrap, raffia ribbon, watercolor and clay tags

I’ve made these for a few years using terracotta, white, and cement gray-colored tags and ornaments. The air dry clay is easy to use, and clean-up is just as easy.
I divide each clay package into thirds to make it easier to work with. I roll it out on my marble kitchen countertops using a regular rolling pin. I like mine pretty thick, but that’s my personal preference. I would avoid making them too thin because keeping the shape when the clay starts to warm up is harder.
I use simple cookie cutters to cut circles or a knife to cut rectangles. You can draw using a sharp tool or a cookie stamp for a design. I prefer to use these simple letter stamps. Initials for everyone in the family or words like Peace, Joy, and Love.
More about how I make clay tags in this post.

Use leather, raffia, twine, and velvet ribbon to attach to gifts or hang on the tree.
Twig Stars

After a windy day, I love to go for a walk in my neighborhood, picking up sticks and branches. I bring them home, sort and cut pencil size twigs to make stars. A glue gun helps this project move along quickly.
Supplies needed for star twigs: twigs & hot glue!


We add stars to every window.

I love to attach foraged berries or eucalyptus and hang them using jute twine. I hang them in the windows and on the tree and attach them to packages. Read more about how I use them in different sizes in this post.
Clear Bulbs with Baby’s Breath
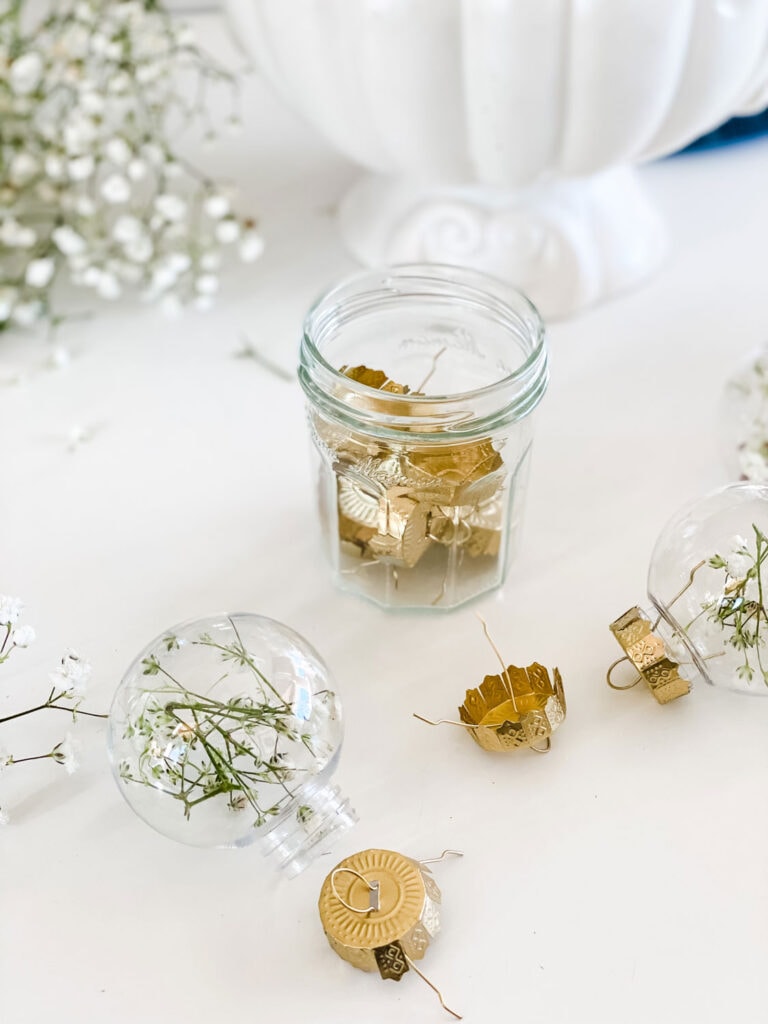
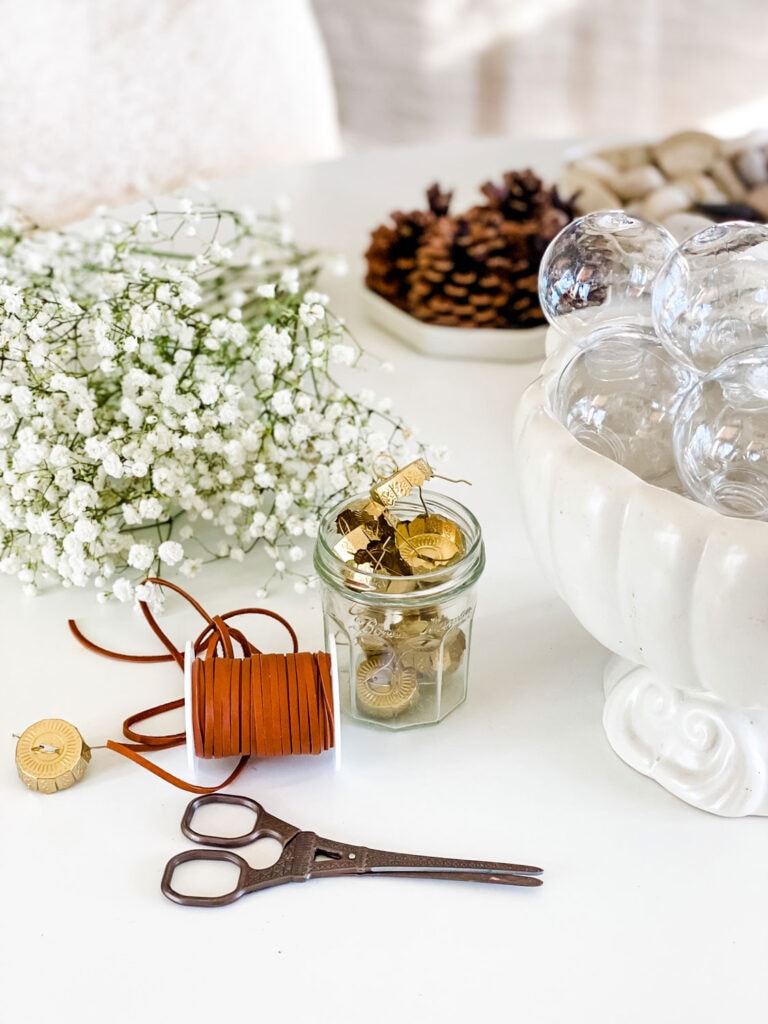
Once I decided our tree was going all natural, I foraged almost everything. I bought a few bunches of baby’s breath and two types of eucalyptus at Trader Joe’s.
I found these clear bulbs, sprayed the tops gold, put in a sprig or two of baby’s breath, and attached a leather cord. I wasn’t sure how they would look once the baby’s breath dried, but I was very happy with it overall and the possibilities are endless!
Foraged Leaves Painted Gold


The second the leaves fall, I start gathering and pressing them between the pages of large, heavy books. I’ll even fill my large Le Creuset pot with collected beach rocks to rest on top and help with the “pressing” of the leaves. Then I’ll paint them with marbelized gold spray paint. It takes just a few seconds to paint. I try to wait for a calm day, but living by the water, that’s not very often! So I set up a makeshift paint booth with pieces of cardboard boxes in the back of the garage and got to work.
They add a little something special to every box! It’s the little things! You can read more in this post.
Dried Orange Slices and Mini Stars

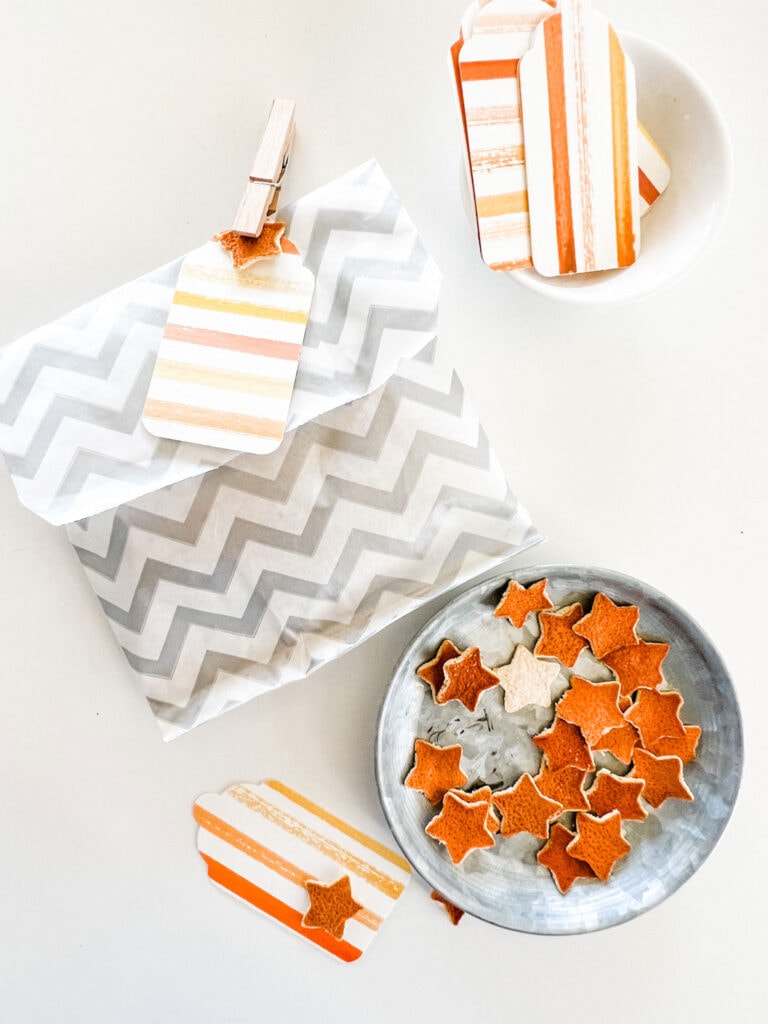
This is nothing new, but it never gets old! I add dried orange slices to everything during the holidays, on the tree, wreaths, garlands, twig stars, and on packages.
The mini stars are easy to make with a star cookie cutter like this. They are great to add to potpourri jars or attach to a gift with a watercolor tag. The stripes on the tag use all shades of orange inspired by the various colors of dried oranges. Rust, orange, browns…so pretty! You can read more in this post.
Paper Bag Stars or Snowflakes

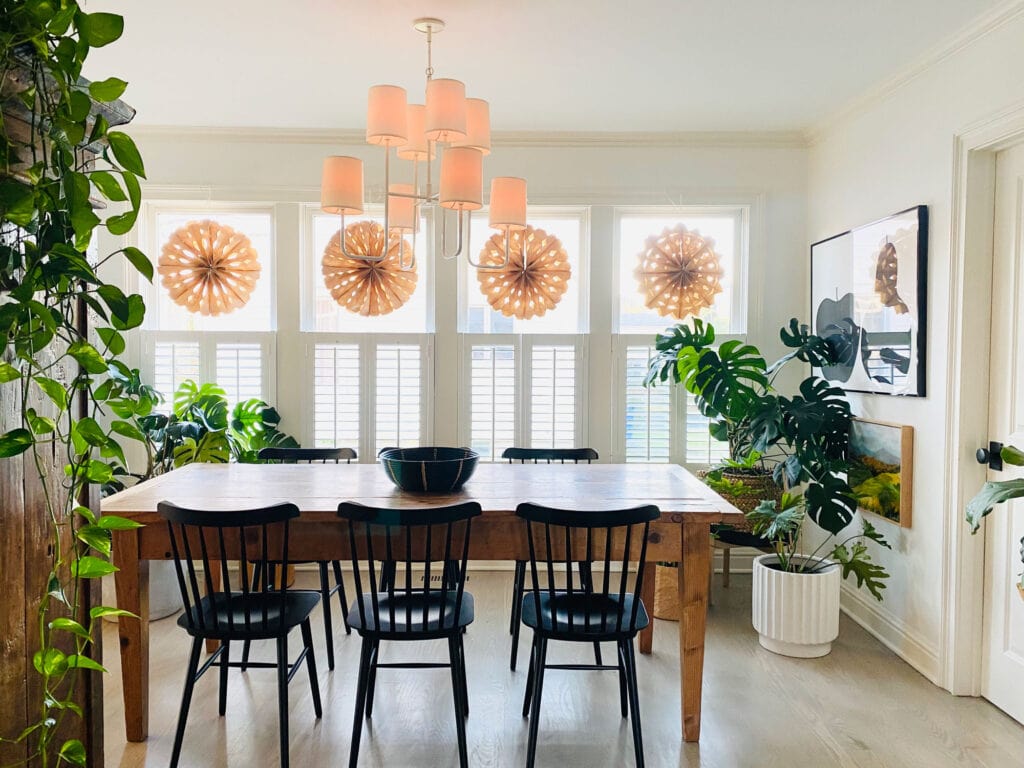
Paper bag snowflakes or stars are one of my favorite things to make starting at Thanksgiving! You can read how to make them in this post.
Here’s what you’ll need to make each star:
- 8 paper bags
- Hot glue (you can use regular glue, but it takes longer to dry)
- a good pair of scissors
- twine or something to hang them
Thank you for taking the time to read Most Lovely Things, featured in the December issue of BHG! – I hope it gave you some good ideas for a few crafts over the holidays with your friends and family!
Samsung Frame TV

Shop for the Materials I used in this Post.
Did you see my recent post on setting up a gift wrap station? You can read more here.
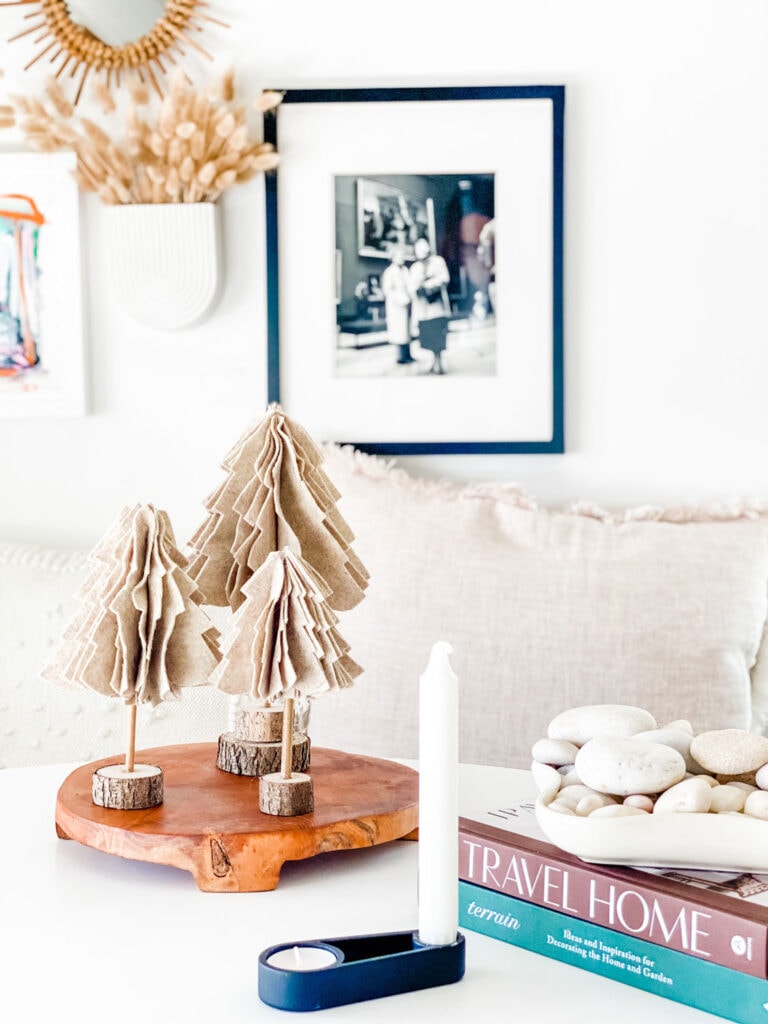
And this post on making simple Scandinavian-felt trees

Congratulations! I received my magazine this morning and I am so excited for your beautiful feature! I am a dried orange and paper snowflake fan too and just hung the ones I made last year. I love them just as much!
Elizabeth, thank you so much! I never realized until last year that you could use dried from year to year! And the paper bag snowflakes too! Just collapse and fold them up! I’m still learning…haha
Thank you, Elizabeth! I save mine from year to year too, and then it seems I add more every year! It just gets cozier every year! xx
Annie this is so darn exciting! I have not been able to locate an issue yet, so I may have to have Steve pick one up in Salinas at Star Market. It looks like they highlighted your talents beautifully! I can’t wait to read the whole thing!
Thanks, Cindy! I know….It’s getting harder and harder to find a store with a magazine stand! xx
This is just wonderful!!!! you are so helpful and inspiring. Thanks for the links to what you use…ordering now.
I am SO proud of you.
Thank you so much, Mary Ann! Love you!
Hi Annie,
Congratulations again and again. What an experience you shall never ever forget. You are the Queen of creativity. It’s such an honor to be acknowledged in BHG. So happy for YOU!
Oh, thank you so much, Katherine! You are right; I will never forget it! It was pretty cool, and now it’s out! Thanks so much for reading and for your generous words! xx
How exciting for you and your family to be featured in BHG!!
Love your posts and am not at all surprised they chose you.
Thank you, Mary! I’m still shocked!
Thank you so much, Mary! It is so exciting, and I still can’t believe it!
Congratulations! Your home looks lovely, and your ideas are so doable and beautiful. Thanks!!
Helen, Yes, that’s true! They are very doable! A little foraging and a glue gun!
Article is fantastic!
Thank you for reading, Laura!
Annie,
I’m buying this BHG issue. I love your natural style and I always get inspiration when I read your posts. Congratulations on the publication. You deserve it.
Karen B.
Thank you, Karen for reading! And thank you for your kind words! It has been so much fun! I still can’t belive it! xx
Congratulations Annie! Bravo!
Thank you so much, Gray! xx
Have you ever thought of having a craft camp for grown-ups??? Love it all. Love your style.This is just so great looking and creative. Congratulations on your magazine layout!!!!Oh, and thanks for all the resources.
Hi Sandra! Thank you for reading and your kind words. Art camp for grown-ups…wouldn’t that be fun?? xx
Hi Annie,
This is so exciting and well deserved! You’re so clever and creative! I really like all your projects. I’m going to do something completely different for my holiday decor this year, and will be stealing a few of these ideas! I need to get busy and I’m looking forward to making a bunch of natural decorations. ( with maybe just a bit of glitter!)
Xo Heidi
Heidi! Thank you so much! I can’t wait to see your holiday decorations! I’m imagining your beautiful art will play a big part!
xx
Annie I am so excited you were featured in such a big spread. I finally got my issue yesterday and it’s gorgeous! Yay you. You are the most inspiring. So many of these ideas are similar to things I used to do for a more natural tree and I need to try that again this year. It looks so fresh and pretty. You are always inspiring me! xo Kim
Kim, thank you so much for your kind words. I know you love the natural way of holiday decor too! I can’t wait to see what you do this year…olive branches?? I’m so jealous that you have that right outside your door and citrus too!
How exciting! Love the gold leaf idea
Oh, thank you, Linda. The gold leaves do look so pretty!