
How to Make Your Terra Cotta Pots Look Old Instantly

If you like the look of aged terra cotta pots, this post is for you! I had to try this easy method to make your new terracotta pots look old instantly. Well, it may not happen instantly, but practically overnight, your new terra cotta pots will look like they have the patina of many years with these easy steps.
There are a few ways to achieve the look of aged pottery, and of course, you can trust that I want to make it easy while also giving it the most aged look.
You’ll need the following supplies to give your pots a vintage look.
- Some terracotta planters and old pots in different sizes
- Garden lime
- Some peat or garden soil
- A paintbrush and a bowl or a container
Terra cotta pots are available at your local garden center or Home Depot, but they are sometimes less than a dollar at yard sales, a thrift store, or Goodwill. Just stay away from the plastic pots that look like terra cotta.
What is garden lime?


Garden lime is a soil amendment made from finely ground or pellet-like limestone. It raises the pH of acidic oil, sometimes called “sweetening” the soil to improve plant growth. Adding limestone can help turn your hydrangeas pink. A small bag is less than $10.

Simple steps


- The first step is to prepare your work surface. It’s probably best to work outdoors. Cover your work area with a drop cloth.
- Make sure your pots are clean and dry. I use this pot brush to clean the inside of my pots.
- Mix the solution—one part garden lime to two parts water. Add a little soil or peat and stir until you have a milky mixture. For a smooth finish, skip adding peat or garden soil. Adding it will give the look of a thicker patina.
- Apply the lime mixture with a regular paintbrush. Avoid using a foam brush or sponge brush; it will not last. The paintbrush can be washed with soap and water.
- Don’t worry about applying the mixture evenly–we are going for a weathered look. It’s also ok to leave a few brush strokes as you will be sanding. Allow to dry for a few hours and apply another coat if needed. You may not need two coats of paint. It really depends on the look you want. Dry time will vary depending on thickness.
- You’ll want to paint the inside of the pot too, especially if using new pots.
- Once dry, using a fine sandpaper, sand the surface of the pot and the edges for that aged finish.
- Mist with water and allow to sit in the sun for a few days to age the patina.
- Now your post are ready to plant some herbs, succulents, or seasonal flowers


Different techniques to get the look of aged terracotta pots
Martha Stewart suggests using plain yogurt. She says it can be applied to dry pots or, for a more subtle look, soak the pots in water, then apply the yogurt like paint. The downside is that the aging process takes about a month to see results.
I love that making aged terracotta pots is simple, but if DIY projects are not your thing, there are several options for aged pots. The Bergs pottery is from Terrain, and the Cordelia planters are from Studio McGee. Pottery Barn has these in different sizes.

More Sunday Favorites
Gap x Doen
I’ve been wearing this stripe tee on repeat since it arrrived. It’s heavy weight, a bit oversized and sizing is Unisex, so size down!
Memorial Day Sales
Studio McGee is up to 30% off. The Bronwyn table lamp with gingham shade caught my eye. This aged wood vase would be beautiful with branches or limelight hydrangeas.
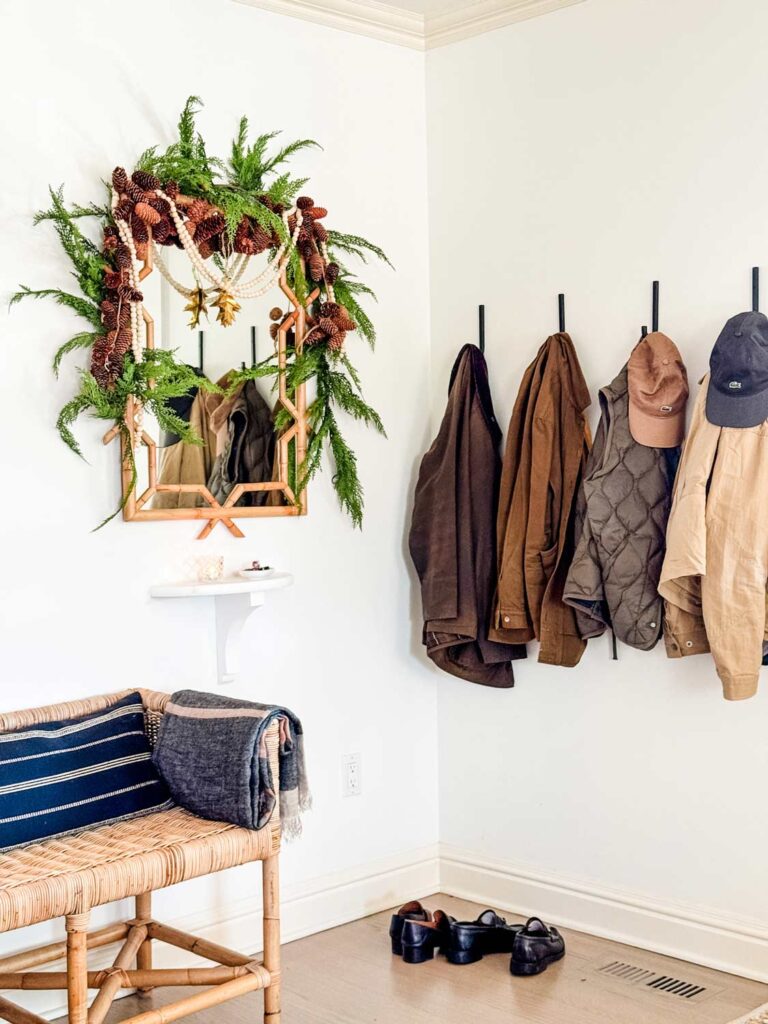
Serena & Lily – Save 37% on the Carter dining chair, 25% on the Riviera rattan dining chairs. Our Lanai rattan mirror is 30% off, and it now comes in five colors. We have it in our entryway with the Shore bench.
Time to check in with Mary Ann & Cindy!
Classic Casual Home
Read Mary Ann’s Sunday post here.
Cindy Hattersley Design
Read Cindy’s Sunday post right here.


What a fun project!! Wish we could do it together!
Oh same, Mary Ann! We could do so many fun projects if we lived driving distance away!
Hi Annie,
Love this thank you! My lovely mum used to do this and she just transformed a place all ready for Summer. Have a lovely week, Francesca
HiFrancesca! Your mom sounds amazing! I remmeber she visited you recently, but I can’t remember where she’s from!
She’s very English and an artist so she was always stenciling walls by hand with patterns she had devised herself and painting for her yearly exhibition. Amazing !!
All the best Annie !
Oh how amazing and wonderful! A creative family!
Love the pots.
The Gap link goes to Serena and Lily.
Thank you Leslie! Sorry about the GAP link!
Have you tried this with pots that have already been planted? I imagine it would still work…
Hi Julia, I think you could…I’m thinking a large pot? You just sort of slap it on the surface, it’s not about neatness…so why not?