How to Easily Create an Entryway in a Small House
How to easily create an entryway in a small house includes adding hooks, a mirror, a bench, and a simple DIY Shelf to create an entryway in a small house.
Our house is well over 100 years old and is a bit quirky like many homes of its age. Originally, we think it may have been considered a foursquare home, but at some point, it seems like it was gutted, renovated, and made into an open concept. I can see why they opened up the living room to include the foyer, but it does present a few challenges.
The biggest challenge is the doorway entrance. When you enter our home from the porch, you basically walk into the living room. But, to the right of the door is about four feet of space, and next to that is a long wall with a window. We decided to designate this space as our entryway or foyer area for both aesthetic and practical reasons.
Here are 6 simple steps that worked for us and helped create the illusion of an entryway
Step 1: Add an area rug
Adding a rug is one of the easiest things you can do to help define an area of your home. After a little research, we found a rug that matched our aesthetic. It’s slightly larger than the door and door frame and looks perfect for the spot.
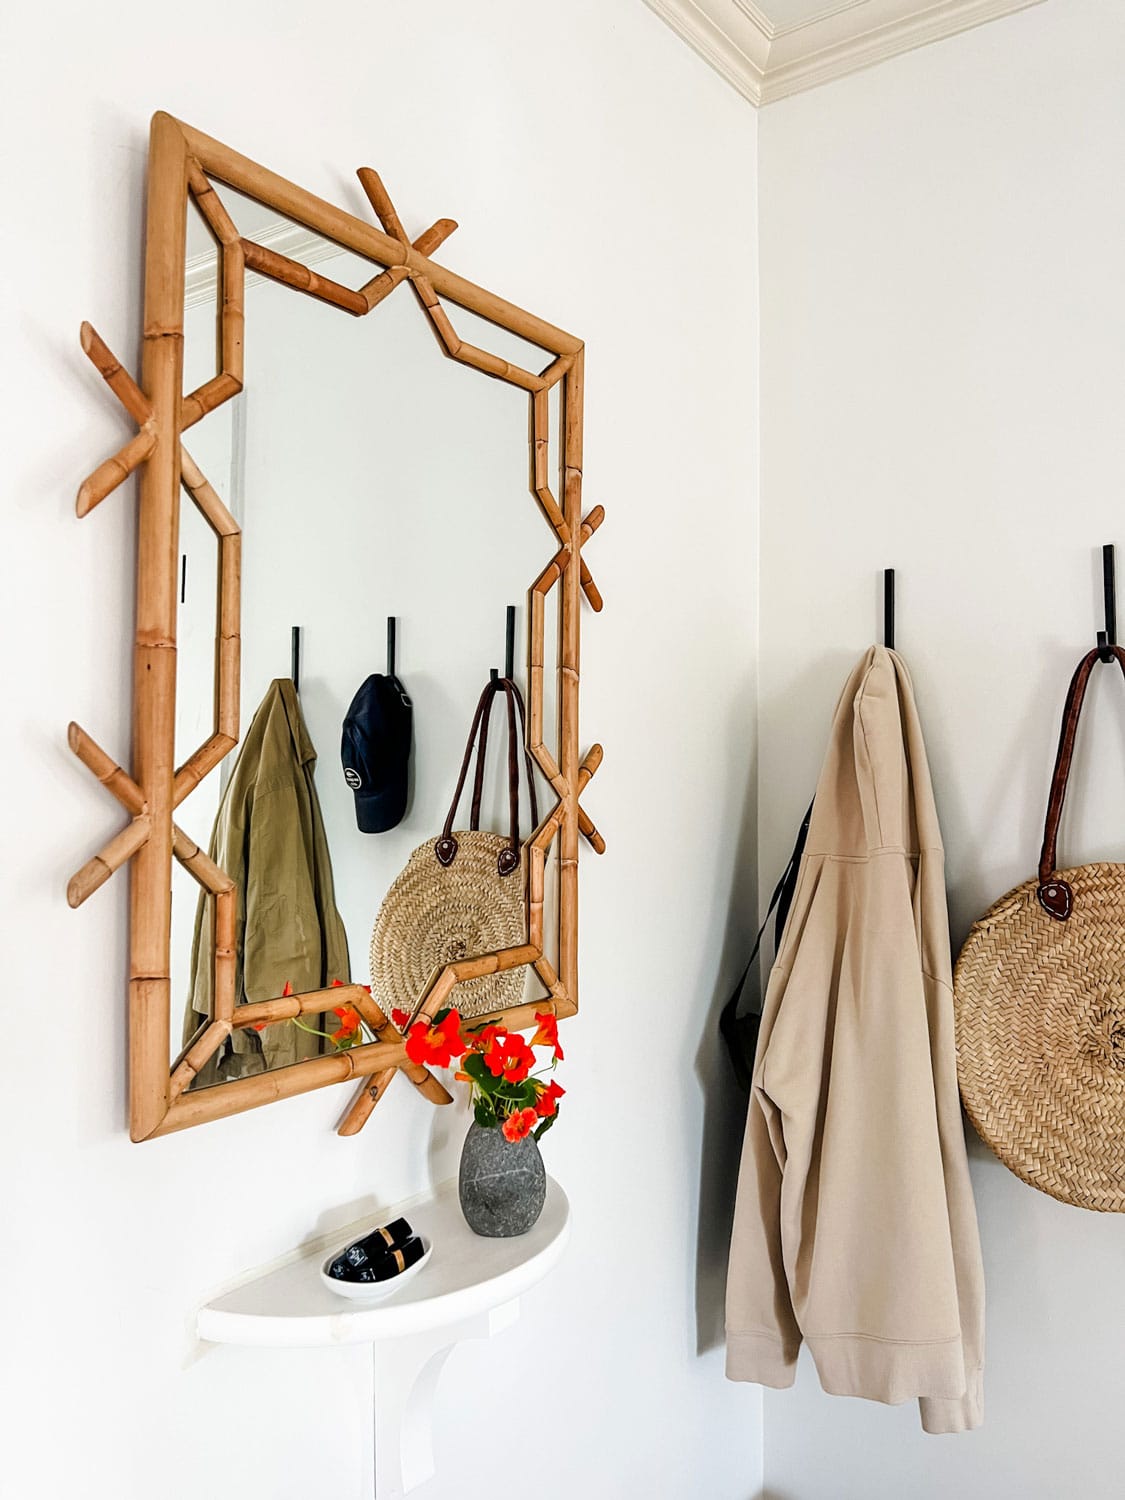
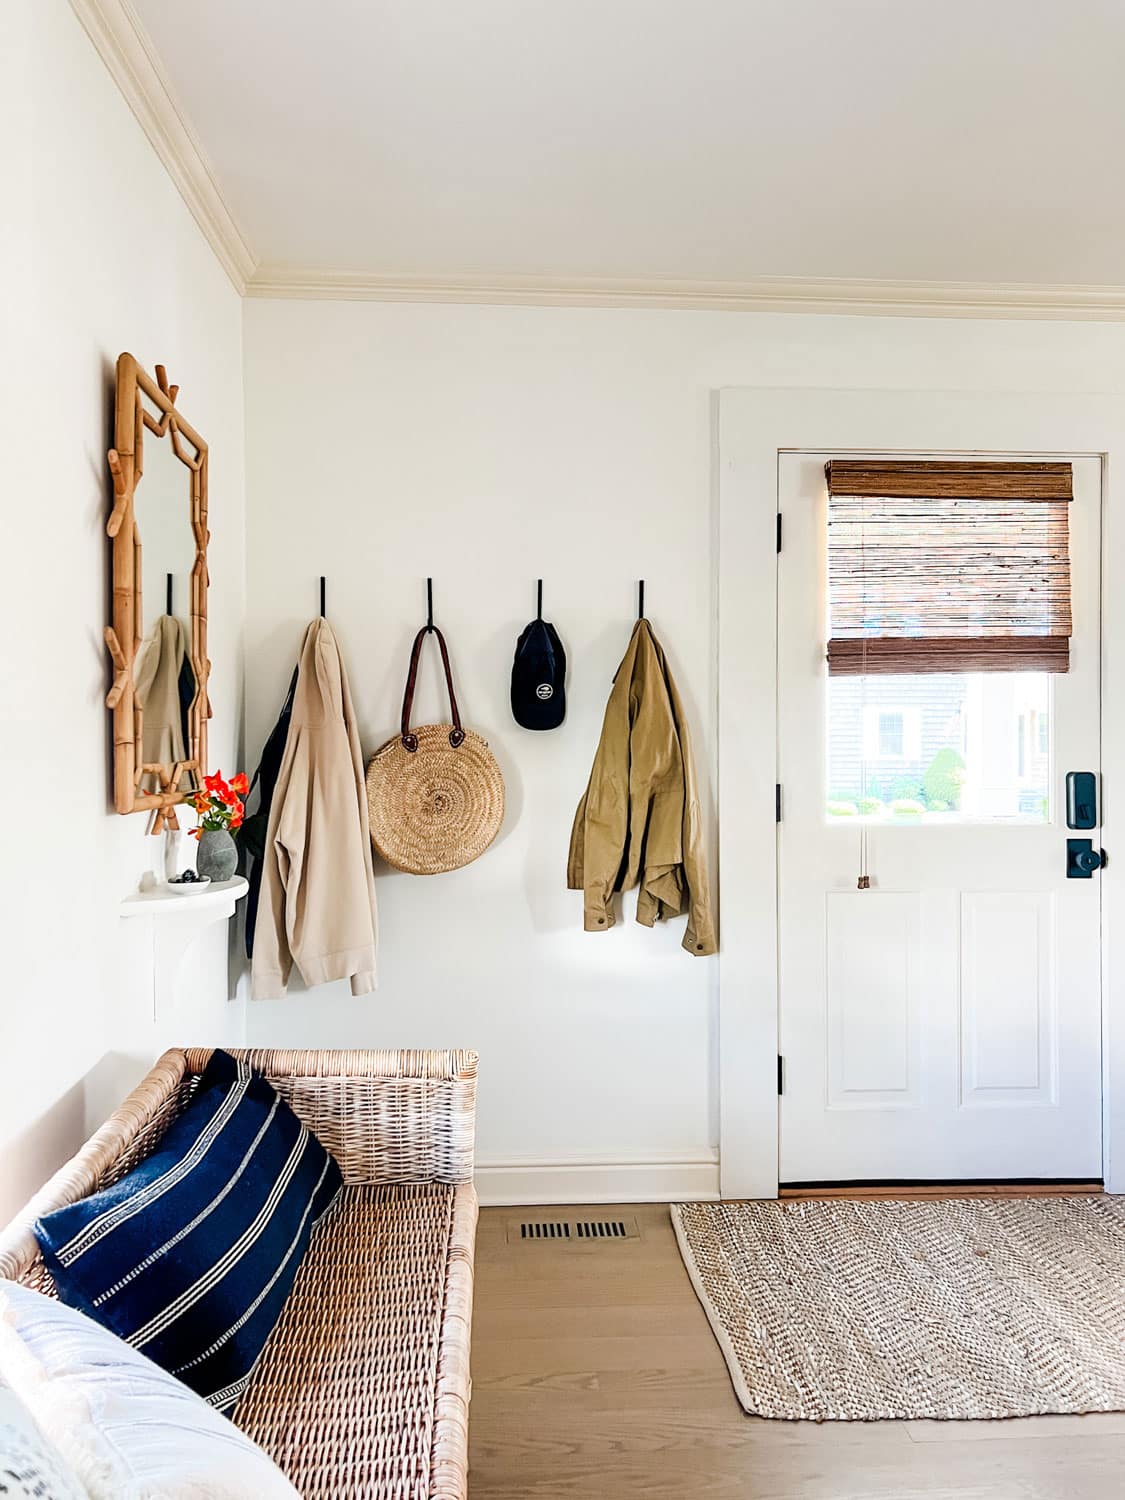
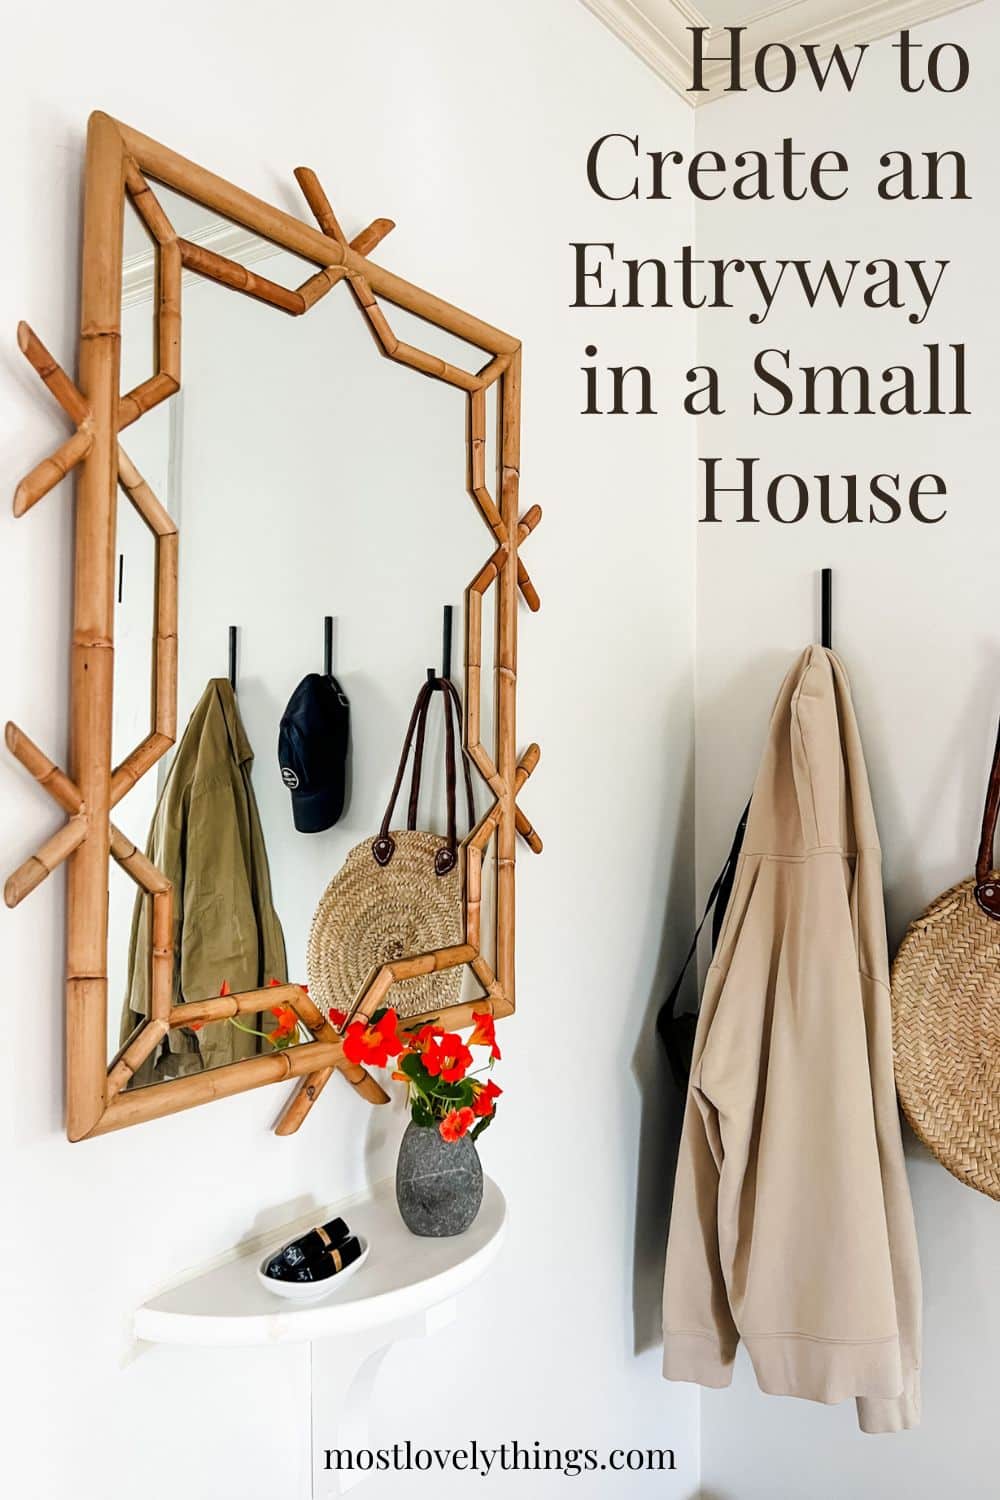
Step 2: Add some wall hooks
The wall next to the front door was open and begging for something to be done. For starters, we added simple black hooks. The hooks are perfect for hanging coats and jackets and even a bag, purse, or scarves, and they all add a bit of texture to an otherwise blank wall. But since it is technically part of your living room, be strategic about what goes on the hooks. Like it or not, what’s hanging, there does become a part of your living room look and feel.
Step 3: Add a mirror
The wall next to where we added the hooks was also bare. So we hung this mirror on the wall, which added a nice touch. The Lanai Mirror is a piece from Serena & Lily. It not only warms up the wall but is in the perfect place for a quick look in the mirror as you leave the house. And come on, who doesn’t like to do that?
Step 4: Add a wall shelf
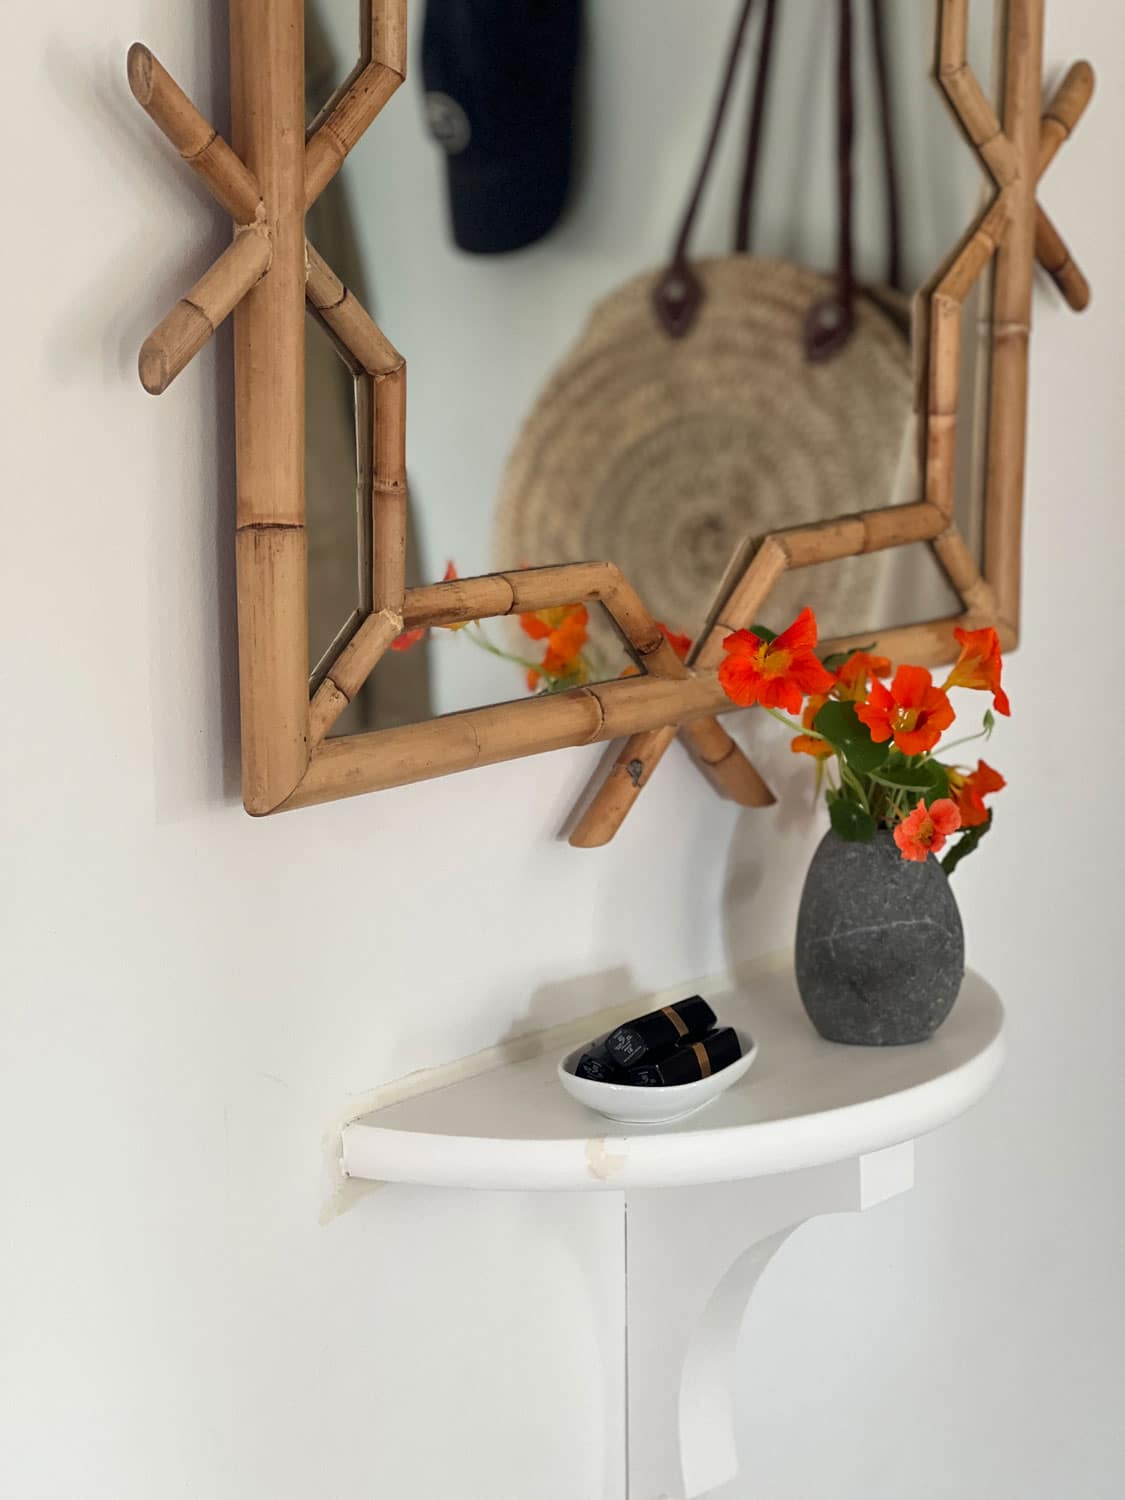
After adding the mirror, the wall still looked somewhat bare and needed something else. I designed a simple half-round shelf and asked my husband to build it for me. With only a few simple pieces from Home Depot, we had it finished and installed in no time. It’s practical as well. Sometimes we use it kind of like a tray and leave the keys to the car there. It’s also a perfect spot for a small vase of flowers or other similar things.
At the end of this post are instructions for building your own DIY wall shelf.
Step 5: Add a bench
Adding a bench really helped in defining the area as the entryway and a place to drop your bag, hang up your coat, or put-on, and take off your shoes. We had the Shore bench from Serena & Lily and it fit perfectly into the space we had.
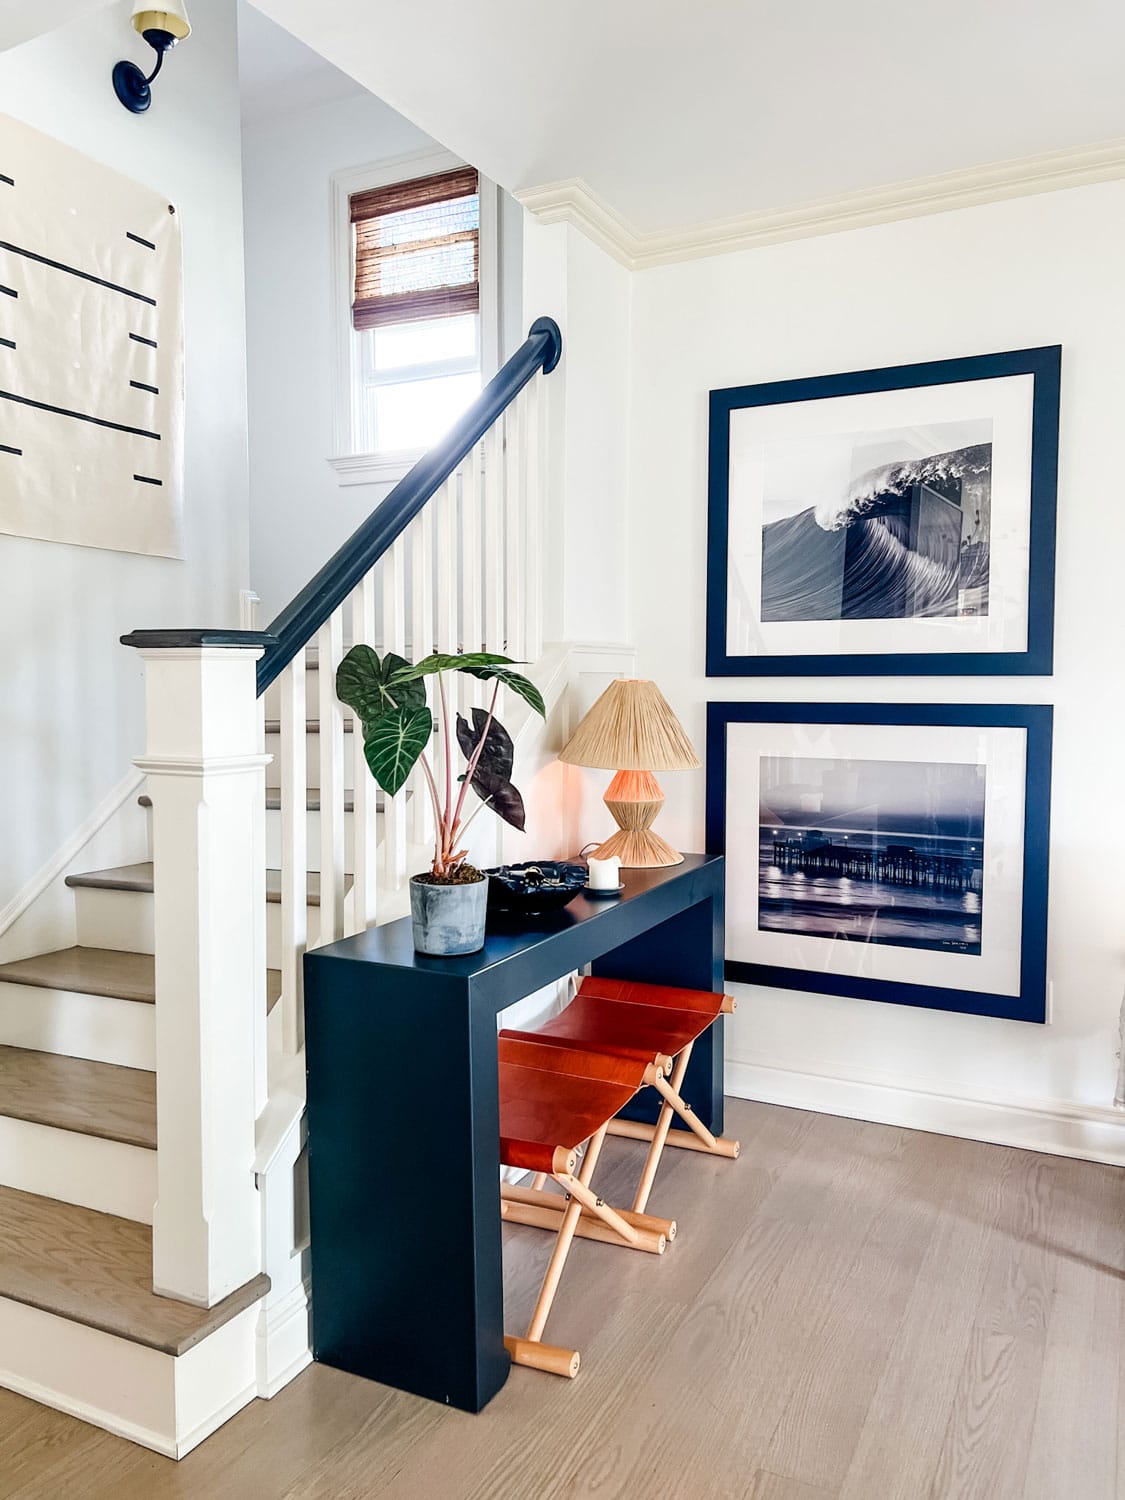
Step 6: Add a console table
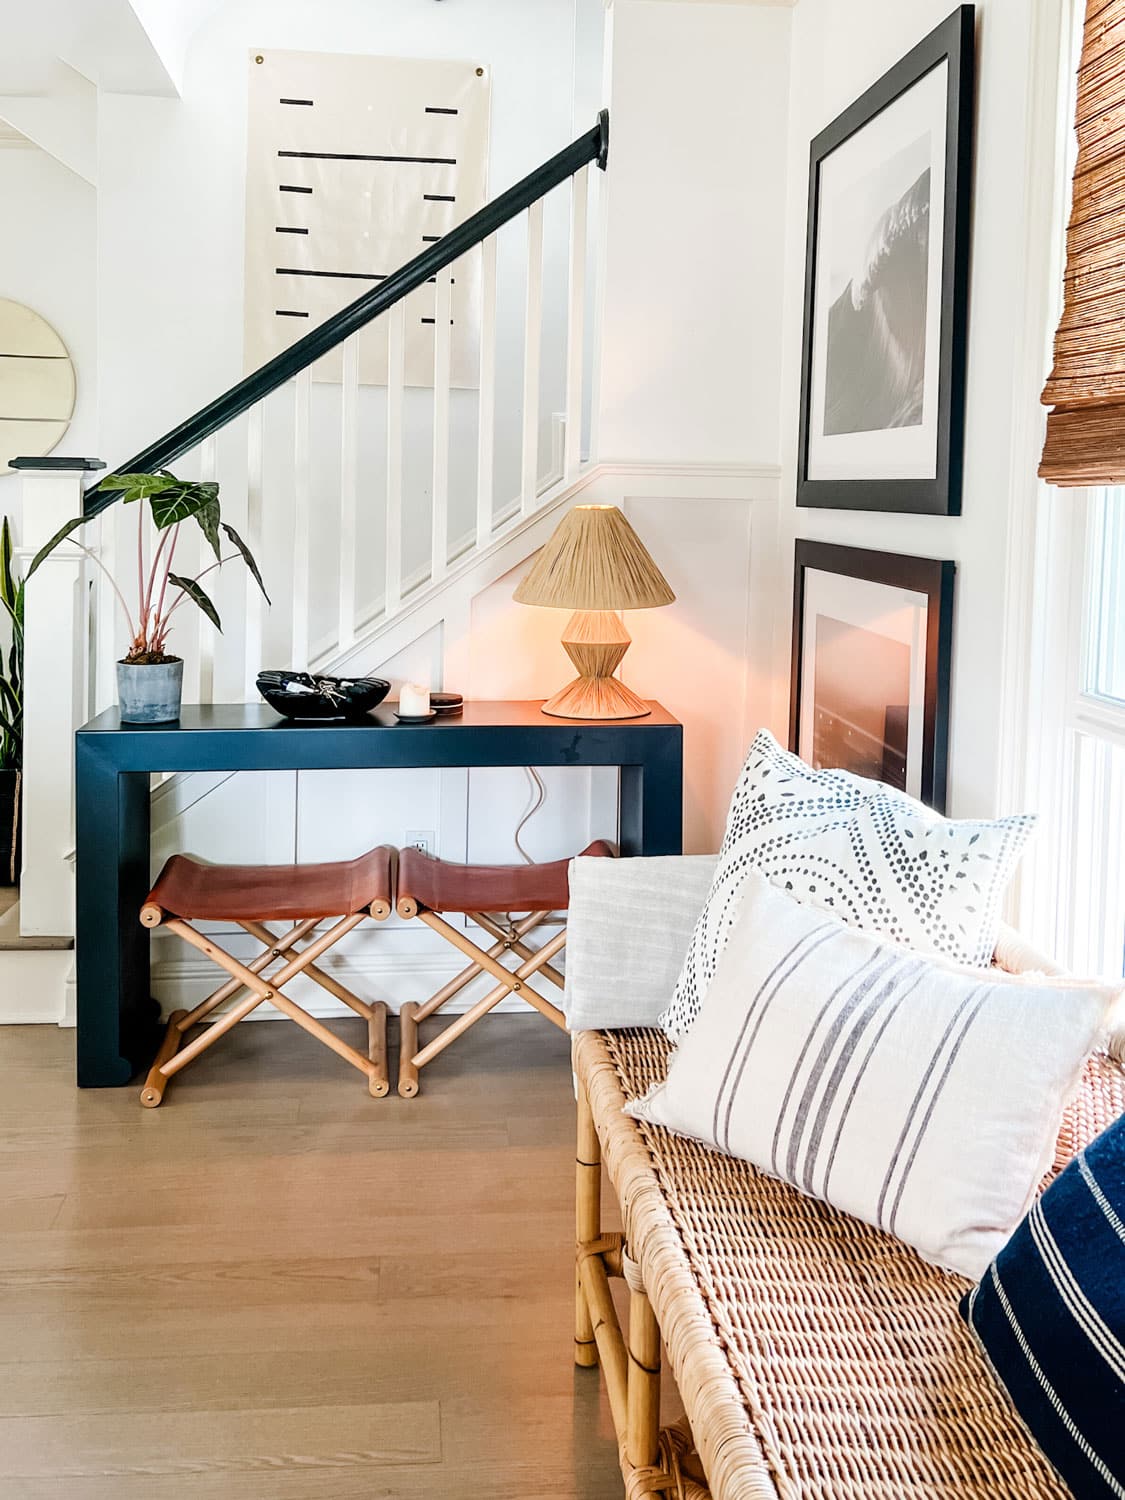
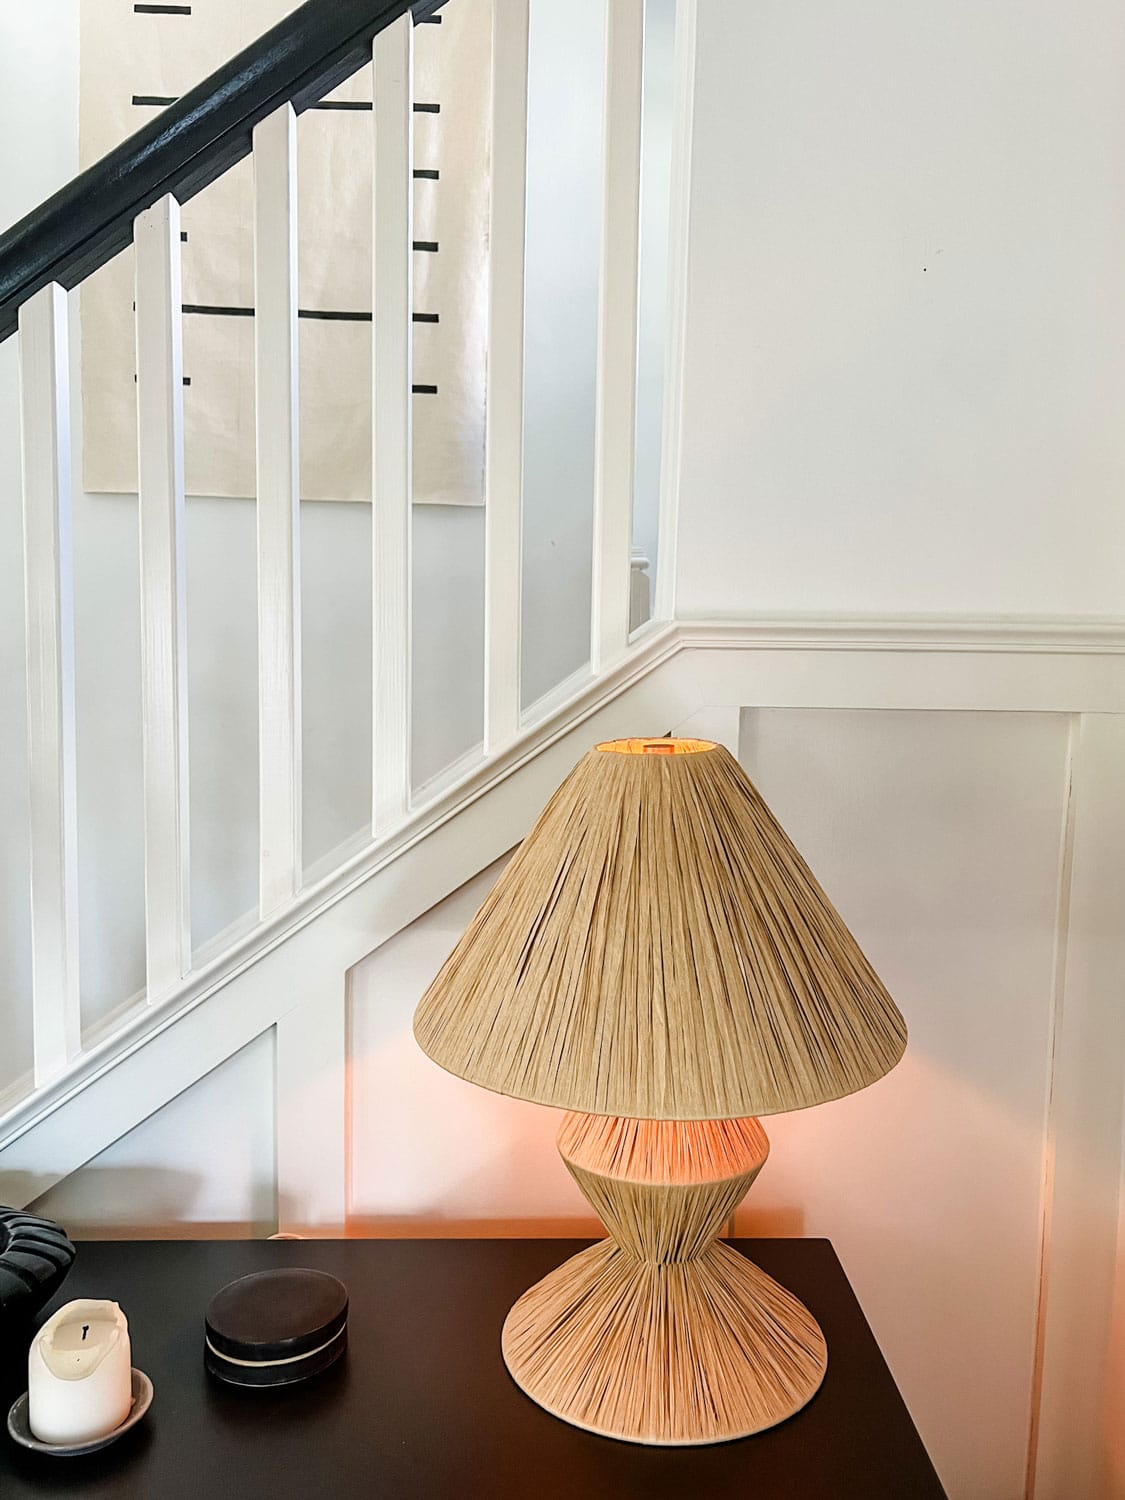
At the far end of what has now become the entryway are the stairs. Something in front of those stairs was definitely needed so we added a console table. We also added this Raffia Lamp from Target on top, and underneath, we added some folding camp stools, known as the Cooper Stools from Serena & Lily. Not only do the stools look good, but they can also be used when we have more guests than we have seating for. We just pull out the stools, and there’s room for two more people.
If you don’t have stools, underneath the console table is also the perfect place for a few baskets for storage. This rectangular La Jolla basket or two of these medium Lima Baskets would work too.
When you have an open living room or open space, it’s important to use runners, area rugs, and furniture pieces as room dividers.

The Shore Bench and Lanai Rattan Mirror from Serena & Lily
On the other side of the entryway with a console table, Raffia Lamp, and Cooper Leather Stools
Step-by-step Instructions on how to make a wall shelf
This is a very easy DIY project and we spent around $16 on materials and a couple of hours making it. Now we have the perfect little shelf for a small entryway.
Supplies needed:
- 18″ diameter round top piece of wood from Home Depot
- Wood shelf bracket also from Home Depot
- Any kind of saw (we used a radial arm saw, but you can use a hand saw, table saw, or jig saw)
- Screws and wall anchors for mounting
- Drill or power driver
- Paintable caulk
There are only a few simple steps for this project:

- We cut the round table top so that it was 6 3/4″ from the straight edge to the tip of the round edge
- We also trimmed the front of the bracket by 1″ so that it sat inside the edge of the shelf by about 1″
- Mark, the bracket mounting hole on the wall, drill a hole, and insert the wall anchor.
- Attach the bracket to the wall
- Attach the shelf to the bracket making sure the shelf is flush with the wall (I used self-setting screws and then just wood filler over the holes)
- Caulk all around the edges of the bracket as well as where the shelf meets the wall, and let it dry
- Now you’re ready to paint
Shop the Post