How to Make a Giant Outdoor DIY Wood Star for the Holidays
Crafts | DIY | Holiday | House & Home

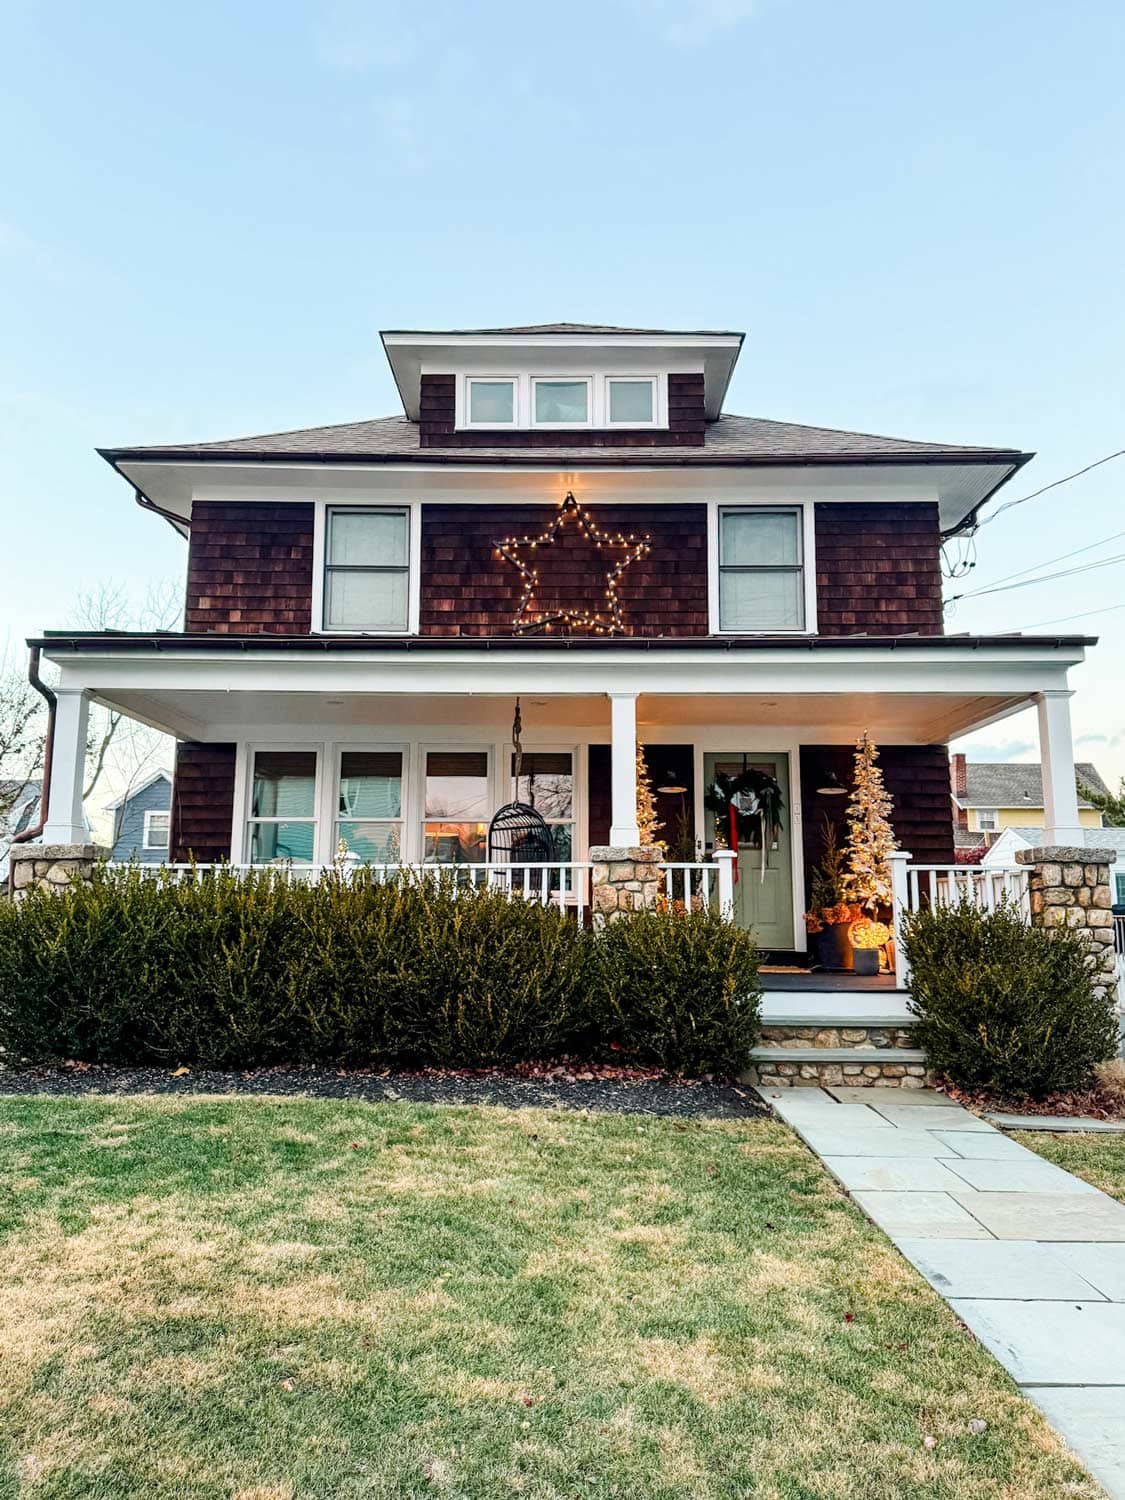
If you’re looking for a simple but dramatic holiday decoration, a giant outdoor DIY wood star is the perfect project! With just a few tools and supplies and a little time, you can create a giant star that will light up your yard and add to your Christmas decor. Whether you hang it on your home, lean it against a wall, or light it up with lights, this wood star adds a touch of rustic charm to your holiday decorations.
You’ll only need a few tools and supplies (this really is one of those easy DIY projects)


Tools:
- Saw (we used a miter saw, but you could use a table saw, circular saw, or a small hand saw)
- Electric drill/screwdriver
- Paintbrush
Supplies:
- Ten wood pieces (Dimensions: 2′ long X 1 1/2 wide X 3/4″ thick – the type of wood we bought is 8 ft pine boards and cut them into 2′ long pieces, and they were $1.27 per 8′ piece)
- Small drill bit
- 1 1/2″ wood screws
- A 33′ string of holiday lights with black cord
- Paint or wood stain (unless you want to leave it natural)
How to make a giant outdoor DIY wooden star


- Gather all of your tools and supplies.
- Using a ruler or tape measure, make pencil lines to cut the wood into 2′ sections – you’ll need 10 pieces in total.
- On a flat surface, start with the tip of the star (or the first point) and make a triangle with the first two pieces and screw them together, overlapping at the top. We predrilled a small hole (smaller than the screw). This helps keep the wood from splitting when tightening the screw for a snug fit. If you’re planning on using this for multiple years, you may want to fasten the star together with small bolts. This way, the star can be easily disassembled and stored for next year. Don’t tighten the screws all the way. You’ll want to adjust the star to make sure it’s the perfect shape.
- Repeat this process until you’ve formed a five-point star.
- Adjust the pieces of wood to make sure your star is the perfect shape, and then tighten all of the screws.
- Now, paint your star. We just used some black paint we had from another project. You could also use wood stain if you have some.
- Once the paint has dried, stand the star up and adjust any of the angles as necessary.
- Wrap the star with twinkle lights starting at the top and making sure you end at the bottom with the cord end that plugs into the socket. This way, you avoid an extension cord running down the side of the star.
- Now you have your finished star. The last step is finding the perfect placement for it.
Note: You can make the star in different sizes to fit whatever space you have. For a smaller star, use short pieces. And for an even bigger star, use longer pieces. The whole thing, not including time for the paint to dry, only took about an hour.