
How to Build a Custom DIY Corner Banquette for Extra Seating (2024)
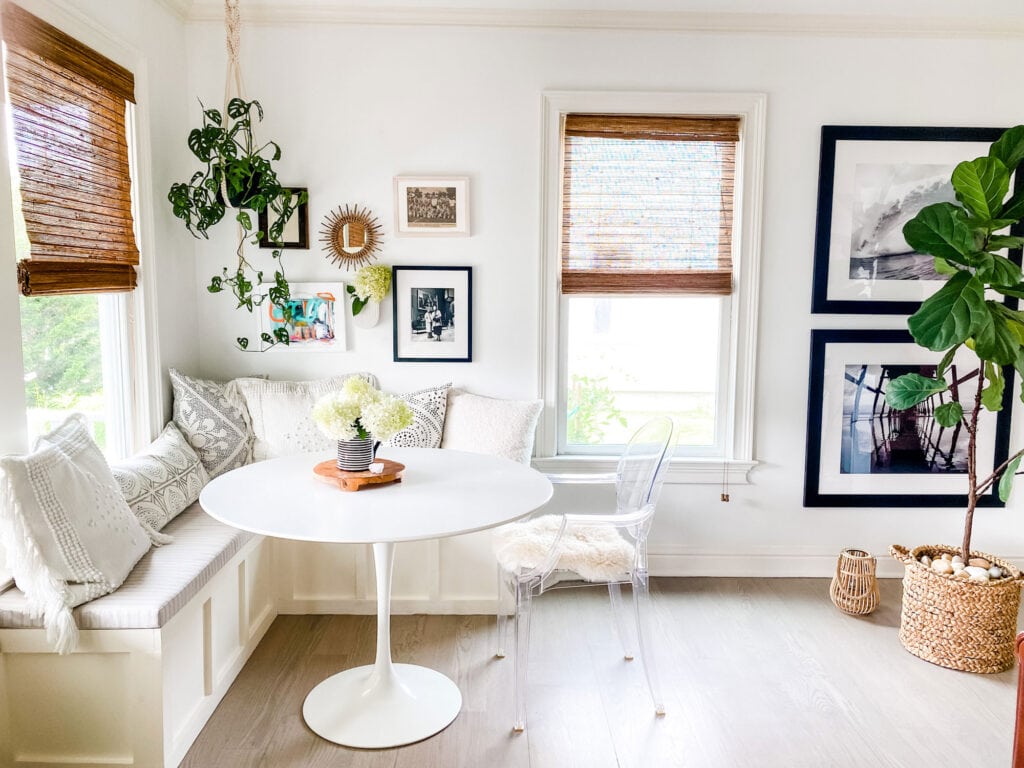
How to build a custom DIY banquette for extra seating in an unused living room corner. As much as we would like to step back and admire our handy-work, the bench cushion steals the show here and transforms the bench into a super-cozy corner. We turned to Patio Lane for our seat cushions. Continue reading to learn more about the simple process of ordering custom cushions to fit your bench seating, but first, here’s how we made this DIY banquette bench.
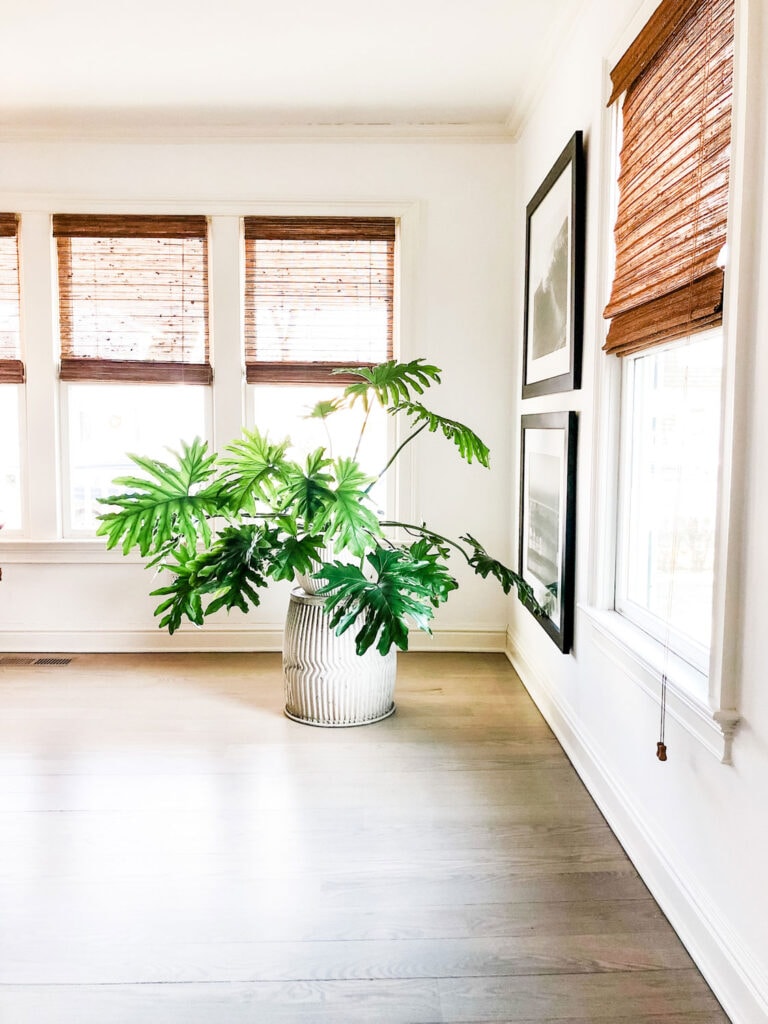
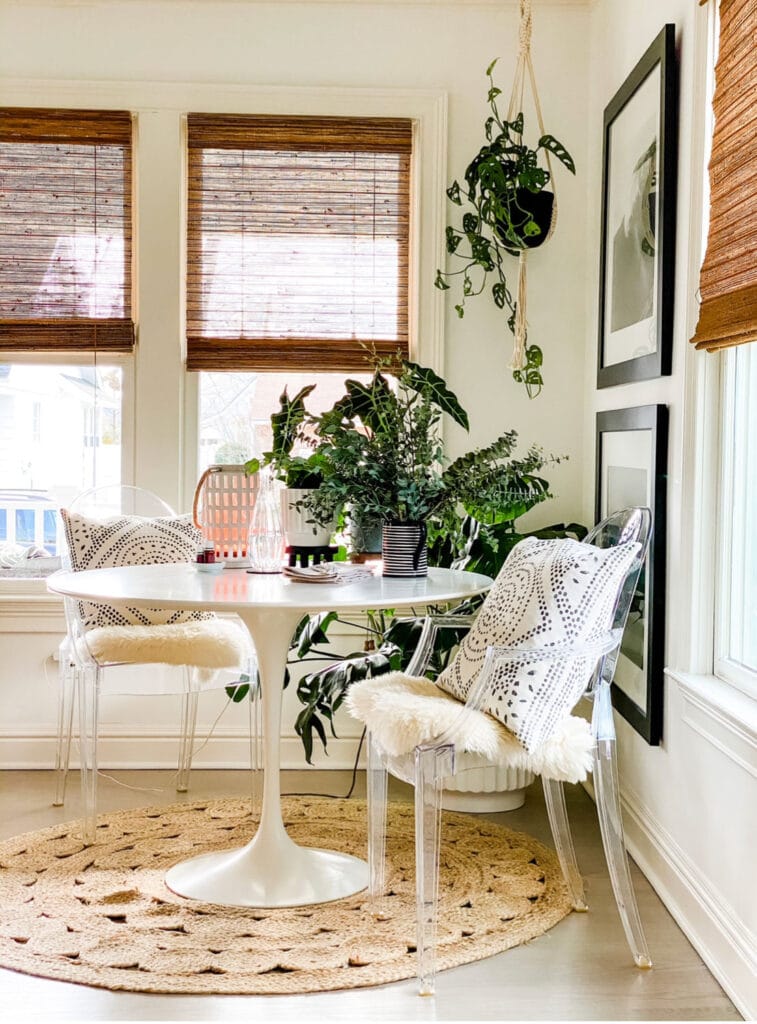
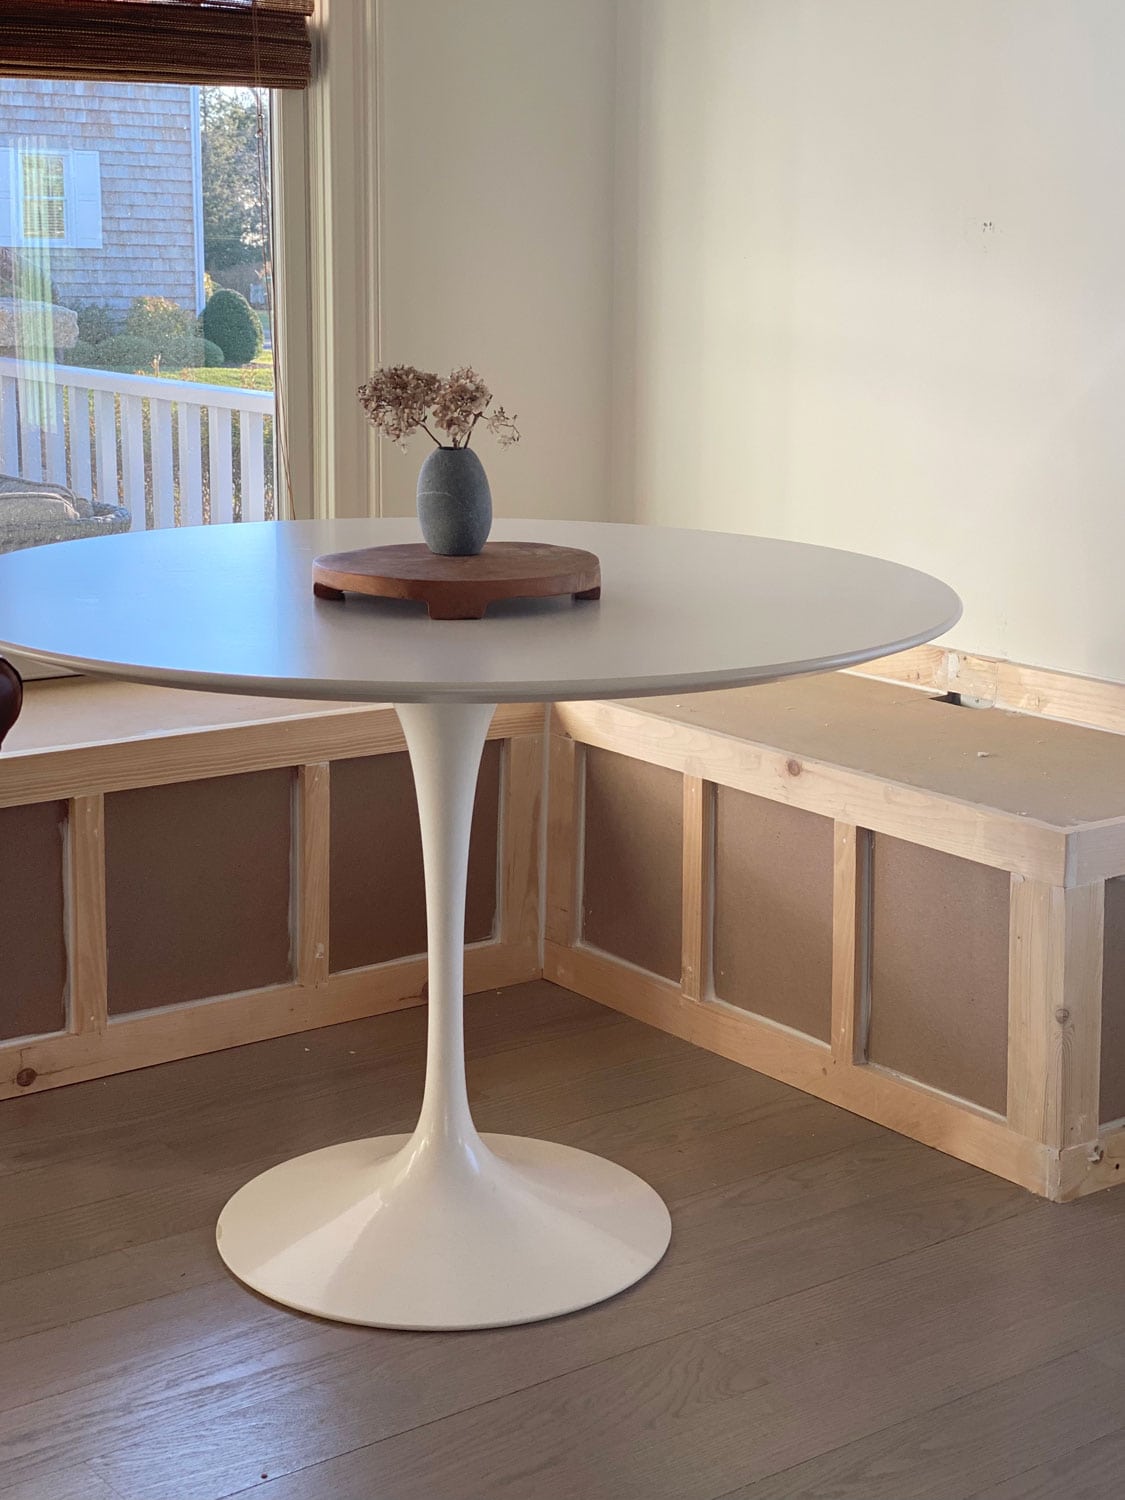
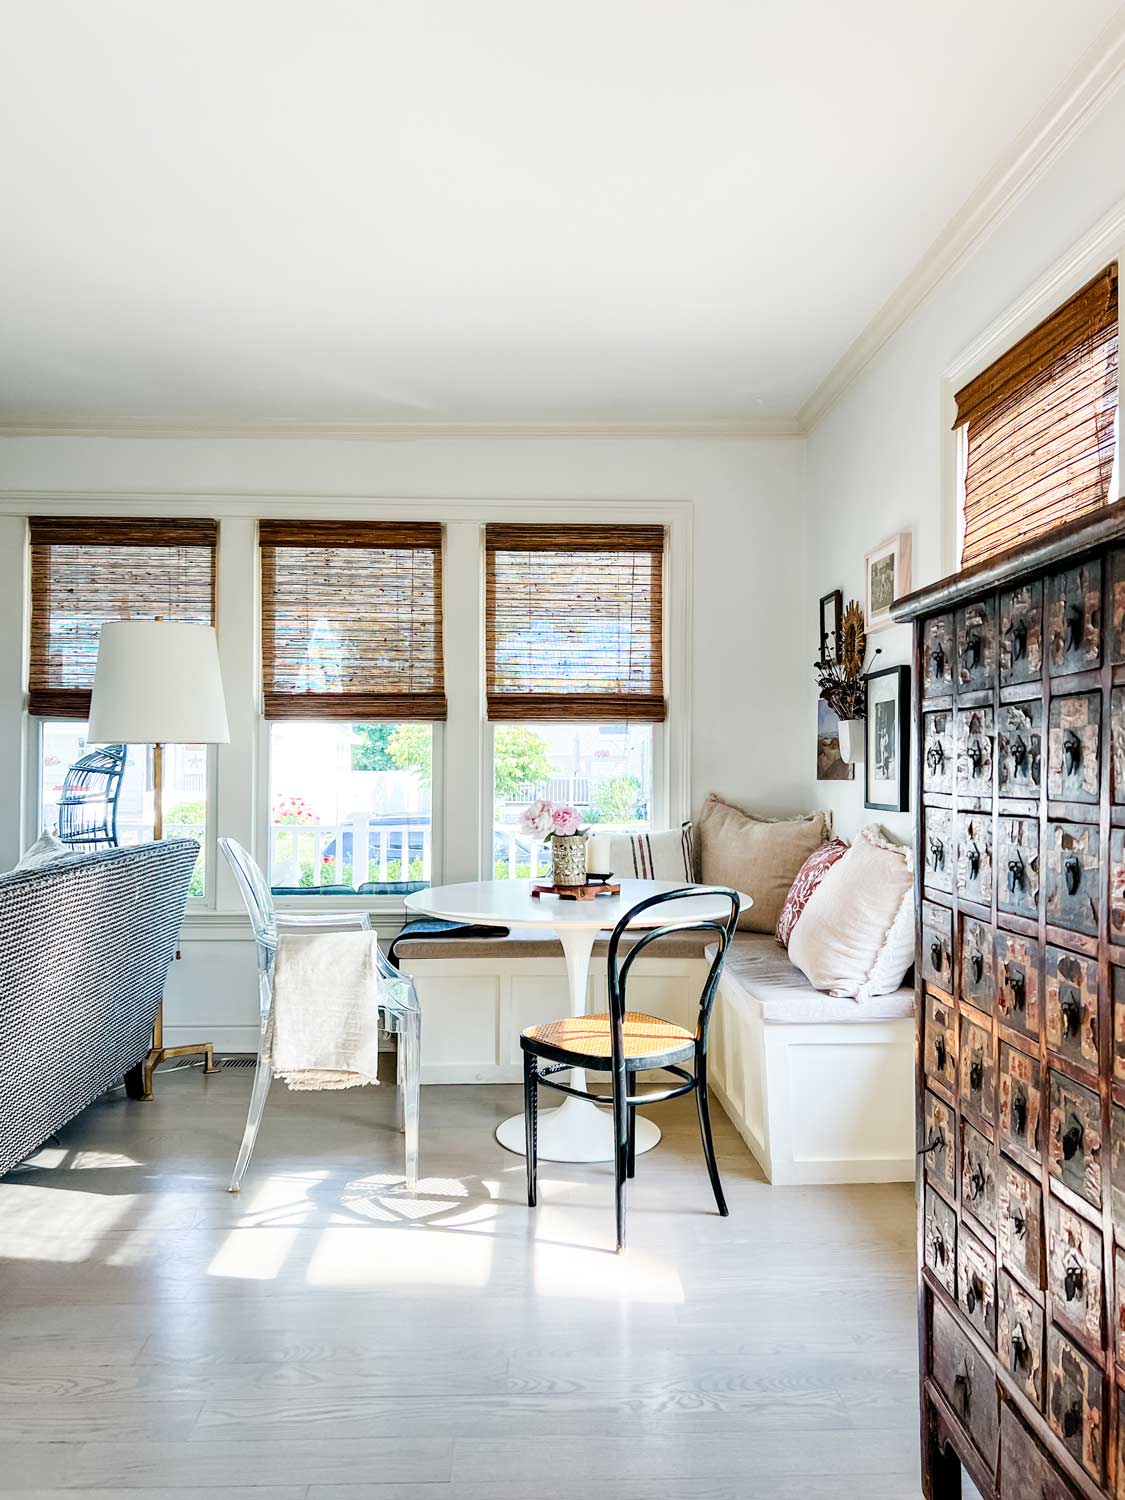
Adding a corner banquette where there was once only a large plant in this space!
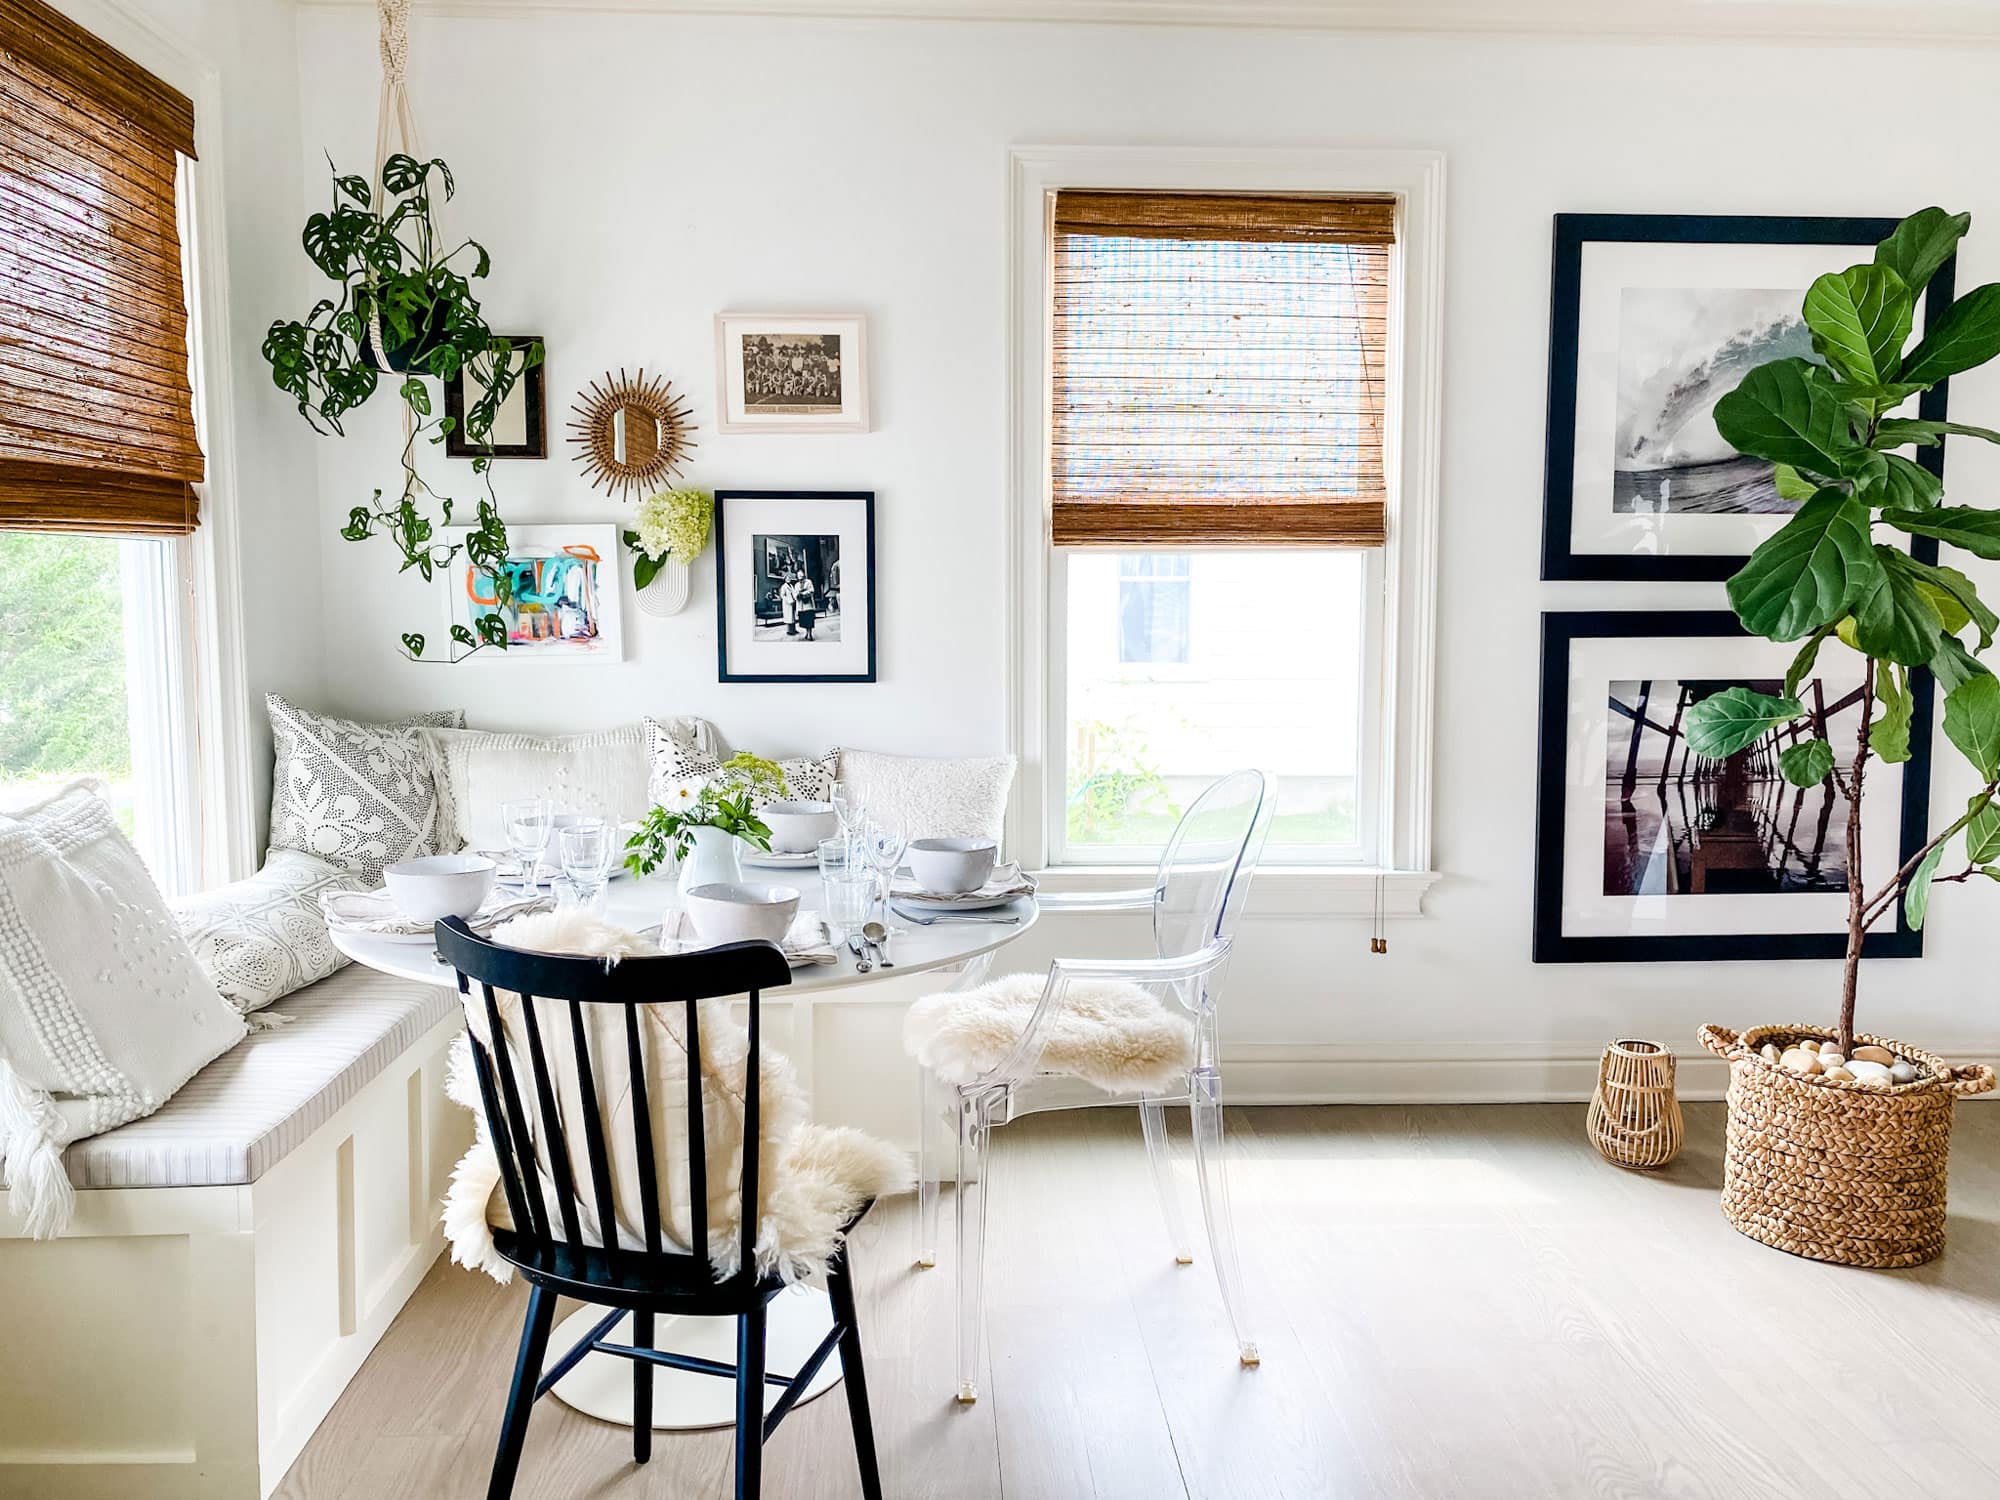
A corner bench turns an otherwise nice corner of a house that once had a large plant occupying it into a space where you just want to hang out. Combined with a table, you can work comfortably here or eat while watching one of your favorite movies or sporting events. It’s a place where you’ll want to spend time, and since it faces the street, it’s great for people-watching, too! And it gives the room a more finished look.
A banquette is perfect for both large and small spaces, and I’ve also seen them built with hinged tops to create extra storage space underneath. We didn’t do that in this project.
Step 1: Selecting the appropriate area
The first step is selecting the area for your bench and then determining the size for the perfect fit. We had to make sure our bench fit underneath two windows. We were working with our existing Saarinen round table. Here are the dimensions we used, but you can custom fit it to your space:
- 18 3/4″ deep
- 17” high
- The left part of the L-shaped bench is 62” long.
- The right part of the L-shaped bench is 38 ½” long.
You can see a similar kitchen banquette that we built in our New Canaan kitchen in this post.
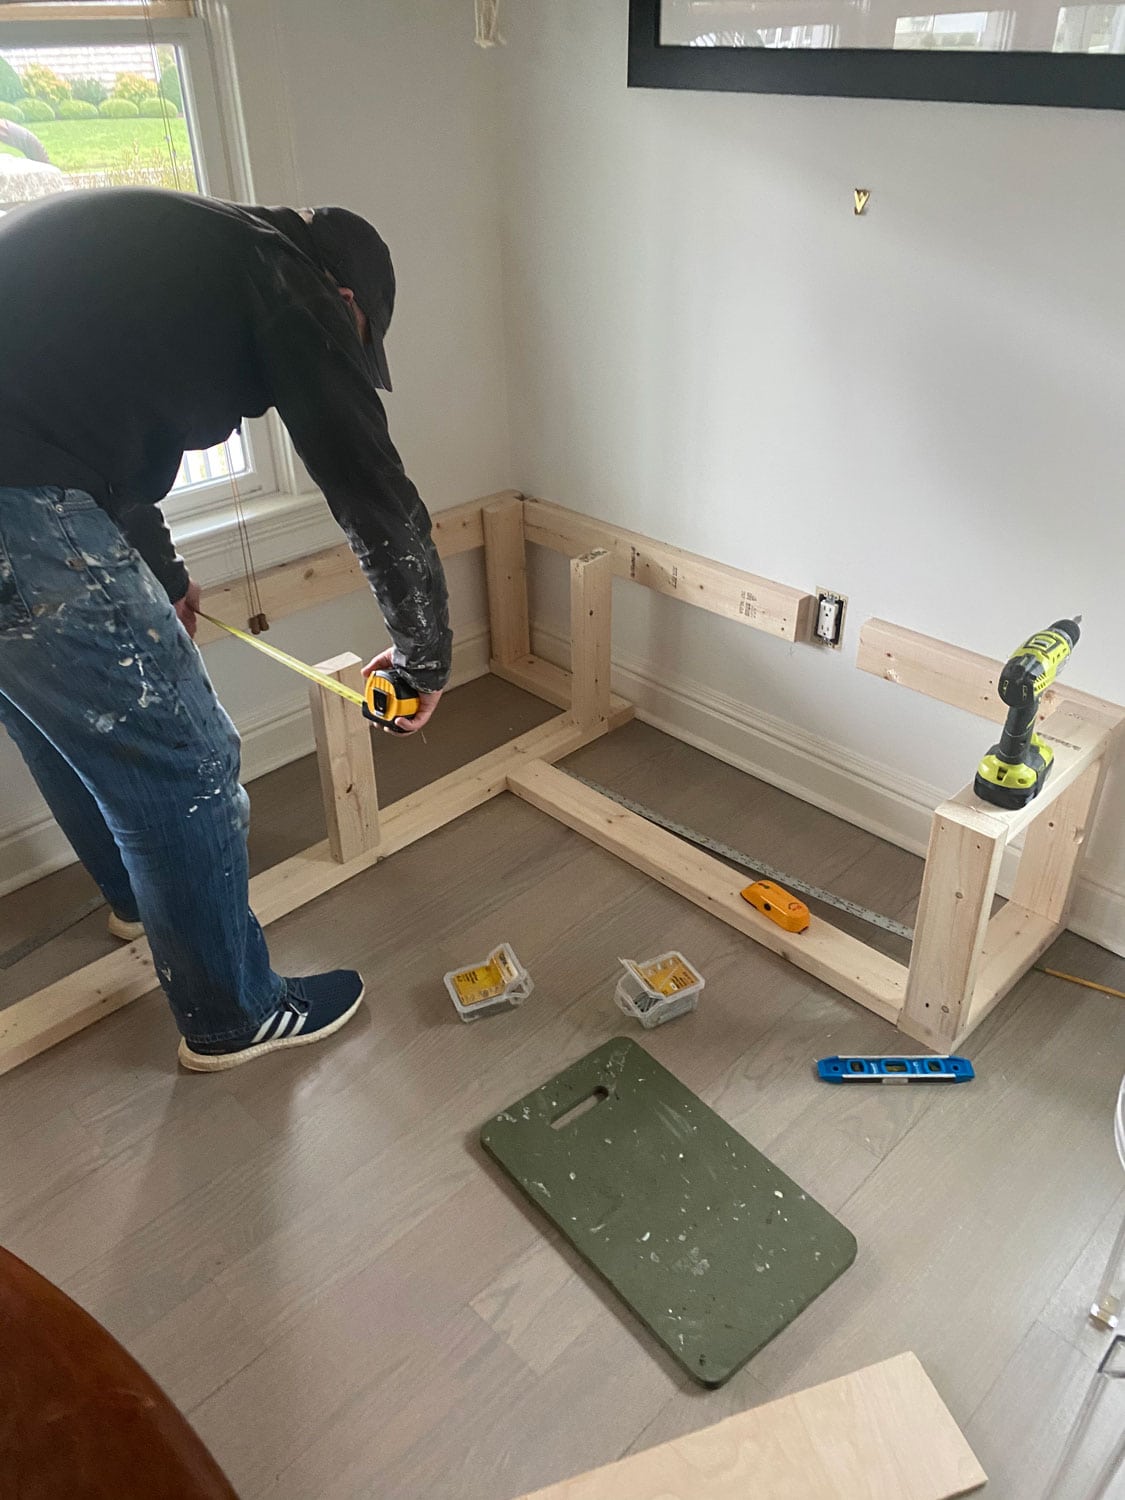
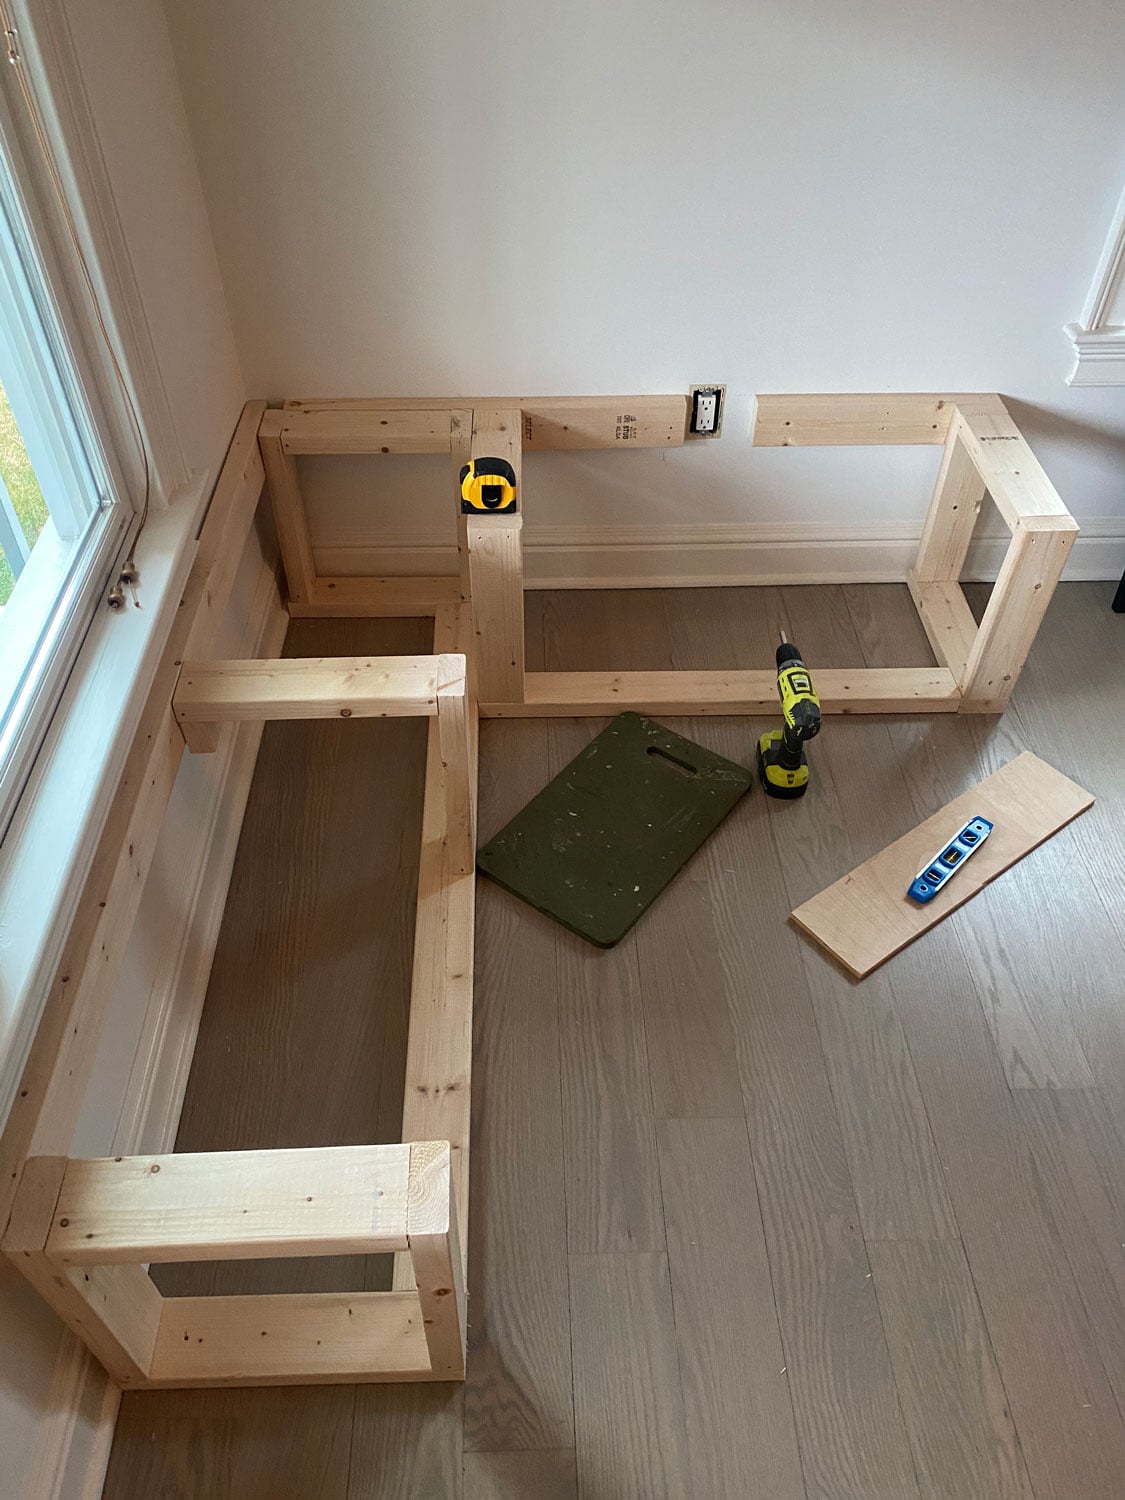
Step #2: Building the box frame

The next step is building the bench frame to your previously determined dimensions. Not being a licensed contractor or an engineer, there is no magic to the spacing of the supporting 2 X 4s. You just want to make sure you have enough extra support to prevent any sagging with multiple people sitting on it.
What you’ll need for the wood
Once you’ve determined the size of your bench, you’ll need to calculate how much wood you need. We bought all of our wood at The Home Depot. For the frame, we used standard 2X4s, and for the tops and sides, we used the ⅝” pressboard/MDF board. If you prefer, you can use plywood. The reason we chose pressboard is that it provides a smoother finish without the grains of plywood, which is the look we were going for.
For the frame around the pressboard, we used standard pine 1X4s and 1X1s for the interior of the frame. For those of you unfamiliar with various kinds of wood, you can buy different grades. The more finished the grade, the more expensive it is. We used a middle-grade wood so that there would be less sanding than when buying low-grade pine.
We anchored the frame to studs in the wall and then screwed it securely to the wood floor.
Step 3: Attaching the top pieces
Once you have finished the frame and feel it is secure, we cut two pieces of the MDF board for the top of the bench.
Note: we have a table saw and a miter saw that we used for the project. However, if you don’t have any saws, Home Depot will make most cuts for you. If that is the path you are taking, you have to be very exact and organized with the cuts you need. There is little room for mismeasuring in this case.
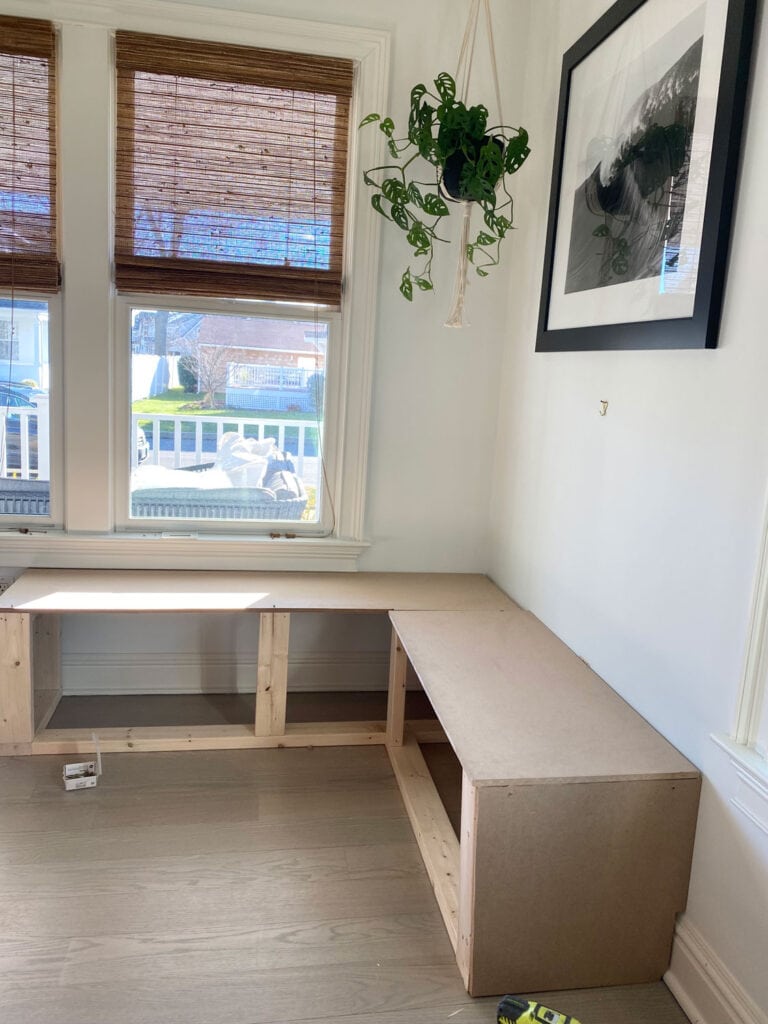
Step 4: Attaching the end pieces
Next, we cut and attached the pieces to the end of the banquette. If you need to work around existing molding as we did, we bought a tool that conforms to the curves of the molding and can be used to draw the shape on the wood. You can then use a jigsaw to cut around the curves. There are many tools like this available. We just chose the one Home Depot had in stock.
Step 5: Attaching the front pieces
Next we cut the MDF boards and attached the front of the bench in two pieces.
Step 6: Patching and sanding
Part of the project is creating a nice, smooth finish. Once the tops, sides, and fronts were in place, we filled in all the screw holes and any imperfections in the wood that were there or that we had nicked in the assembling process. Smooth surfaces will make the finished look even better.
If you’re assembling the built-in banquette inside the house, it’s a good idea to do most of the major sanding outside prior to assembly to keep from creating a major dust Tsunami inside the house. However, there were places that needed to be touched up inside and we did that by gently hand sanding and cleaning as we went.
Step 7: Caulking
Next, we used standard paintable latex caulk around the frame and any places where there were visible gaps. For someone who is not a perfectionist (like me) but would like to appear as one, caulk and wood patch are my best friends. They can help hide almost any imperfection in construction.
Step 8: Painting
Finally, we used interior latex satin paint. Some people like to use semi-gloss but we tend to think it is too shiny. Check out the different finishes from the color charts at your paint store to determine which one you like. It is all personal preference.
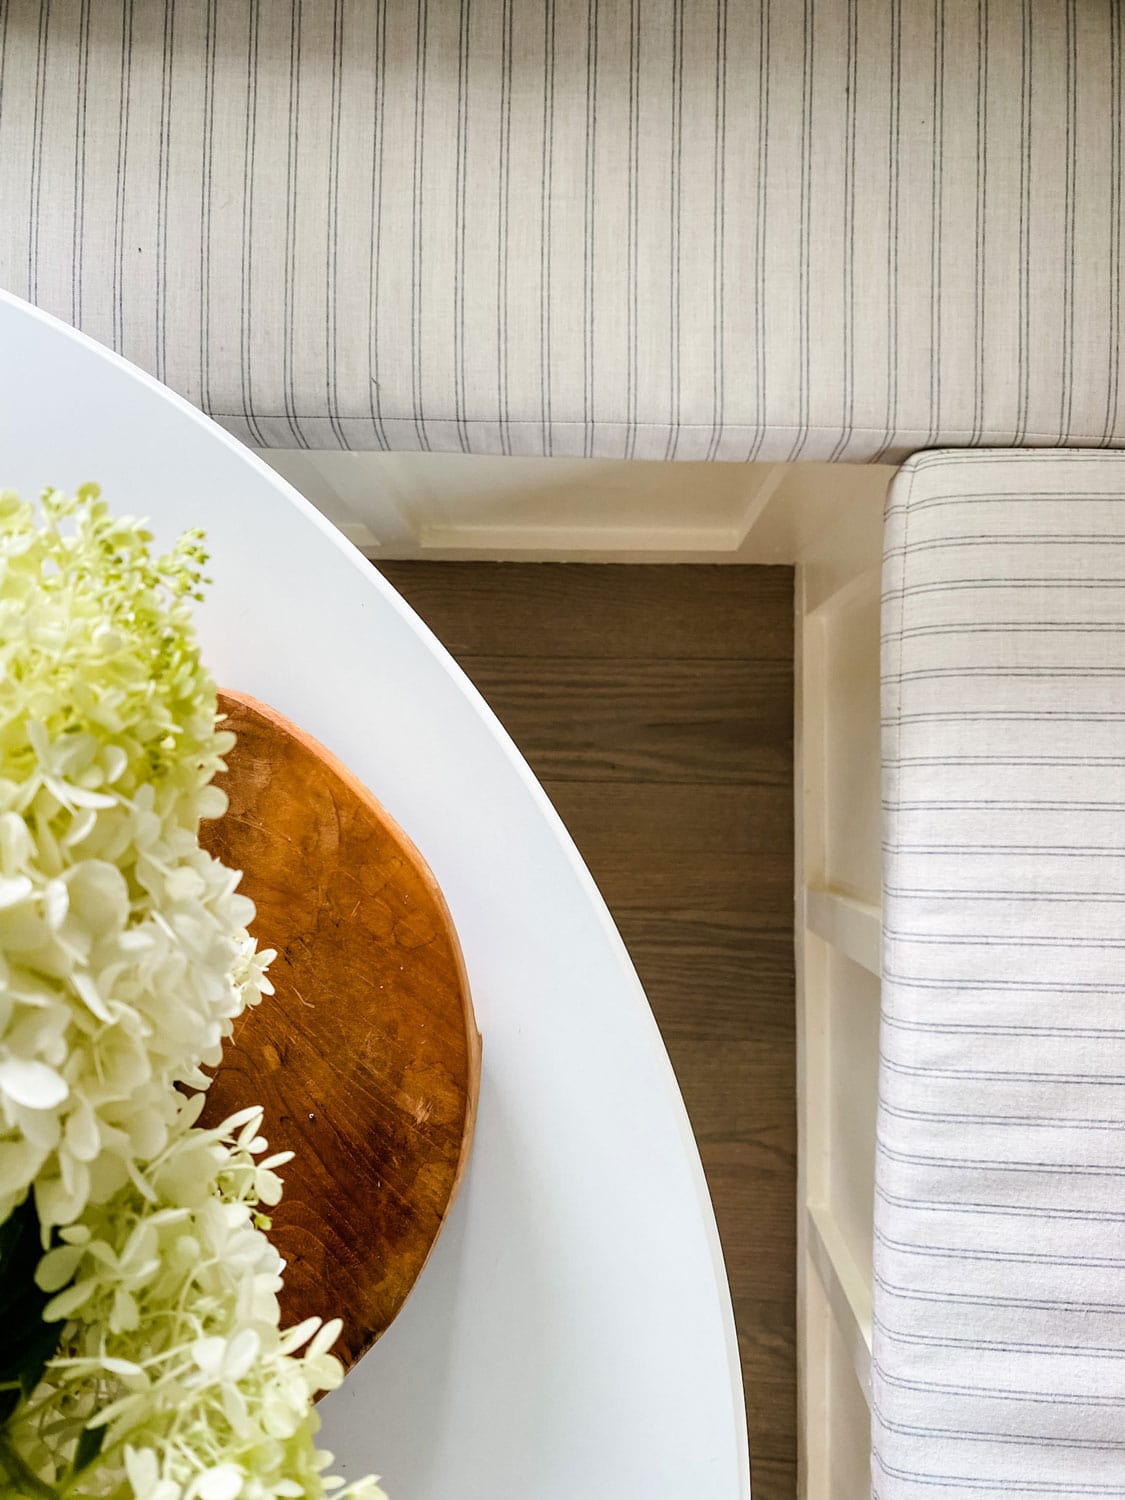
Step 9: The Cushion from Patio Lane
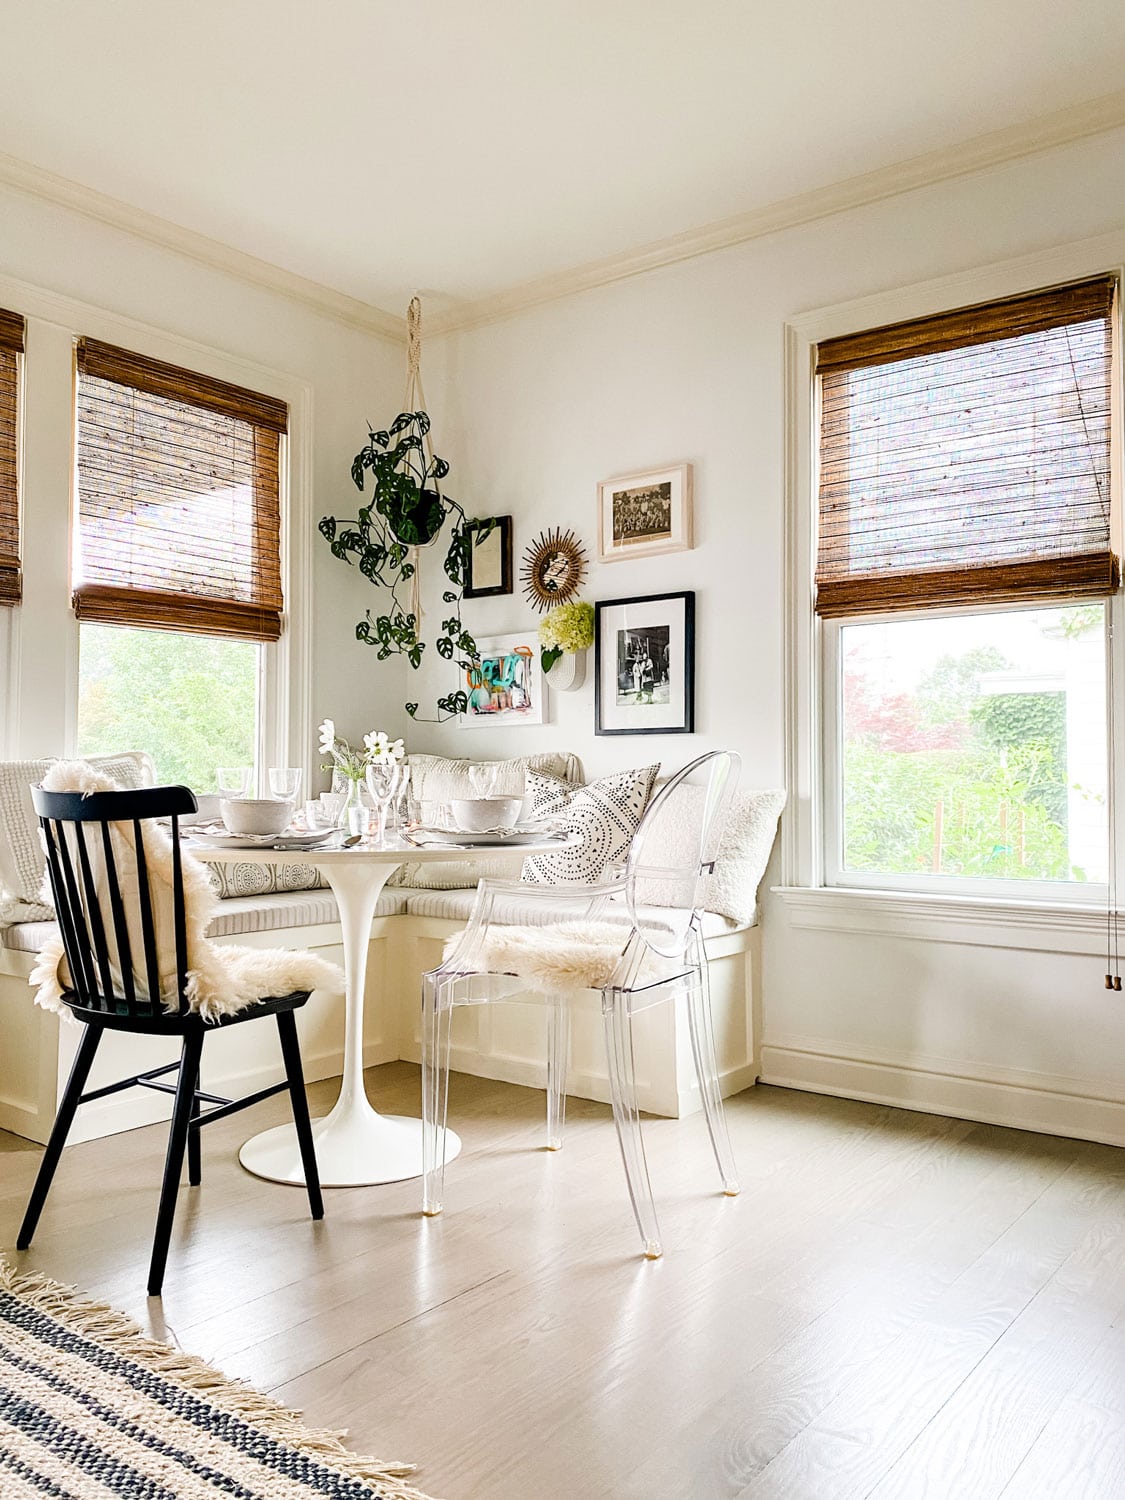
Once the bench was finished, we ordered custom cushions from Patio Lane. Patio Lane is my go-to for all custom cushions! We used them in our attic for an extra-long window seat, and we even used one for a small narrow window seat in Madeline’s apartment. A cushion makes all the difference, and Patio Lane could not make it easier to find what you are looking for in terms of fabric and custom design. They have a Cushion Builder Tool that takes you through the process beautifully. You then select your fabric, the cushion, the fill, the size, and the desired height, and then place your order. If you are still a little unsure, they have a YouTube video that takes you through the process, and should you have questions as I did the first time, customer service is so helpful! A few weeks later you’ll receive your cushions, and once unwrapped in a matter of minutes, you are ready to invite people over to your new cozy space!
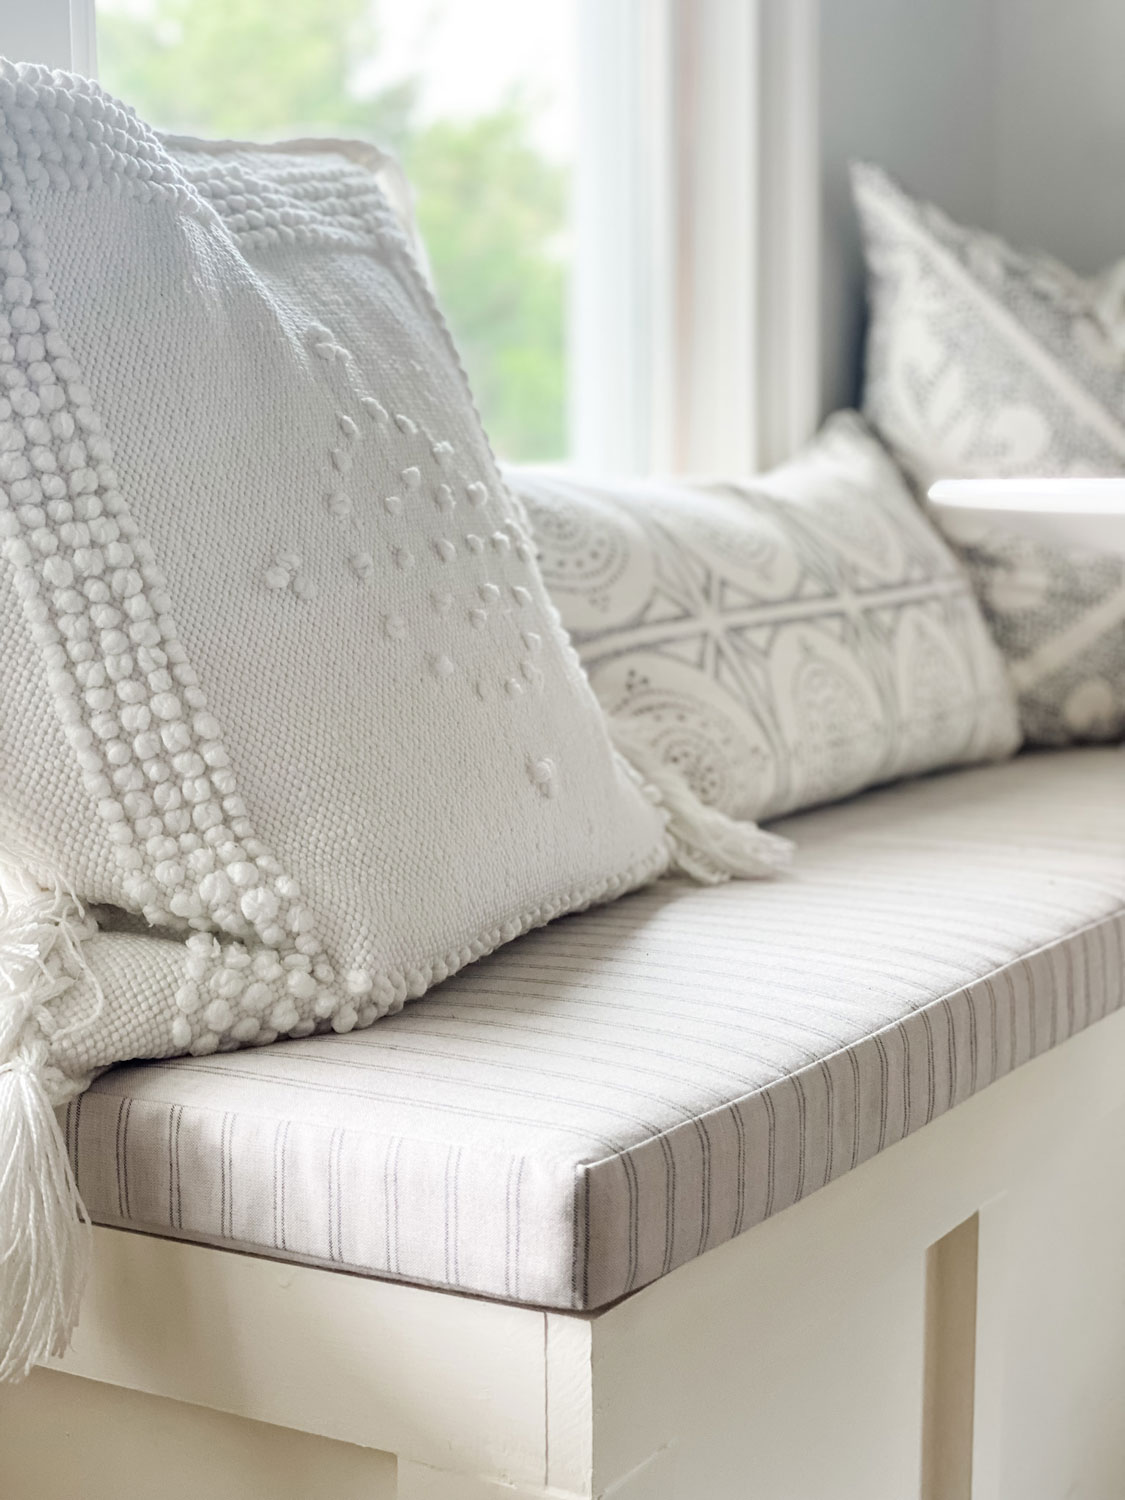
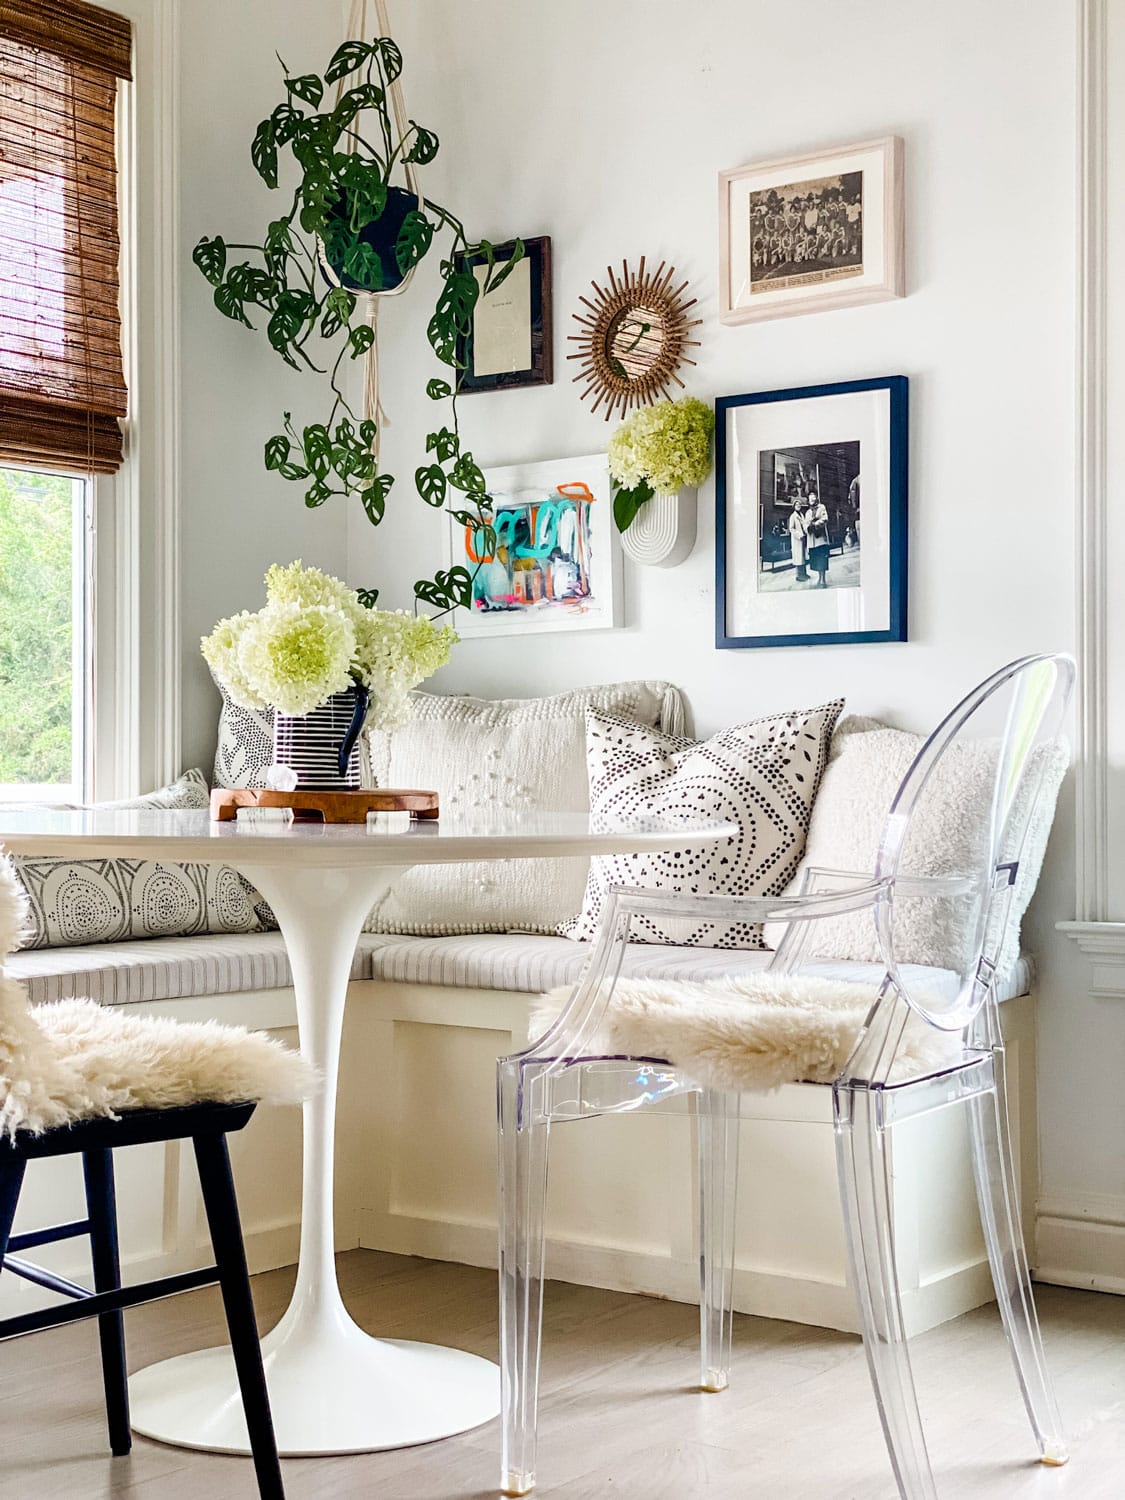
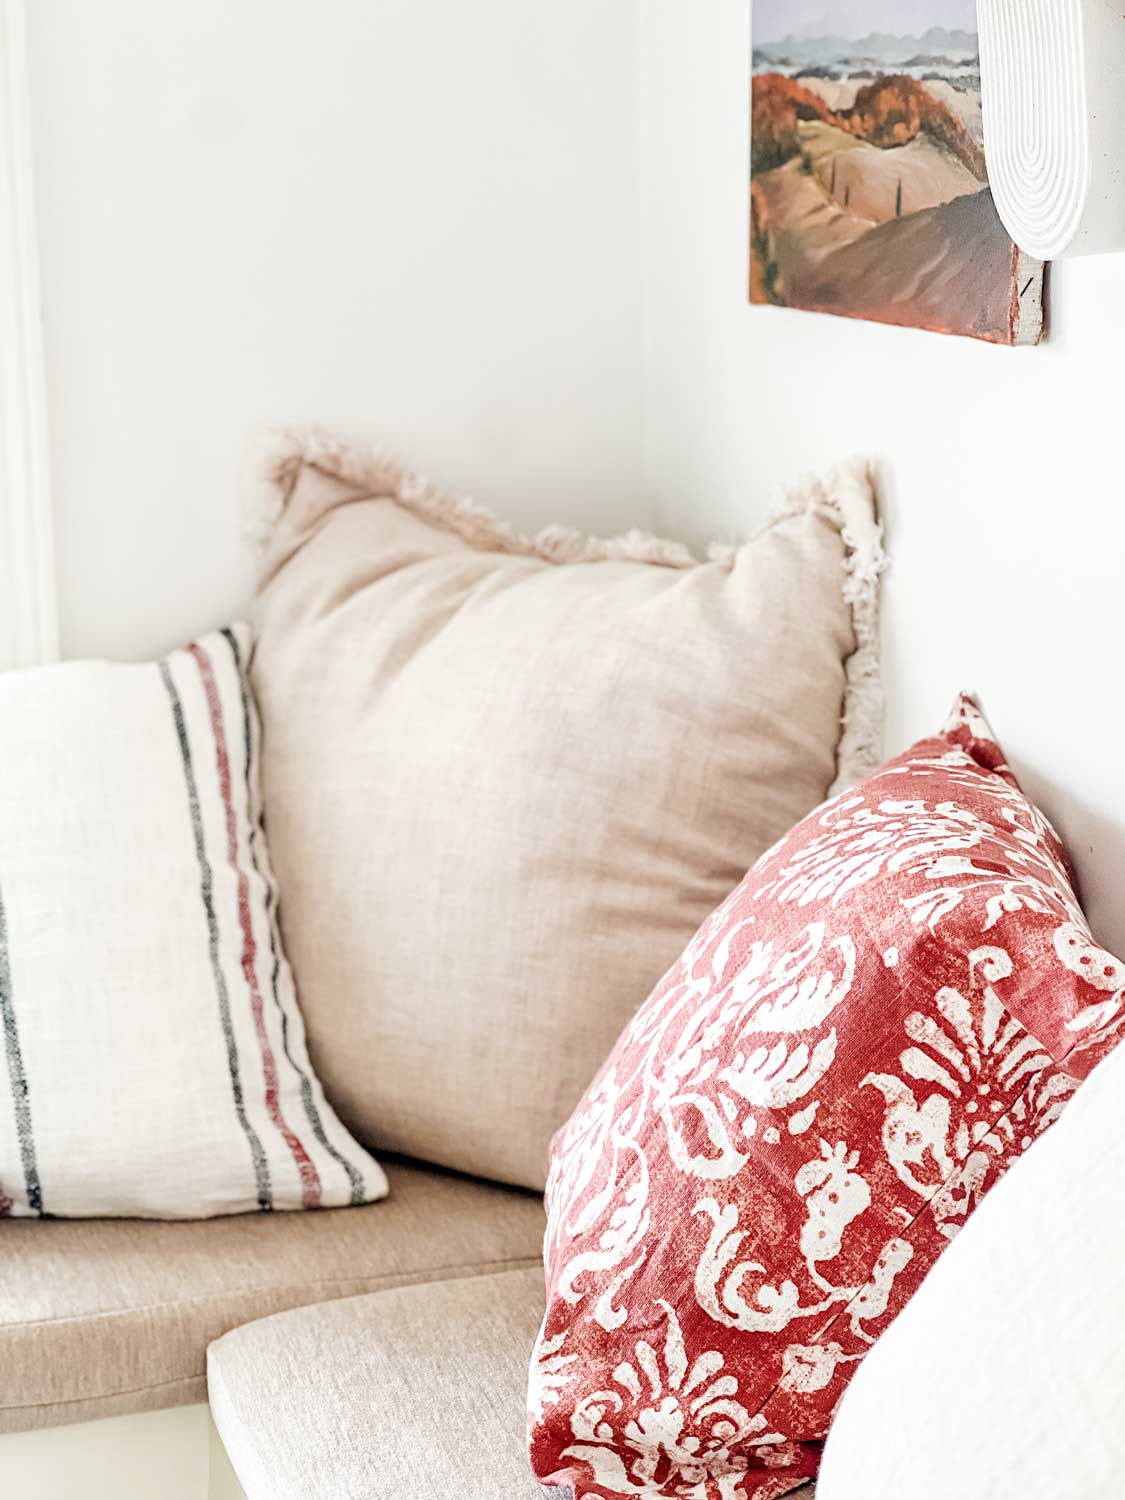
A Change of Cushion Covers, Art & Pillows
Patio Lane makes it easy to replace the cushion covers. They can access your project and know exactly the sizes you need. All you need to do is choose the fabric. When they arrive, switch the covers for an entirely new look.
We also changed the artwork in the corner. The bottom left painting was purchased in Tuscany and is available in my shop. You can take a look here.
The new yarn-dyed distressed stripe and floral pillows are from Linens & Hutch.


Materials needed for the project
The wood you’ll need
- 2X4s pine
- ⅝” MDF boards (top piece and side pieces)
- 1X4 pine
- 1X1 pine
The saws you’ll use
The basic tools/power tools and materials you will need
- Wood glue
- Wood screws (I like to use GRK Fastener trim and finishing screws because they are easy to work with, and there are no pre-drilling pocket holes required. You could also use a nail gun and finish nails here.)
- Latex, paintable caulk
- Gauging tool
- Cordless power driver
- Spackle/wood filler
- Putty knife
- Sandpaper
- Paintbrush
- Paint


So beautiful Annie!!!!
This looks fabulous! You make it look so easy!
This looks beautiful! What shade of white did you use on the bench and your trim? It works really well together and it looks so creamy and inviting.
Hi Paige,
We always use Cloud White by Benjamon Moore! The trim looks a little more creamy white because they used an oil base.
Beautiful! What fabric did you use for the cushion?
Annie, this looks fabulous! What a cosy place to enjoy meals, read a book with a cup of tea or even play a game.
Yes! Exactly…this is where we play Scrabble with the kids over Thanksgiving! Love a cozy corner!
If the floor is cement should u still secure it
Hi Phil -My concern would be that if you don’t secure it at the bottom, it will shift, or move.