Easy DIY Beeswax Wraps for Food Storage
I’ve been meaning to make DIY beeswax wraps for food storage for quite some time now. The plastic lids on my glass storage containers always seem to crack, while the glass itself is still perfectly good. And, replacing lids can be surprisingly expensive, even more than buying an entirely new set.
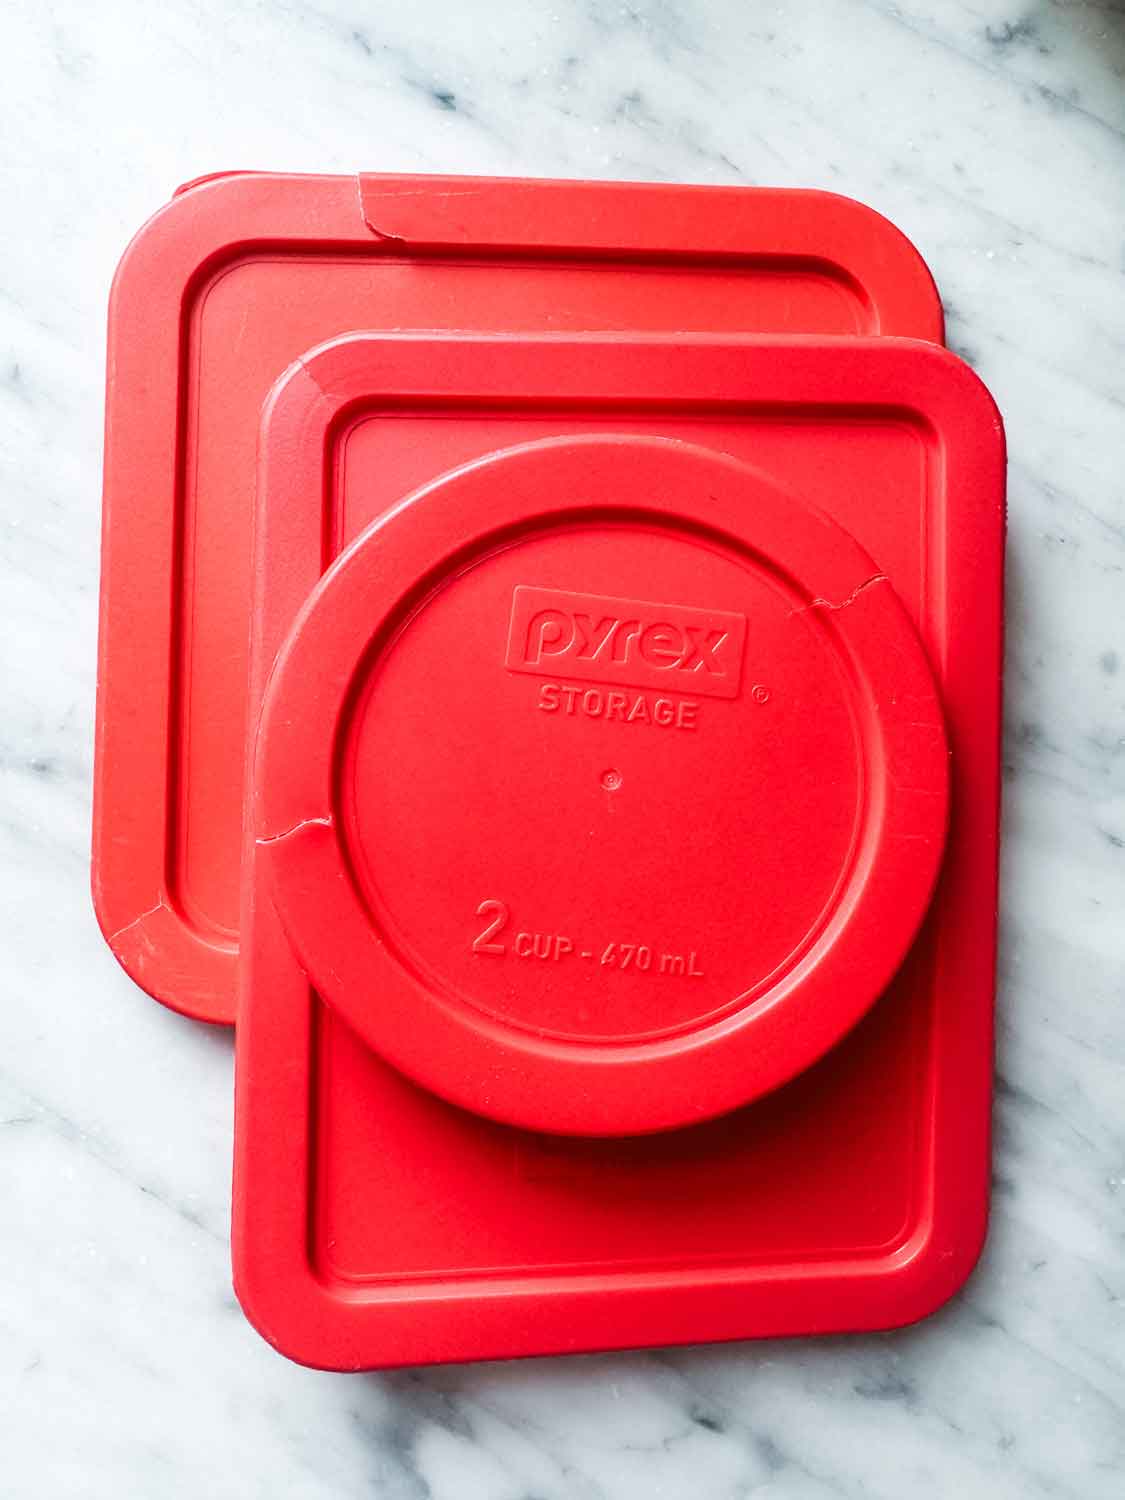
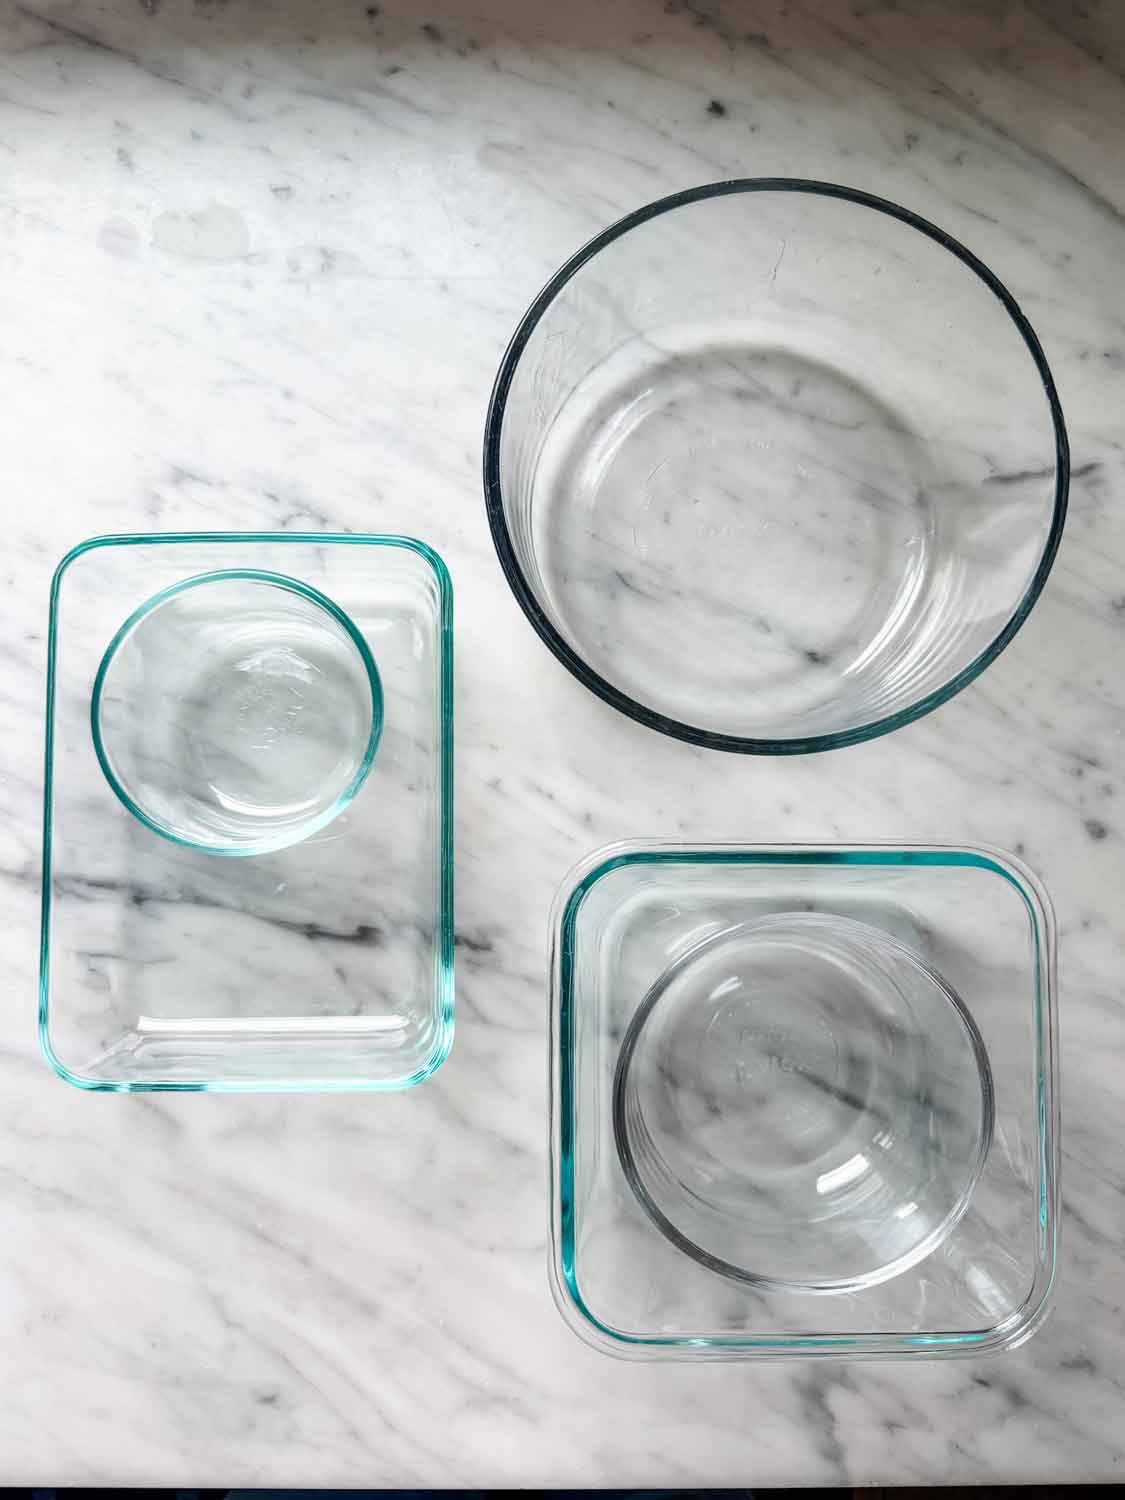
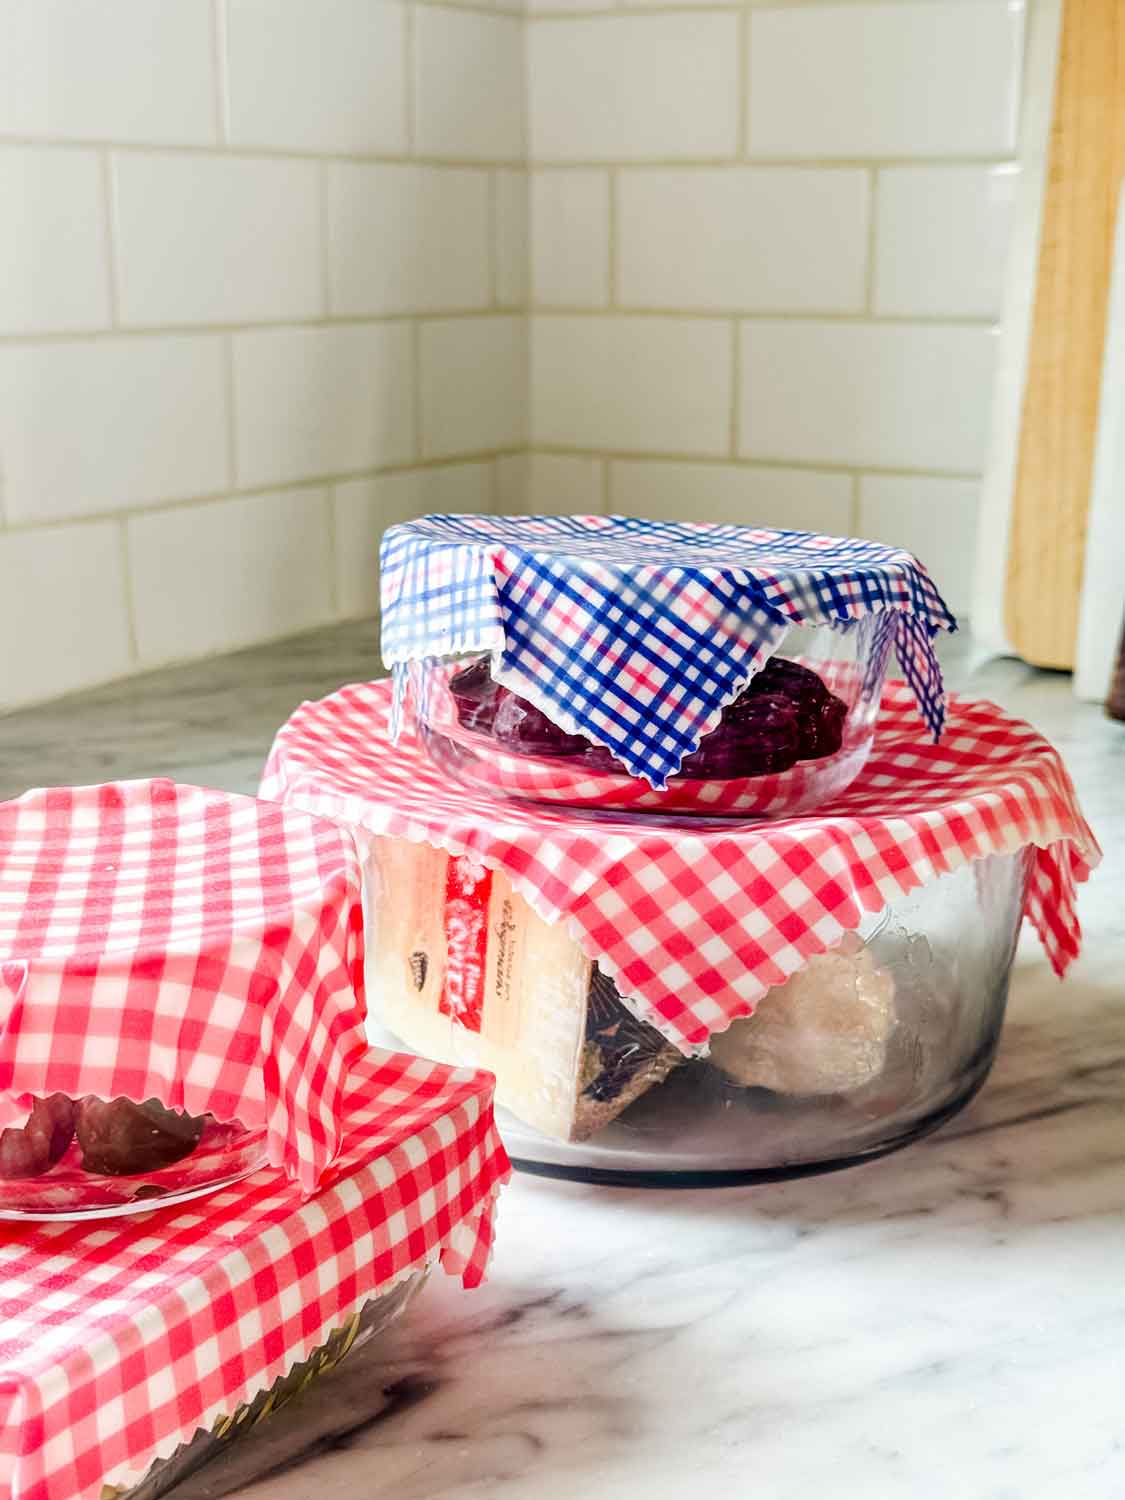
Beeswax wraps are a simple, reusable alternative to plastic wrap and cracked lids for otherwise fine containers. They help extend the life of the containers you already have while reducing waste in your kitchen. I know it’s not much, but every little bit helps.
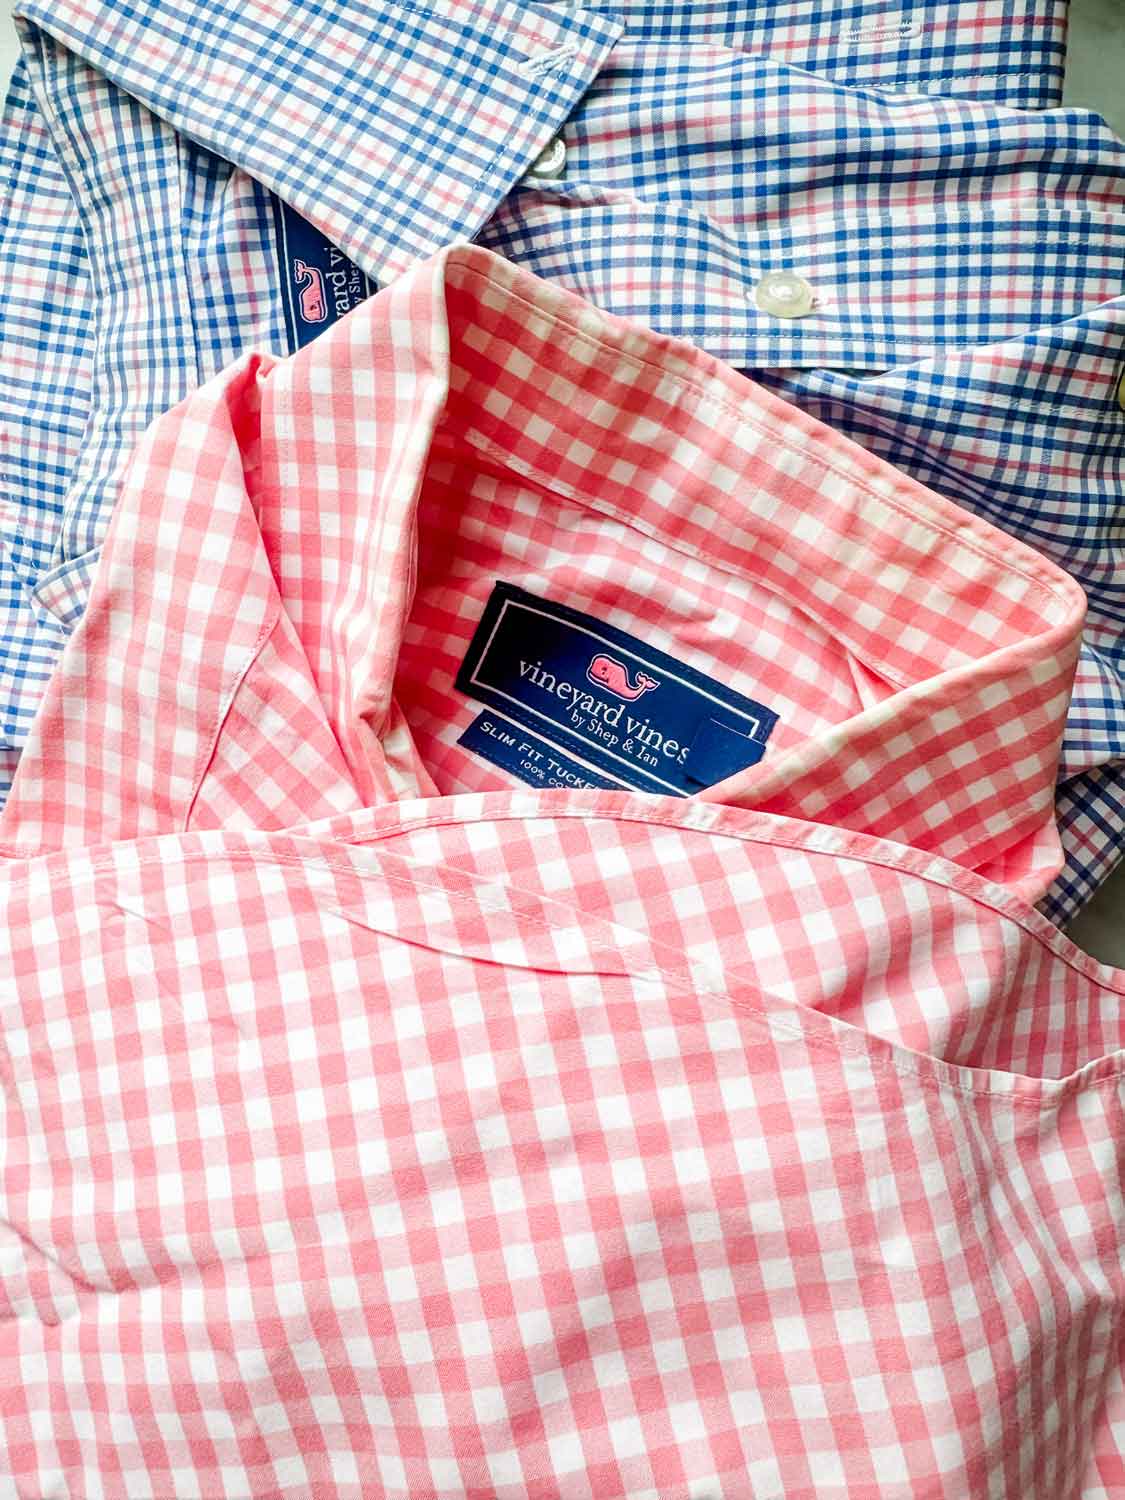
I used 100% cotton fabric from some of my husband’s old shirts. Using cotton fabric from old shirts is soft, durable, and you can choose beautiful stripes, checks, or plaids that make everyday storage a little more beautiful. Once coated with beeswax, the fabric becomes flexible and lightly tacky, allowing it to mold easily around bowls, jars, and containers.
In this step-by-step guide, I’ll show you how to make beeswax wraps at home using materials you likely already have (except for maybe beeswax).
What are beeswax wraps, and why use them?
Beeswax wraps are a reusable, natural alternative to plastic wrap and disposable food storage containers. They’re made by coating cotton fabric in beeswax, which gives the material a soft, flexible texture and a slightly tacky finish.
That little bit of tackiness allows the wrap to cling to bowls, jars, and food, and creates a light seal that helps keep things fresh.
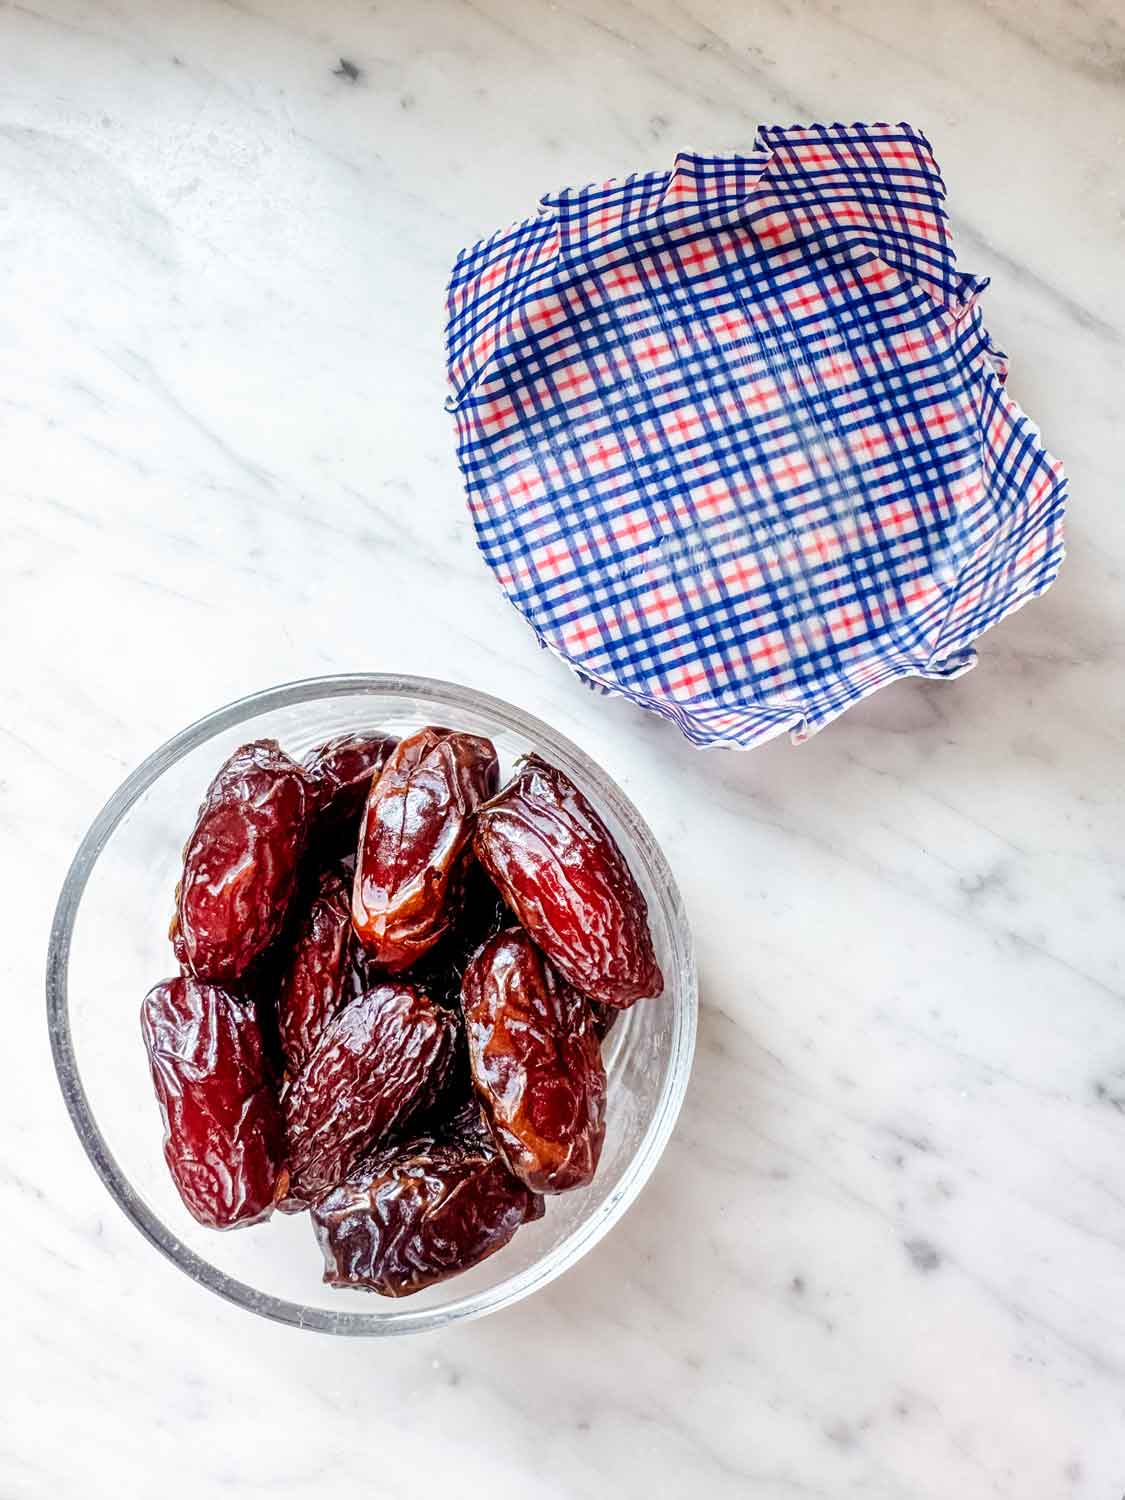
Unlike plastic wrap, beeswax wraps are breathable. This makes them especially good for storing foods like fruits, vegetables, bread, and cheese, which benefit from a bit of airflow.
They’re simple, practical, and a small but meaningful way to reduce everyday waste in the kitchen.
Materials needed for making reusable beeswax food covers
- 100% clean cotton fabric
- Shears
- Beeswax beads or pellets
- Parchment paper
- Baking sheet or cookie sheets
- Clean, disposable paint brush
Step-by-step instructions for how to make beeswax wraps
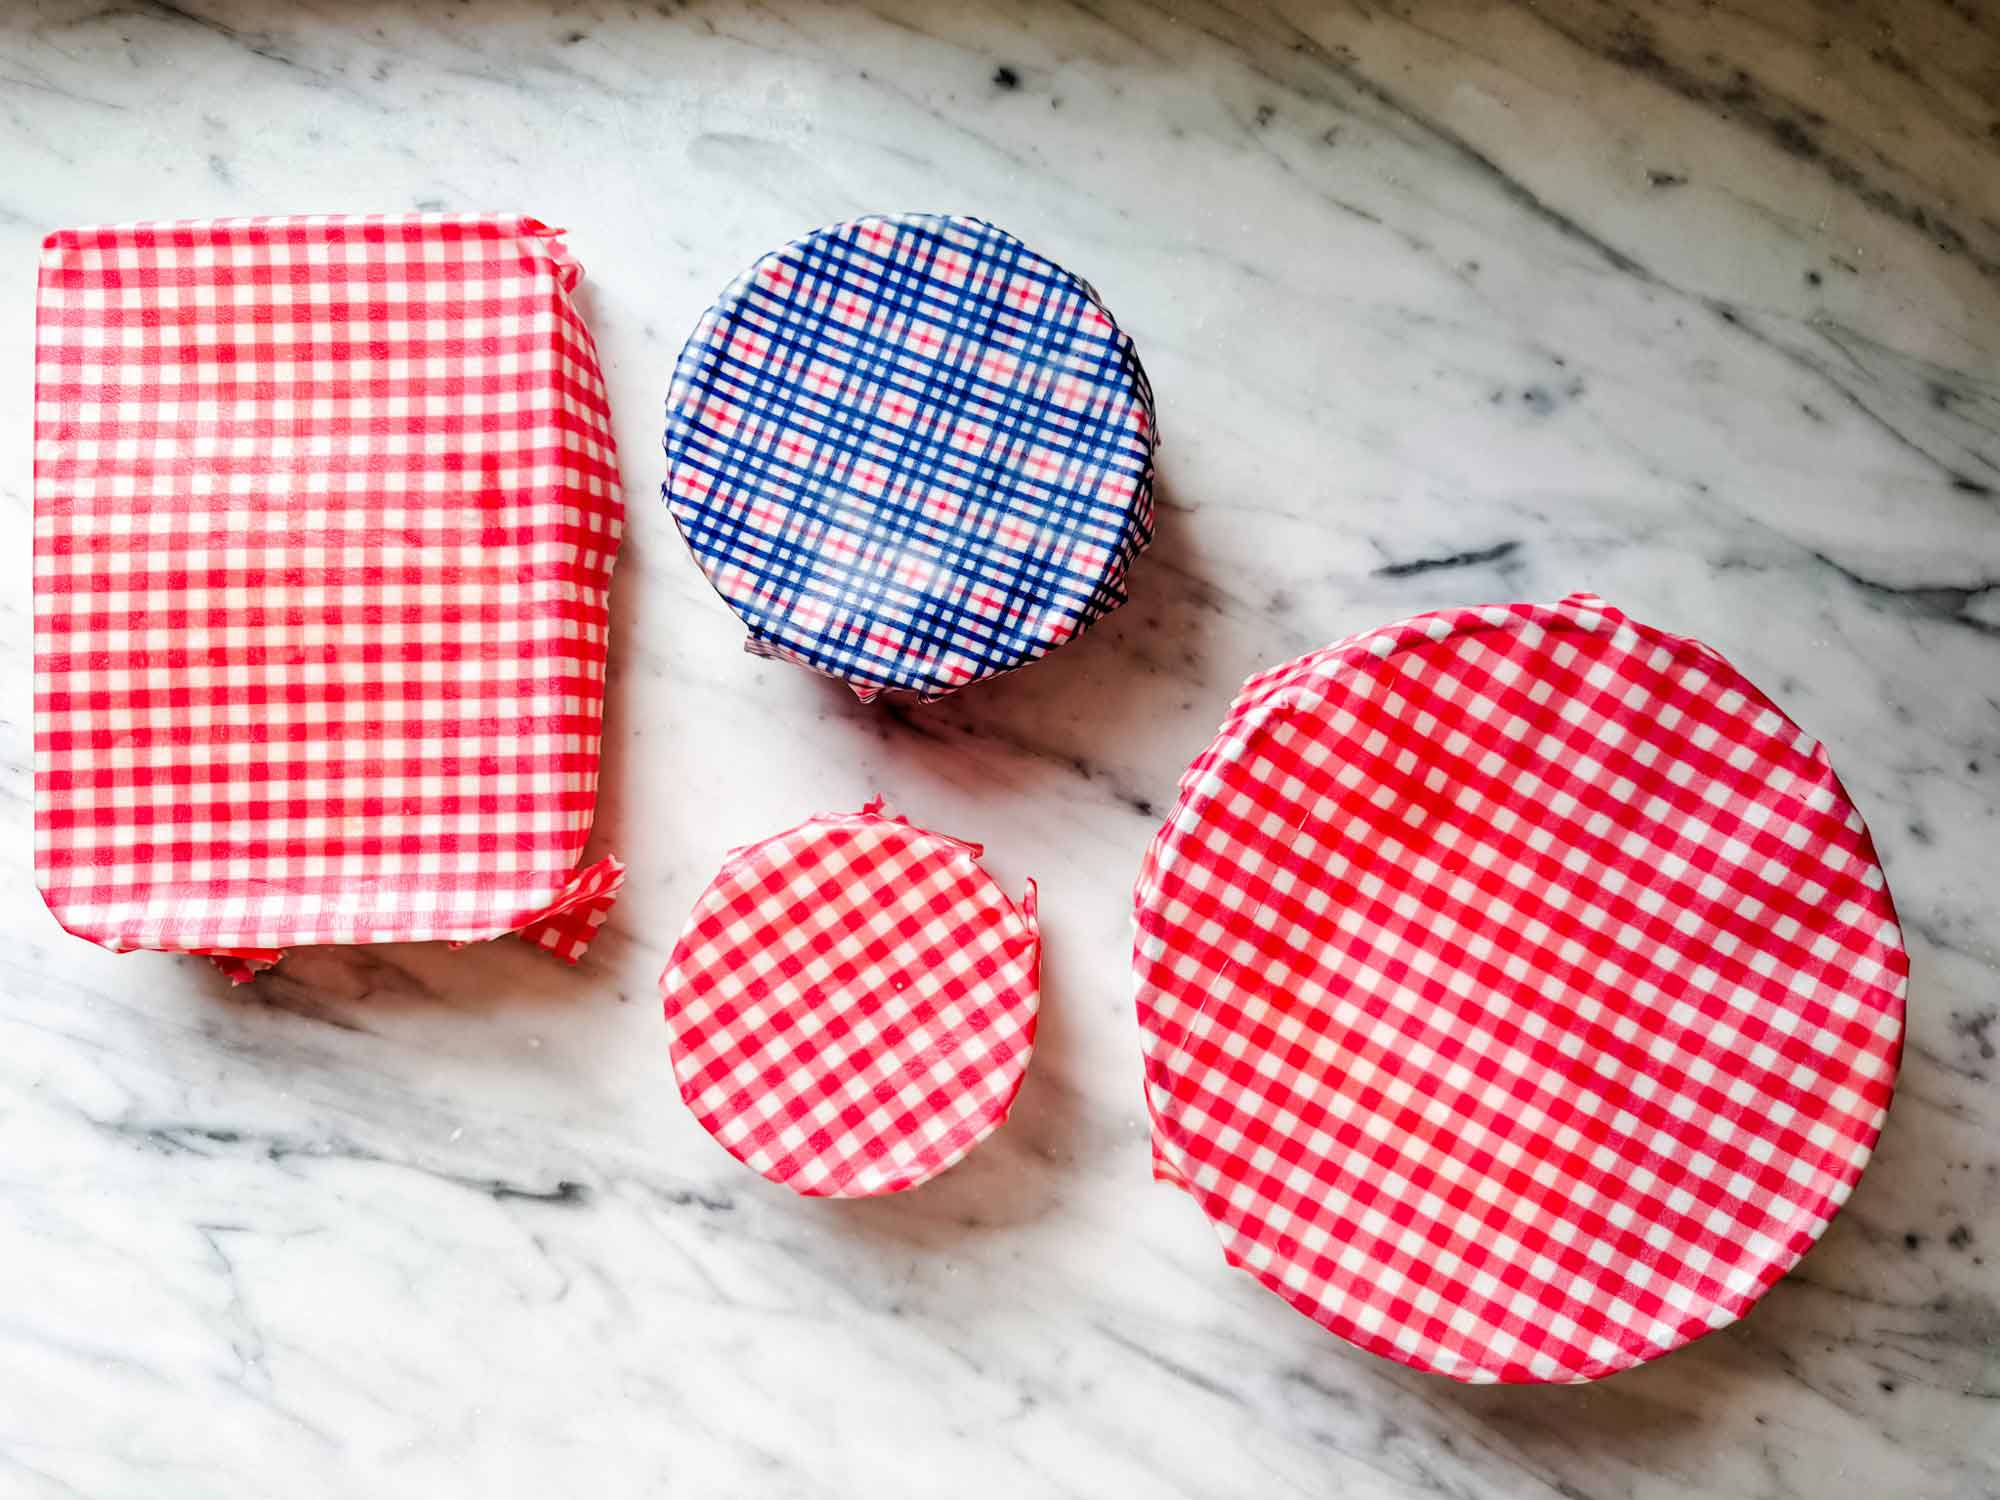
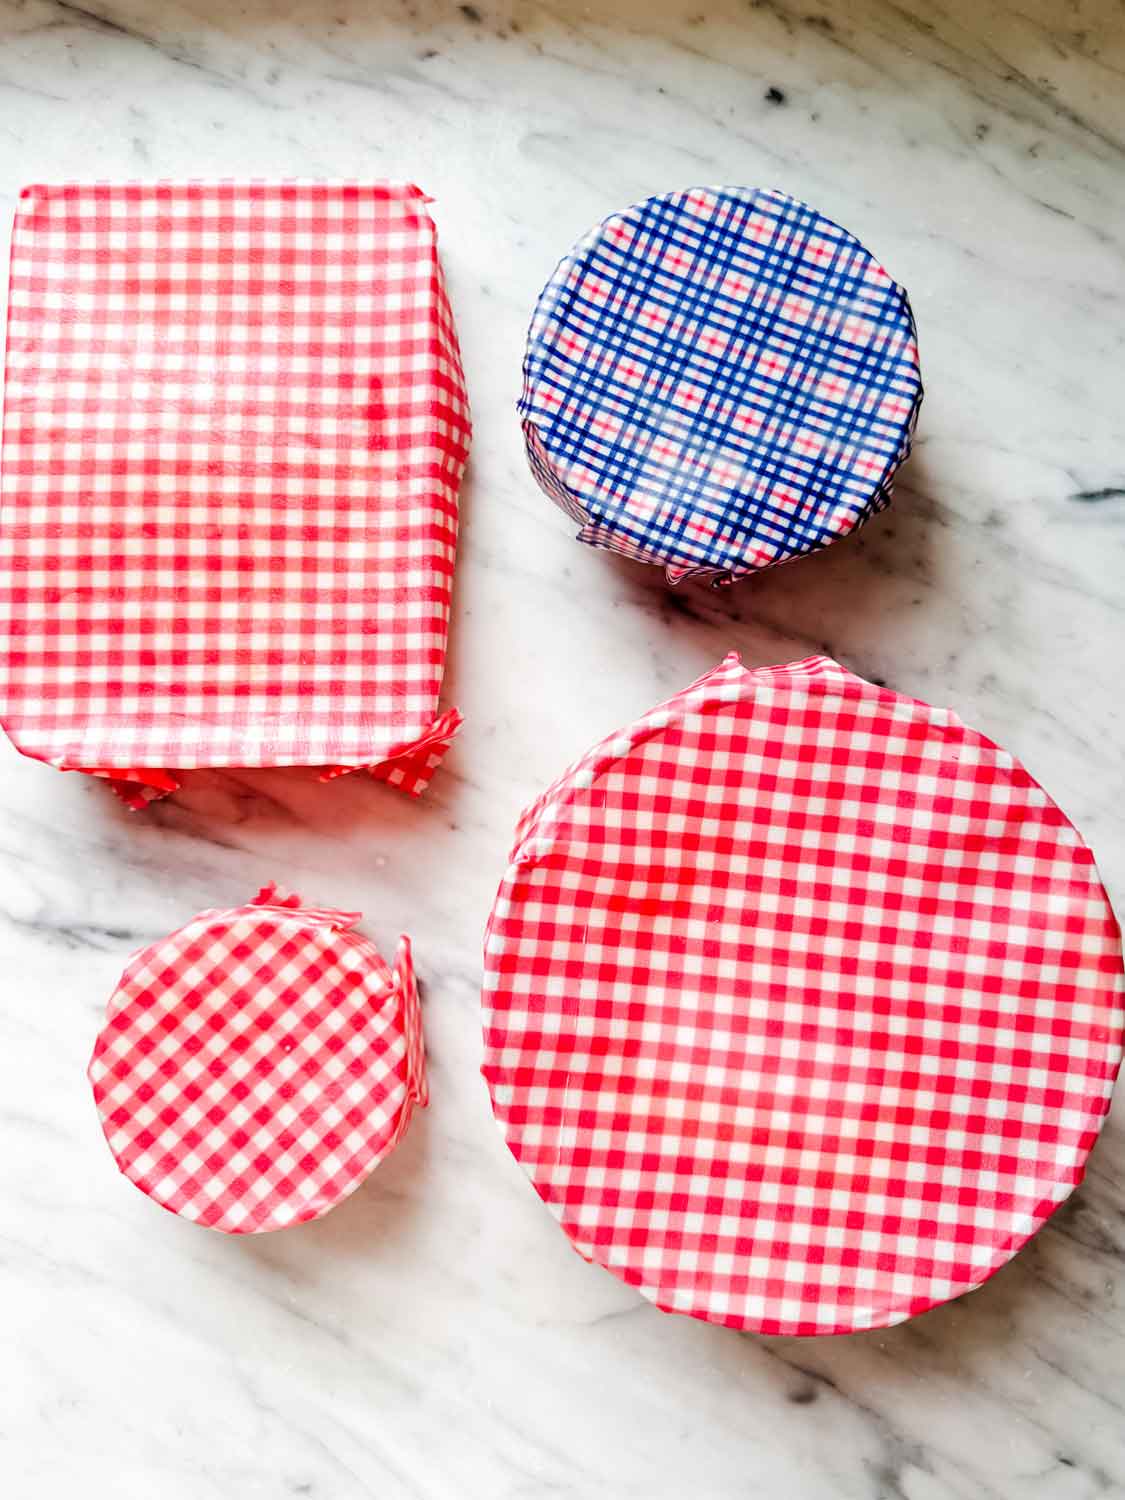
Making beeswax wraps at home is surprisingly simple, and once you make your first batch, you’ll see how easy it is to customize sizes and fabrics for your kitchen.
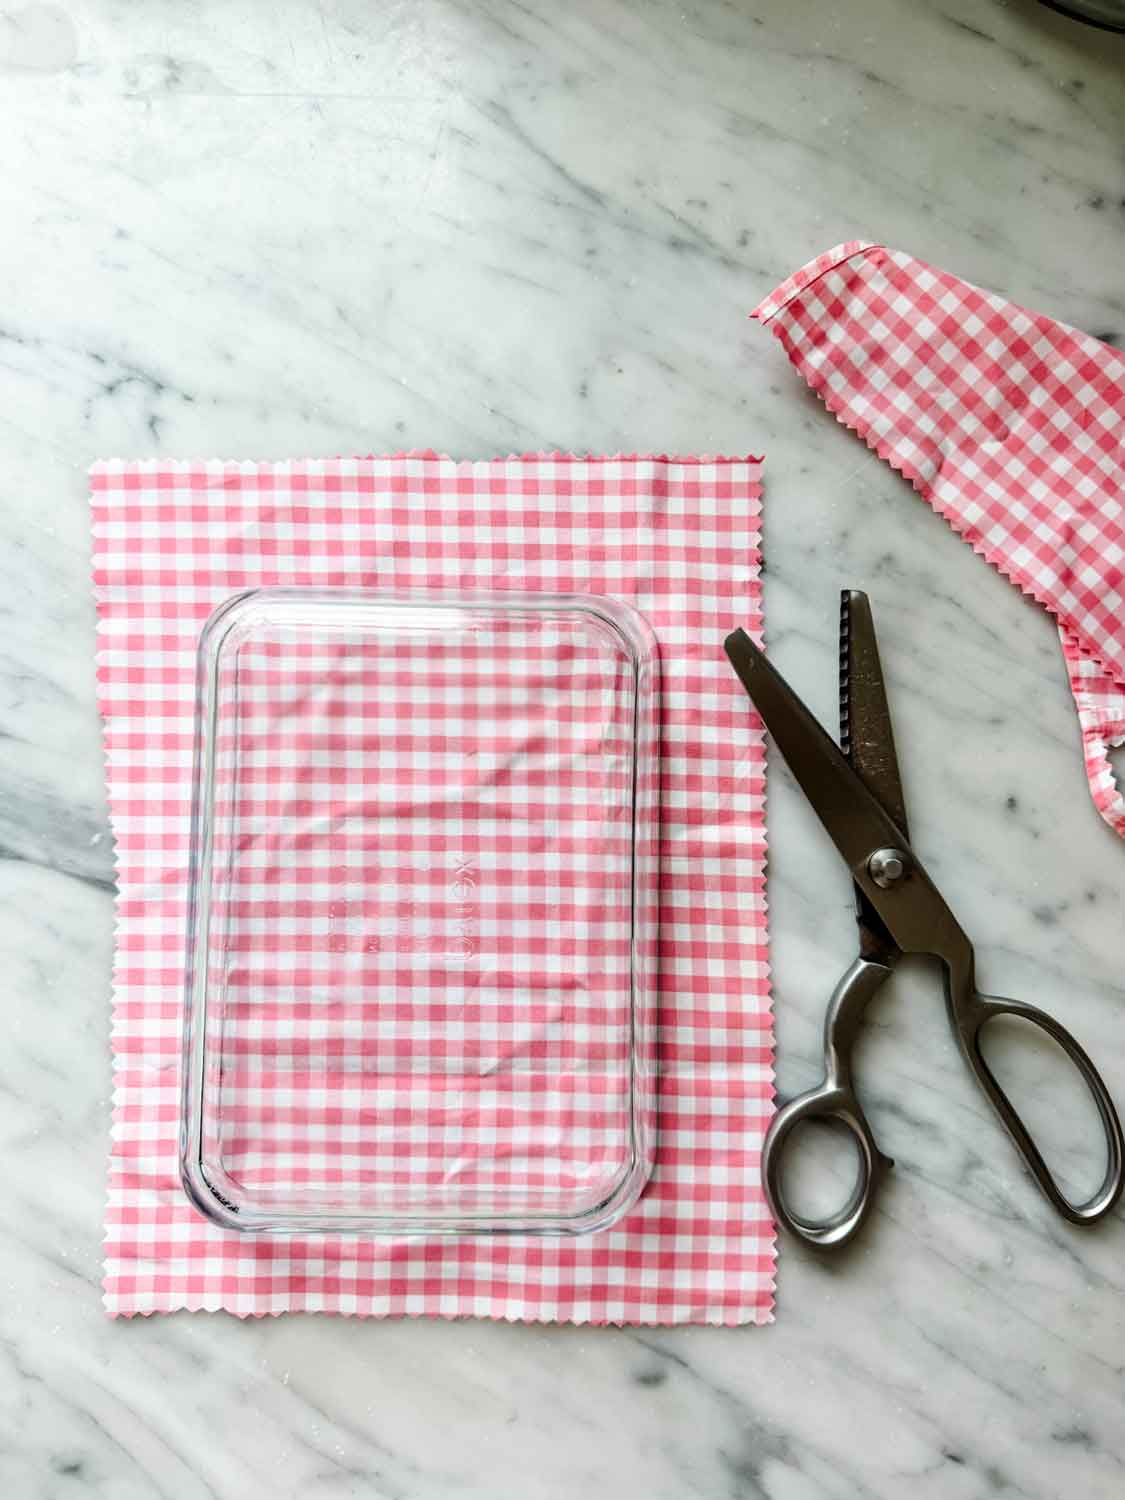
- Start with clean, 100% cotton fabric. If you’re using old shirts, wash and dry them first. Cut the fabric into your desired sizes: small squares for covering jars, medium for bowls, and larger pieces for wrapping bread or produce. Using pinking shears helps prevent fraying around the edges, but regular scissors work just fine, too.
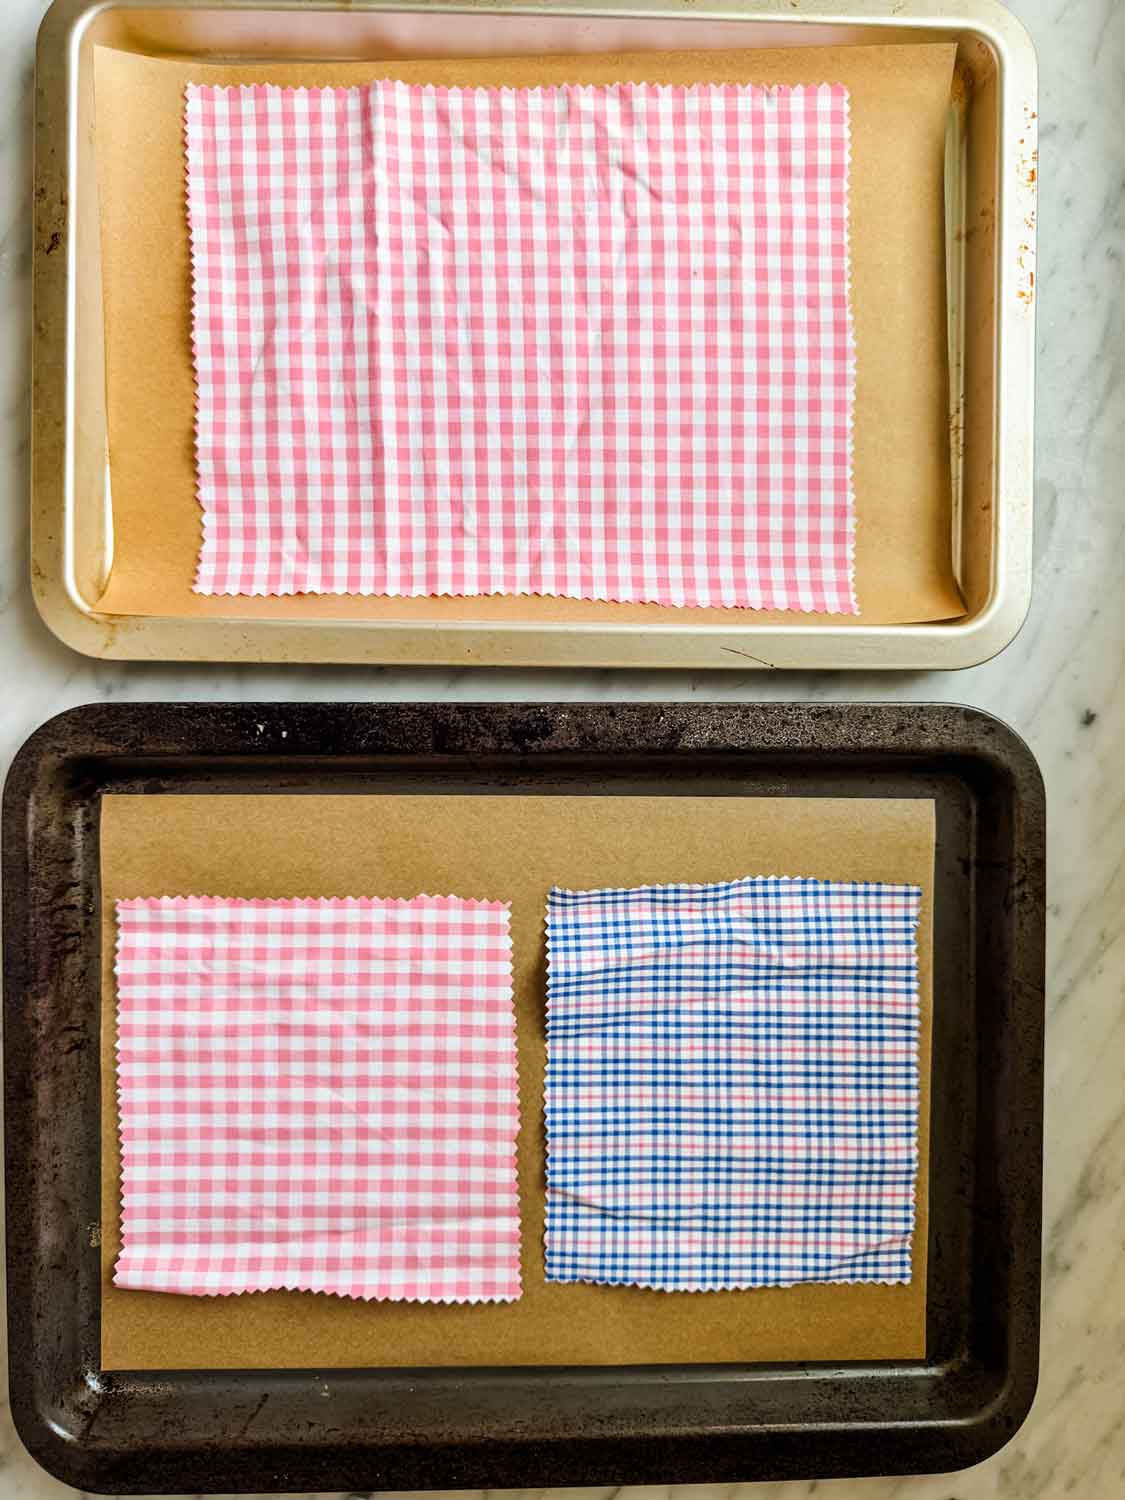
- Preheat your oven to 200 degrees and line a baking sheet with parchment paper to prevent sticking, and coating your baking sheet with wax.
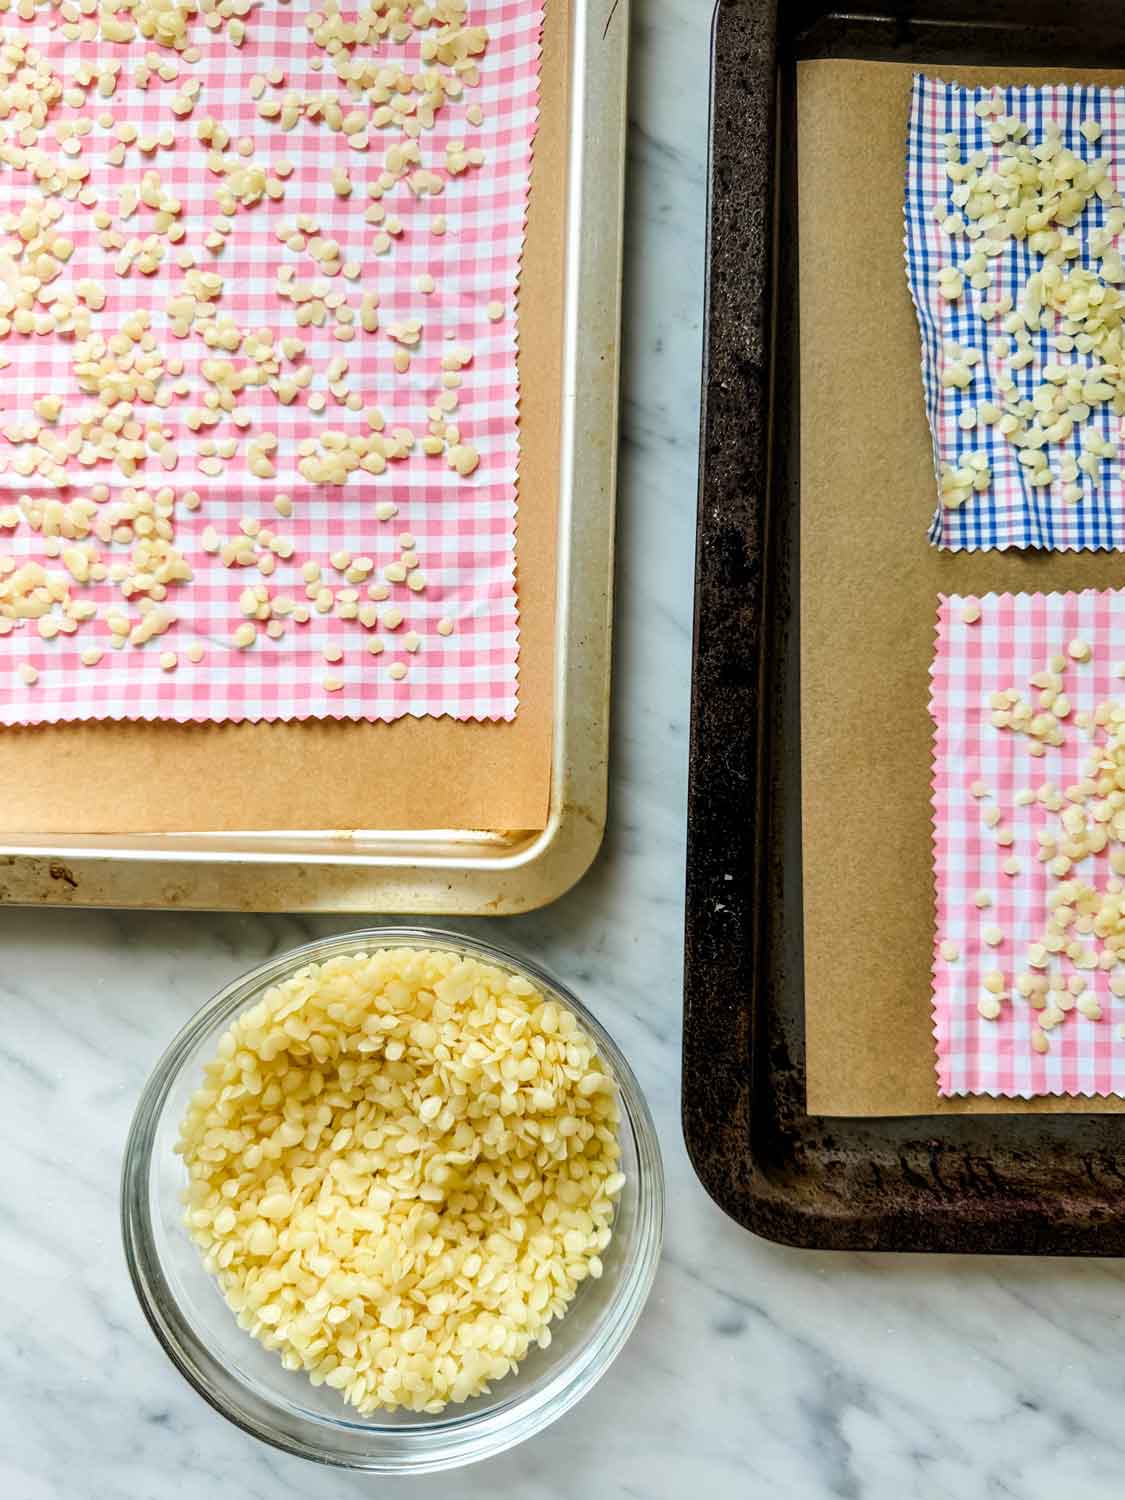
- Place your fabric pieces flat on the prepared baking sheet. Sprinkle a light, even layer of beeswax beads or pellets over the fabric. You don’t need much, so start with less, as you can always add more.
- Place the baking sheet in the oven for 4–8 minutes, or until the beeswax has completely melted.
- Carefully remove the baking sheet from the oven. Using a disposable paintbrush, quickly spread the melted beeswax evenly across the fabric, making sure to cover all areas, including the edges.
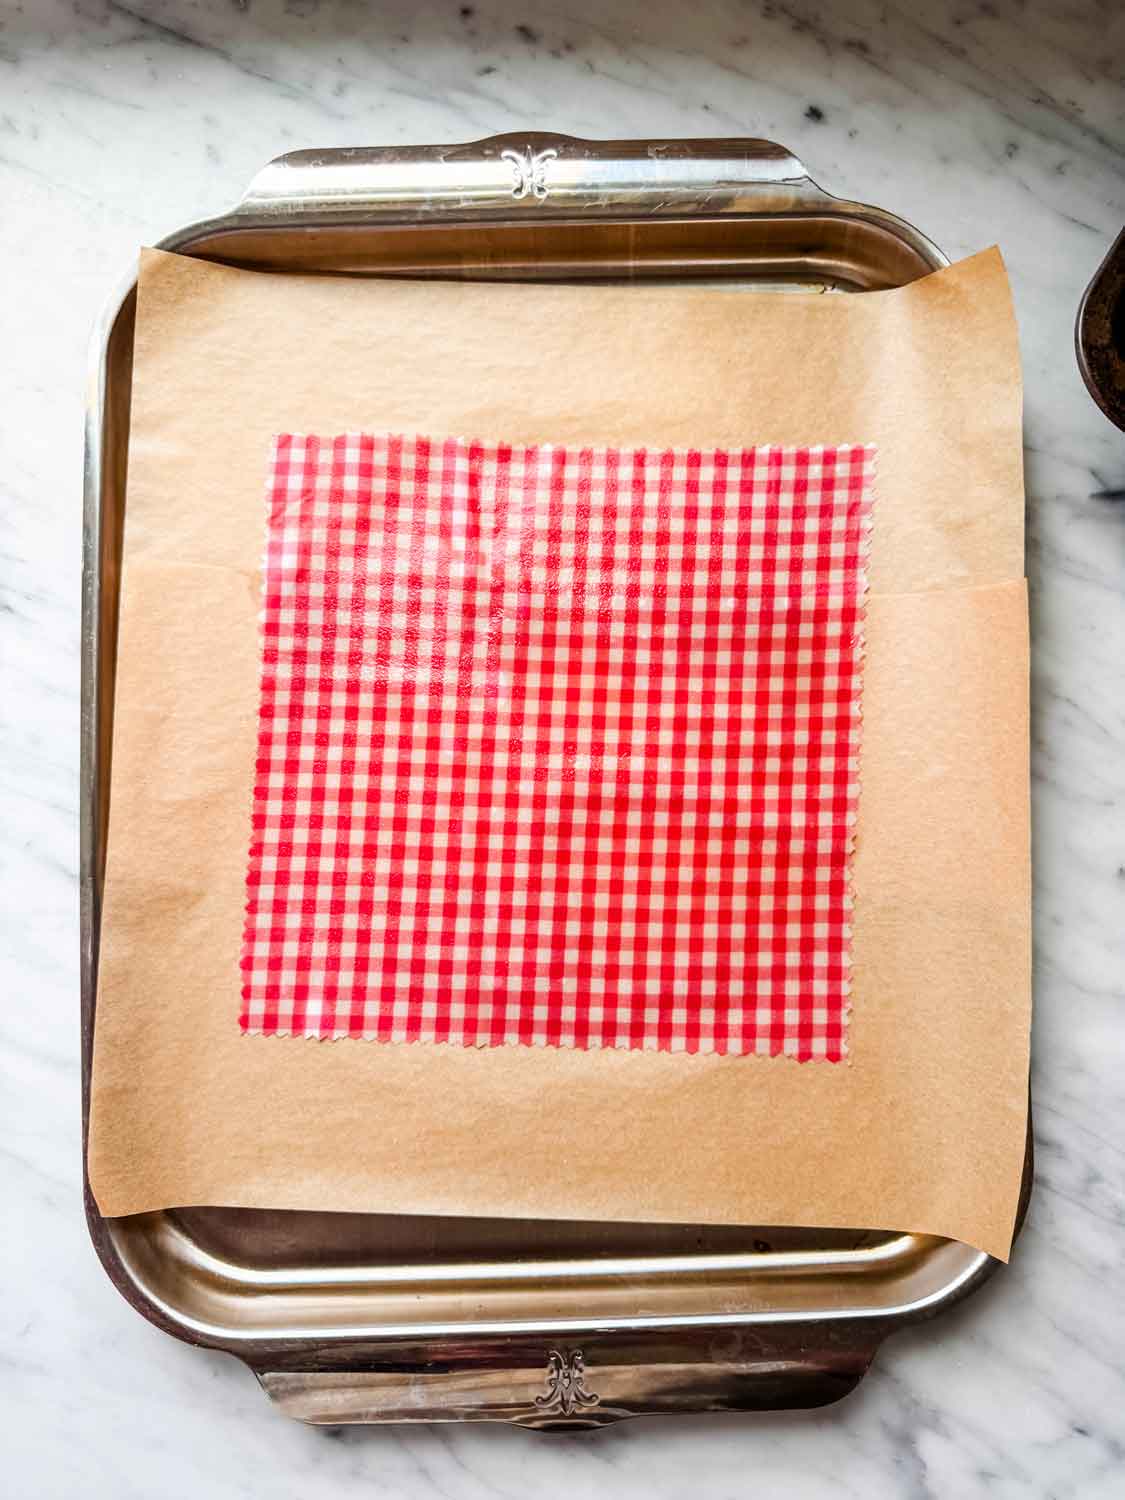
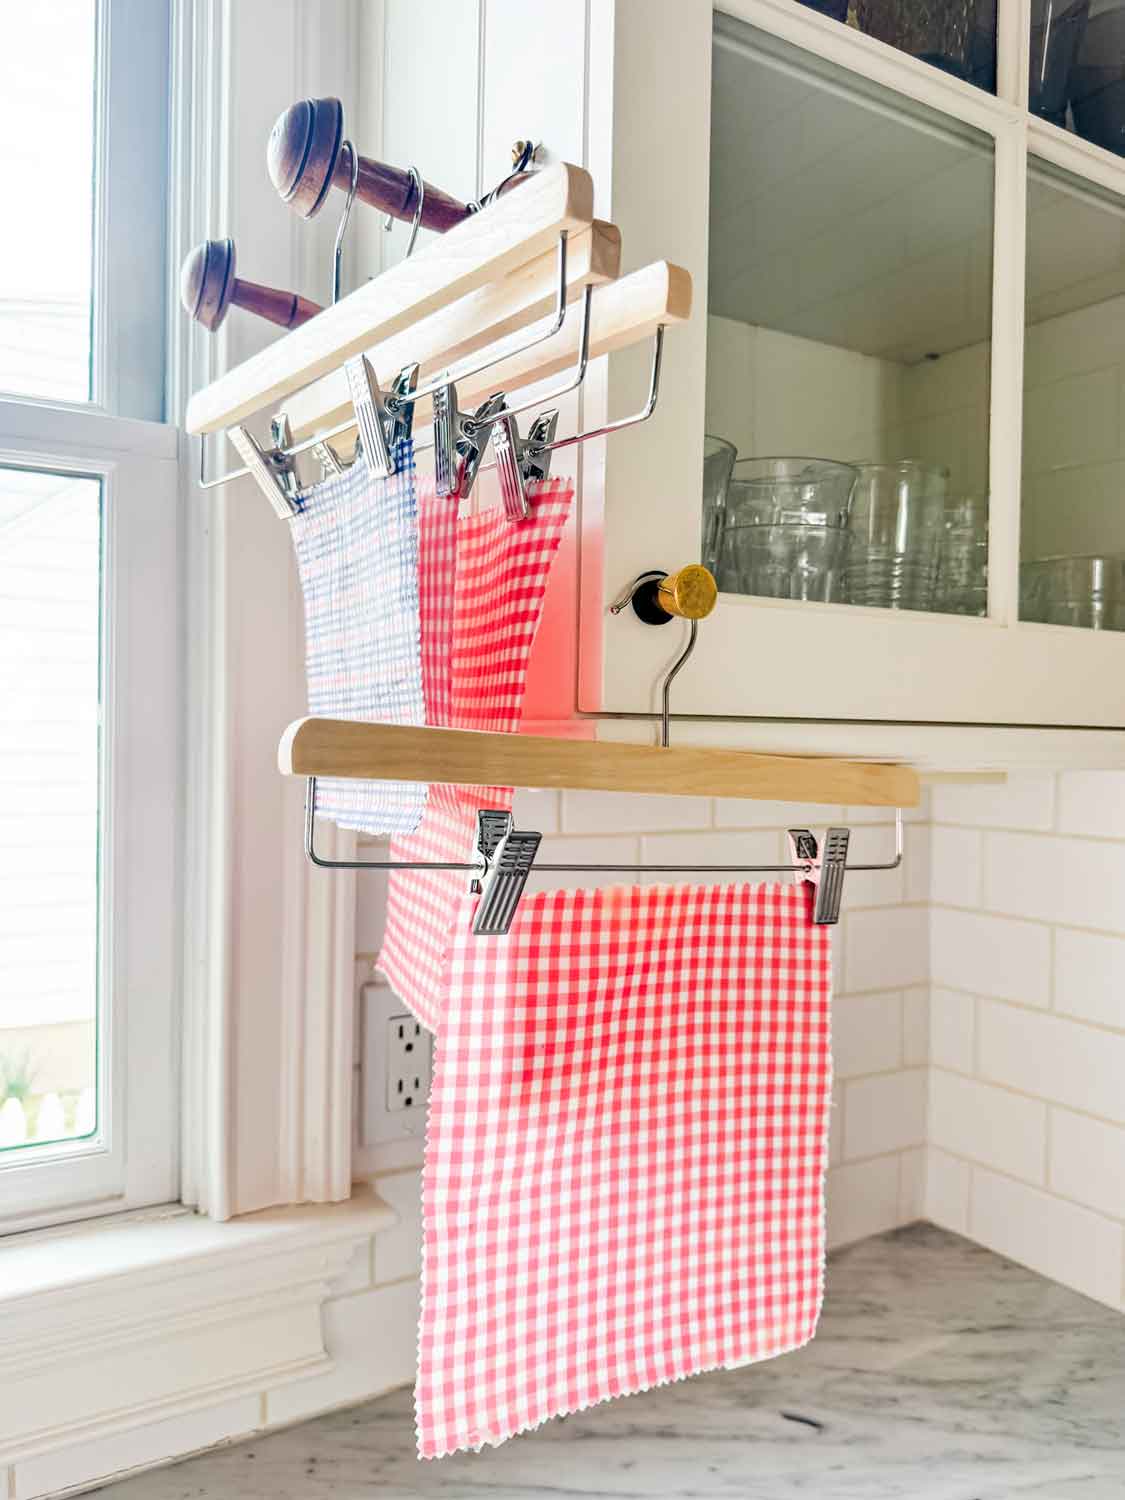
- After it has cooled for a few minutes, lift the fabric off the parchment paper and hang it to dry completely.
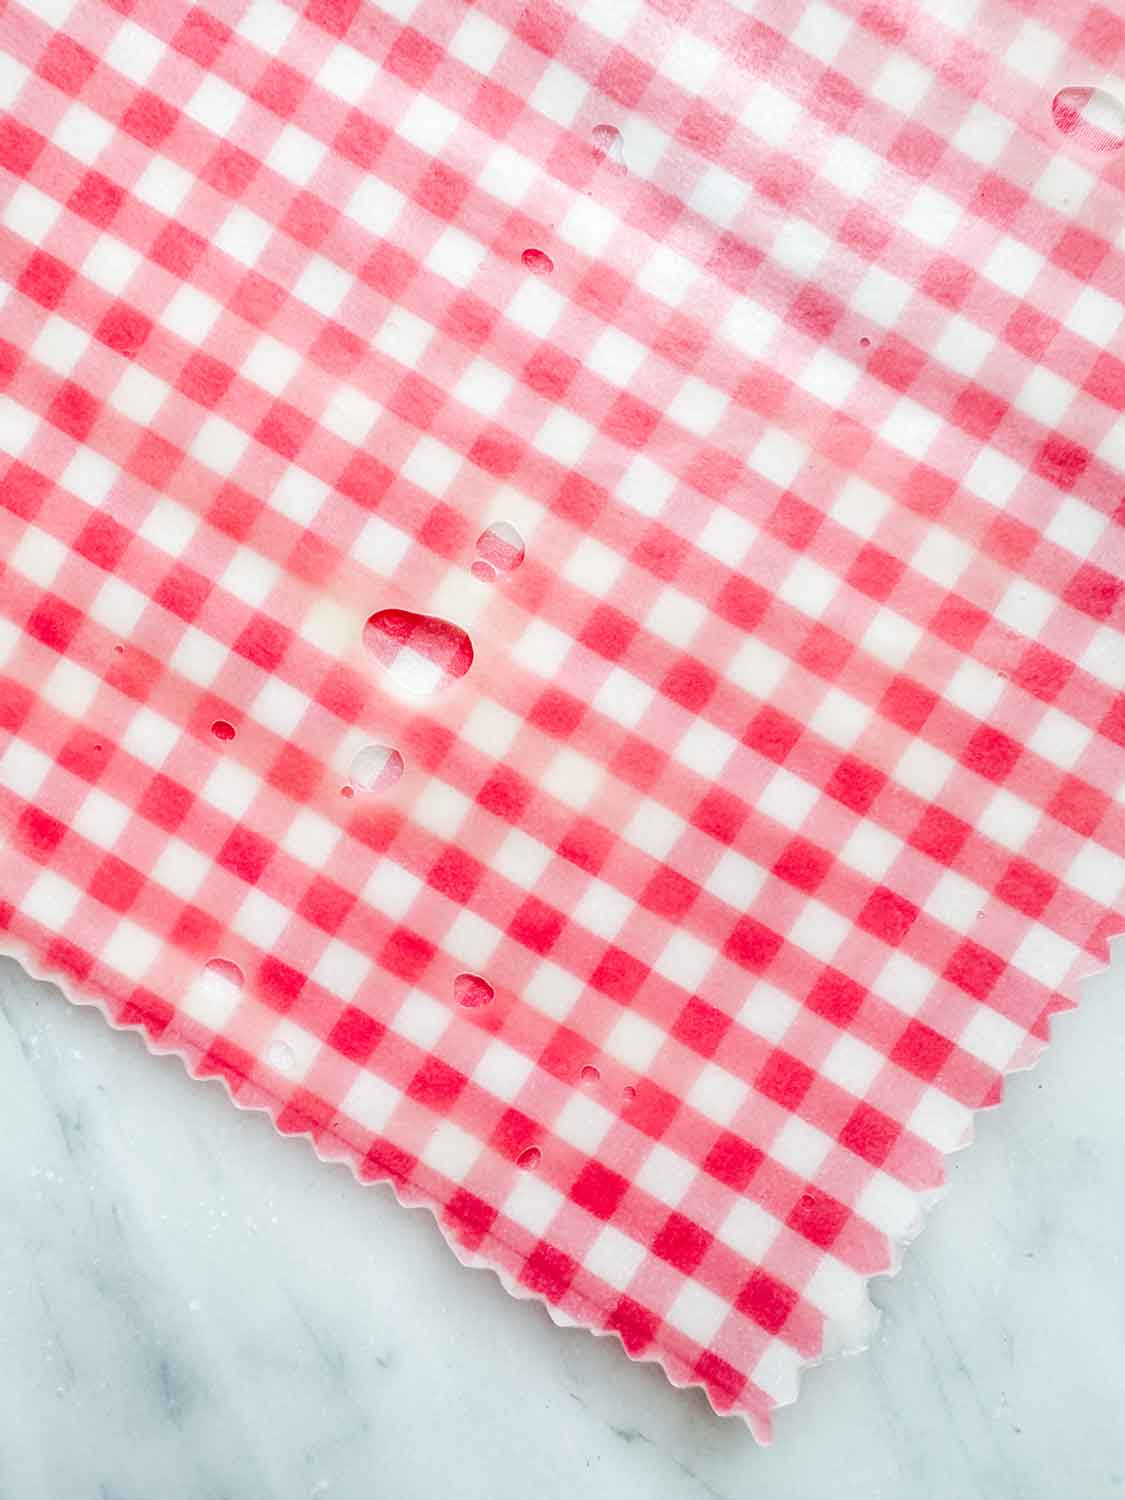
Tip:
If any areas have bubbles or look dry or uneven (see photo), place the fabric back on the parchment, add a bit more beeswax, and return it to the oven briefly. Brush again for an even coating.
Once cooled, your beeswax wraps are ready to use.
How to refresh beeswax wraps
Over time, beeswax wraps can lose their coating. To refresh them, simply place the wrap back on a parchment-lined baking sheet, add a small amount of beeswax, and warm it in the oven at 200 degrees for a few minutes. Spread the wax evenly, let it cool, and it’s ready to use again.
Frequently asked questions about beeswax wraps
Can you use beeswax wraps on cheese?
Yes, beeswax wraps are perfect for storing cheese. They allow the cheese to breathe while keeping it protected, which helps maintain freshness longer than plastic wrap.
Do beeswax wraps keep food fresh?
Beeswax wraps help keep food fresh by creating a breathable seal around bowls, containers, and produce. They’re especially good for items like fruits, vegetables, bread, and cheese.
Can you use beeswax wraps in the refrigerator?
Yes, beeswax wraps work well in the refrigerator. The cool temperature helps them hold their shape even better around containers and food.
Can you freeze food in beeswax wraps?
Beeswax wraps can be used for short-term freezer storage, but they’re best for refrigerator use. For long-term freezing, airtight containers are a better option.
How long do beeswax wraps last?
With proper care, beeswax wraps typically last 6 to 12 months. You can extend their life by refreshing them with a small amount of additional beeswax.
Are beeswax wraps safe to use?
Yes, beeswax wraps are safe for everyday food storage. However, they should not be used with raw meat or fish.
Can you wash beeswax wraps with hot water?
No, hot water will melt the wax. Always wash beeswax wraps in cool water with a mild soap, then air dry.