DIY: How to decorate narrow awkward wall spaces
DIY: How to decorate narrow awkward wall spaces in the entryway of a beach cottage built in 1922. Over the years, we’ve bought old houses, moved into existing structures and we’ve even torn one down to the studs and rebuilt. Regardless of what you do in trying to make different layouts work, you always end up with an awkward corner or inevitable awkward spaces.
When we first purchased our new (old) home, there were several things we loved, a few things we did not, and a few other things we didn’t even notice at first. Our home was built in 1922, probably as a summer cottage. It may not have even been winterized for many years. Then at some point, the entire house had been gutted and renovated. They did a pretty decent job. But…there’s this one area that leads from the living room/entry to the kitchen, and there are seven narrow walls. Talk about awkward spaces. One has a door for a small closet, one has a Nest thermostat right smack in the middle, and then there were five blank walls.
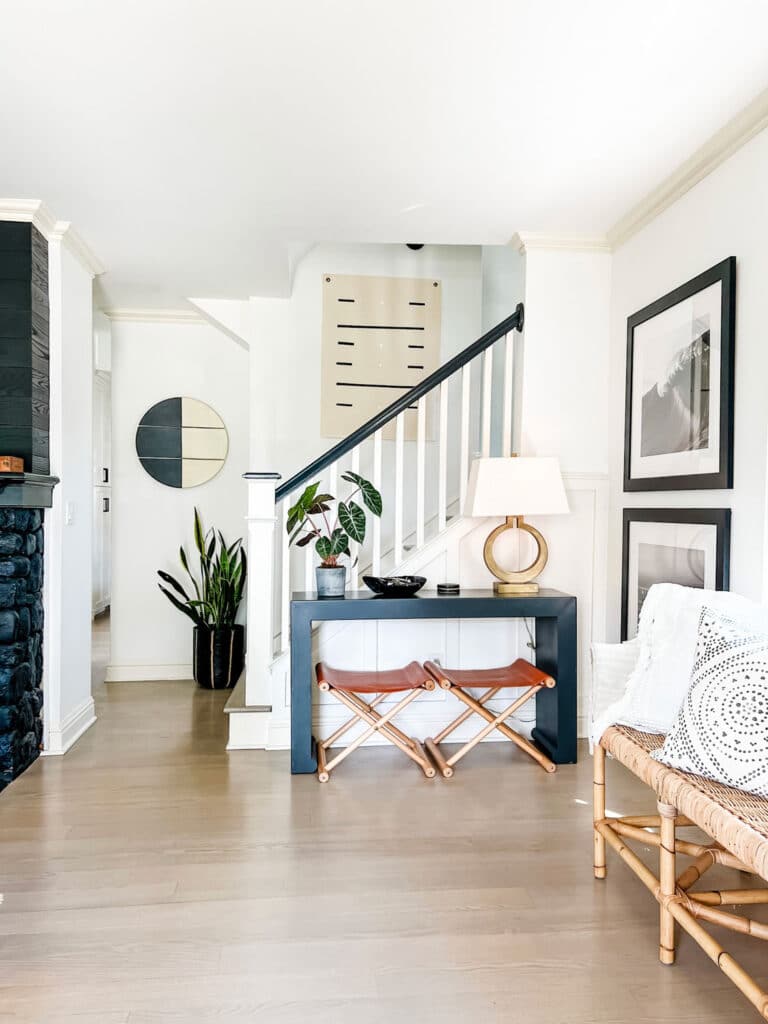
We’re not ones to want artwork or something on every wall, and we do appreciate empty space sometimes. But a staircase and five blank walls in an awkward hallway (if you can even call it that) seemed to be about three too many blank walls.
Our first solution was to put a console table with folding stools in front of the stairs. It needed a piece of furniture and this fits perfectly. Next, we wanted to create a focal point, something visual for the wall as soon as you walk in the front door, and then find something fun for the other blank walls.
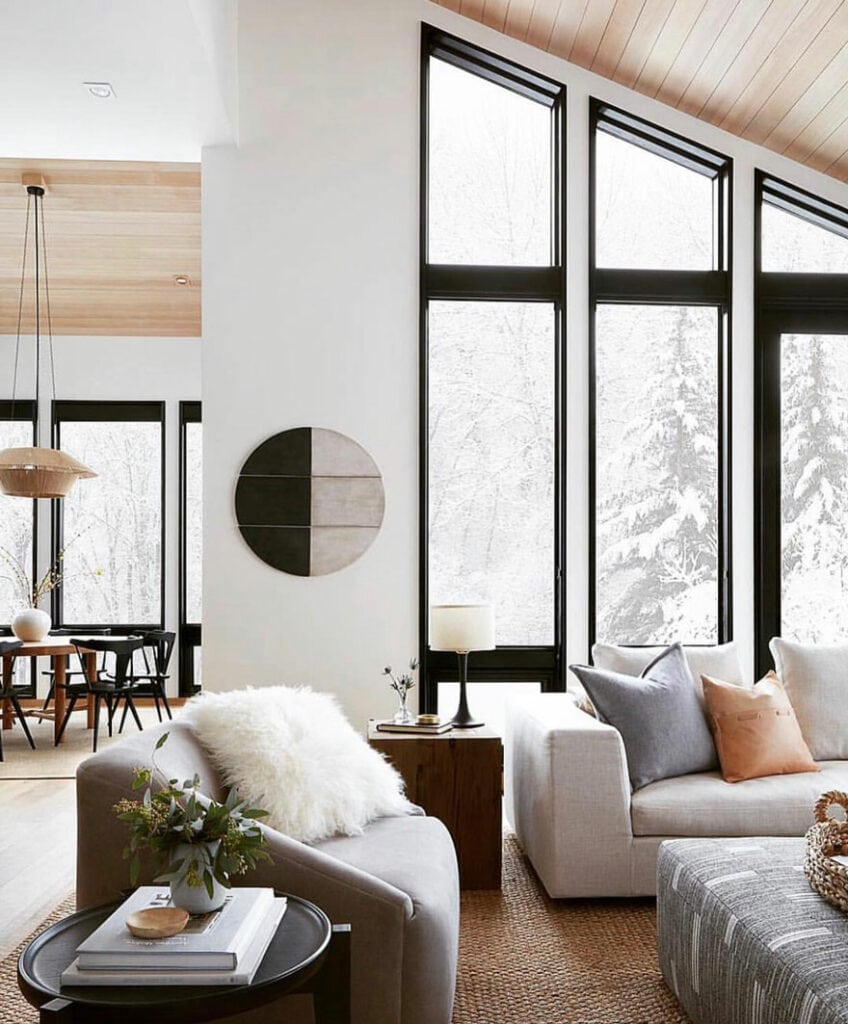
We had seen a round wood piece in black and off-white in a mountain home on Instagram. I kept going back to it and thinking it seemed like it would be easy enough to re-create. I showed it to Brent on a Saturday morning over coffee, and an hour later, we were at Home Depot getting the supplies.
DIY Wood Art Piece Inspiration
Here is the room that inspired this simple project. I love this interior, but it was that round black and white wood piece that immediately drew my eyes into this space. Maybe because it is exactly what I was searching for.
I want to make sure I give proper credit for the inspiration behind this DIY. I saw the image on Coco.Kelley. She credited styling by Brady Tolbert with interior design by Studio LIFE/STYLE.
Wall #1: How to make the piece of artwork
The Supplies:
- One round wood board that can be found in the lumber section at places like Home Depot.
- Painter’s tape
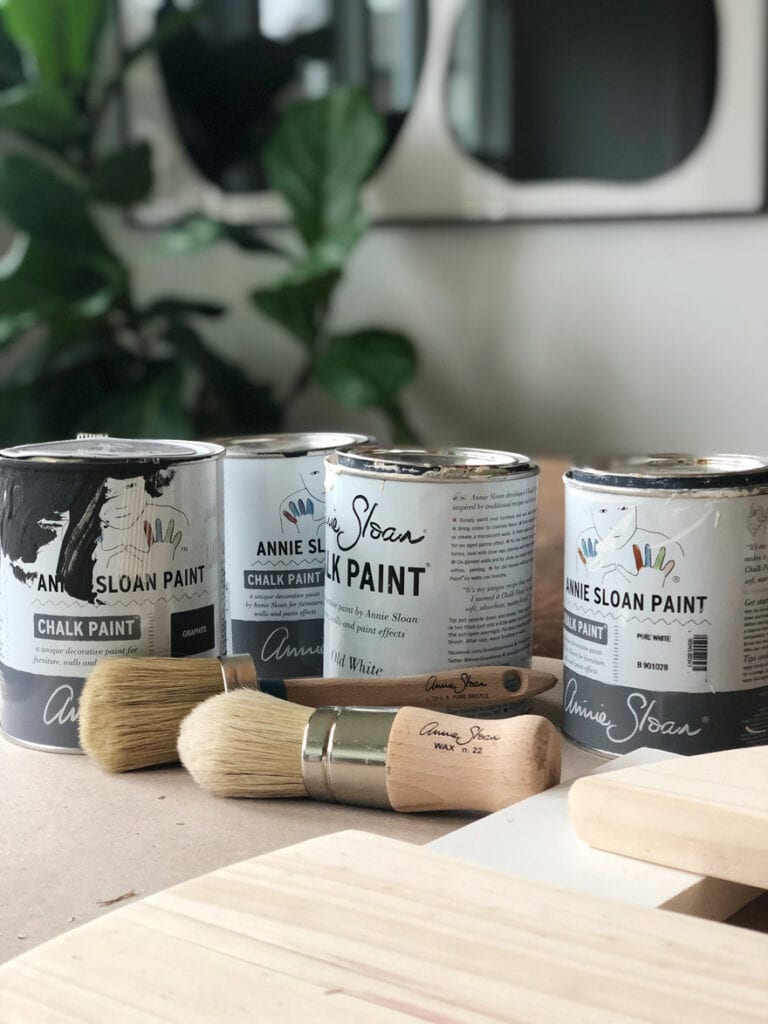
- Paint (two colors or more depending on if you are mixing colors to get the shade you want)
- Sandpaper
- 3 2″ x 4″ x 3/4″ wood pieces or blocks to mount on the wall
- Wood screws (anchors if mounting to drywall and not studs)
- Heavy duty Velcro
Tools You’ll Need:
- You’ll need a circular saw or a jig saw to cut the wood into three pieces.
- A cordless drill to anchor the wood mounting pieces to the wall
- Paint brushes
- Level
How to Steps:
- The first thing we did was sand the round piece of wood. It was already pretty smooth, but we wanted to make sure there were no uneven rough spots.
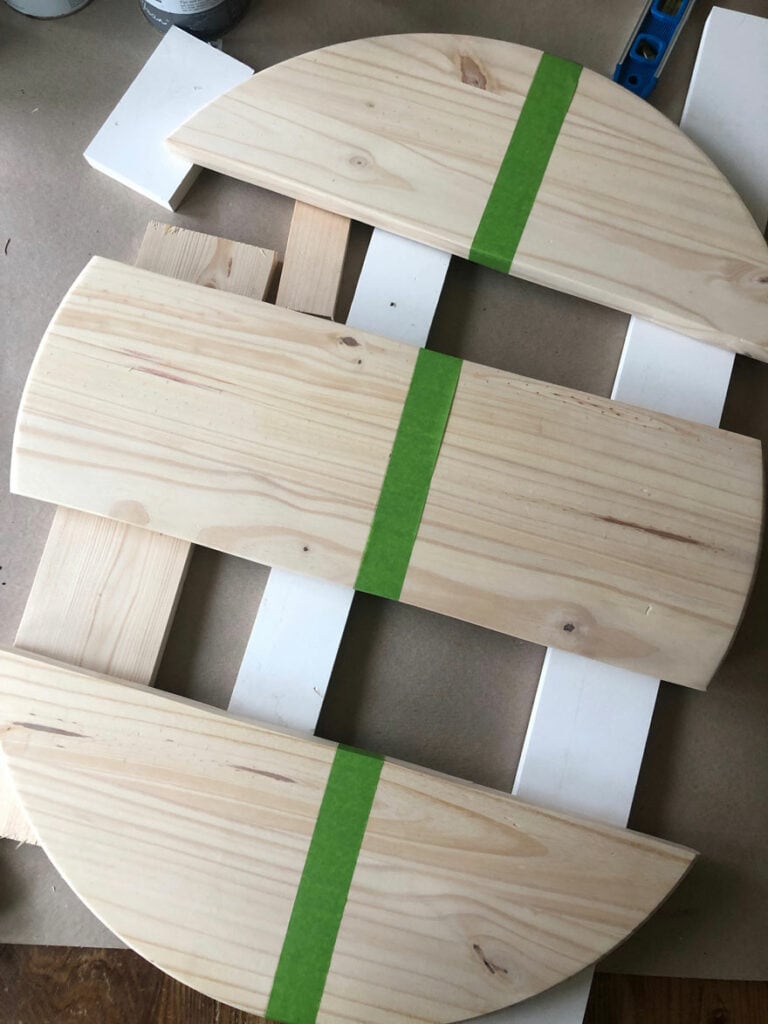
- We measured (measure twice and cut once is our motto), marked the cut lines and then cut three even parts.
- We sanded the edges that we just cut.
- We taped down the center and painted one side a mix of dark gray and black (just paints we had on hand from previous projects).
- We removed the tape and waited a couple of hours before taping the other side. We then painted the opposite side a creamy white. I went a little more cream considering it is going on a white wall and we wanted contrast.
- We removed the tape and let it dry.
- We sanded the entire piece lightly to expose some of the wood and to make it look a little distressed and give it some texture.
- The finished piece is actually three pieces. When installed, it looks like one. We mounted blocks of wood onto the wall. They are 3/4″ thick so it gives it a floating effect. The space between each if the three pieces is 1/8″. Each piece is attached to the wood mounting board with heavy-duty velcro strips.
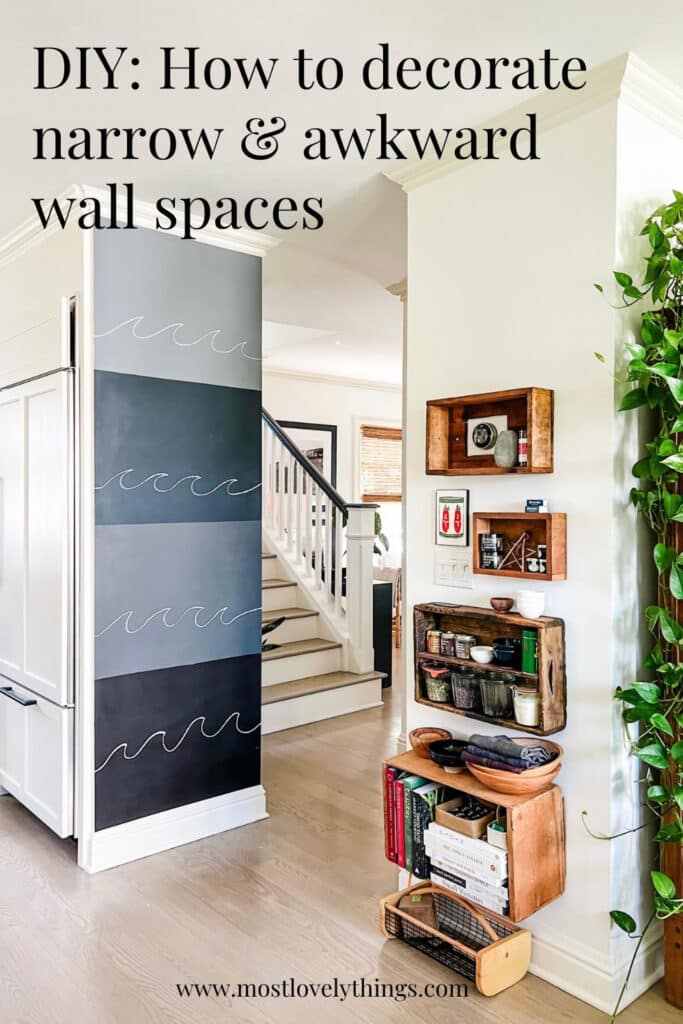
Wall #2: A chalkboard wall in 4 shades of black/gray with Benjamin Moore paint
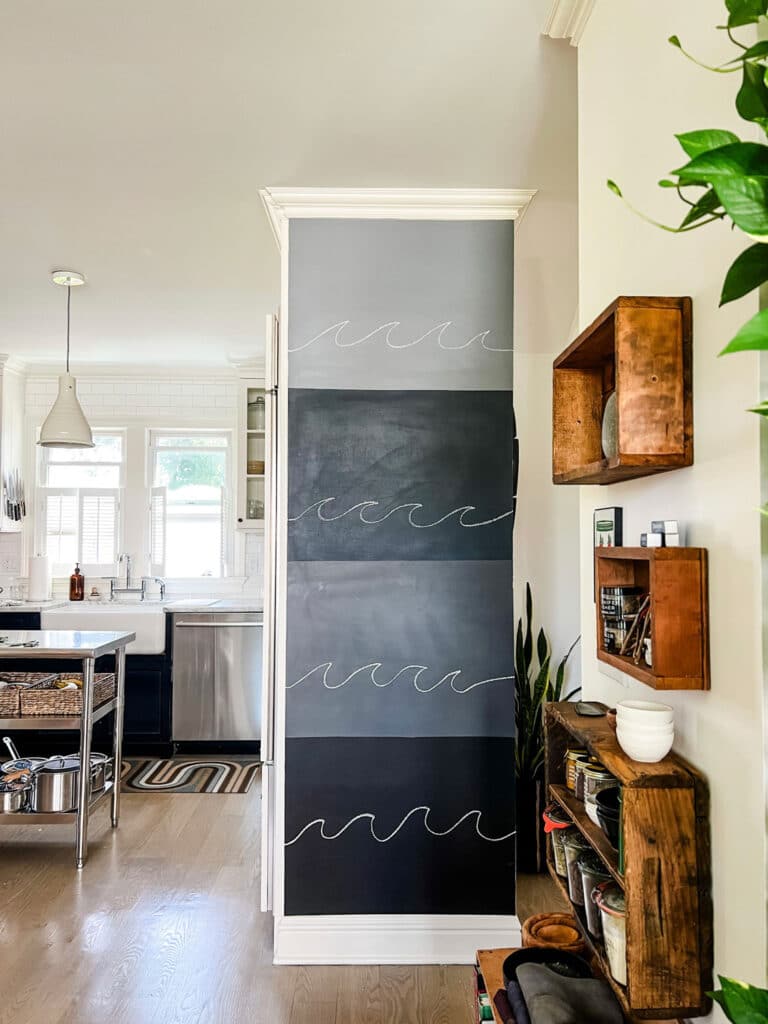
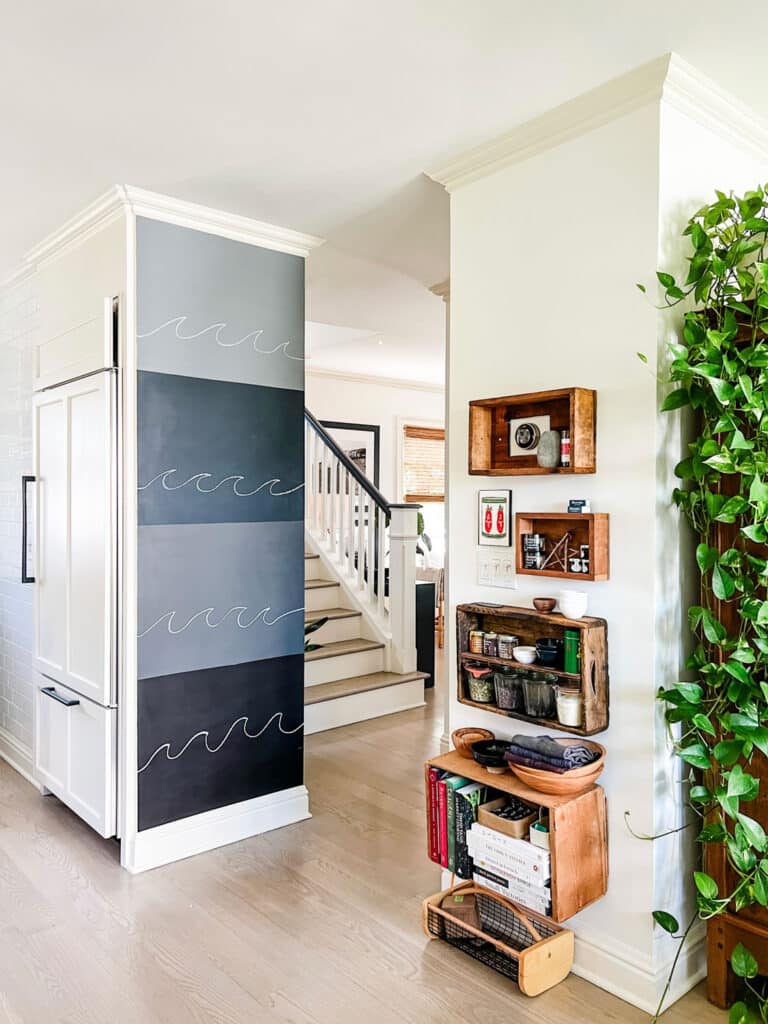
In our former home we had a large checkerboard chalkboard wall in our kitchen. I used it not only as a calendar but also for notes, lists, and quotes. Our current home does not have the space for such a thing, but we did decide that we could take this idea and adapt it to this house. We divided one of those narrow walls into four rectangles and used the same paint as we used in our previous house. We painted each square with one of the carefully selected shades of gray and black (Racoon Fur, Gray, Steel Wool and Black Beauty) using Benjamin Moore chalkboard paint.
Wall #3: A modern piece of art by BlockShop and framed by Framebridge
I’ve used Framebridge several times, and each time has been using original artwork or photographs that we sent to Framebridge. They make it very easy to either upload or actually send in your art. The first time I was a little hesitant thinking about sending off original art illustrations by Jane Mount, but once I logged on to the Framebridge website, I immediately realized the company takes you through the steps and keeps you up to date through the entire process. You send them your art, and they let you know by email as soon as they receive it. You can work with a designer who can show you what your piece will look like in a few frame options. Then once you decide on the frame, mounting, and all the details, they get to work.
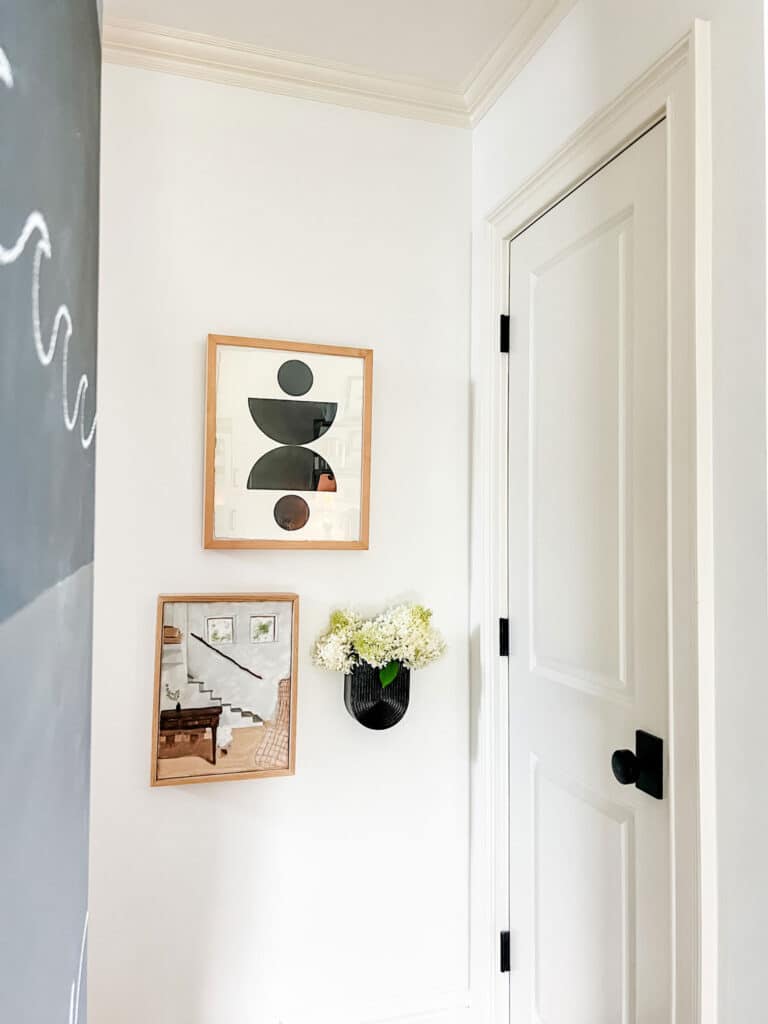
Once it ships, you will receive an email with tracking. The whole process is very smooth, and your framed art arrives in a beautiful box with hanging supplies so you are ready to put it on the wall. The piece I sent to be framed was a woodblock print by Block Shop. I wanted it to be framed similarly to their website and Framebridge nailed it. We couldn’t be happier.
I used this as the anchor piece for this wall and put it with a small painting from a friend along with a wall vase I used for fresh flowers from our garden.
Wall #4: Canvas painting
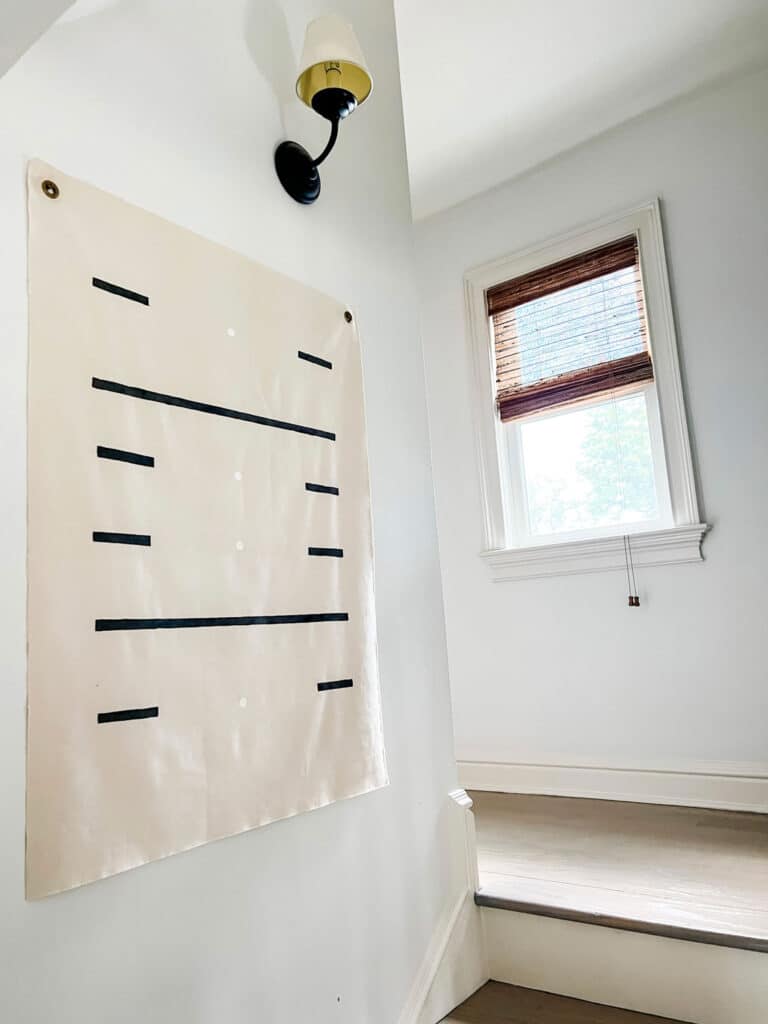
A stairwell is always a difficult vertical space to work with. But one day, when I was visiting a store in Brooklyn, Chango & Co. (unfortunately, the retail part went out of business), I was inspired by the simplicity of their black and white wall art and the way a piece was hung using binder clips. The idea was perfect for our stairwell, and I created my own piece of canvas art. See this post (insert link here).
Wall #5: Collage of vintage crates
An empty wall with just a Nest thermostat is a sad, lonely wall. So using some vintage crates, found at various flea markets, I created a fun collage. The bottom crate acts as a bookshelf and stores cookbooks, the two middle crates have spices and small bowls (you could use small baskets and other accessories), and the top crate hides the Nest thermostat.

The crates provide some extra storage space and a little nook for some small items.
A DIY wood piece and a plant, a chalkboard wall, a framed piece of art, a canvas painting, and a collage of crates are exactly what our awkward spaces needed.
Emtek Hardware
All hardware throughout the house, including the kitchen cabinet hardware, the refrigerator handles, the door knobs, and the exterior doors, is all from Emtek. We love Emtek for its quality and great design. You can read more about the hardware we chose in this post. Emtek has dealers all over the country who can help you with your selection. Here is a link that will give you stores in your area.
Pin for Later



Hi! If you’d be willing to share, where did you get the console table, folding chairs & lamp from the 1st photograph? Thank you & can’t wait to try some of the projects. 😊
Hi Beth,
The console table is old from Room & Board. It’s metal. The stools are from Serena & Lily as well as the brass lamp. They are under Shop My Serena & Lily favorites! I don’t think the lamp is still at S& L, but I’m pretty sure it’s made by Circa!
I adore the ingenious tips for decorating narrow, awkward wall spaces in this blog! The idea of using floating shelves to display art and decor not only maximizes space but also adds a touch of elegance. Thanks for the fantastic DIY inspiration!
Such a helpful post on decorating narrow or awkward wall spaces! Your tips for making the most of these areas are really practical and creative. If anyone is looking for unique art prints to complement these spaces, check out PastelBrush.com. We offer a variety of high-quality pieces that can fit perfectly into any room. Thanks for sharing these ideas!