How to Easily Refurbish and Restore Rattan or Wicker Furniture
How to easily refurbish and restore rattan or wicker furniture. I love rattan and wicker furniture, and I have some pieces both inside and outside. There’s a rustic charm to it that combines both comfort and design. But over time, it begins to fade and show signs of wear and tear – especially if left outside.
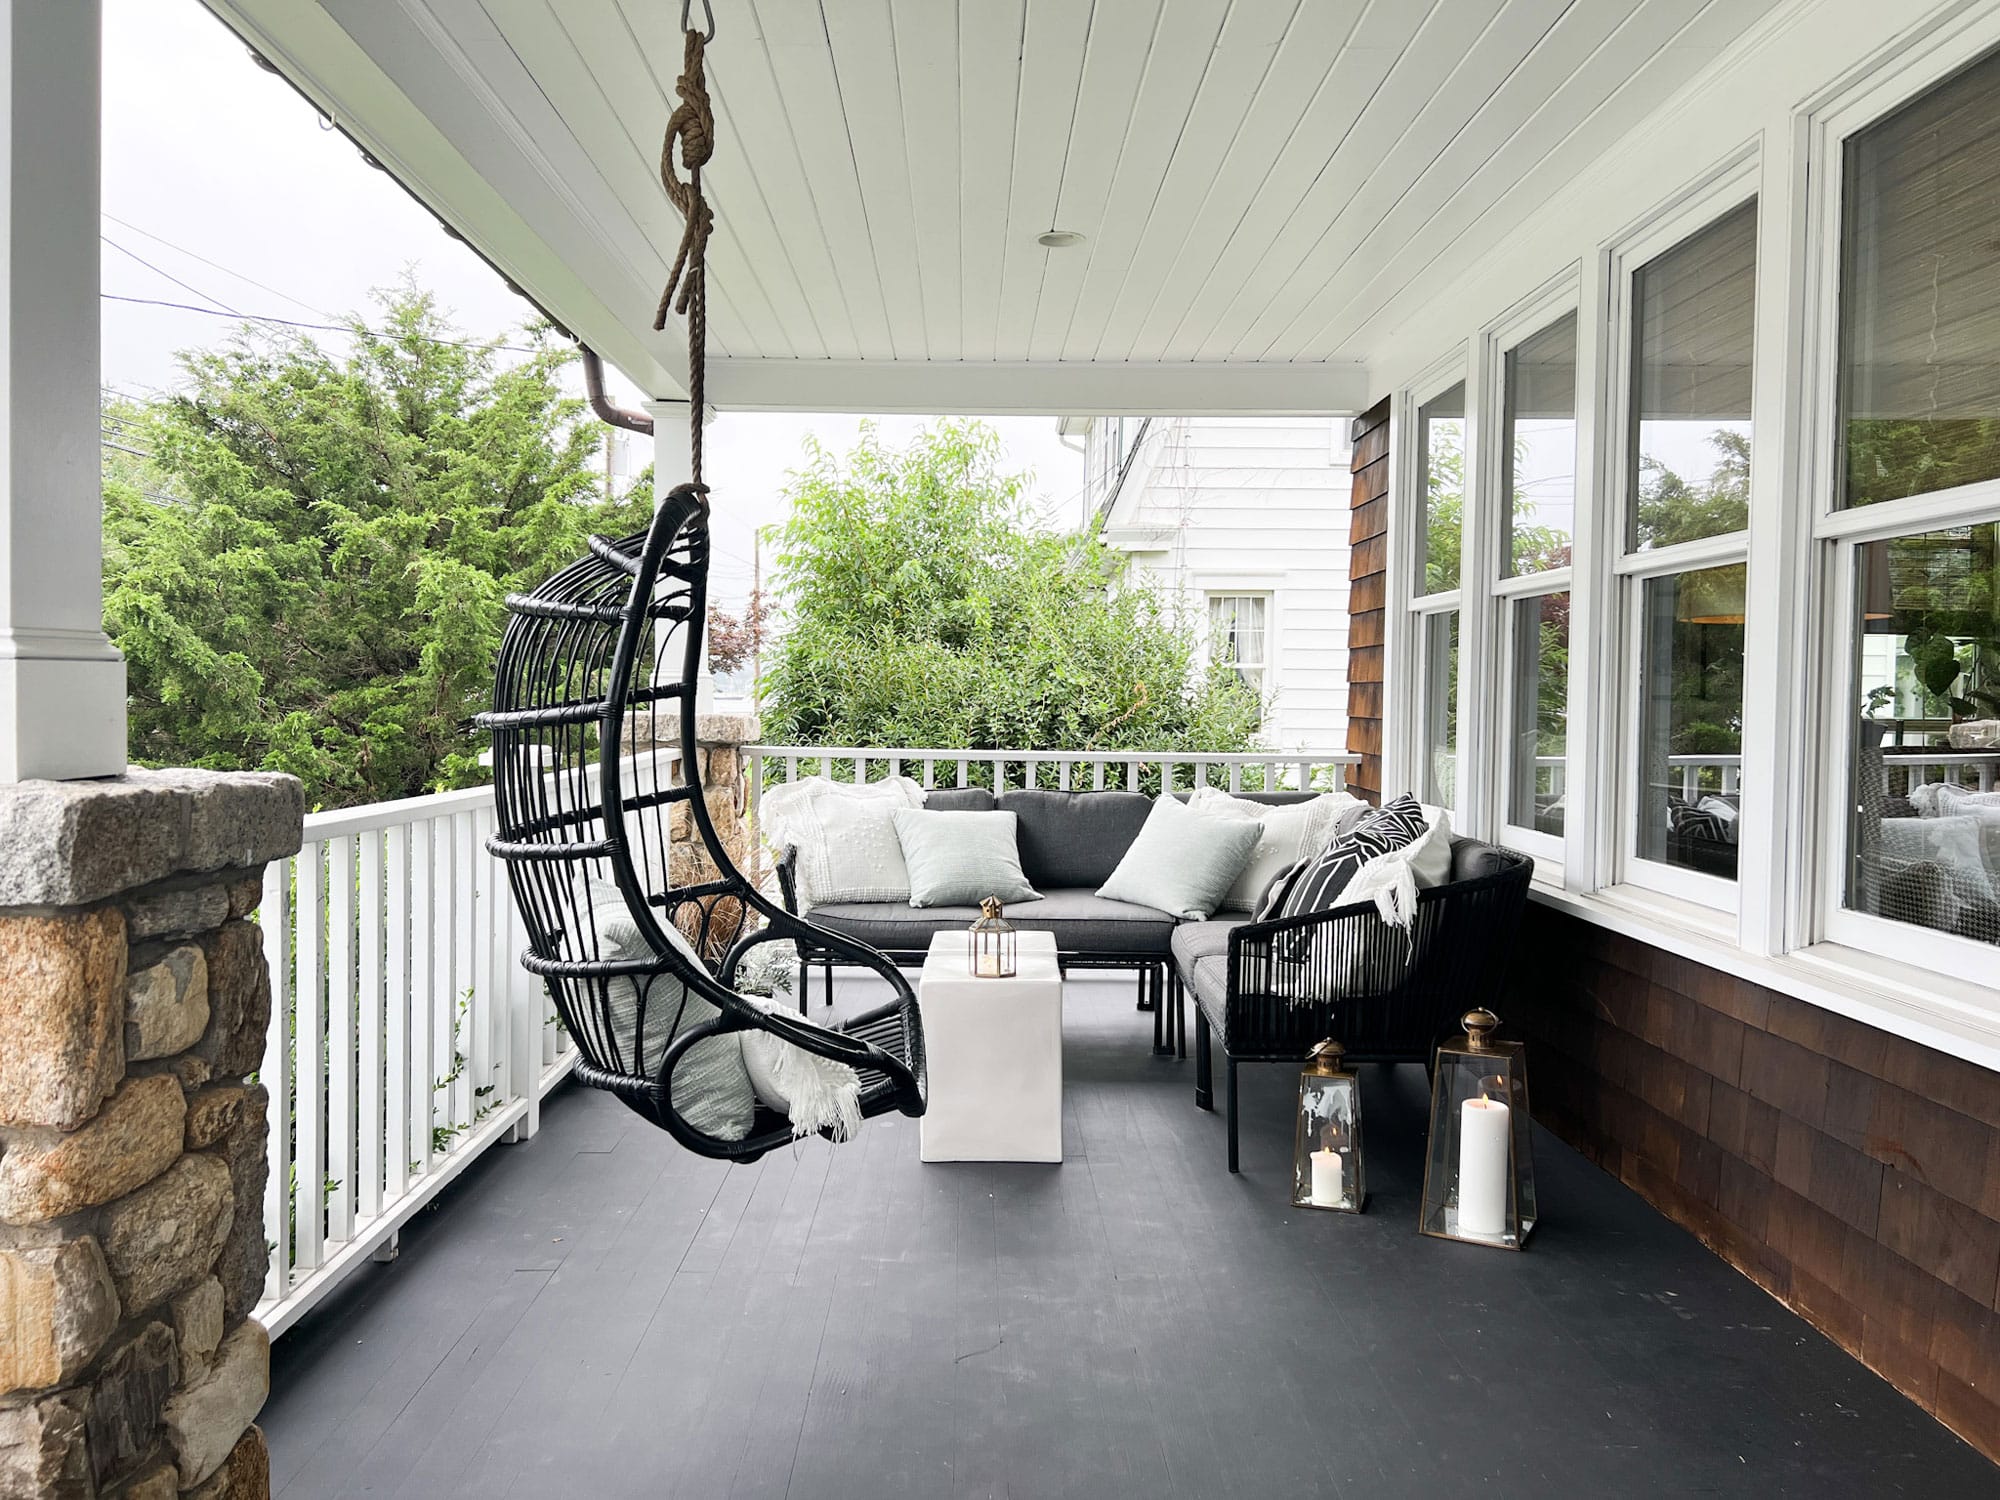
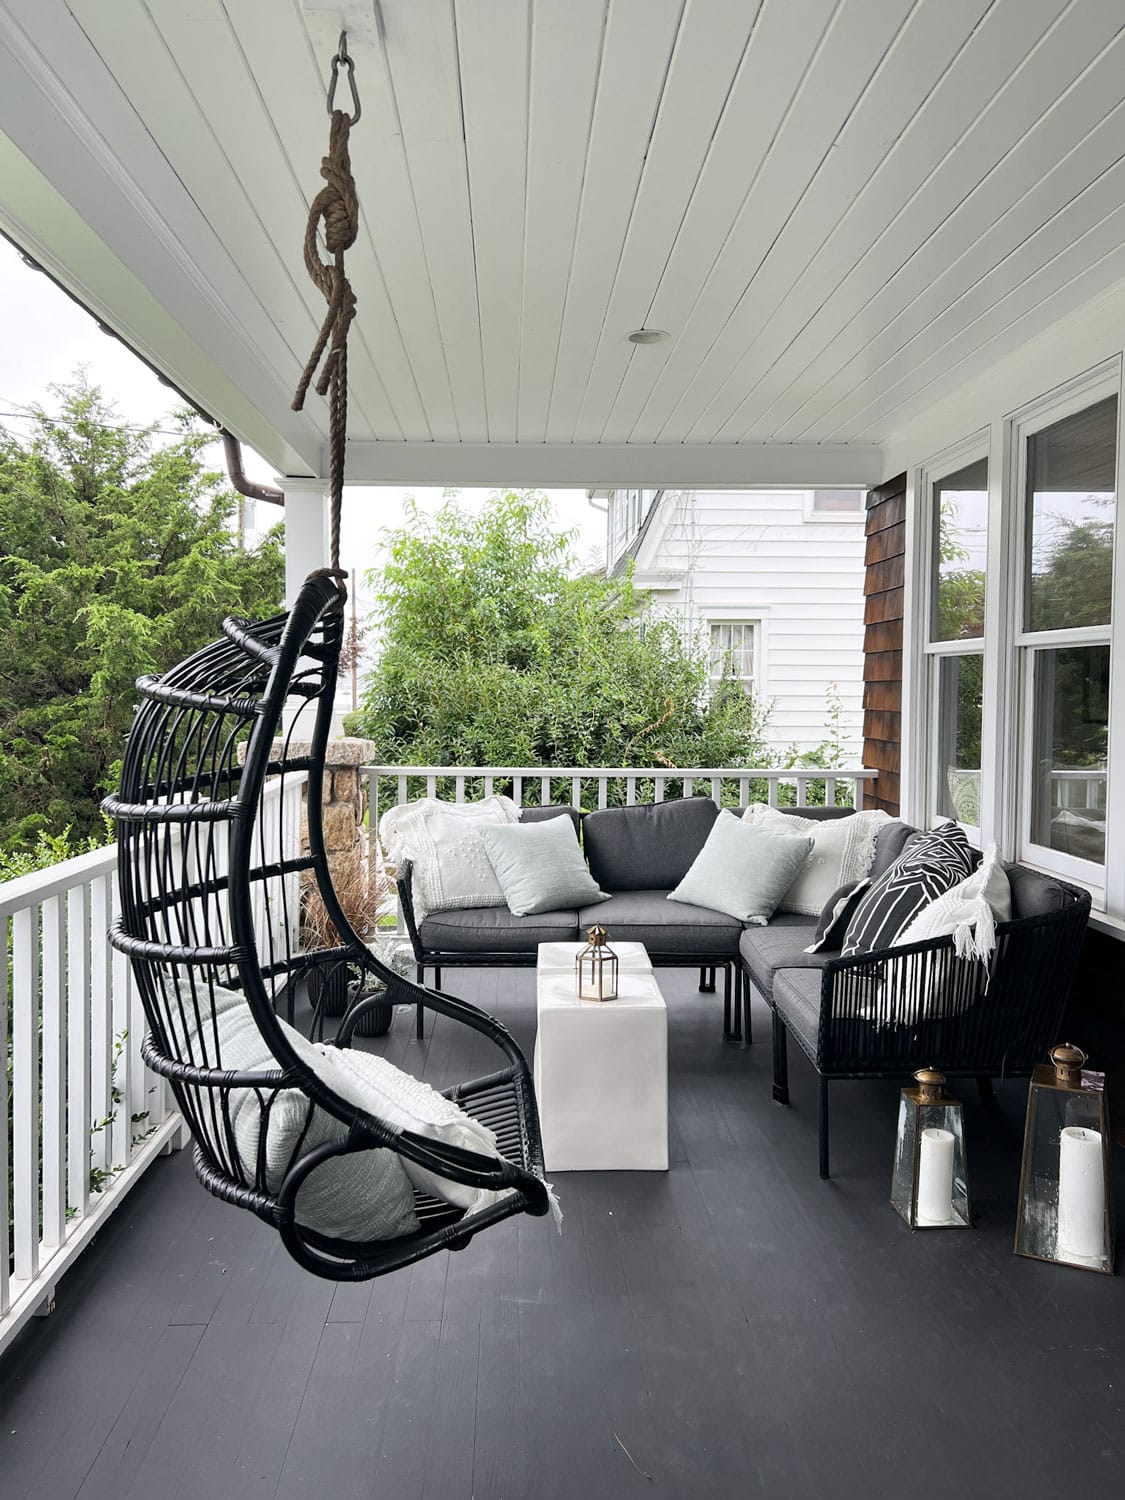
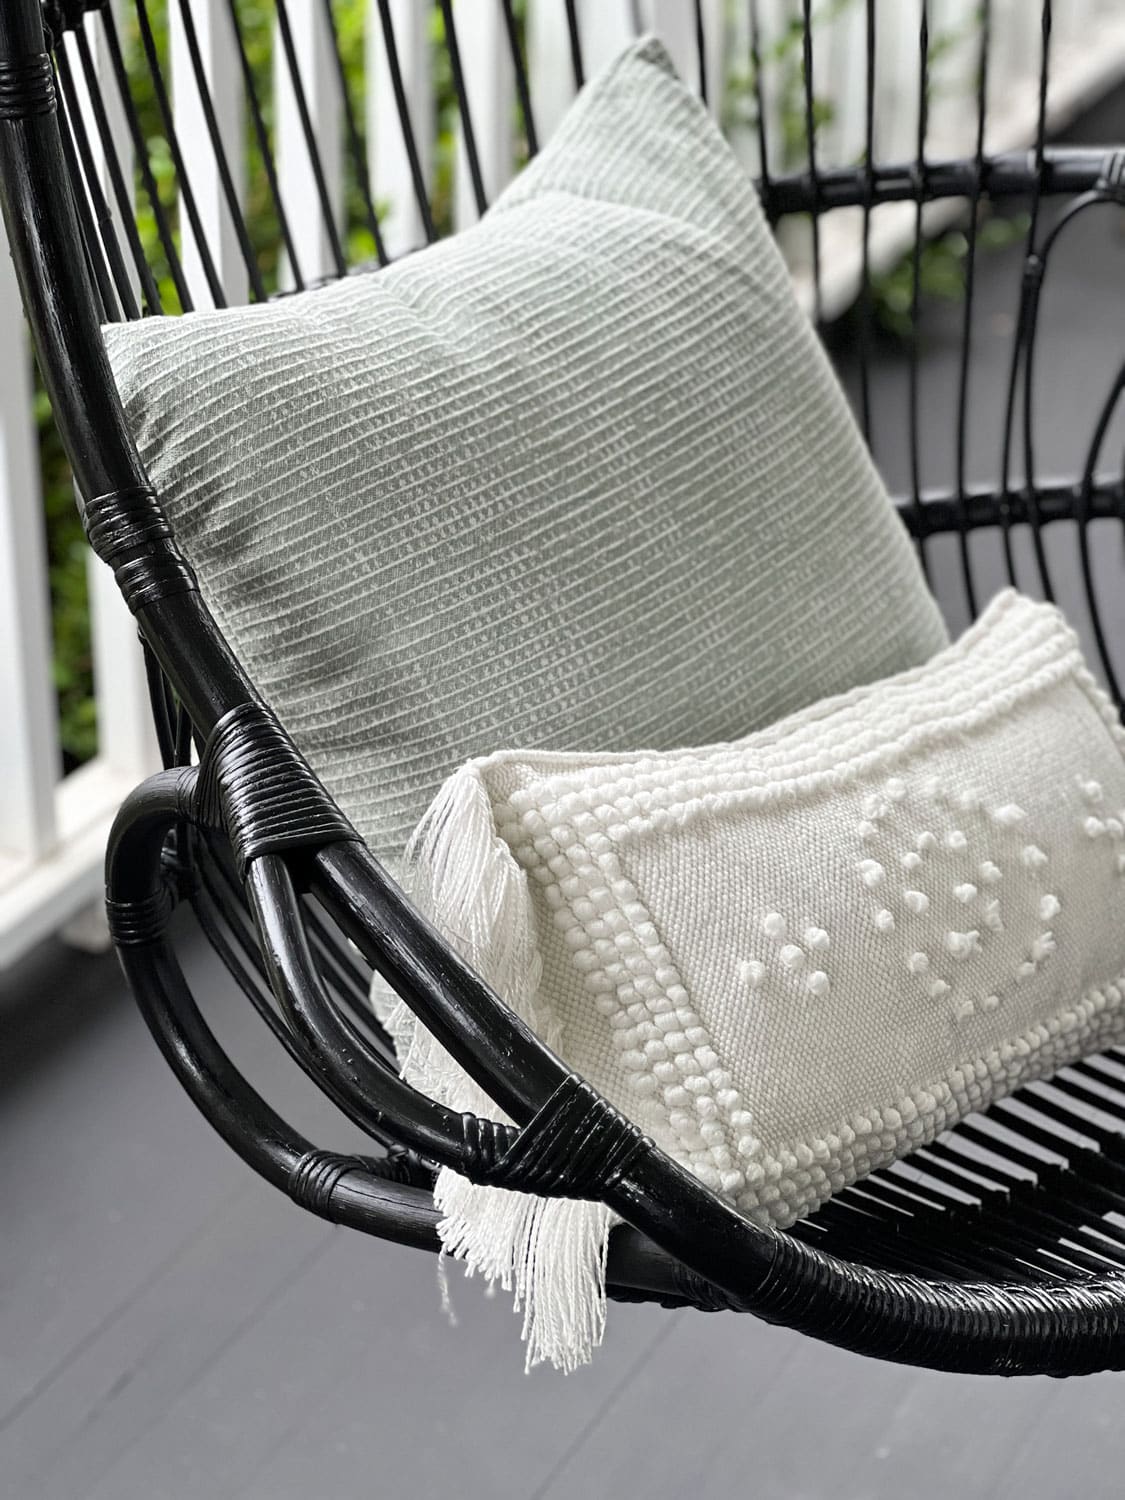
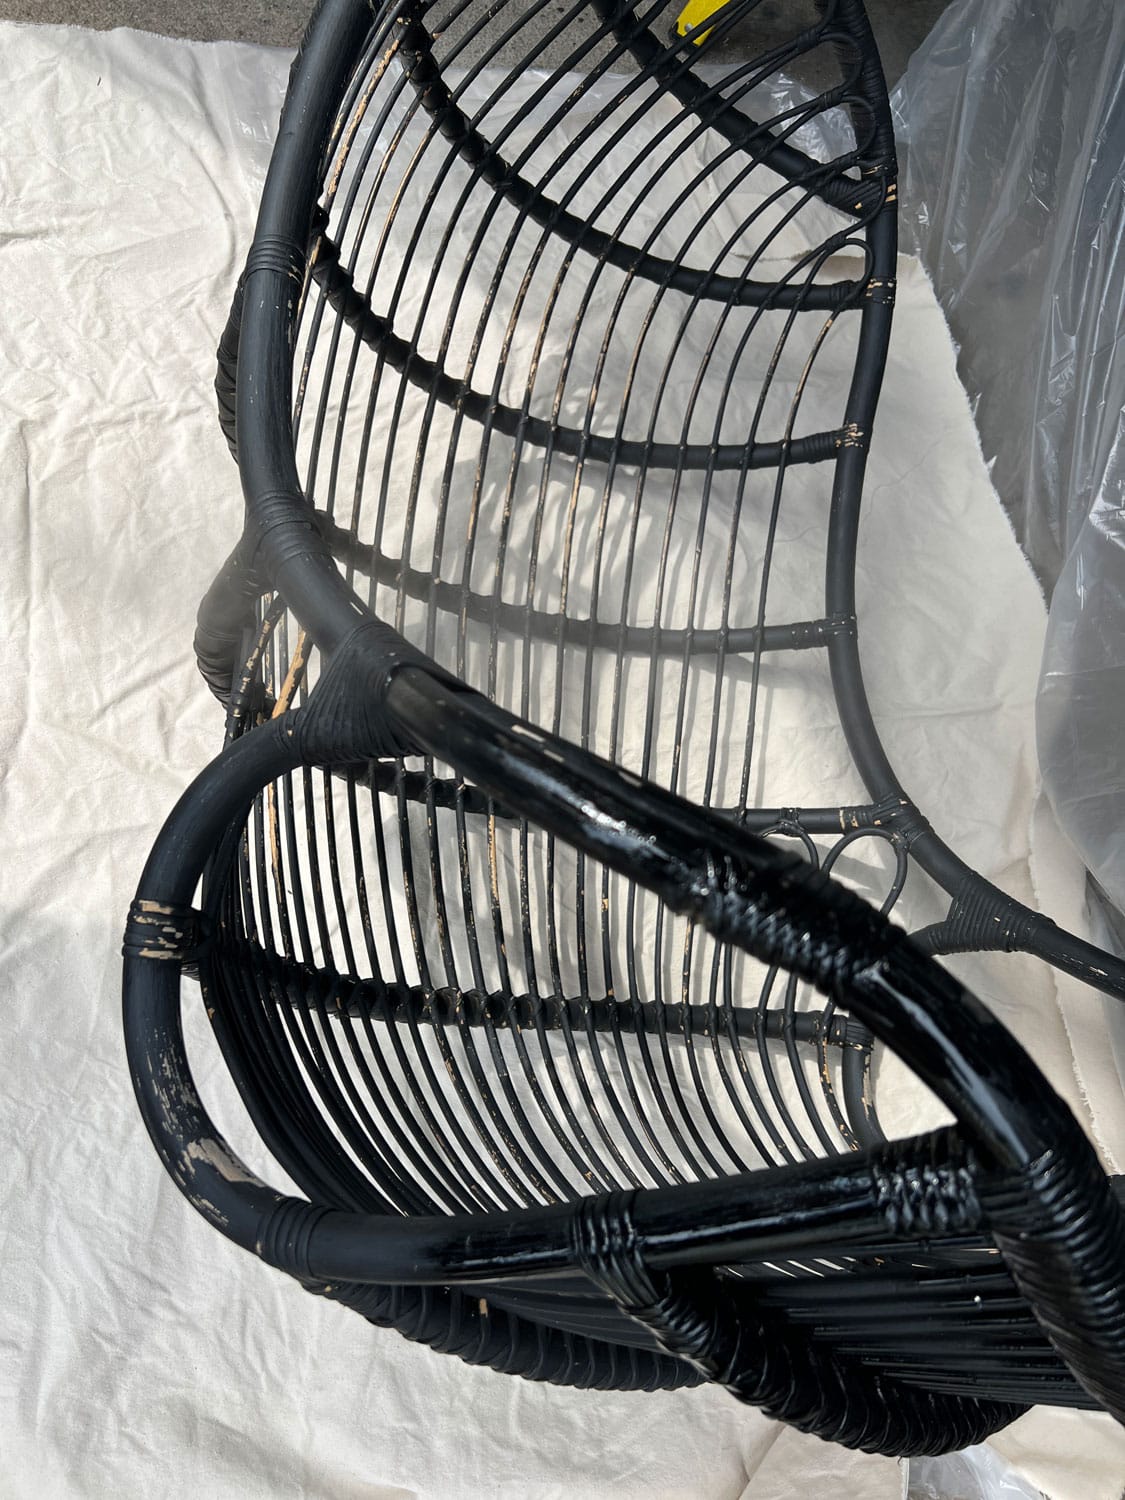
I bought a hanging chair a few years ago from Serena & Lily and have it on my front porch. It was sold as an indoor hanging chair, but it was exactly what the front porch needed. And we leave it outside all year round. As a result, it has cracked and faded, as rattan does over time. But no need to worry; there is a way to repair and restore it and make it look almost new.
Our Rattan Hanging Chair, Painted Black, on Our Porch
What is the difference between rattan and wicker?
As rattan and wicker have become more popular in the design world, the two words are almost interchangeable in conversation. However, there are some major differences:
- Rattan is a material, and wicker is a style of weave
- Rattan has become synonymous with patio furniture, but it’s not actually the best choice for outdoors as it does not repel water
- Synthetic wicker is the best for outdoor use
- Wicker is a weaving technique that dates back to ancient Egypt and only started to become popular after it was exported to Europe
- Rattan furnishings are usually made from the core of the rattan vine, but cane is often woven into the webbing for design purposes and because it’s flexible, repels moisture, and can be easily cleaned
Can you leave rattan or wicker furniture outside?
You can leave wicker furniture outside. You can also leave rattan furniture outside but you need to know that you’ll have some issues with it over time. Outdoor furniture is prone to moisture damage. But these issues are addressable and can be managed to prolong the life of your pieces. It’s also suggested to keep rattan furniture covered when not in use or when it’s raining..
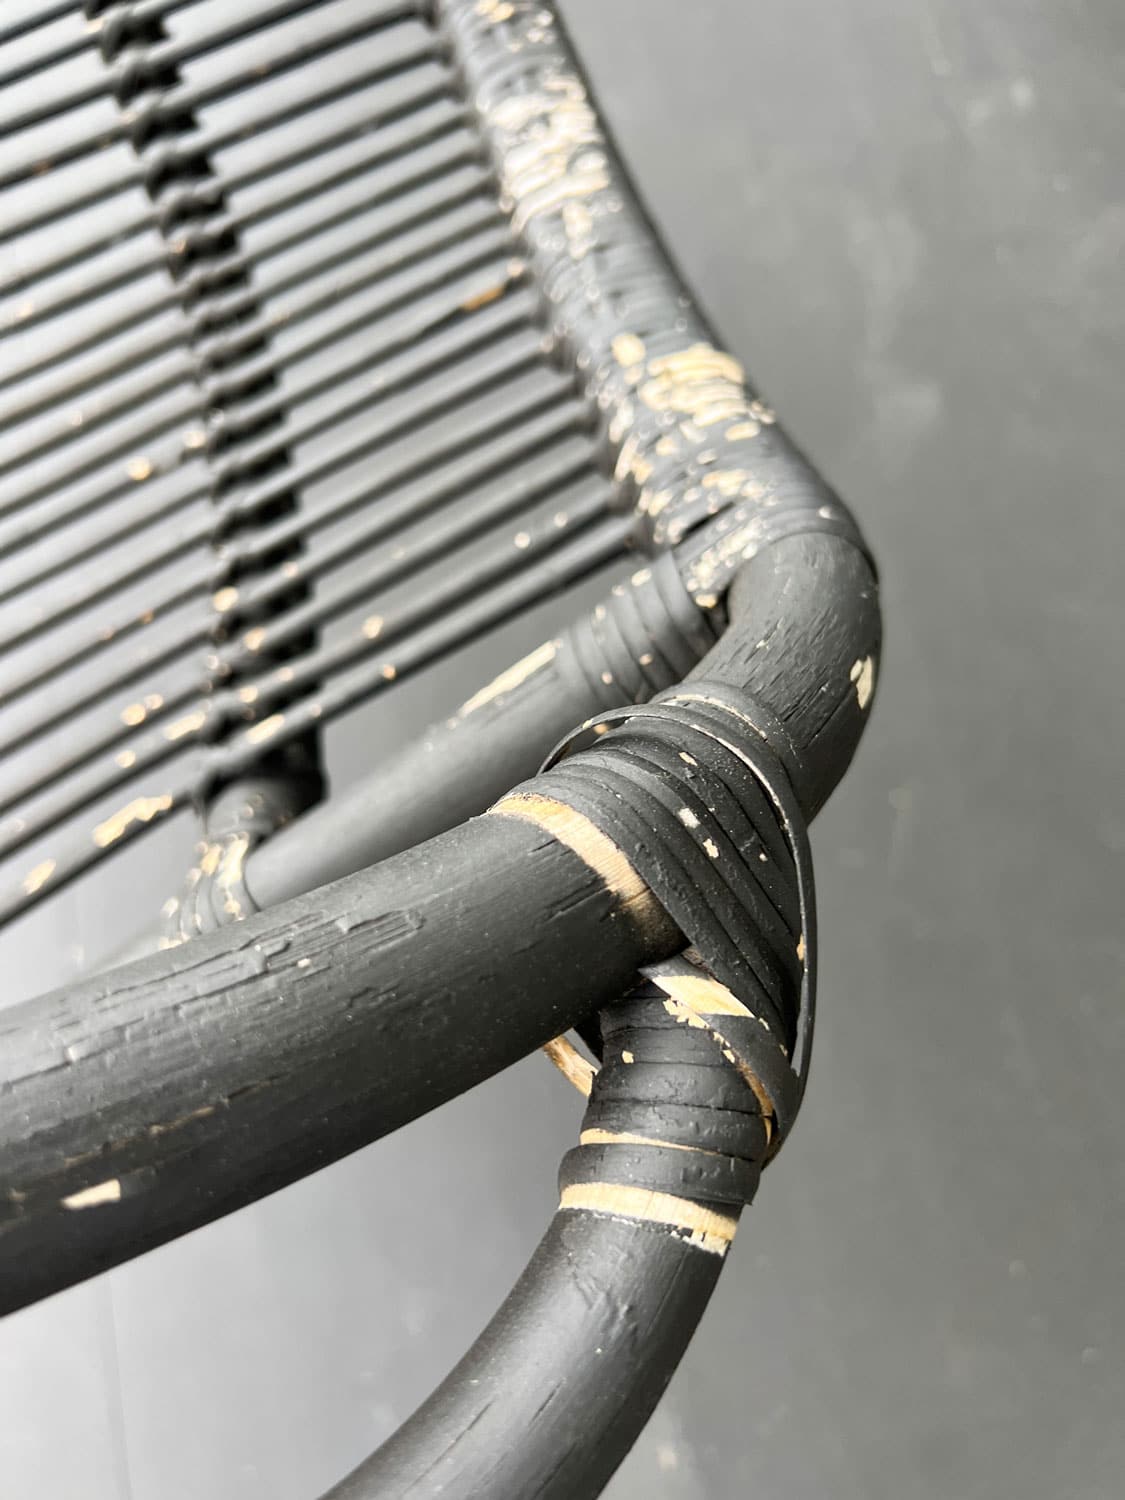
Splitting and cracking
When left outside, exposure to harsh elements such as heat, moisture, and sunlight and it can start to split and crack rattan. Not only is it annoying because broken pieces can snag clothing, but it also doesn’t look great. But by regular cleaning, painting, and repairing every few years, you can reduce the effect the elements have on the rattan, protect your furniture, and keep it looking great for longer periods of time.
Fading
Even with the best rattan, you will get some fading and discoloration over time when exposed to direct sunlight. But again, painting and finishing every few years will definitely prolong the life of your rattan.
Loose or broken weaving
Extreme heat, moisture, humidity, and dry cold are very hard on rattan and will often cause it to split or break, and you’ll have some loose ends. When this occurs, you will need to repair the damaged sections, and it’s quite easy. A little sanding, glue, and work will take care of the imperfections and make your rattan look much better and far less worn.
How to clean, repair, prep, and paint rattan or wicker
Here is a list of supplies you’ll need for your project:
- Bucket of warm water with mild detergent, gentle dish soap, or cleaning solution
- An old toothbrush or soft-bristled brush
- Fine, 150-grit sandpaper
- Pair of pliers
- Scissors
- Dry cloth (preferably a microfiber cloth or one that doesn’t shed)
- Spray paint
- Spray lacquer or clear varnish
- Wood glue and clamps, super glue, or hot glue gun
Cleaning
Using a damp cloth and soap or cleaning solution, thoroughly clean any dirt, grime, residue, or mildew from the furniture. Use an old toothbrush or soft-bristled brush to get in all the crevices. Then wipe the surface clean to remove all soap and let the furniture dry completely.
Prepping
Once the furniture has dried, using a piece of very fine grit sandpaper, gently sand the surface to smooth it out and remove any rough edges or paint peelings. Wipe it clean with a damp cloth and let dry.
How to repair rattan furniture
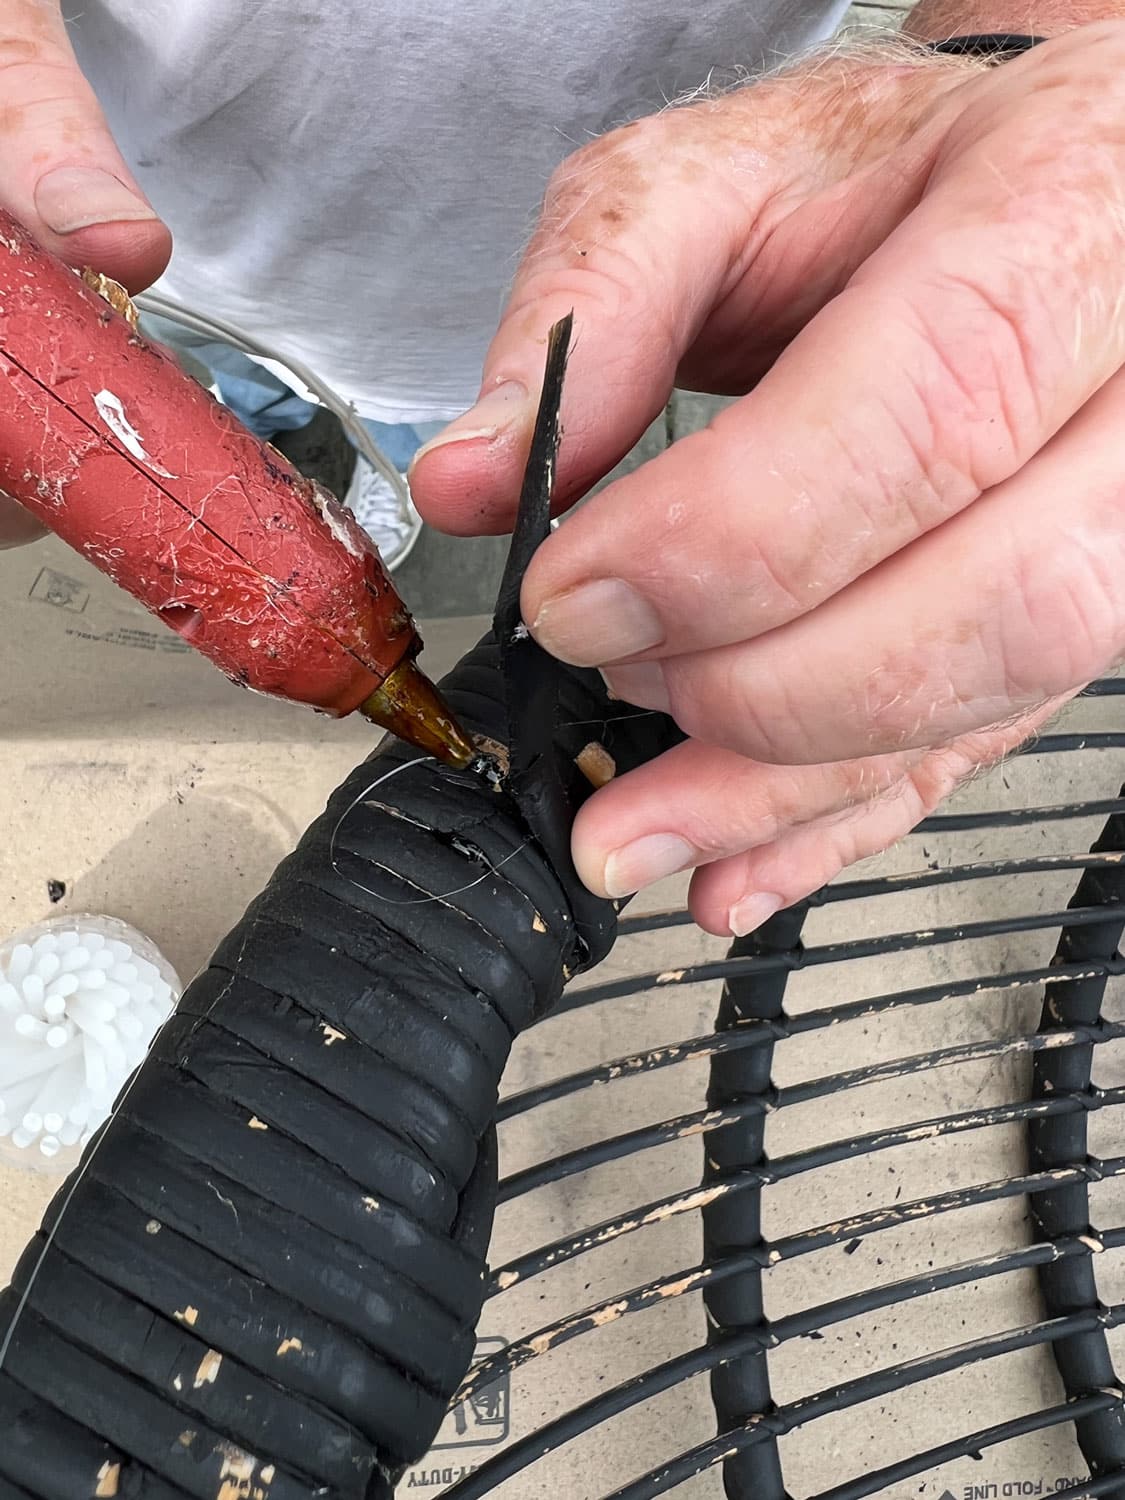
There are several ways you can fix or repair damaged areas of your rattan. I like to start by trimming off any frayed or loose wicker pieces or wrappings. You can use regular kitchen scissors for this.
Once you’ve trimmed any loose ends, you can begin repairing any broken or loose pieces. Use wood glue and clamps, super glue, epoxy, or just about any kind of glue or adhesive. But what I prefer is hot glue using a glue gun. It adheres nicely and dries quickly, so the pieces stay in place. Just squeeze some hot glue where pieces have broken off or come apart, being careful to secure them in the same place they were.
Sanding
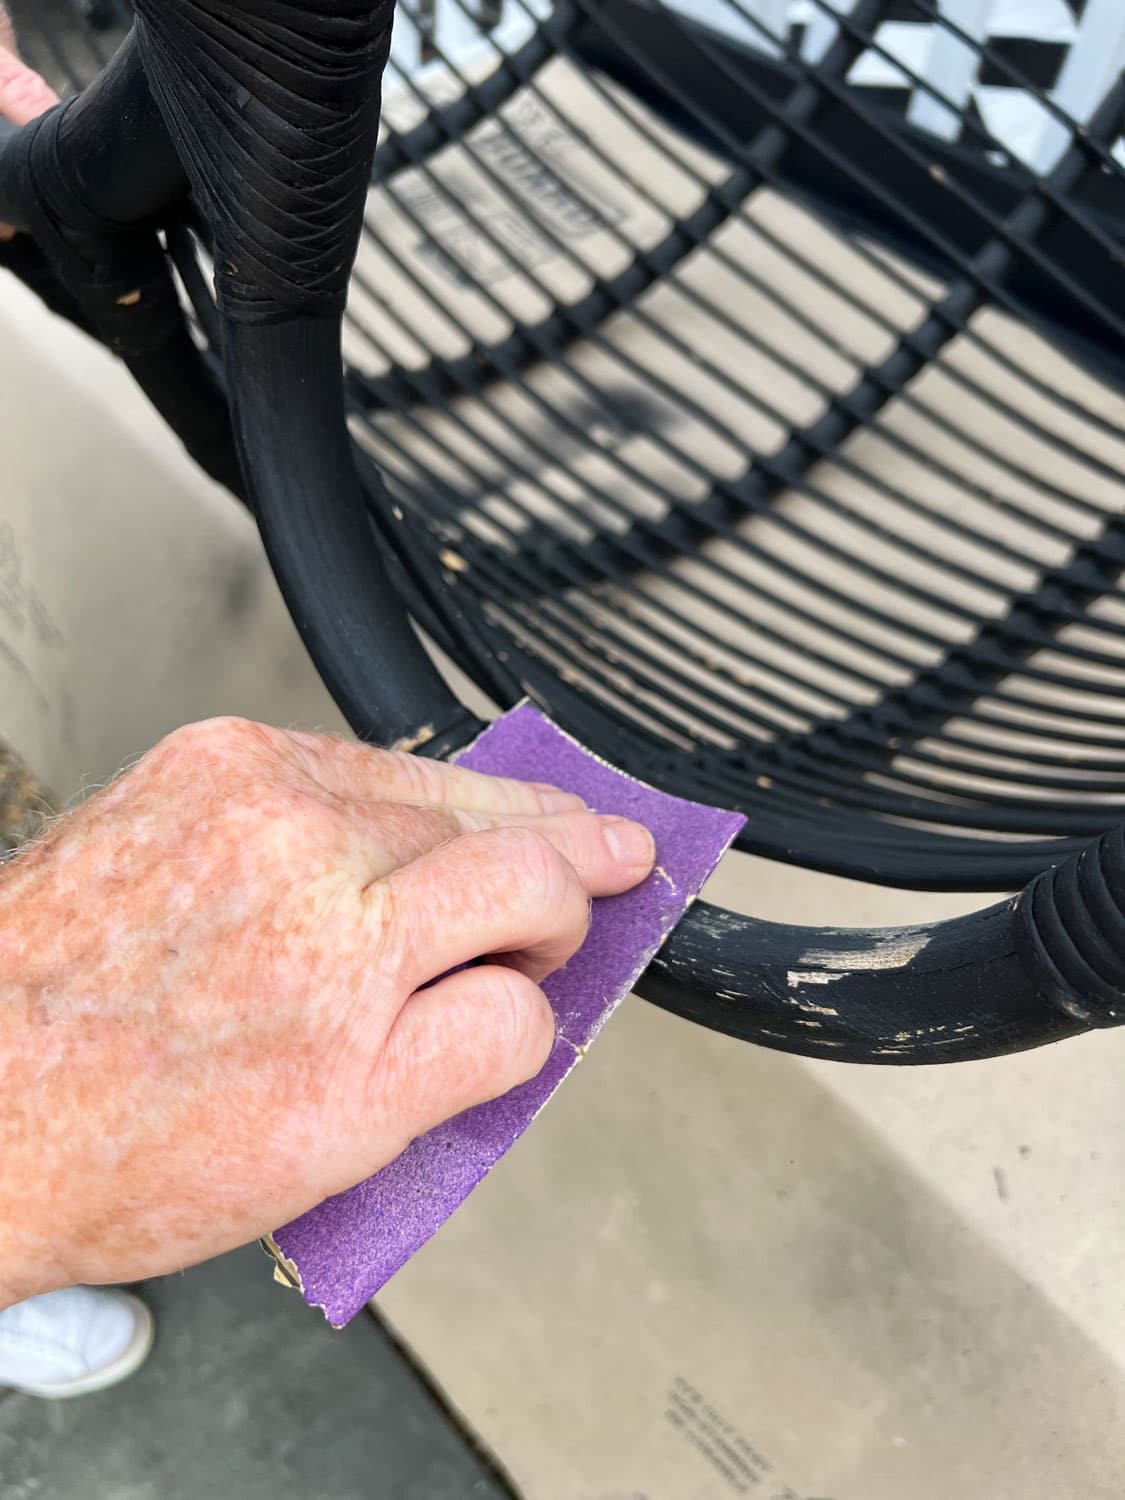
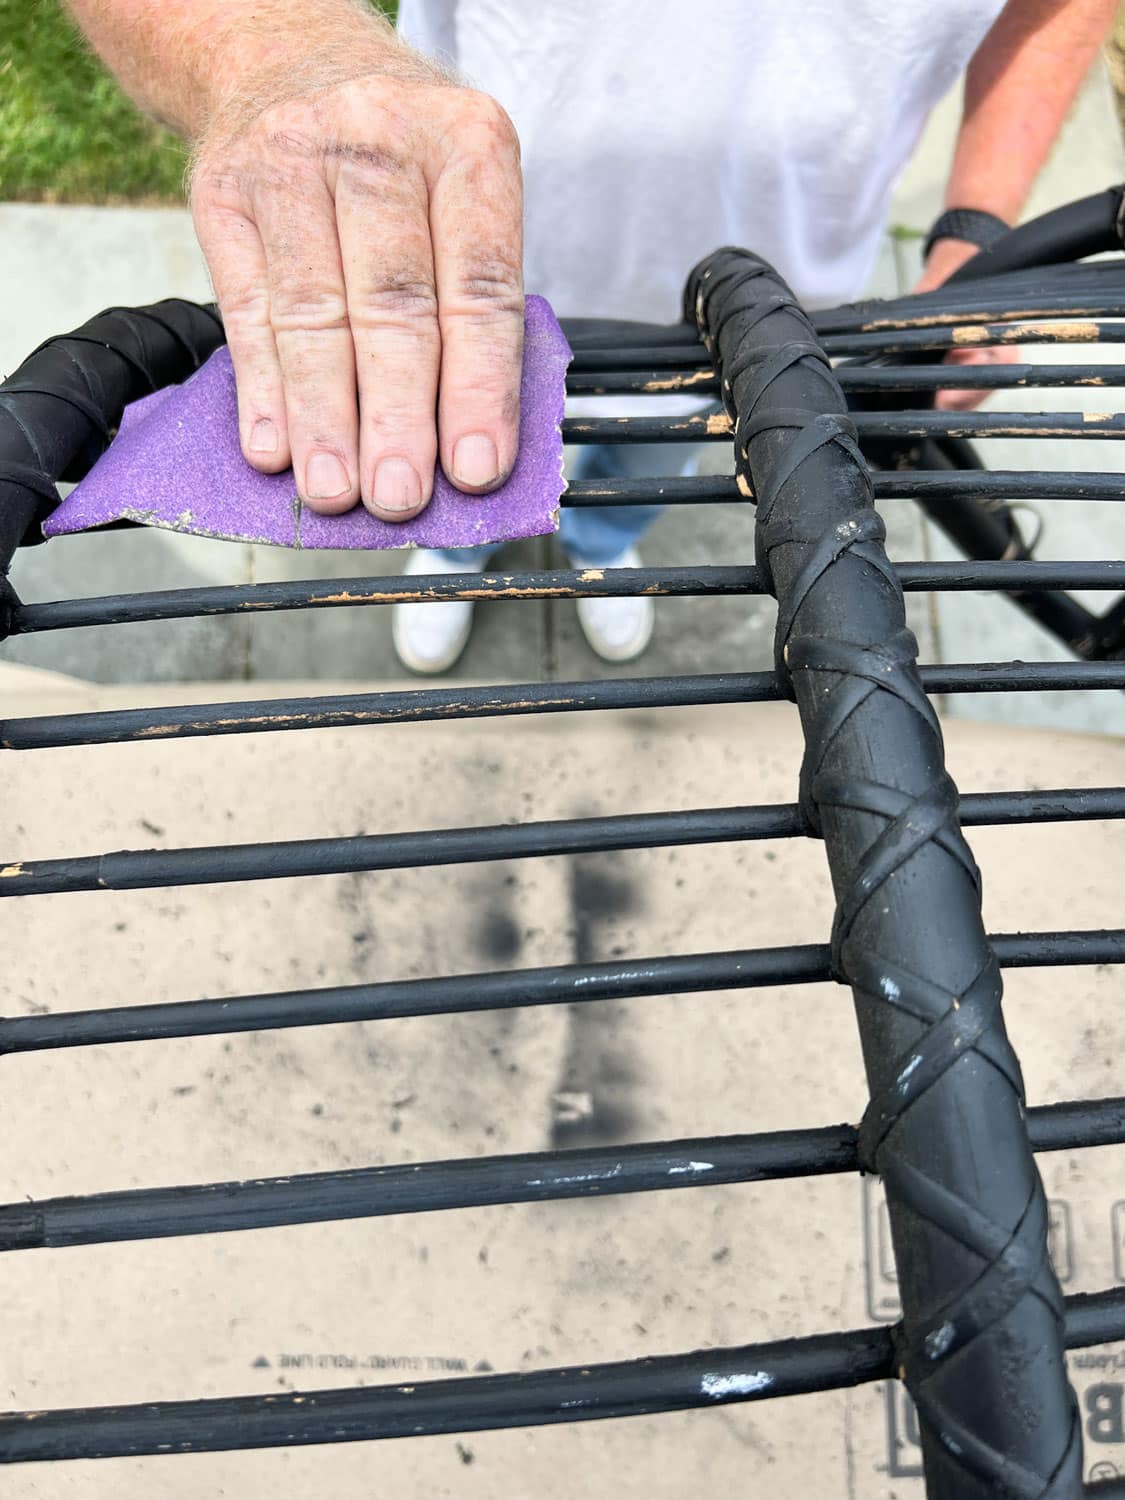
Once you’ve finished trimming and repairing your rattan, it’s time for light sanding on the surfaces of the rattan. I use very fine grit sandpaper and lightly sand where the paint is peeling to smooth out any rough areas. I also find that the paint adheres better to the rattan after lightly sanding.
After I’m happy with the sanding, I use my leaf blower to get rid of most of the dust. Then I wipe it down again with a damp soft cloth to remove any lingering dust. If it’s not free from dust, the paint will dry with a rough finish, and your piece won’t look as good as it could.
Painting
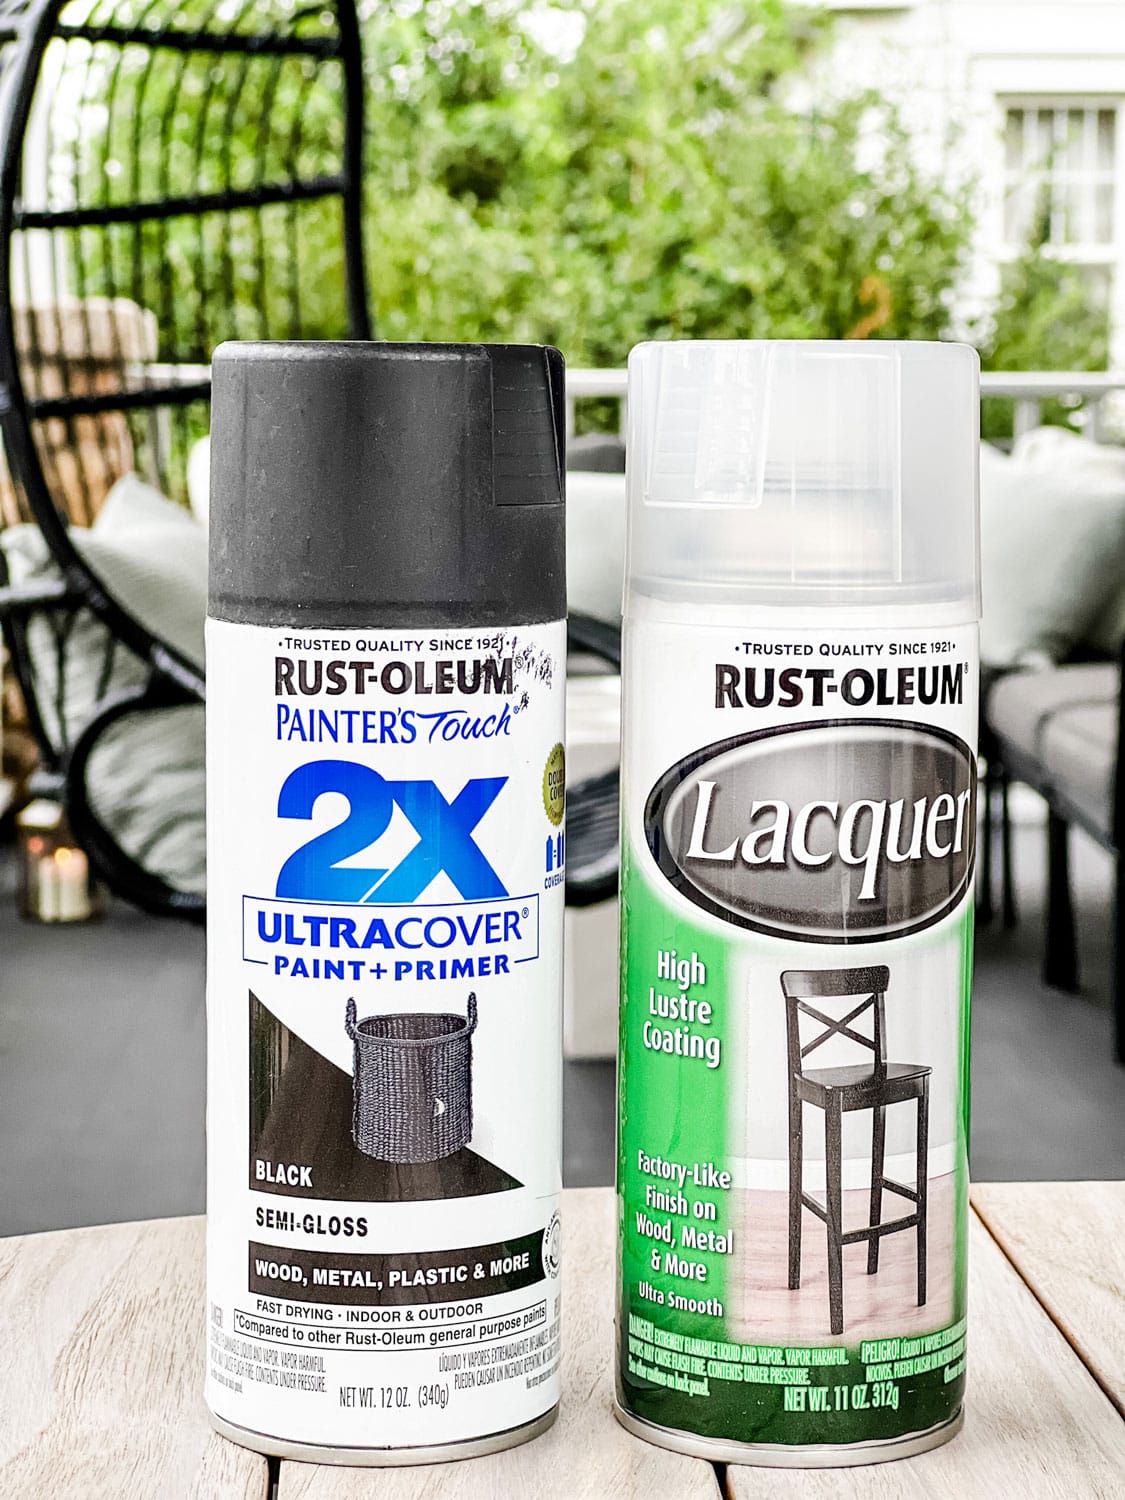
Now it’s time for painting. I buy Rust-Oleum spray paint (2X Ultracover Paint + Primer) at Home Depot. It was $6.48 per can, and I used about 2 1/2 cans on my hanging chair.
Because there is a lot of over-spray with spray paint, I usually construct a makeshift painting booth by hanging a standard plastic drop cloth that has three sides. I used Frog Tape to attach to whatever surface I was using. In this case, it was in my garage.
Carefully spray your piece from all angles to ensure an even coating. Let it dry, rotate the piece, and spray it again, making sure to hit any areas that you missed with the first coat of spray paint.
After it completely dries, I like to finish it with a polyurethane topcoats or spray it with a coating of lacquer. It tends to protect the paint and make your outdoor wicker furniture last a bit longer.
With a little care and maintenance, some time, and some work, you can restore a few of your old and worn wicker or rattan furniture pieces to their natural beauty.






Annie, this post is so timely. I am in the process of stripping an old rocking chair that has a woven seat that needs attention. Thanks for all the great tips! Your chair looks like it’s new!
Hi Annie,
We have just purchased a Rattan set in the Philippines and the finish is very rough, with small fibres left sticking out, when you run your hand accross the sofa the fibres stick in your hands, which is extremly painful. We went back to the supplier and they sent a team out which used a blow torch to try and ‘remove’ the loose fibres, after which they applied another coat of lacquer. The net result being it has improved but the finish is not somthing that is smooth to the touch and still potentially dangerous.
I saw that you mentioned using a 150 grit paper, which maybe OK for a flat area, but not so sure about the uneven Rattan. Also this may remove the existing lacquer from the high areas whilst leaving the lower areas untouched and may then have a difference appearance when applying the lacquer finish. Just wondered if you have used anthing else to get a smooth surface.
Thanks in advance
how do you brighten up natural wicker chairs and table. I do not mean how to paint them’
I have the same question
Hi Patty, I’m not sure what you mean…what question do you have?
Yes sometimes we are idiots. It was my turn this week. I pressure washed a wicker settee. I wanted to repaint it. Now it is “fuzzy” so I went to our local hardware store and they suggested I sand it down before painting. After trying this in an inconspicuous area I found this only made it worse. I am of the belief that there is always a solution. I Googled several sites and somewhere a product was suggested and to use a paint brush. Alas, I cannot find the sight now. Please help me,🫤
What material did you use for the new rattan cane/strands? I’m trying to find a match for the natural color. Seems like 6mm wide but looking for the right color. Any suggestions?
Hi Andrea, We did’nt have to replace any strands. We just needed to glue soome that had broken. I wonder if you can find some? Or maybe from an old rattan basket that you take from? Something like that?