
The Best Way to Easily Carve Pumpkins Using Power Tools
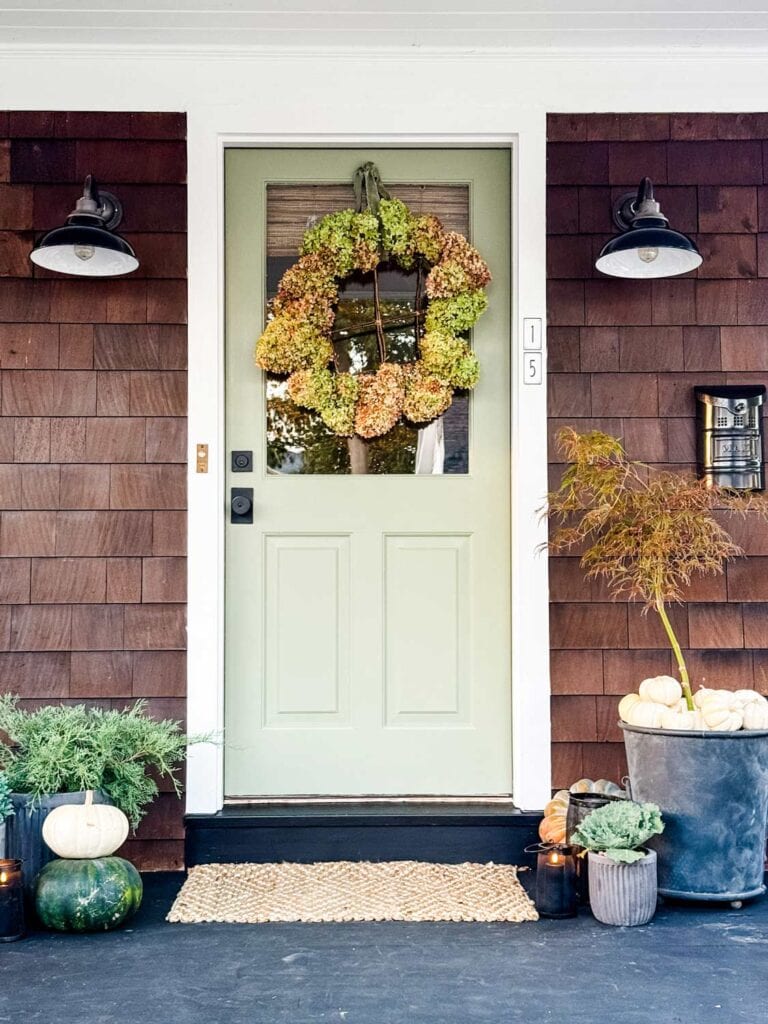
Carving pumpkins is a tradition and a big part of Halloween festivities. Here’s an easy way to do it. We stopped carving pumpkins once the kids were too old and too busy. I still bought them as part of my front porch decor for fall, but I just stacked them up, filled planters, and that was it. Check out these posts to see our front doors decorated for fall! Here and here.
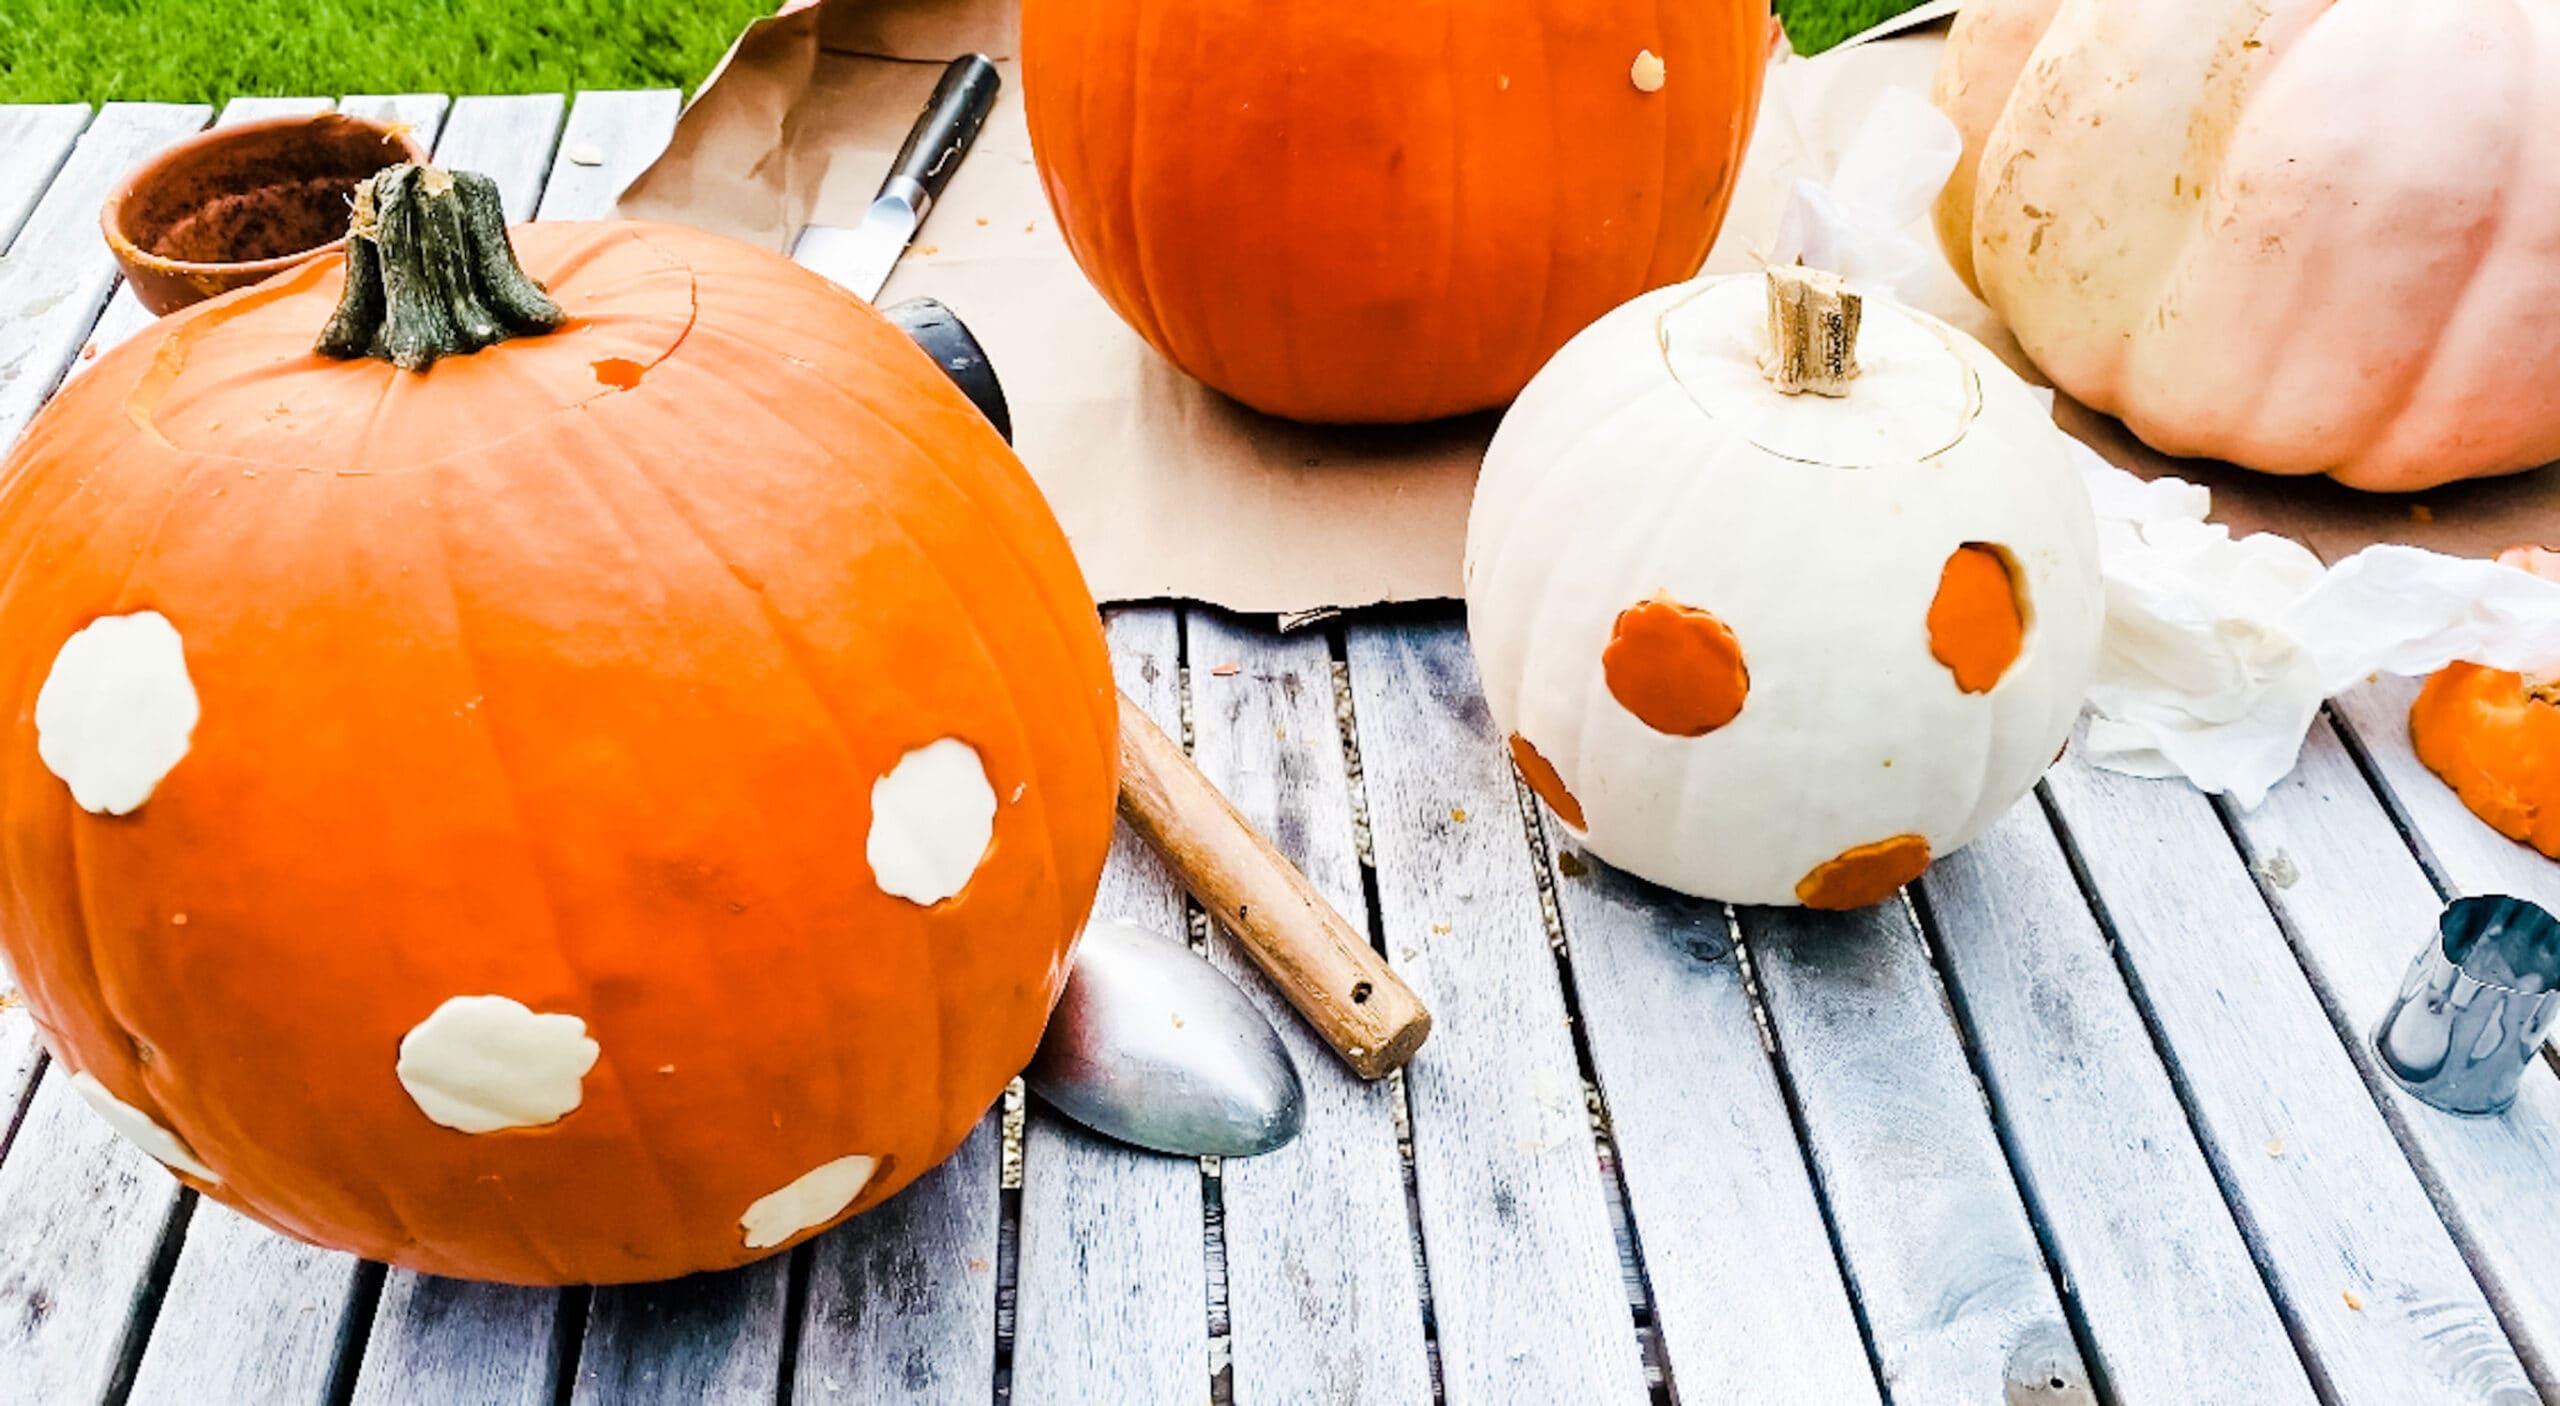
In addition to using a few power tools, I saw the Martha Stewart Living October issue a few years back and decided I also had to try and replicate the idea of using cookie cutter shapes with different colored pumpkins. Martha calls them “wicked cute,” and they are adorable but hard to replicate, trust me. I think it would have gone a little smoother if I had better quality cookie cutters (as she recommends). My cookie cutters were just a bit too flimsy. We did make two and then quickly moved back to power tools.
Let’s try Power Tools instead of Cookie Cutters!
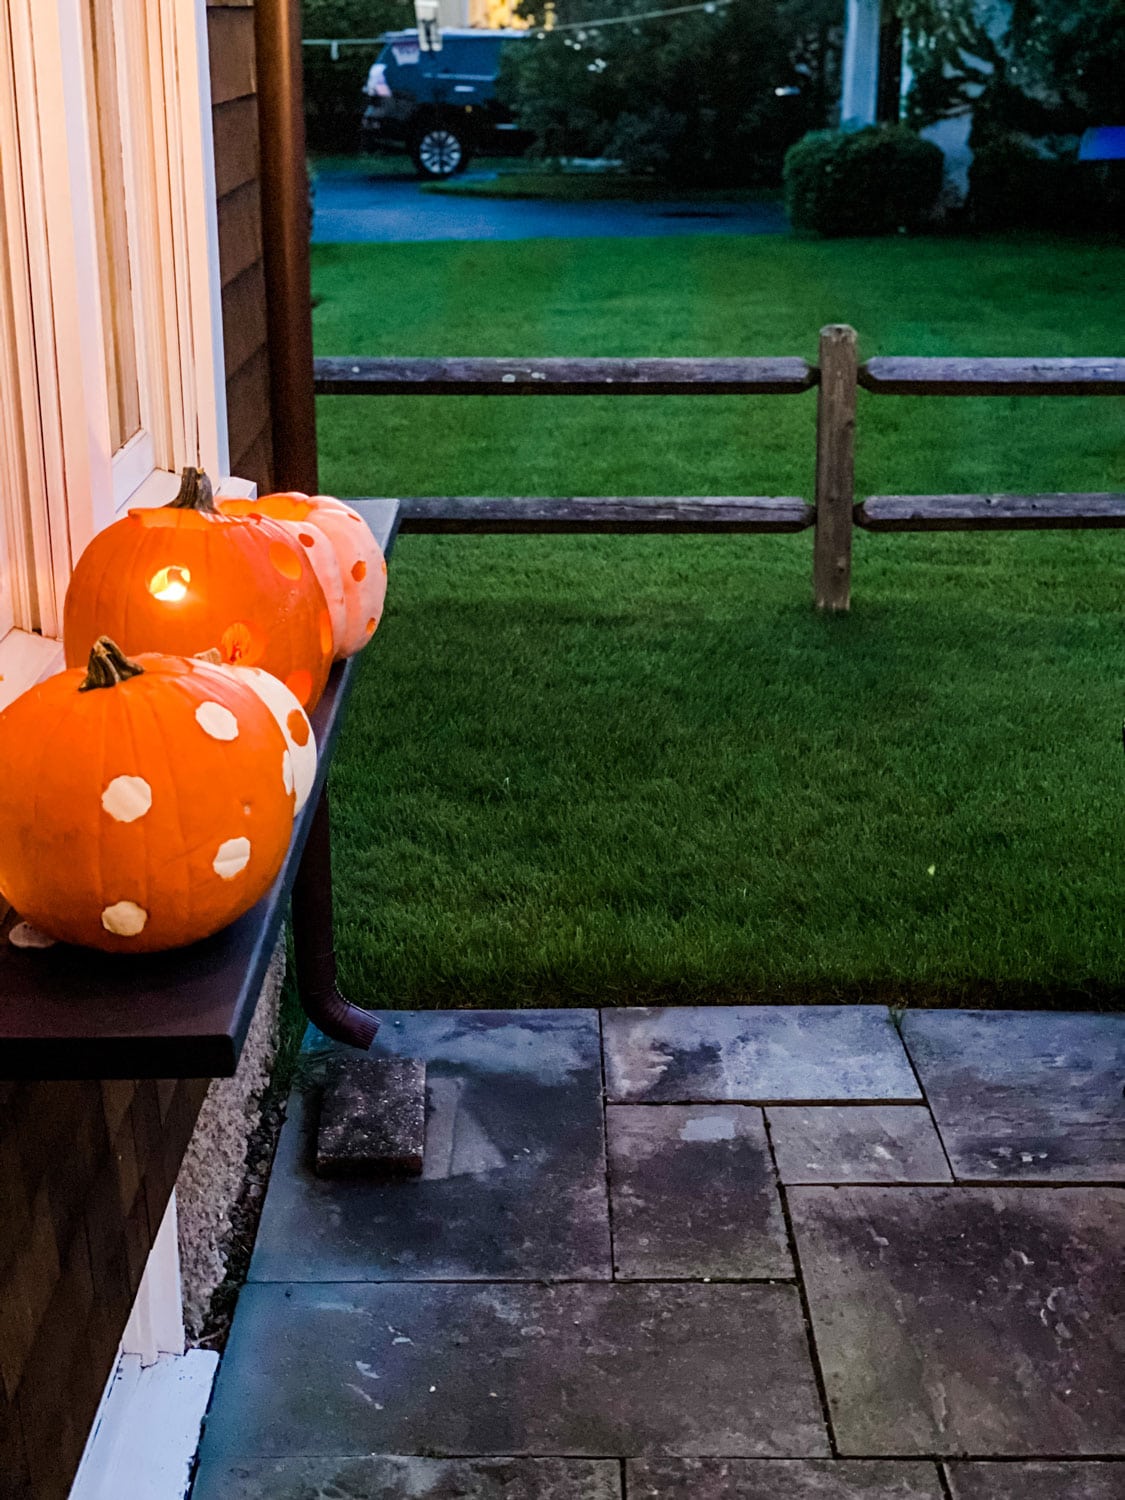
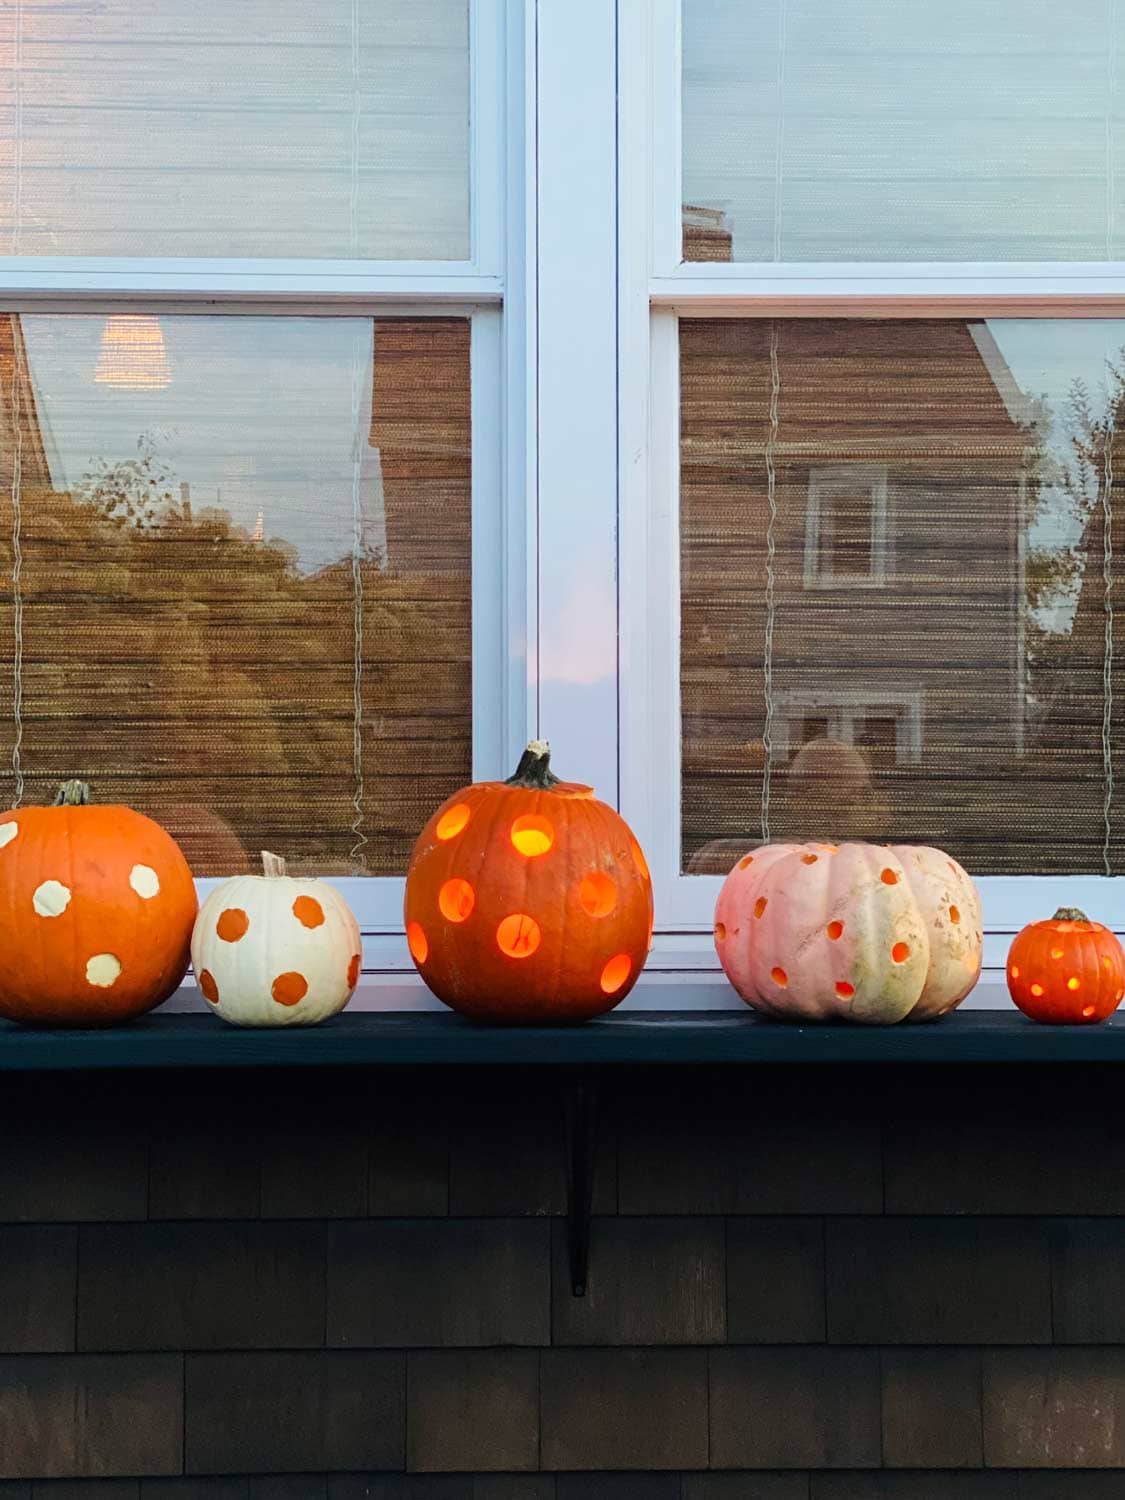
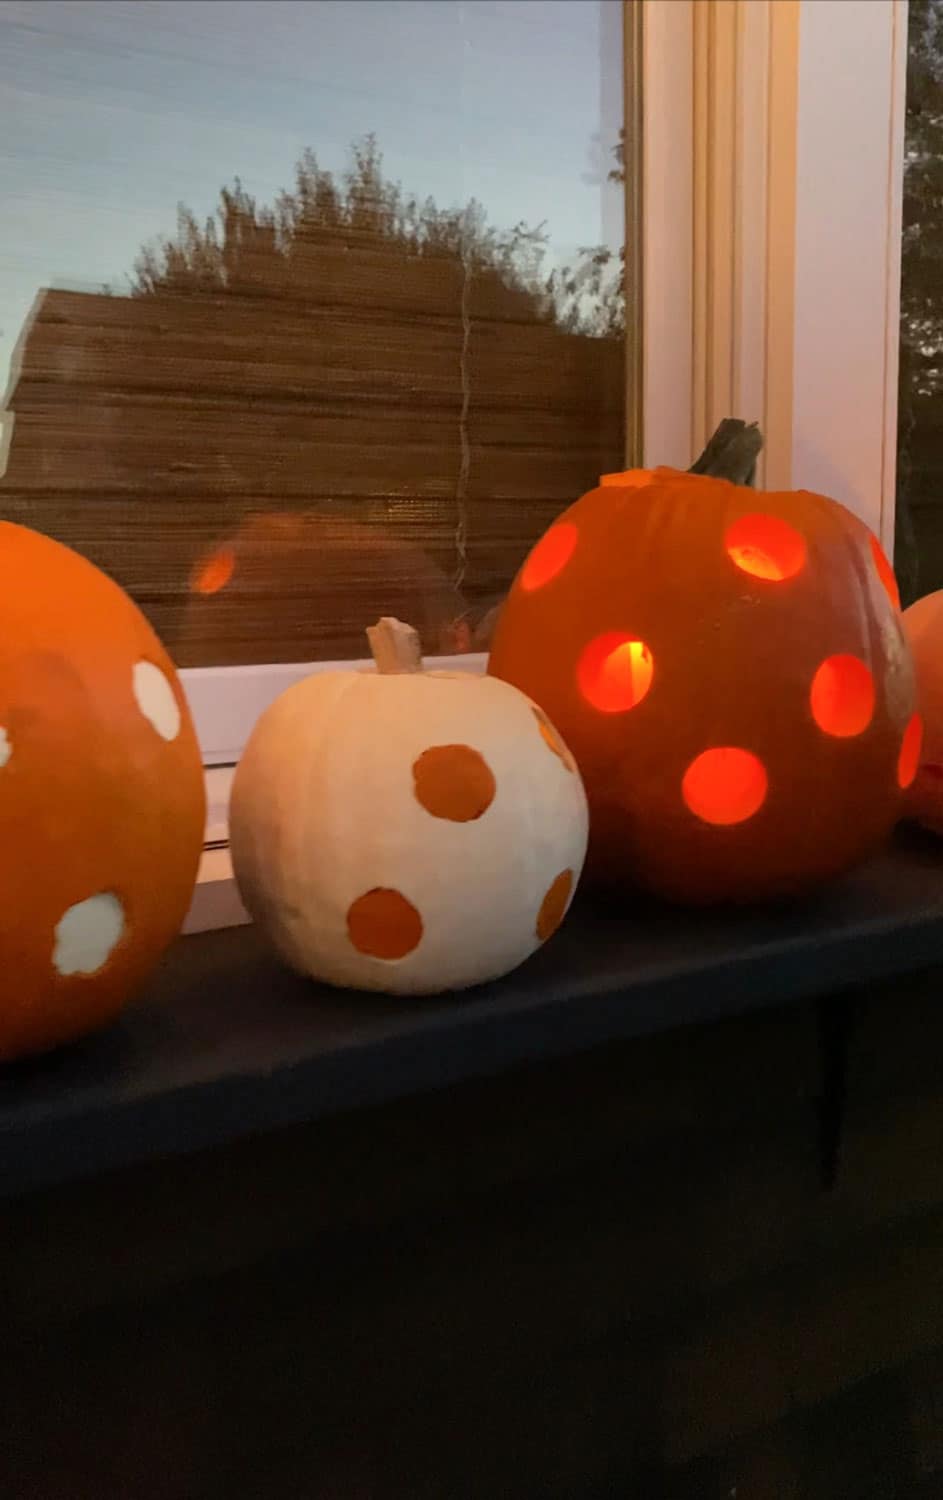
I like the pumpkins where we used power tools because you can use a candle, and who doesn’t love illuminated pumpkins that glow like lanterns? Here’s how we did it.


Pumpkin carving tips using power tools
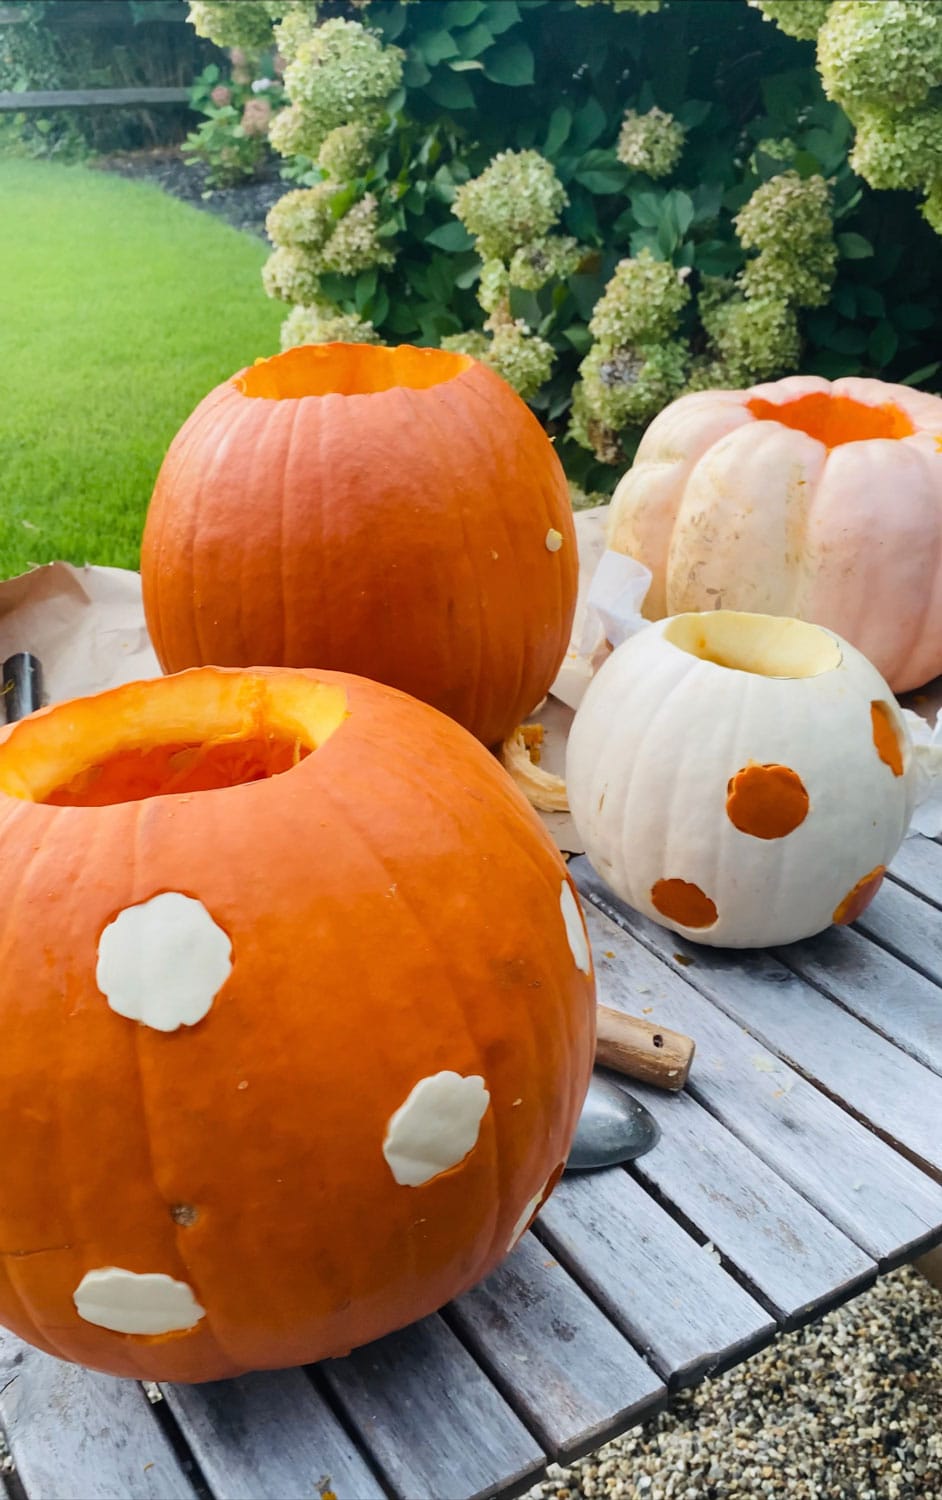
- First, start with a solid pumpkin and draw a circle around the stem to give you a guide for cutting a top opening.
- Use a drill bit to make small, circular holes just inside the drawn line on all the pumpkins you’re carving so that the jigsaw blade can be inserted to begin cutting. If you don’t have a jig saw, a serrated knife will also work.
- Use the jigsaw and follow your drawn circle to cut out the lid (or top of the pumpkin). The trick is to make sure you cut on a small inward angle that will help keep the lid from falling inside the pumpkin. The saw doesn’t require much pressure and saves a lot of time and work. It’s the perfect tool – especially if you’re doing several pumpkins.
- Pop the lid or top off and remove any seeds and the pumpkin’s flesh.
- Use a spoon, small scraper, ice cream scoop, or other pumpkin carving tools and begin scraping and removing the pumpkin guts/pulp and pumpkin seeds making sure the bottom of the pumpkin is flat and smooth (you can clean, save and bake the pumpkin seeds for a fun Fall snack or treat).
- Using a Sharpie or pencil, make X marks to help guide you where you want to cut holes
- Attach the size of drill bit you’ve selected and drill holes around the pumpkin going all the way through. Then remove the flesh from the drill bit and continue drilling holes.
- We used a large-diameter drill bit for the larger pumpkins and a small hole drill bit for the sugar pumpkins. You could get way more creative and develop your own intricate designs. However, if your design requires detailed carving, a knife might actually work better – although it is a lot harder.
Note: It does make a bit of a mess so I like to lay out Kraft paper or paper grocery bags on top of the work surface. When it comes time to clean up, this makes quick work of this sloppy task. Just fold up the paper with the mess inside and throw it in the trash.

The Power Tools We Used
- Cordless Power Drill (make sure your battery is charged before you need it)
- Jigsaw
- Different Size Drill Bits (1 1/8″, 3/4″, 3/8″)
Other Supplies Needed
- Sharpie marker
- Scoop or large spoon
- Kitchen knife
- Newspaper or paper bags
Secret tricks for keeping your jack-o-lantern fresh
Rub petroleum jelly around the cut edges to keep them moist and prevent them from rotting and shriveling. Cut edges are exposed so they tend to either dry out or rot. Keeping them moist with petroleum jelly helps them look good for a longer period of time. If your pumpkins shrivel within the first few days, try soaking them in water overnight. You can also spray them daily with water and a little bit of bleach mixed in. The water helps keep them moist, and the bleach helps fight bacteria and any mold that might begin to form.
You may also enjoy this post about making mini pumpkin planters
Pin for later


You are so amazing with those pumpkins…sure to be a Pinterest HIT. Also show us Patrick’s beer garden…so cute!
Mary Ann, he would barely let me get a photo! It’s a pretty cool space, he’s so lucky living in NYC!
OMG those pumpkins are adorable. I think Summer would love them. That table has caught my eye before, so great when you have limited space. I have never heard of Letra Bags. They are beautiful! Another great Sunday post!!
Cindy, I had not heard of the Letra bags until last summer, but now you’ll start seeing them everywhere!