How to Make a DIY Tiered Stand with Vintage Plates
Making a tiered stand with vintage plates is one of those projects I’ve been thinking about trying for a while. I almost always have a few extra plates on hand—from flea markets in France, and it turns out they’re perfect for this kind of project.
We often pick up random plates of all sizes at flea markets in France, and I find them at thrift stores here in the U.S., too. They’re usually just a few euors or dollars, which makes them ideal for projects like this.
Once you have your plates, you only need a few tools, some tiered stand hardware, and a little bit of time to create a beautiful piece for entertaining.
I was surprised at how easy it was to make a tiered stand. The most challenging part was simply finding the exact center of each plate before drilling. I posted this project on Instagram and several people commented that they were surpirsed the plates didn’t crack when drilling the hole. How you drill the hole matters, keep reading to the instructions!
What kind of plates work best for this project?
For a two-tiered stand, try pairing a dinner plate with a salad or dessert plate.
For a three-tiered stand, look for a dinner plate, a salad plate, a dessert plate, or a small bread plate for the top. You could use plates with the same pattern, or mix different plates. There’s really no single way to make one.
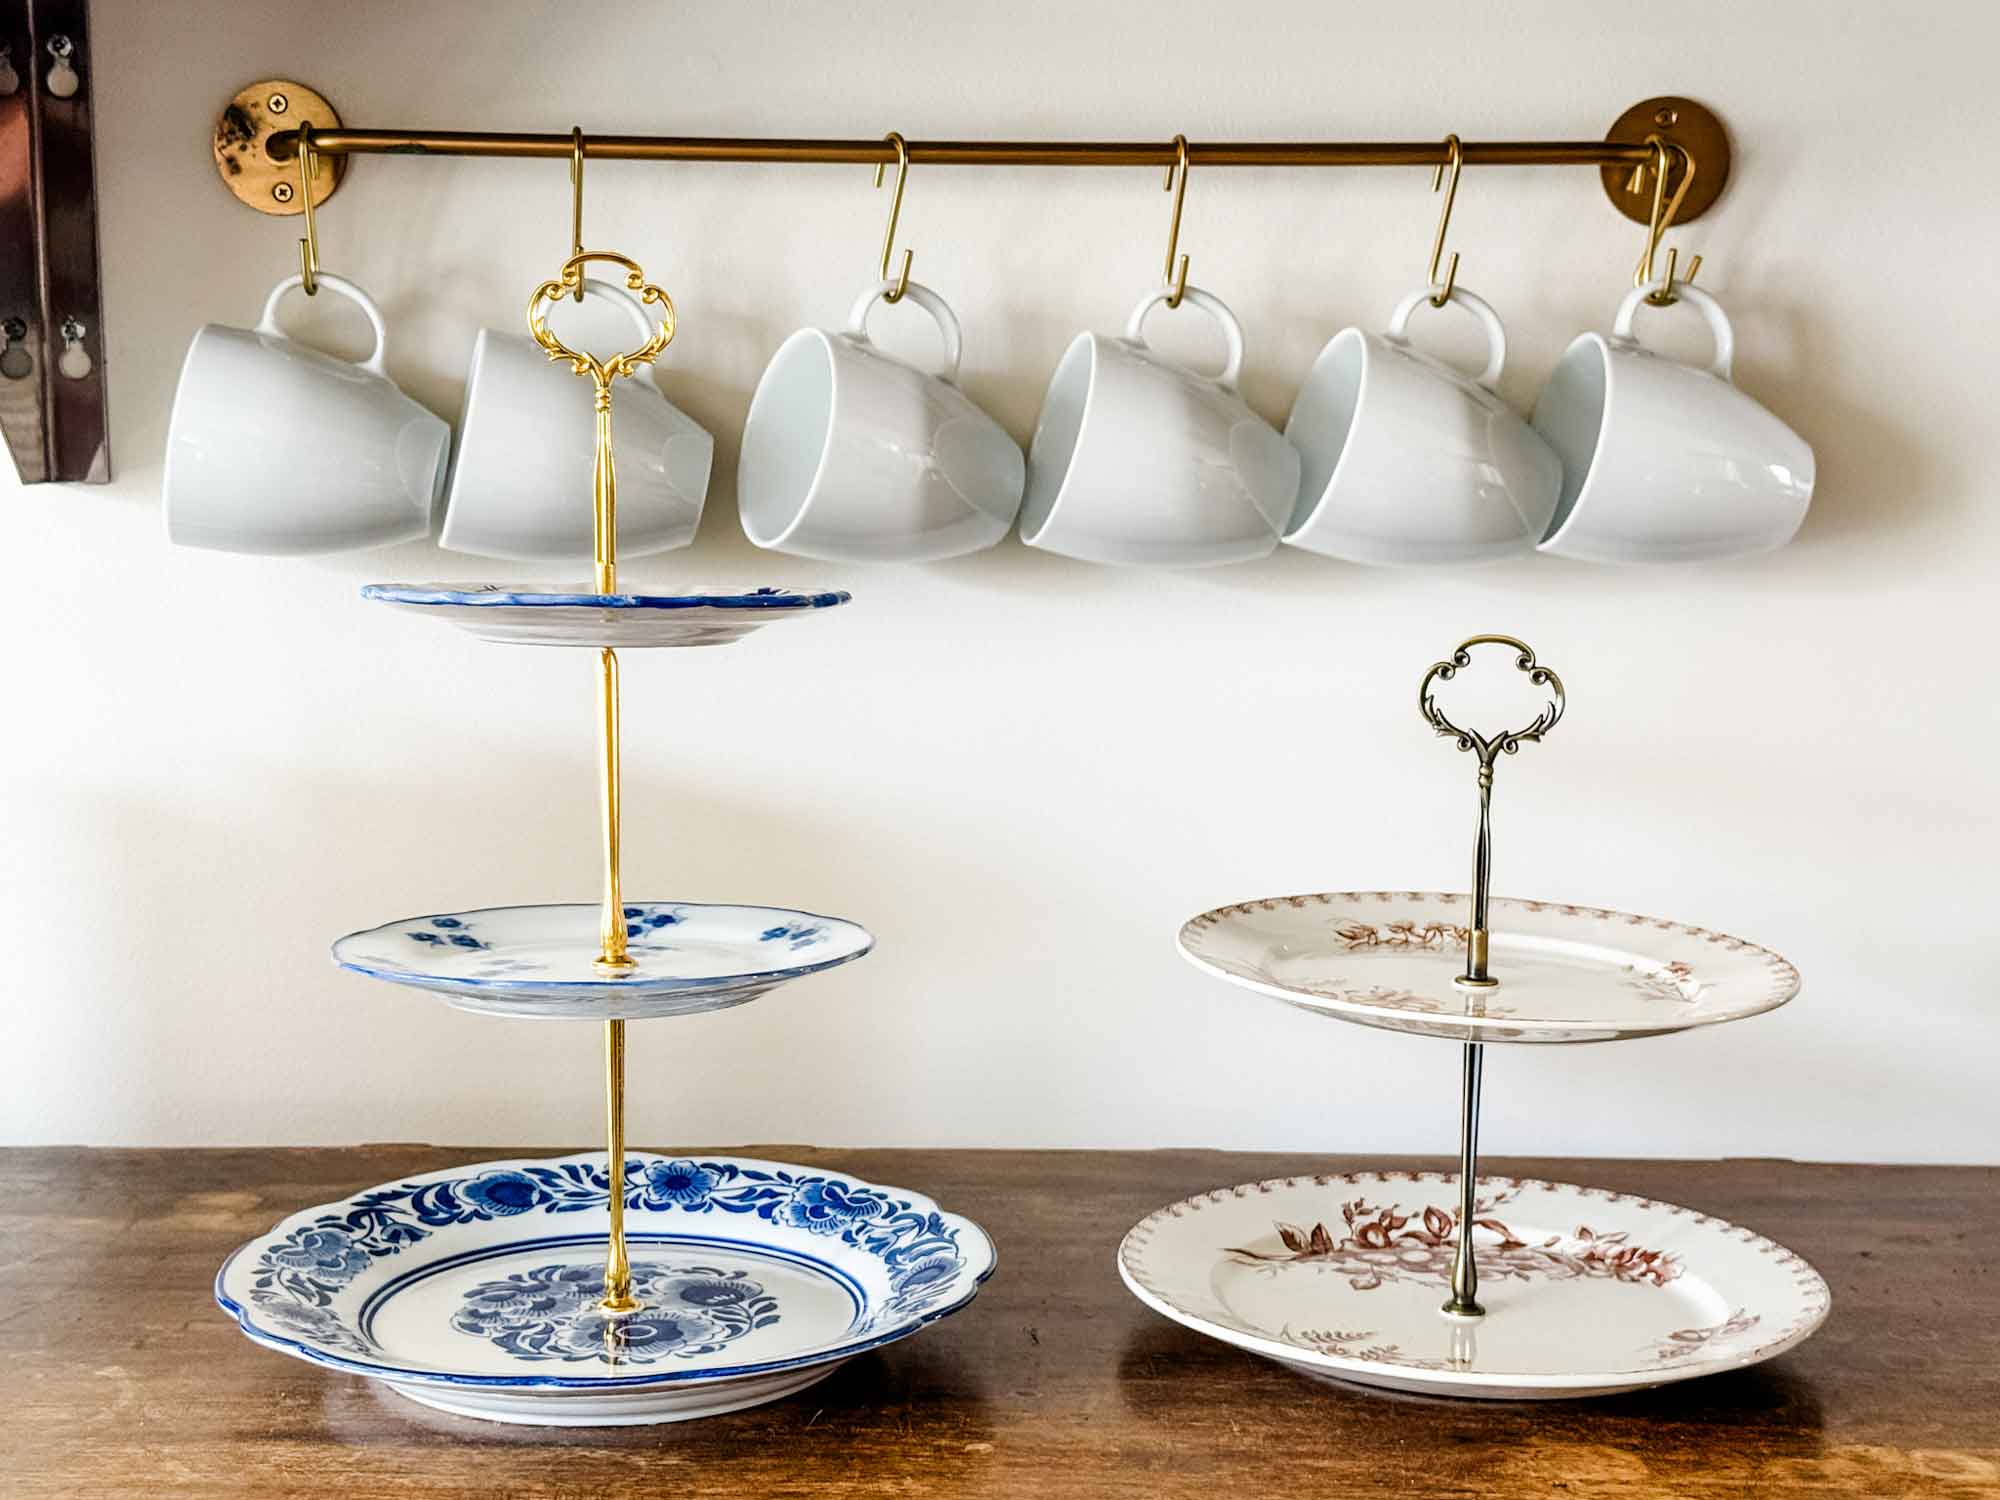
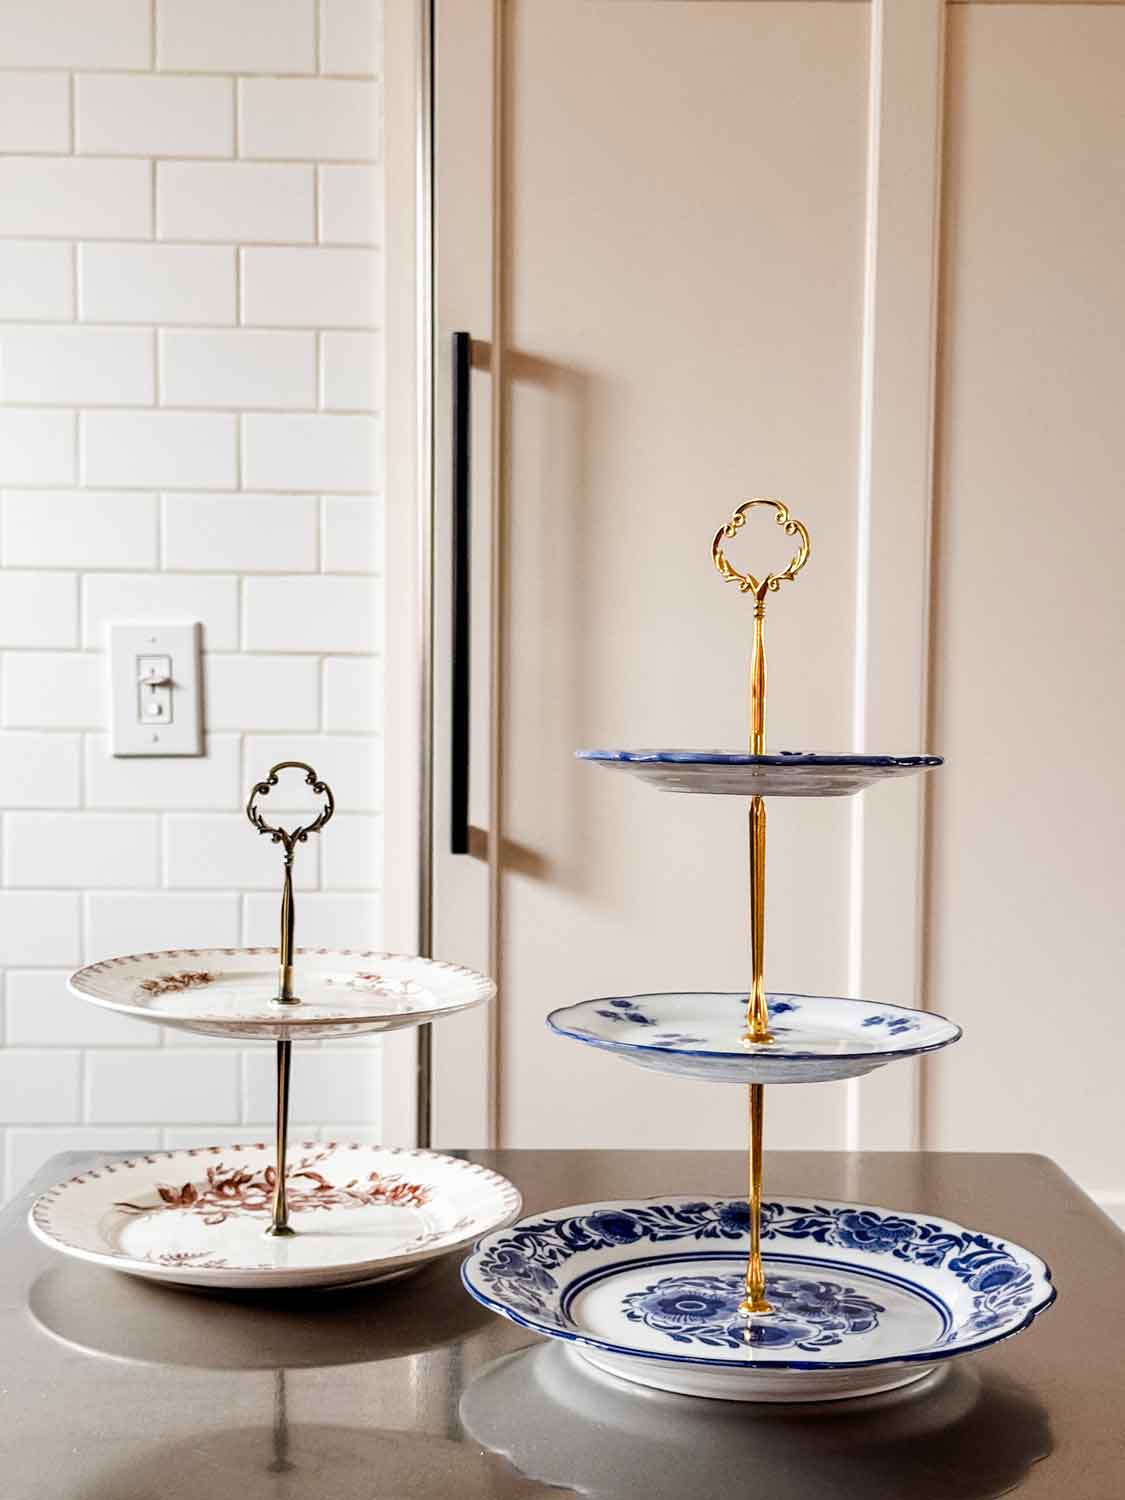
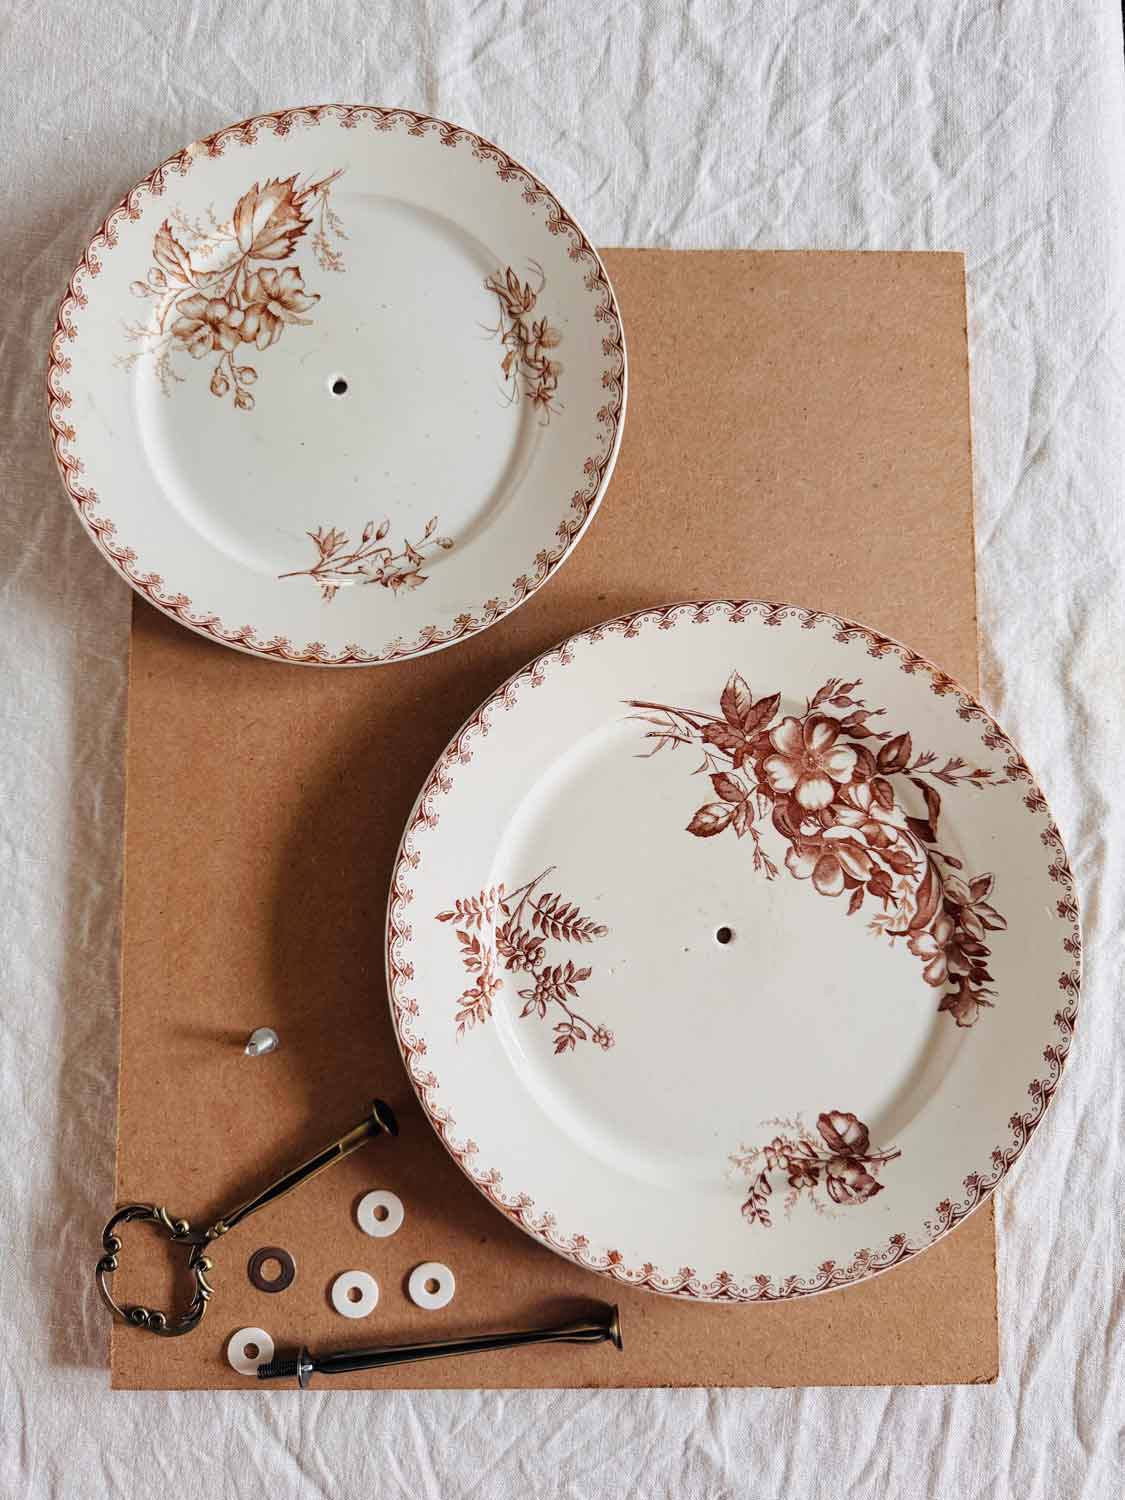
For my two-tiered stand, I used a dinner plate and a salad plate—both vintage transferware in brown and cream.
For the three-tiered stand, I used three different sizes in blue and white. Each plate is slightly different, but they all have a softly ruffled edge, which ties them together nicely.
Mixing and matching plates works beautifully for this project. I’m already thinking it would be fun to make one for Christmas using a mix of green and deep red (burgundy) plates.
Ways to Use Your Tiered Stand

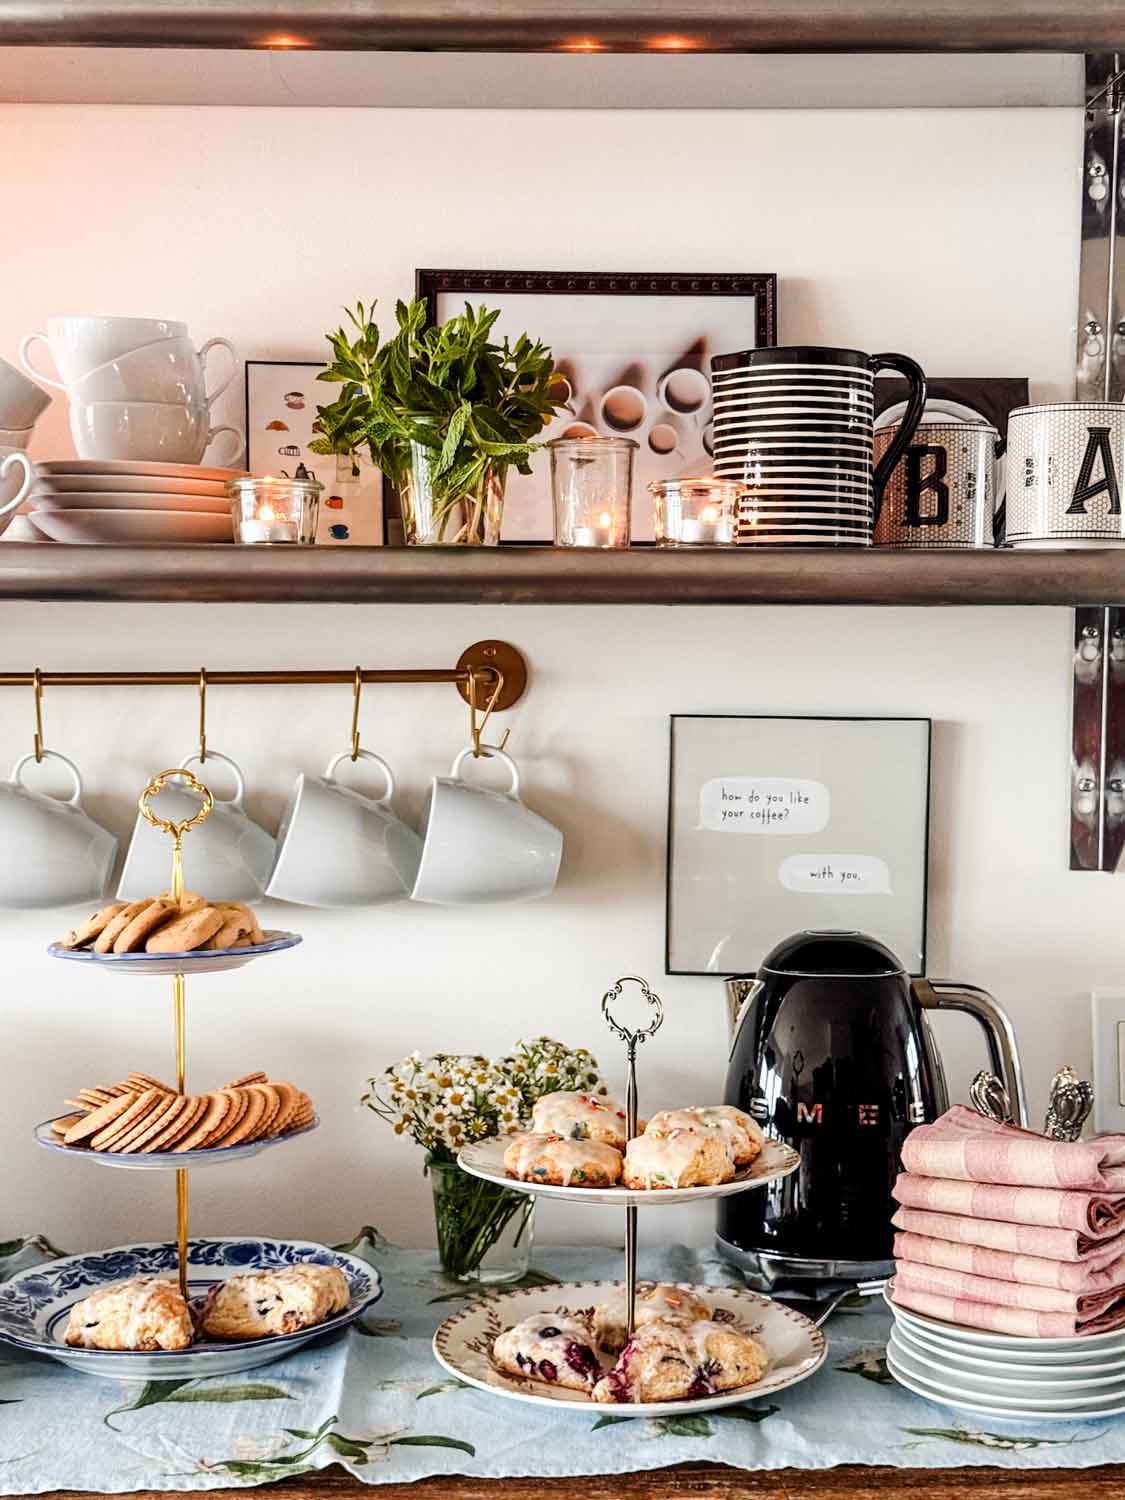
These are often called cake stands, but technically they’re tiered stands. A traditional cake stand is a single plate on a pedestal, while a tiered stand is designed for serving smaller things on multiple levels.
They’re perfect for cookies, cupcakes, or scones, and just as nice for savory things like tea sandwiches or cheese and crackers.
Tiered stands are also especially helpful on a buffet table because they add a little height and make it easy to serve several things without taking up too much space.
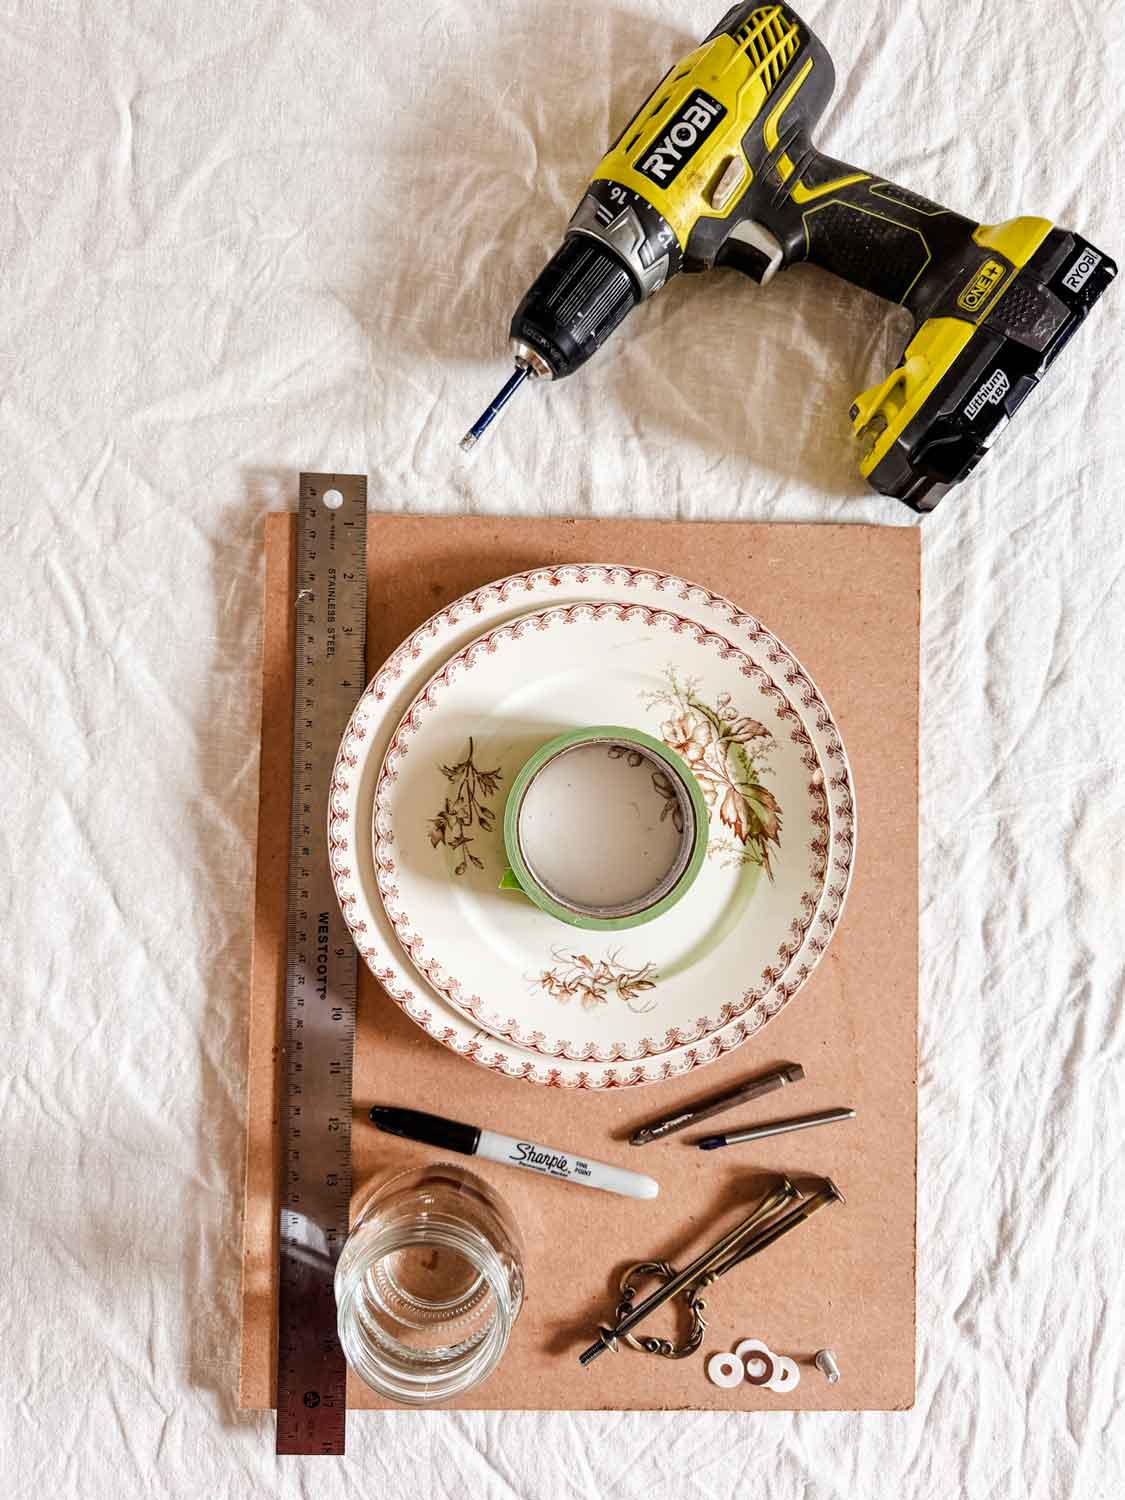
Tools and Supplies
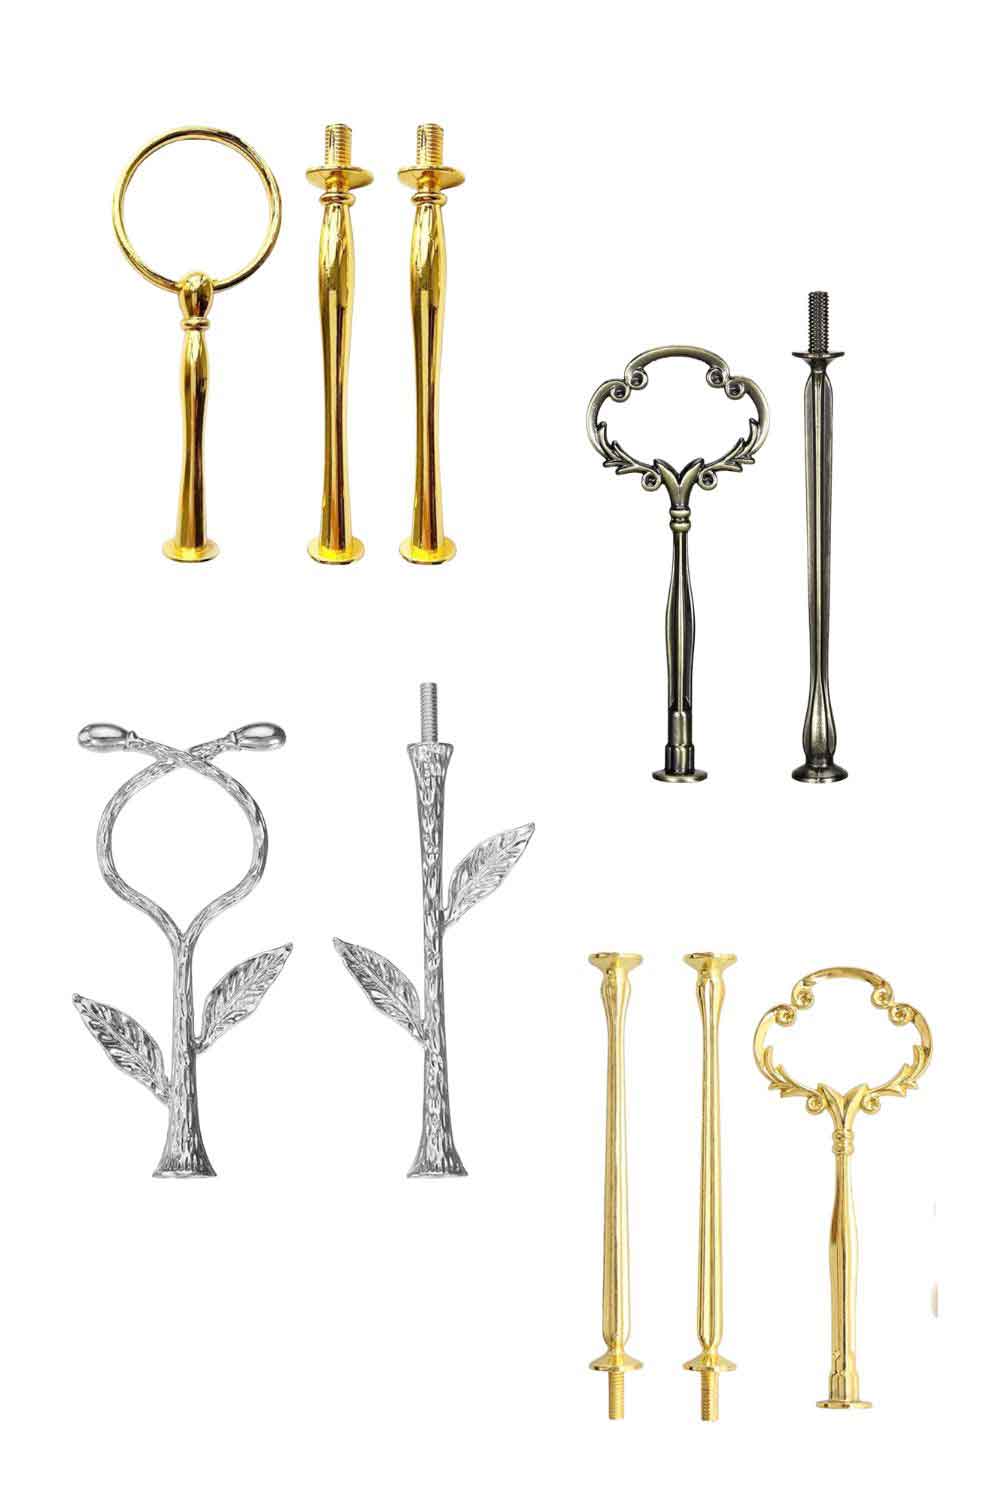
- Tiered stand hardware (left to right: 1. // 2. // 3. // 4.
- Plates (three sizes: dinner plate, salad plate, dessert plate, or saucer)
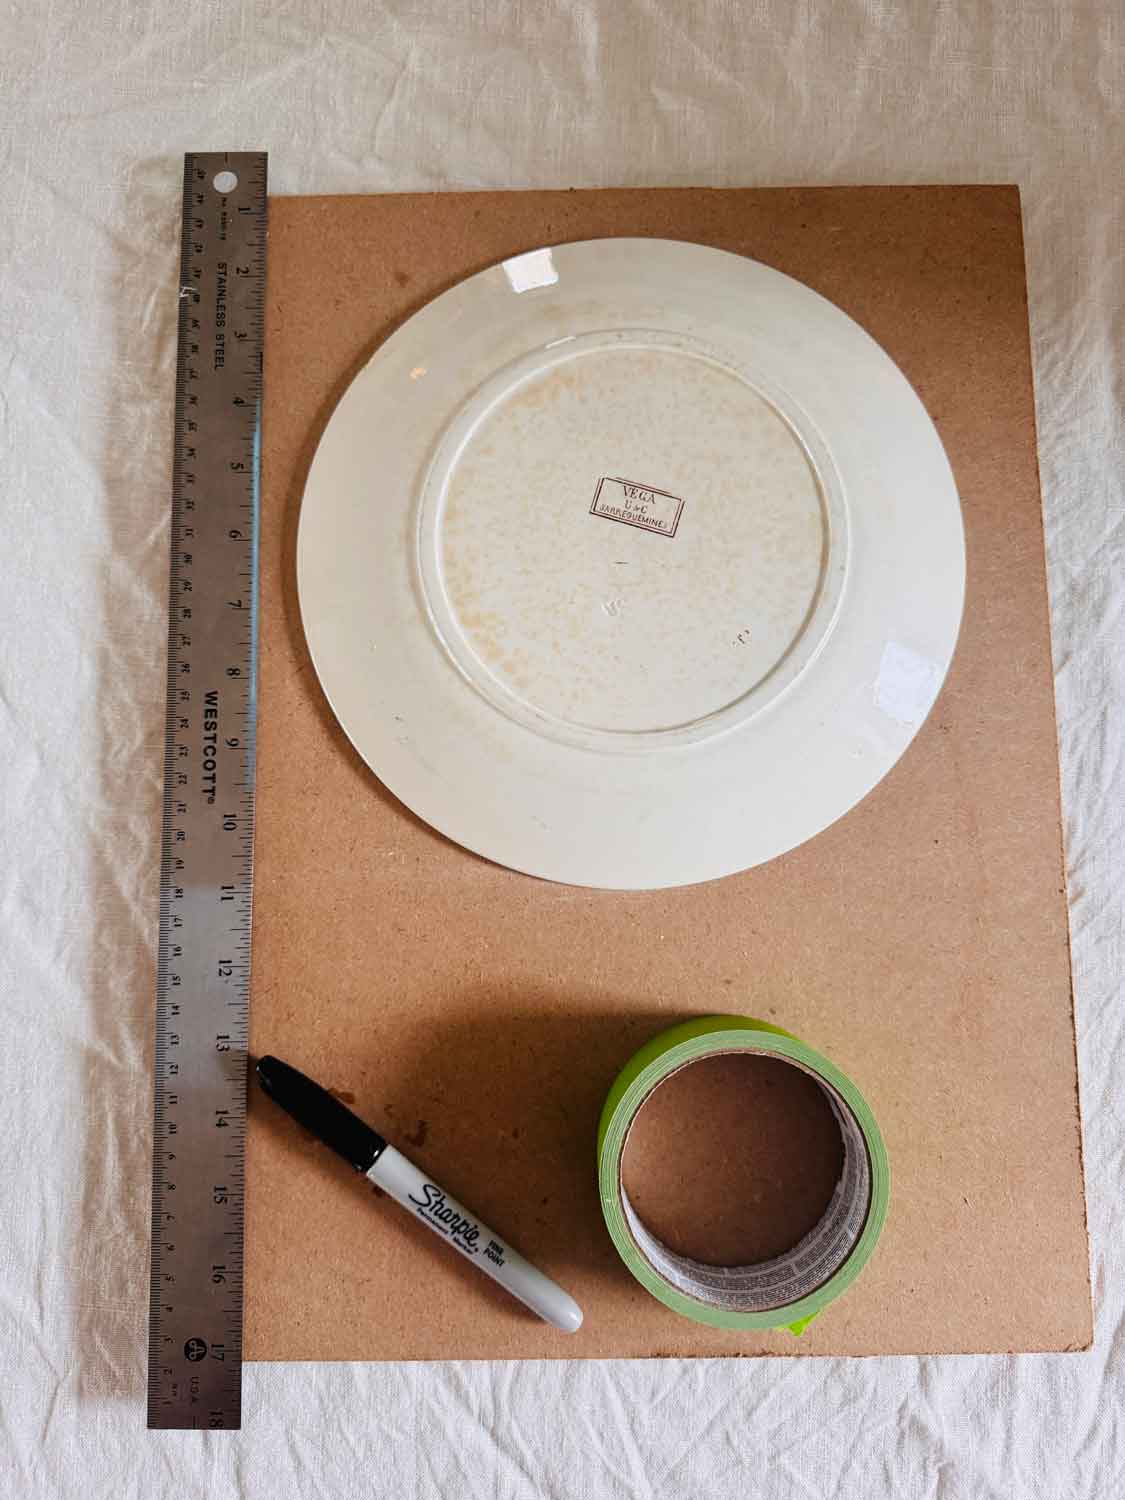
- Sharpie to mark the center
- Ruler
- Drill
- Diamond drill bit (1/4″ size)
- A piece of board to use as a work surface
- A cup or spray bottle of water
Instructions for making tiered stands

How to drill holes in ceramic plates
Note: Ceramic surfaces are an incredibly hard material, and the Diamond drill bits and the plate can get very hot during drilling. Thicker ceramic takes longer to drill through and is prone to more heating. If too hot, the plates can crack or break during the drilling. So you’ll want a small glass of water to dip the drill bit in to cool it down. You’ll also need a spray bottle to cool the plate. I actually poured a little bit of water inside the bottom rim of the plate, and that kept the plate cool while drilling.
Always wear safety glasses or safety goggles to protect your eyes from ceramic dust or chards.
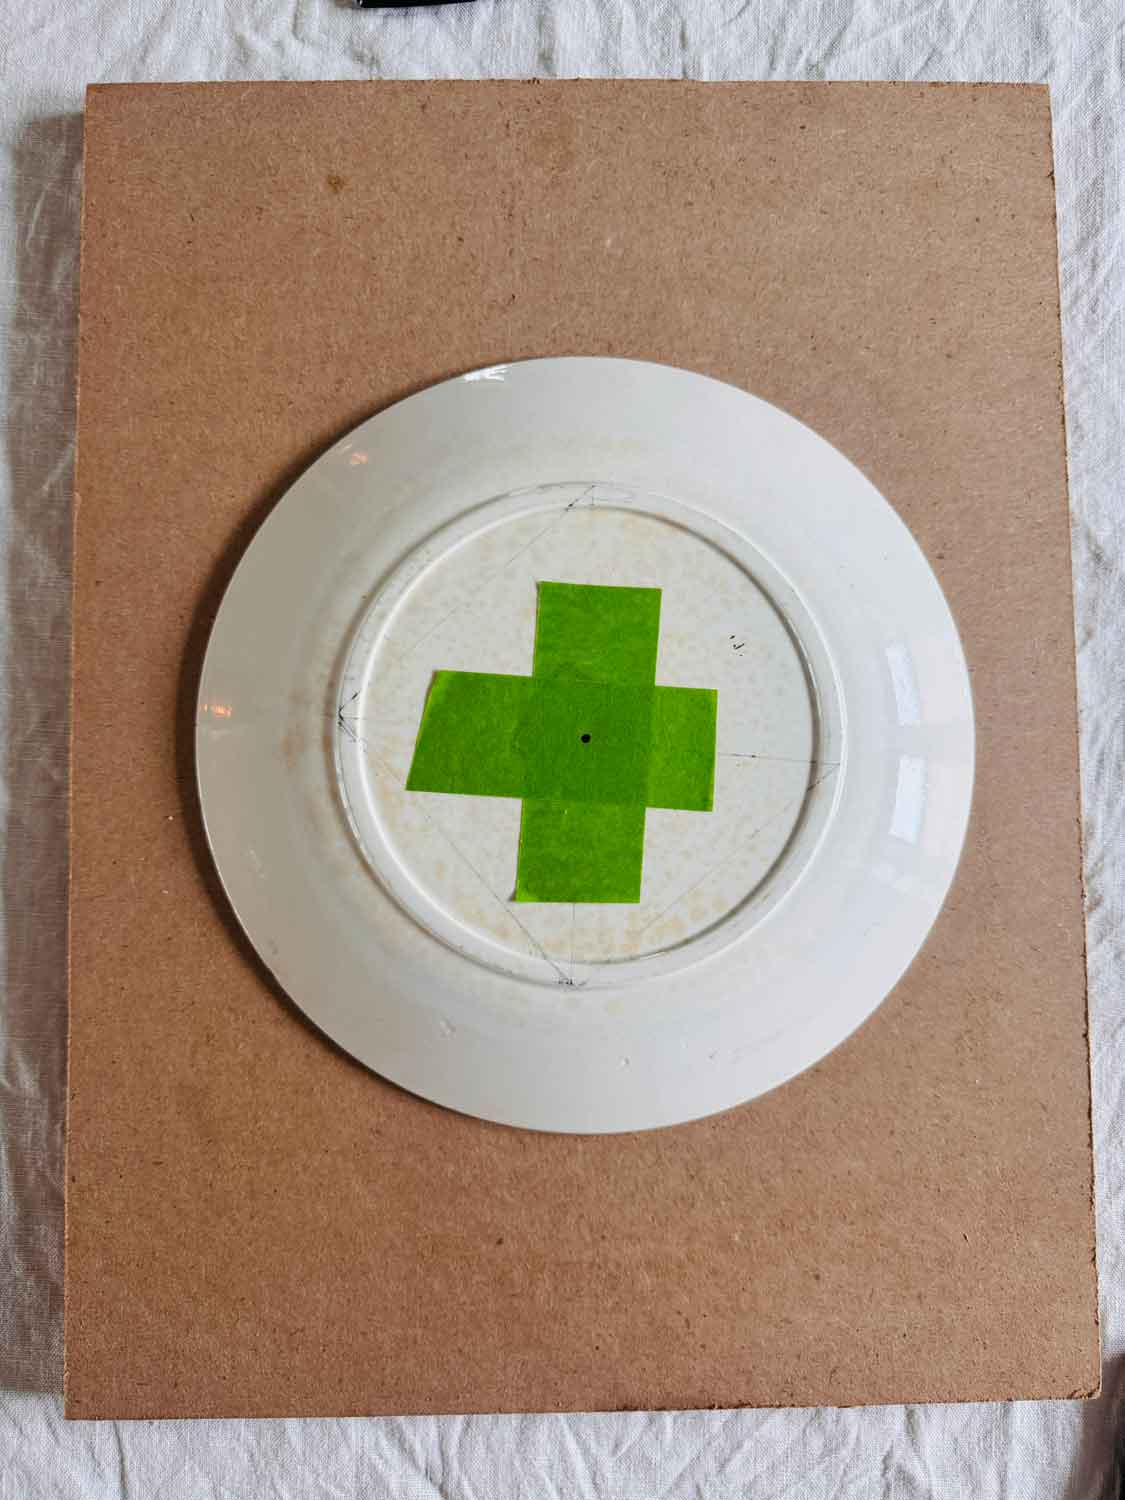
- Turn the plate over (bottom side facing up) and, using a sharpie, mark the center of the plate.
- Place a short strip of painter’s tape vertically over the center. You’ll be able to see the Sharpie mark from the bottom of the plate. Mark the dot again on the painter’s tape.
- Place a short strip of painter’s tape horizontally over the center mark and mark the spot again on the painter’s tape.
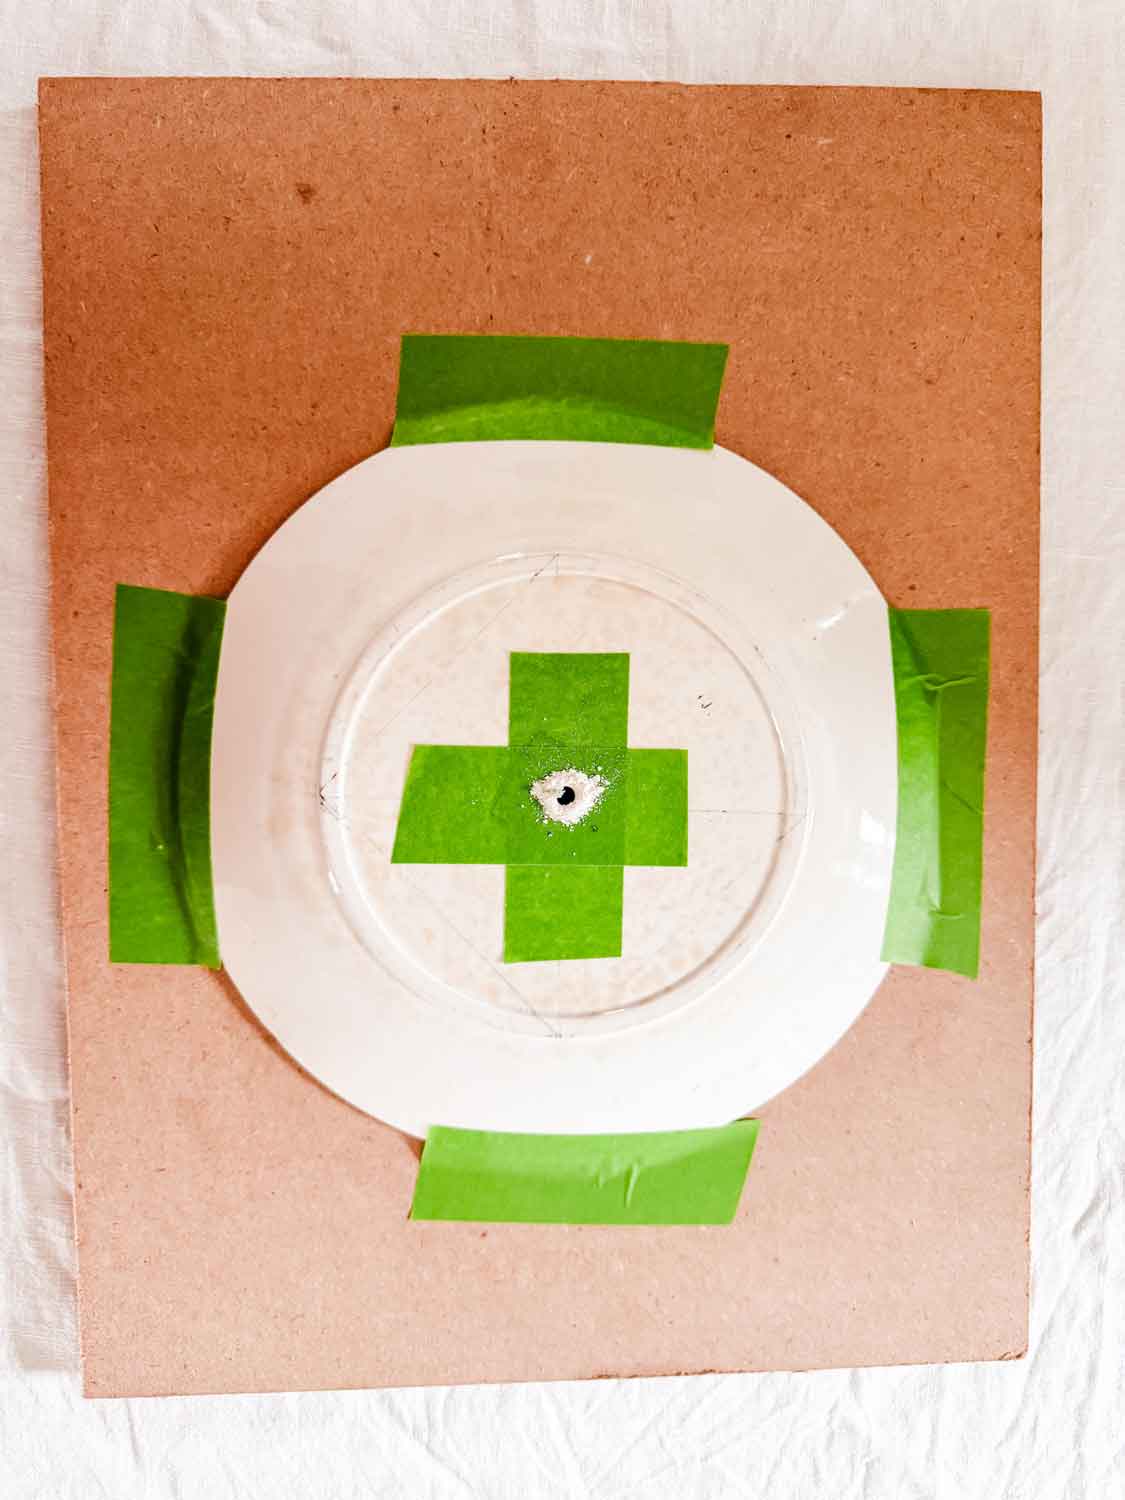
- Using small strips of painter’s tape, secure four sides of the plate to the work surface. Now, you’re ready to drill the hole.
- Holding the drill roughly at a 45-degree angle, drill a small notch in the bottom of a plate. As the drill bit starts to catch, slowly begin raising the drill to straight up and down, and continue drilling until you’ve drilled all the way through the plate. Take brief pauses to cool down the plate and drill bit using cold water.
- Clean your plates thoroughly and assemble the tiers with the hardware you purchased according to the package directions.
If you don’t want to make one, I’ve rounded up a few of my favrorites!
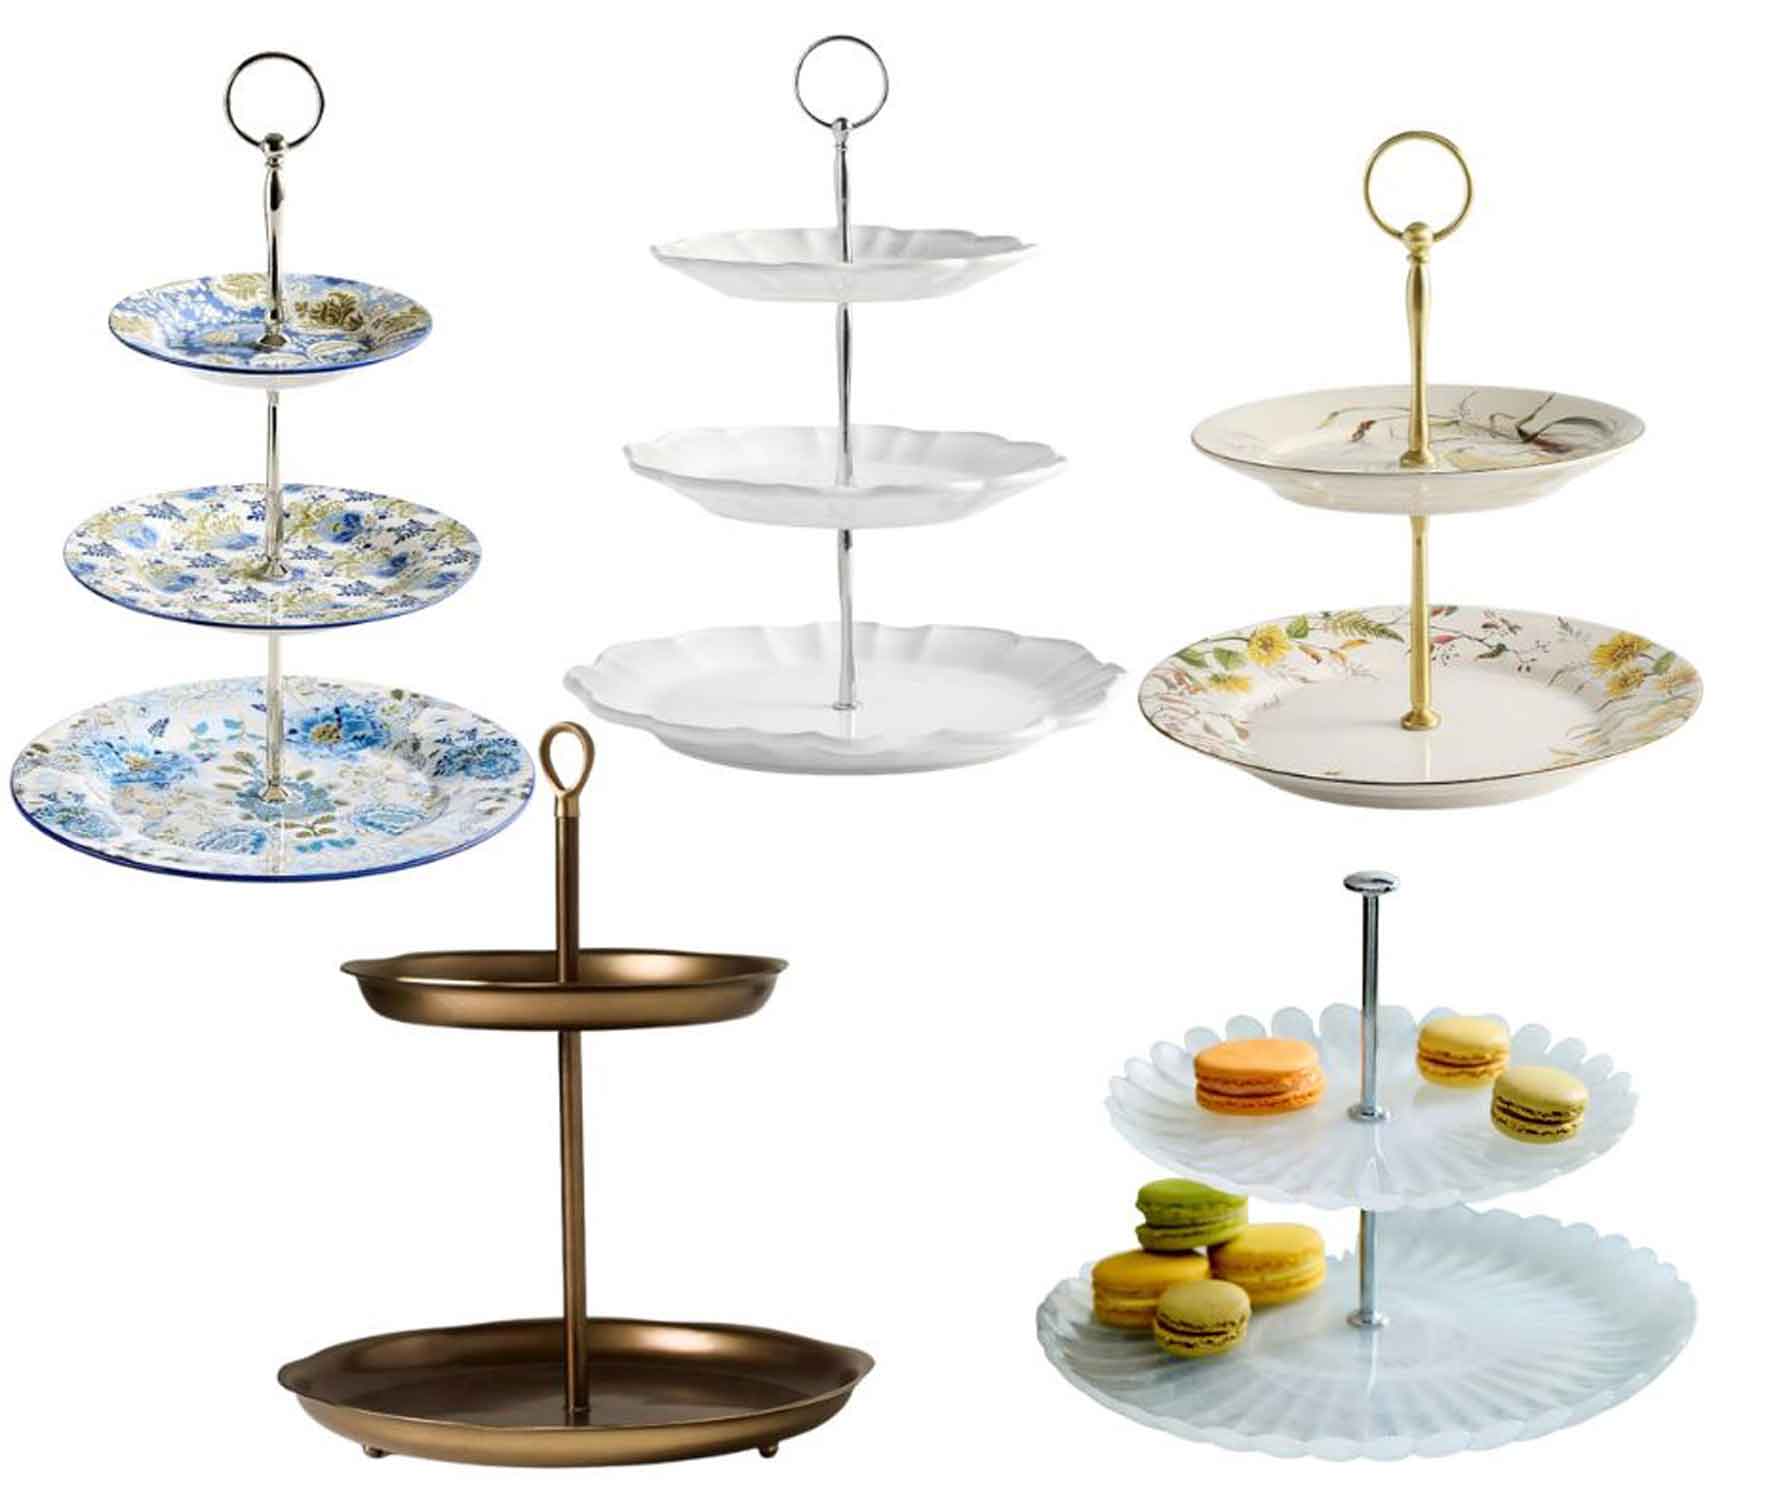
Left to right: Blue Floral 3-tiered Stand // White Scalloped 3-tiered Stand // Bedford Harvest Tiered Stand // Galina 2-tiered Platter // Scalloped Glass Serving Stand
You may also like these posts:
How to Set a Nature Inspired Spring Table