
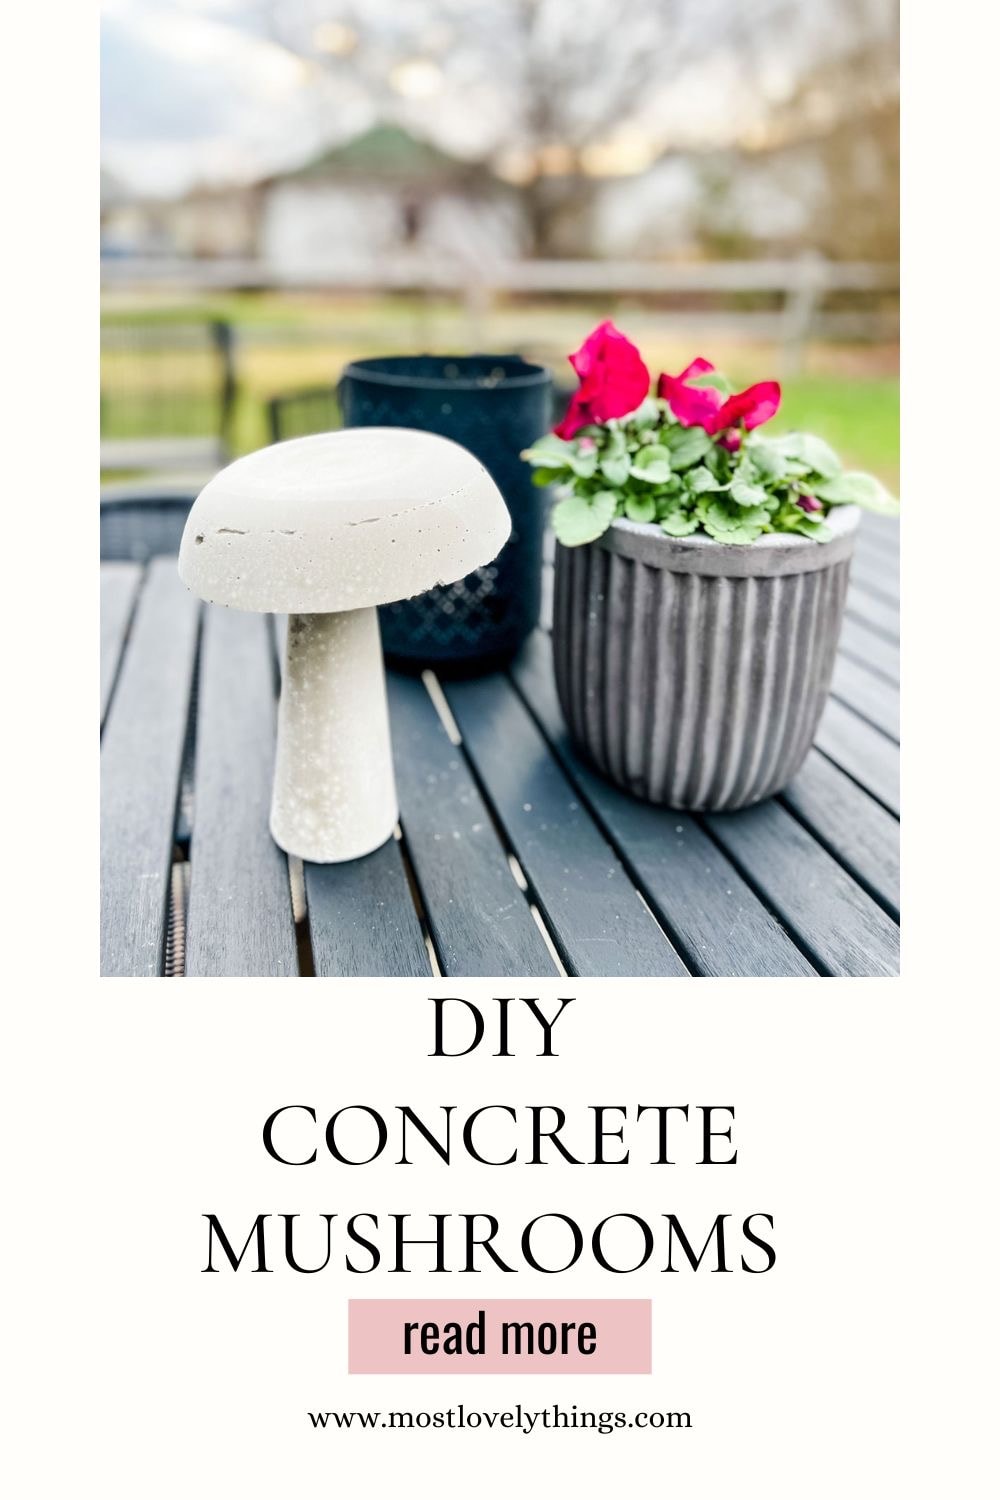
How to Make Easy Concrete Mushrooms
Bring a forest feel to your home with a concrete mushroom. Today I will share how to make easy cement mushrooms to display indoors and in the garden. Originally I imagined using them only outdoors, but then I had the idea to create a tablescape. I’ll share more about that later in the post.
I’m joining a few friends to share budget-friendly crafts, and these cement mushrooms are inexpensive and easy too!
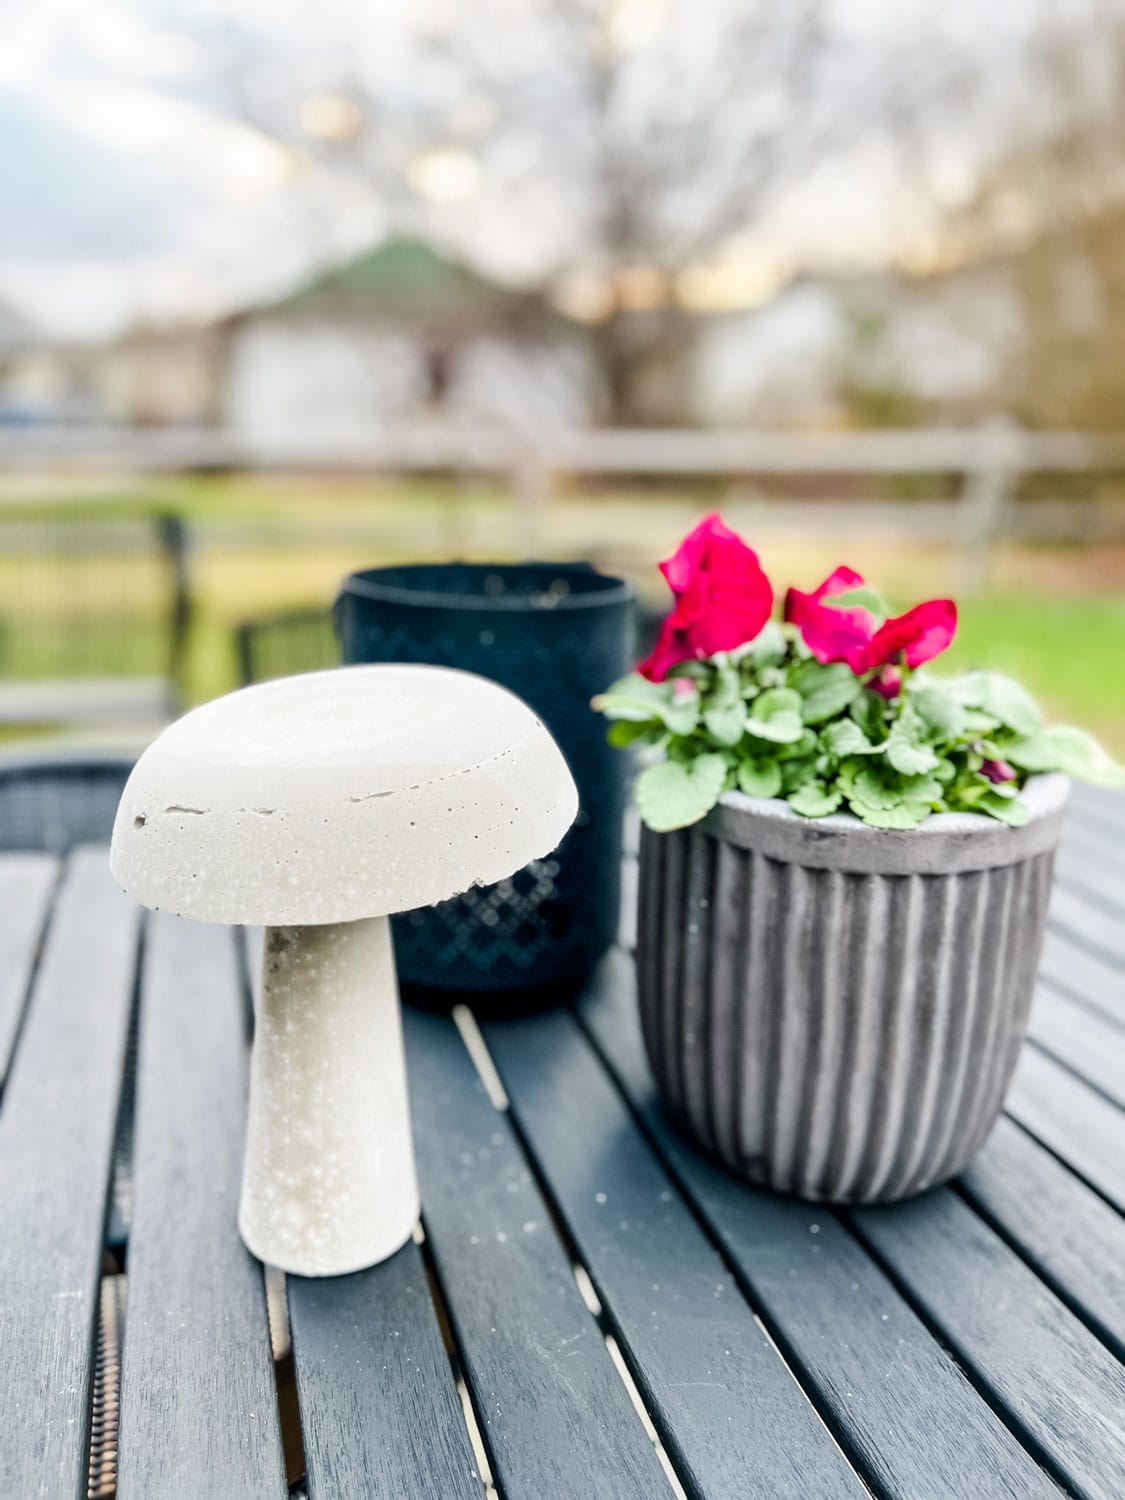

On occasion, a DIY project can be intimidating. Sometimes they don’t turn out the way you imagined. But these concrete mushrooms were far easier than we expected and better than we imagined. Those two things don’t often happen on the same project. You will be amazed at the finished product!
What is the Difference Between Concrete and Cement?
Most of us use these two term interchangeably and often incorrectly. And we use them interchangeably throughout this post. However, technically speaking and in laymen terms, cement is a binding agent made from limestone and clay. Concrete is a building material made by the proper mixing of cement, water, sand and rock. We used a quick-set patch and repair mix and only needed to add water. And they turned out great.
Tools and Materials Needed for Making DIY Cement Mushrooms:
- Quick-set patching/anchoring/casting concrete (we bought a 25 lb. box for around $17 at Home Depot and didn’t need to add sand).
- Plastic container or can large enough to fill approximately one mold (mix a fresh batch of concrete separately for each mold, otherwise the concrete sets and dries too quickly)
- Paint stir stick for mixing concrete
- A plastic drop cloth to adequately cover the work surface
- Mold for mushroom stems (we used a $2.00 cone-shaped plastic spray bottle from Ikea with the top screw part cut off)
- Mold for mushroom tops/mushroom caps (we used two small plastic bowls), the same ones we used to make ice lanterns.
- Cardboard paper towel or toilet paper roll with bottom end sealed with tape (an old pvc pipe could also work)

Instructions for DIY Concrete Mushrooms With Molds:
- Cut the paper towel roll to about six inches long and seal off one end with tape.
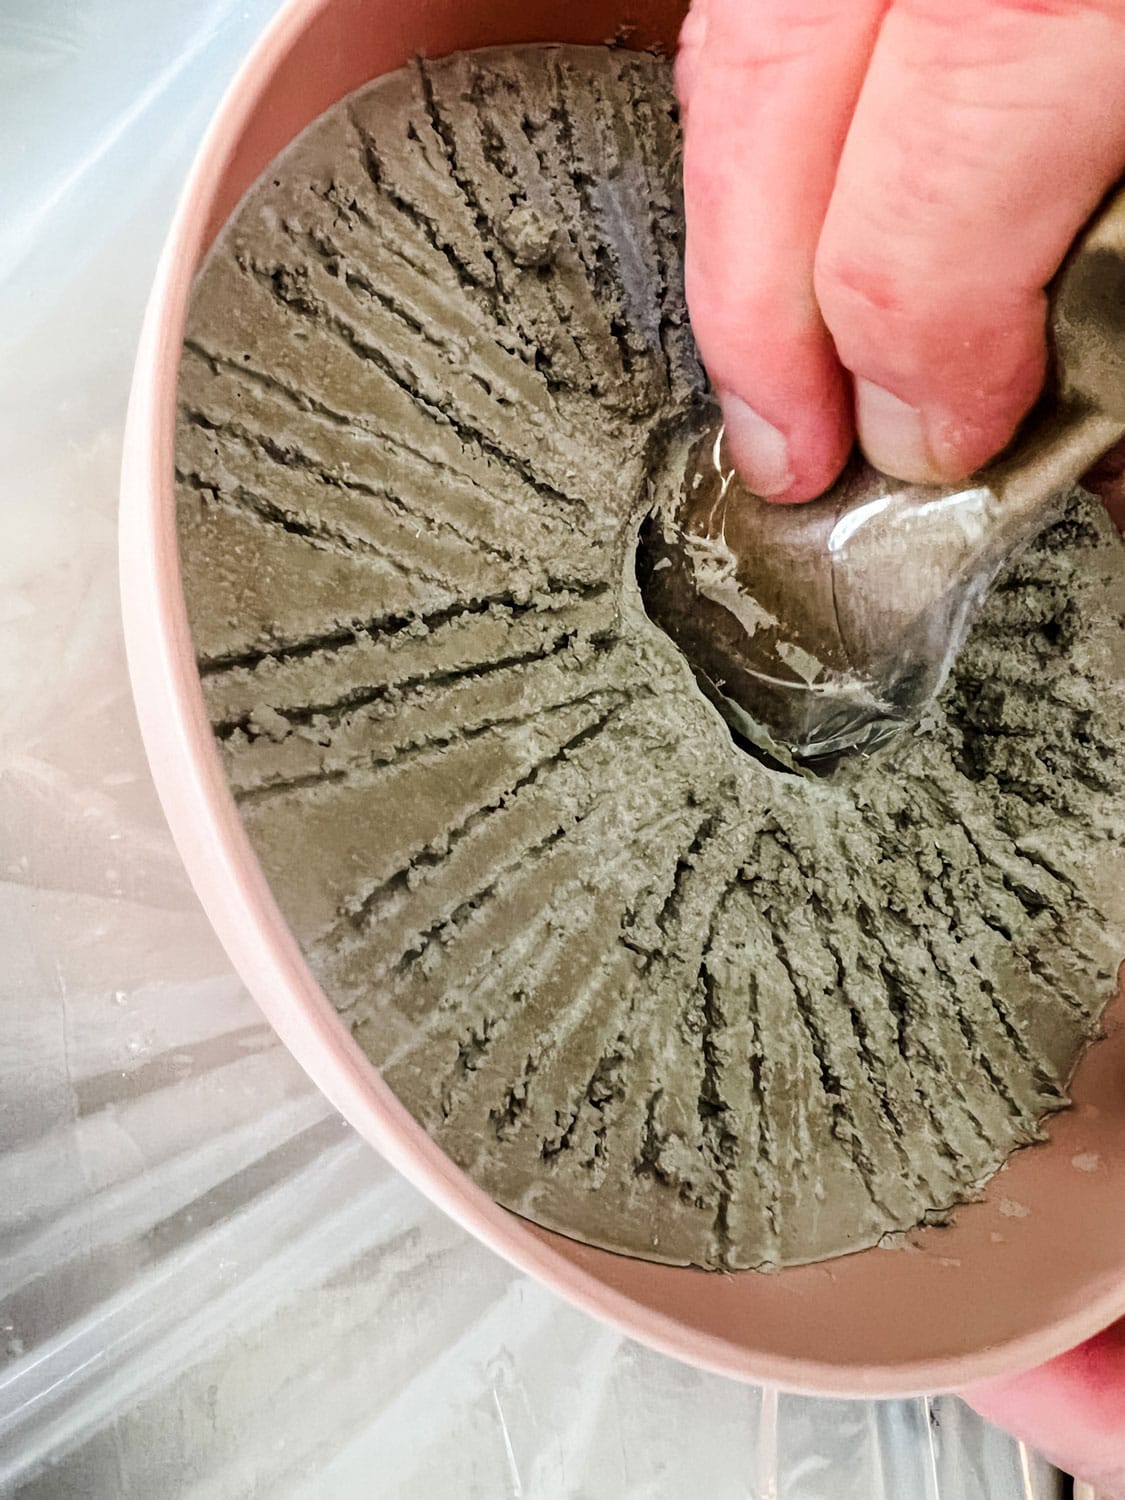
- Scoop concrete powder into a mixing container and add water (approximately one part water to 4 parts concrete), and mix well.
- Pour the concrete into the first mold and gently shake it so the concrete settles evenly (make sure the concrete is a consistency that will pour easily into the containers – add more water or concrete powder to achieve the right consistency)
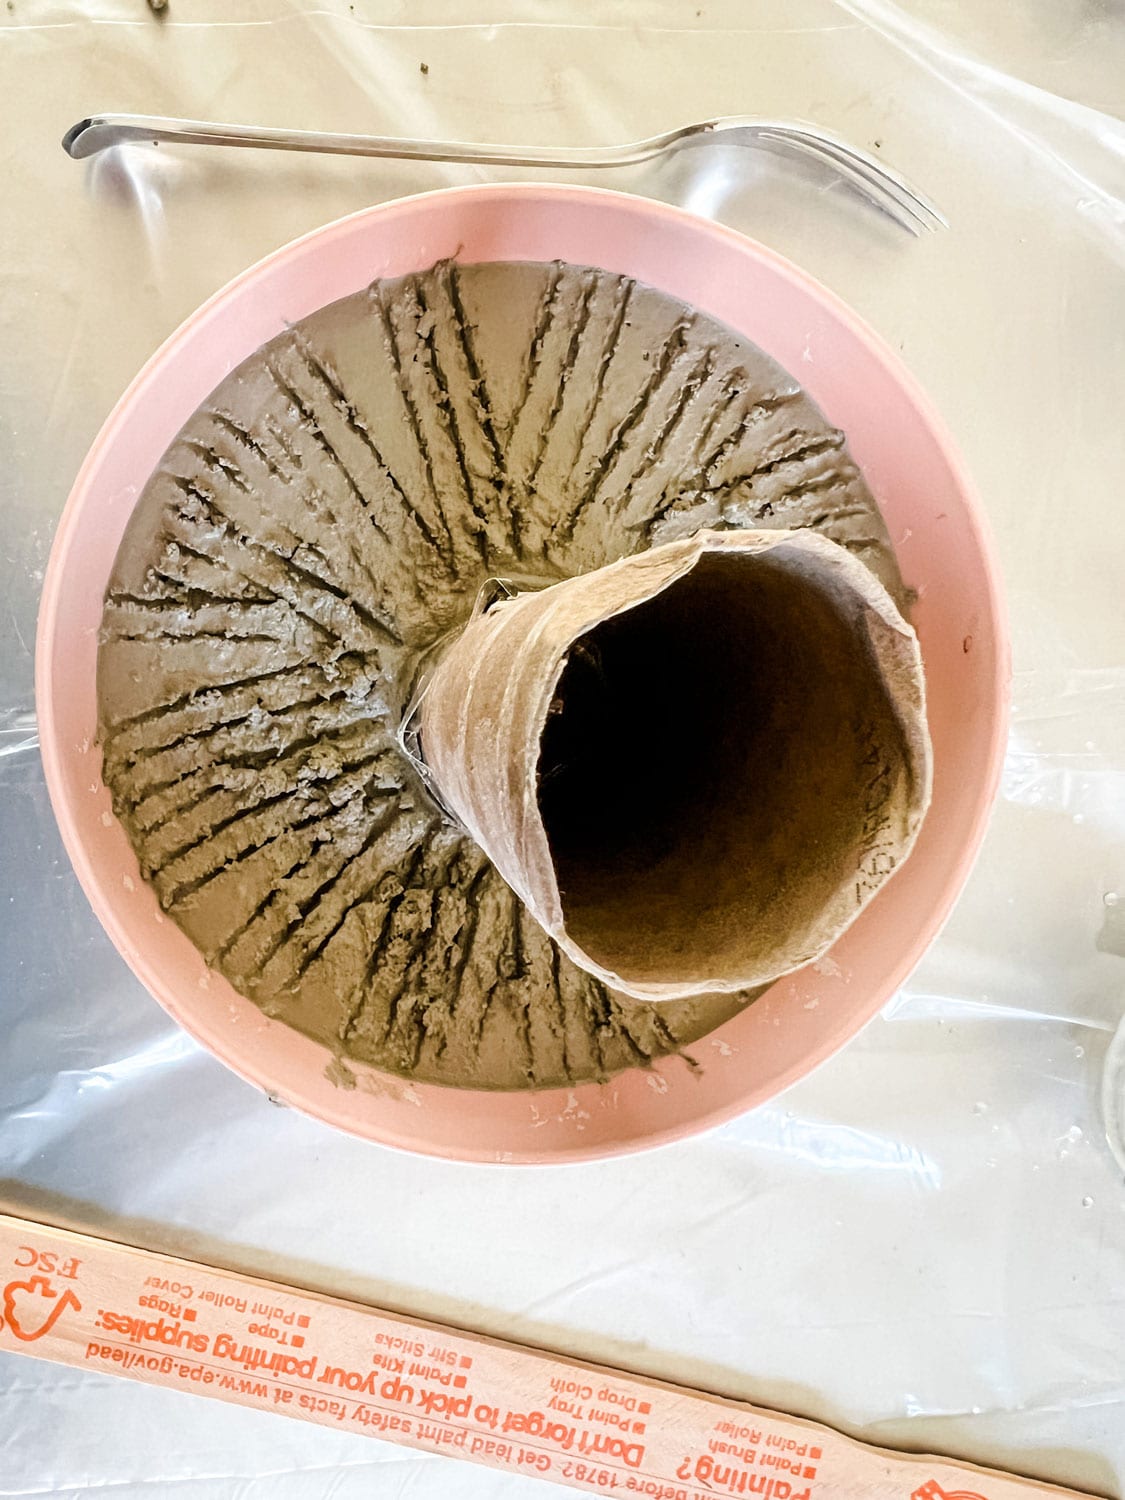
- On the underside of the mushroom mold, center the cardboard roll sealed-side down, insert it into the concrete, and press down, pushing it about 1 ½” to 2” into the concrete. On the underside of the mushroom top, use a plastic fork to draw rough lines that look like the ribs of a mushroom.
- Let the concrete dry (quick-set concrete dries pretty quickly, and we let the molds sit untouched for about two hours), and then remove concrete from the molds:
- Mushroom molds – the mushroom tops easily slid out of the plastic molds/bowl.
- Mushroom stems – using a box cutter, carefully cut a slit the length of the plastic container and peel the plastic away from the concrete.
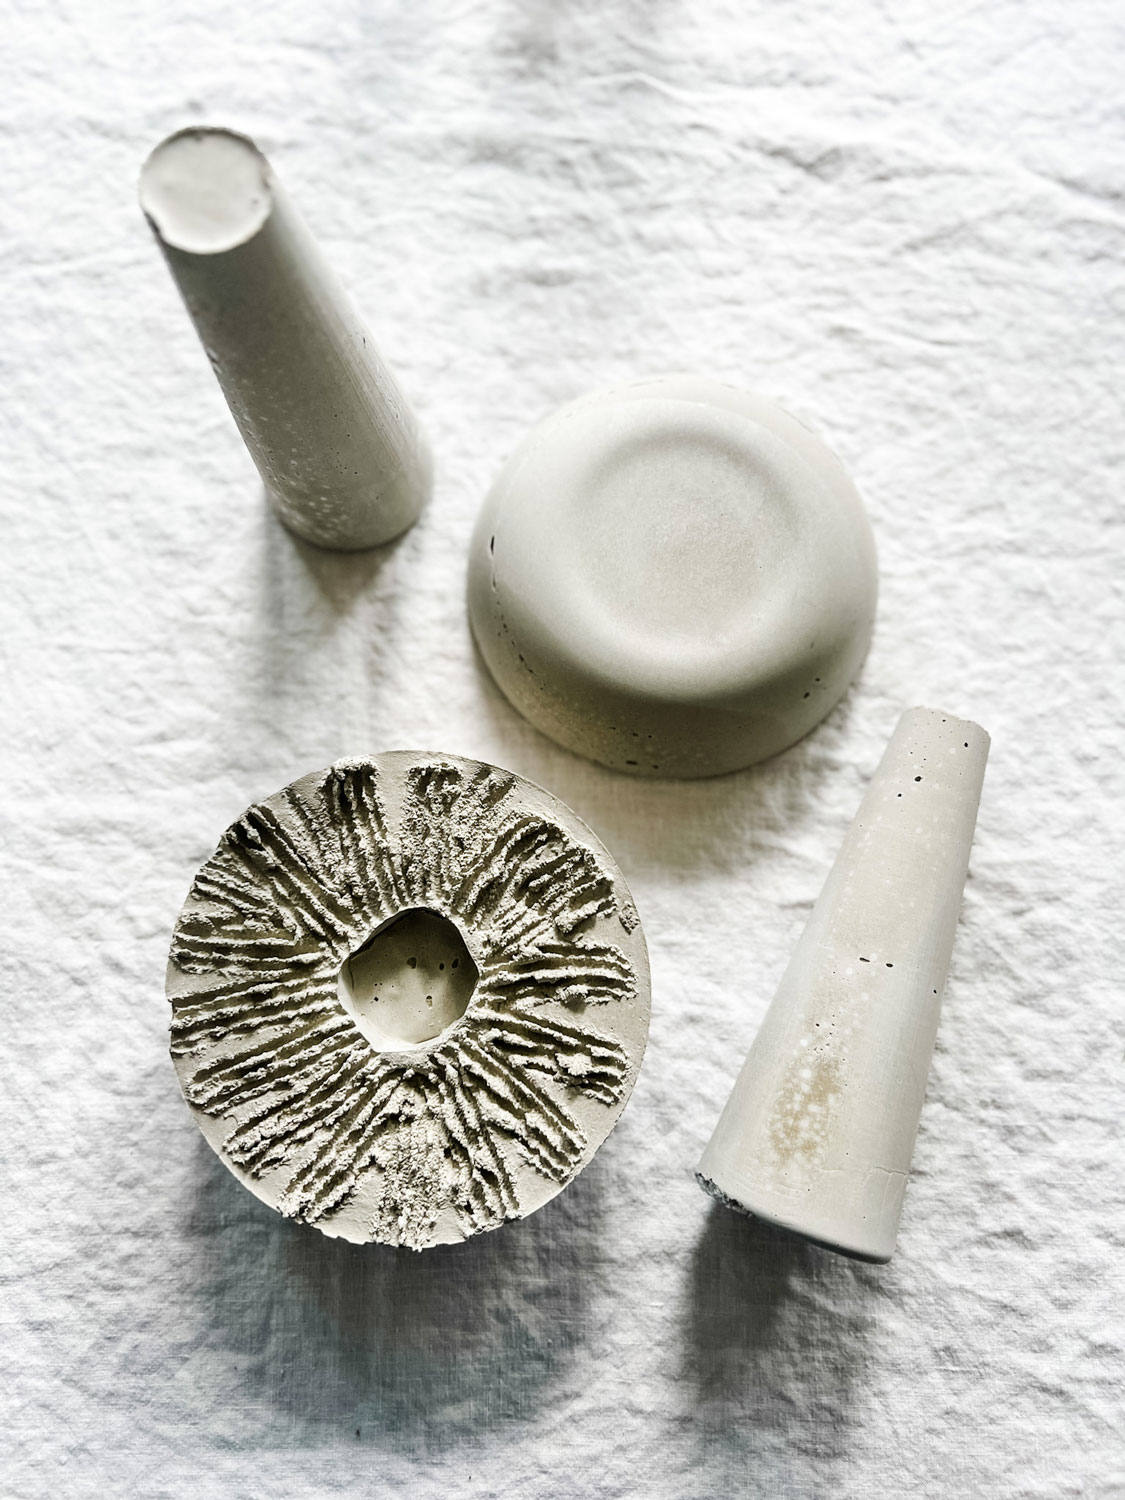
- Break off any super rough pieces of concrete. Place on top of the stem (if you’d like to secure them, you can use concrete glue, but they do rest comfortably on top of the stem).
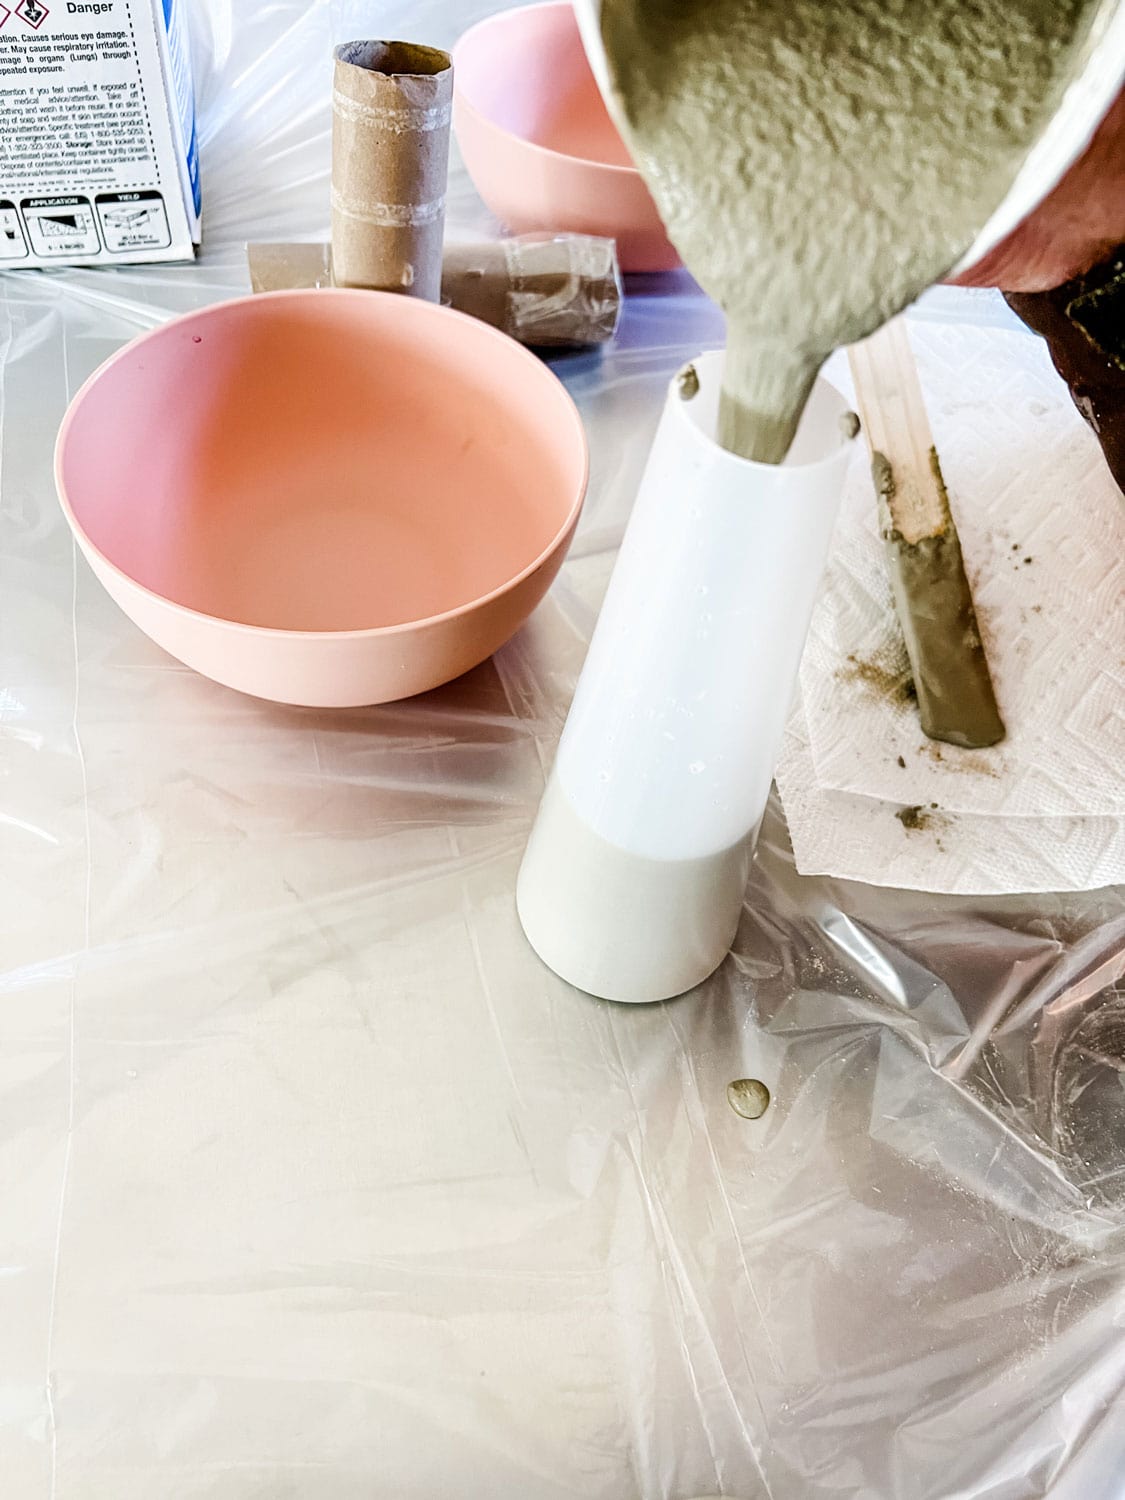
Pour the cement into the molds (plastic spray bottles)to form the mushroom stems.

Pour the cement into the bowls, which become the mushroom tops

Below are the pieces after the concrete have dried and the molds removed
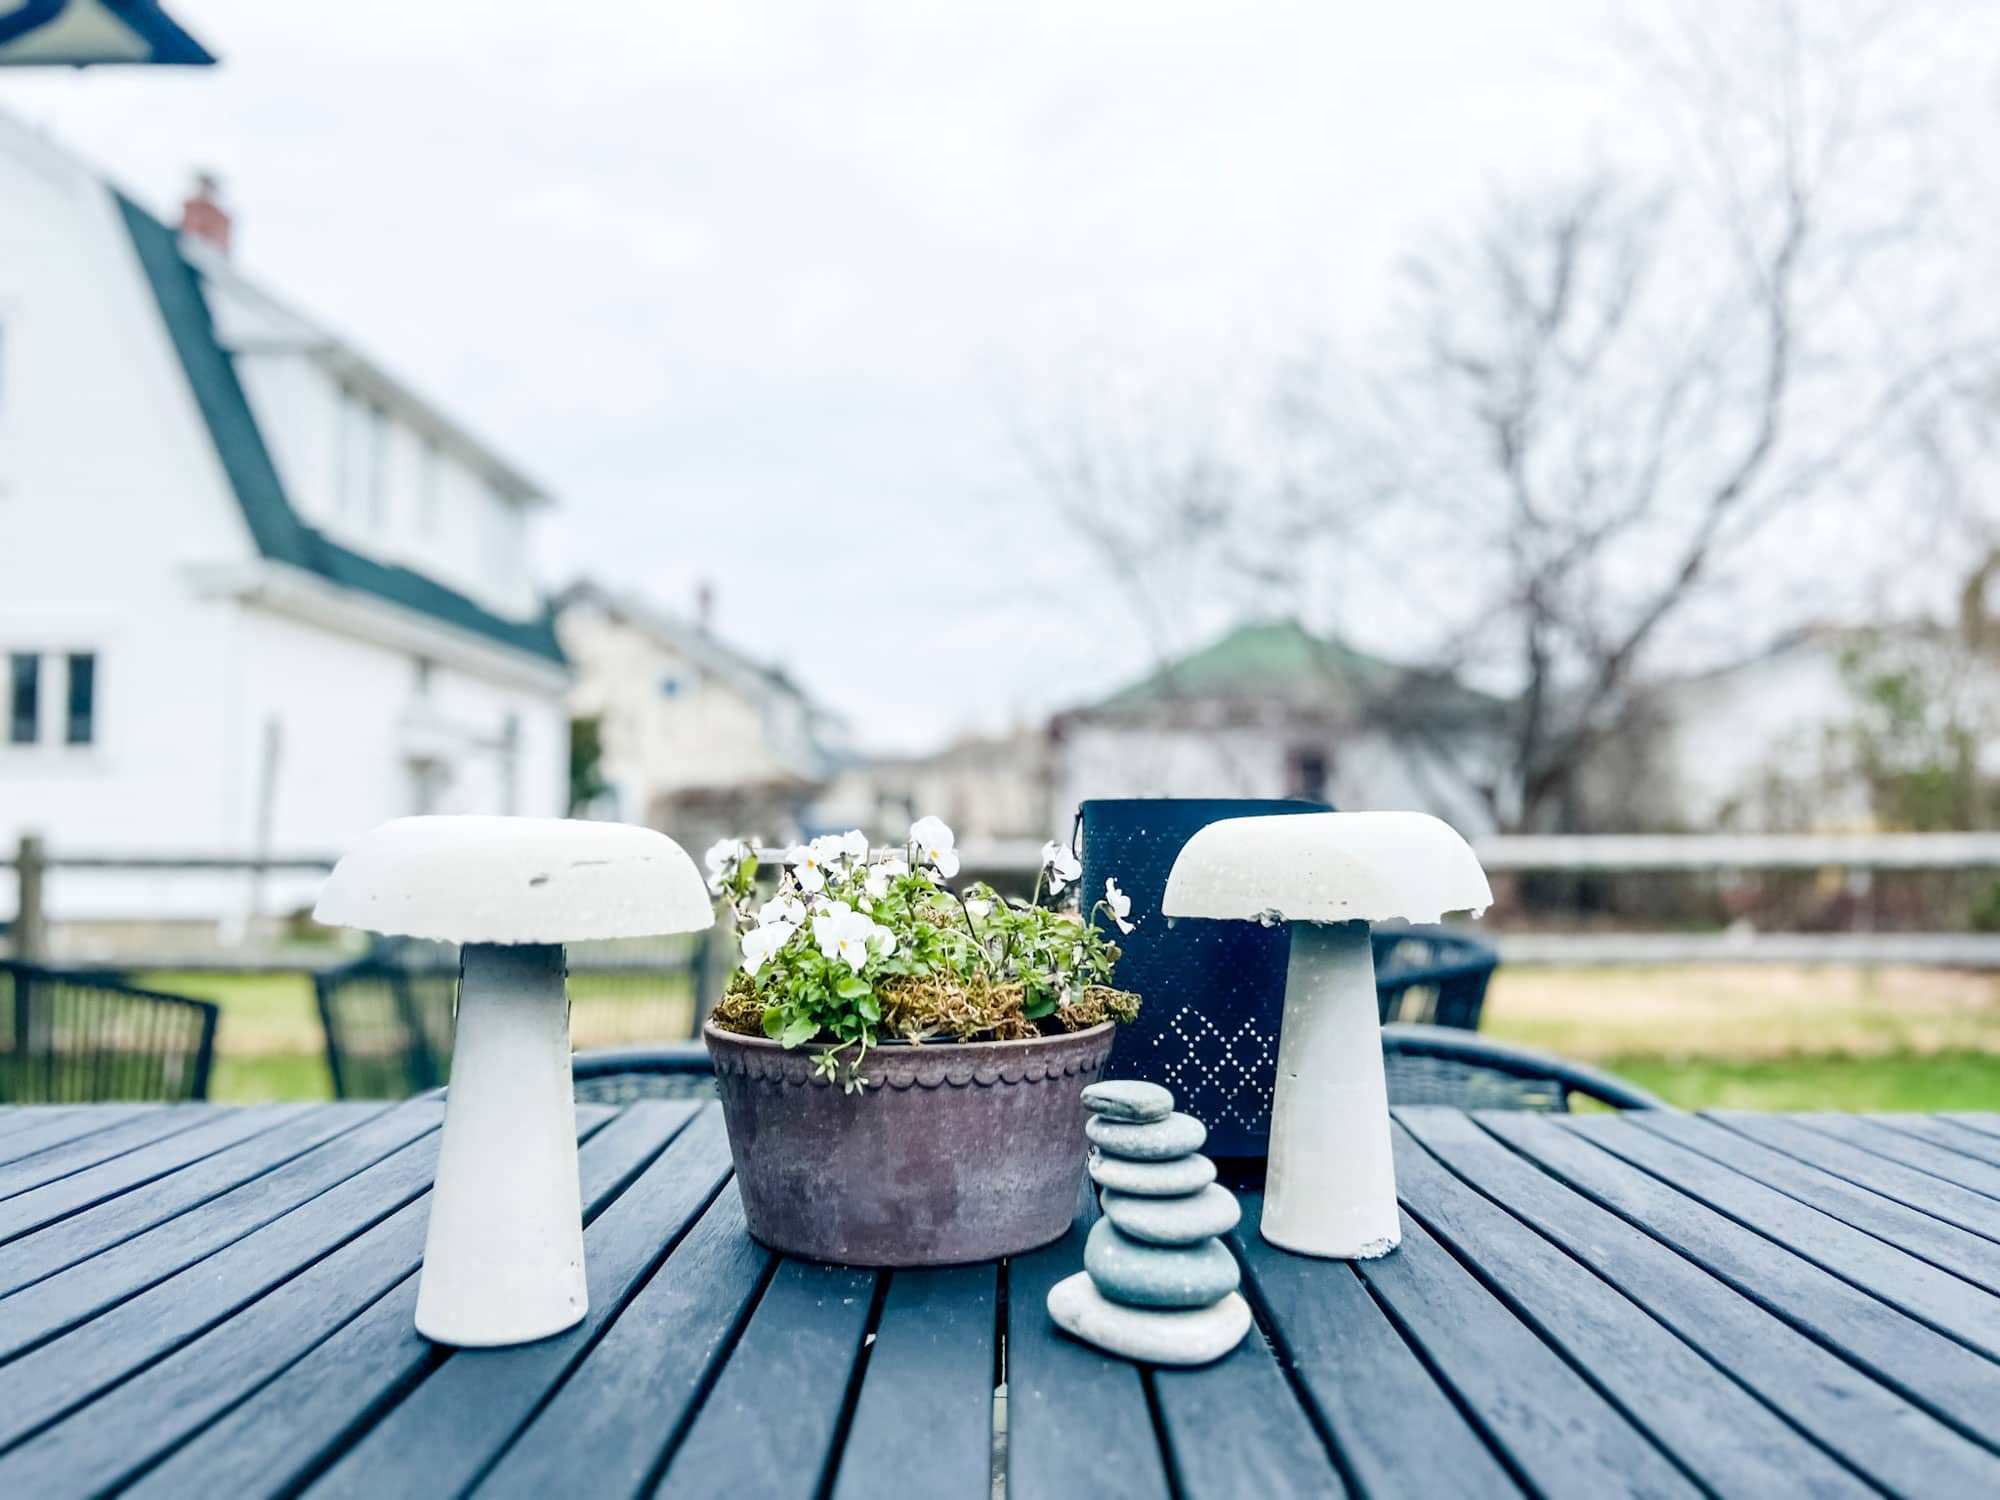
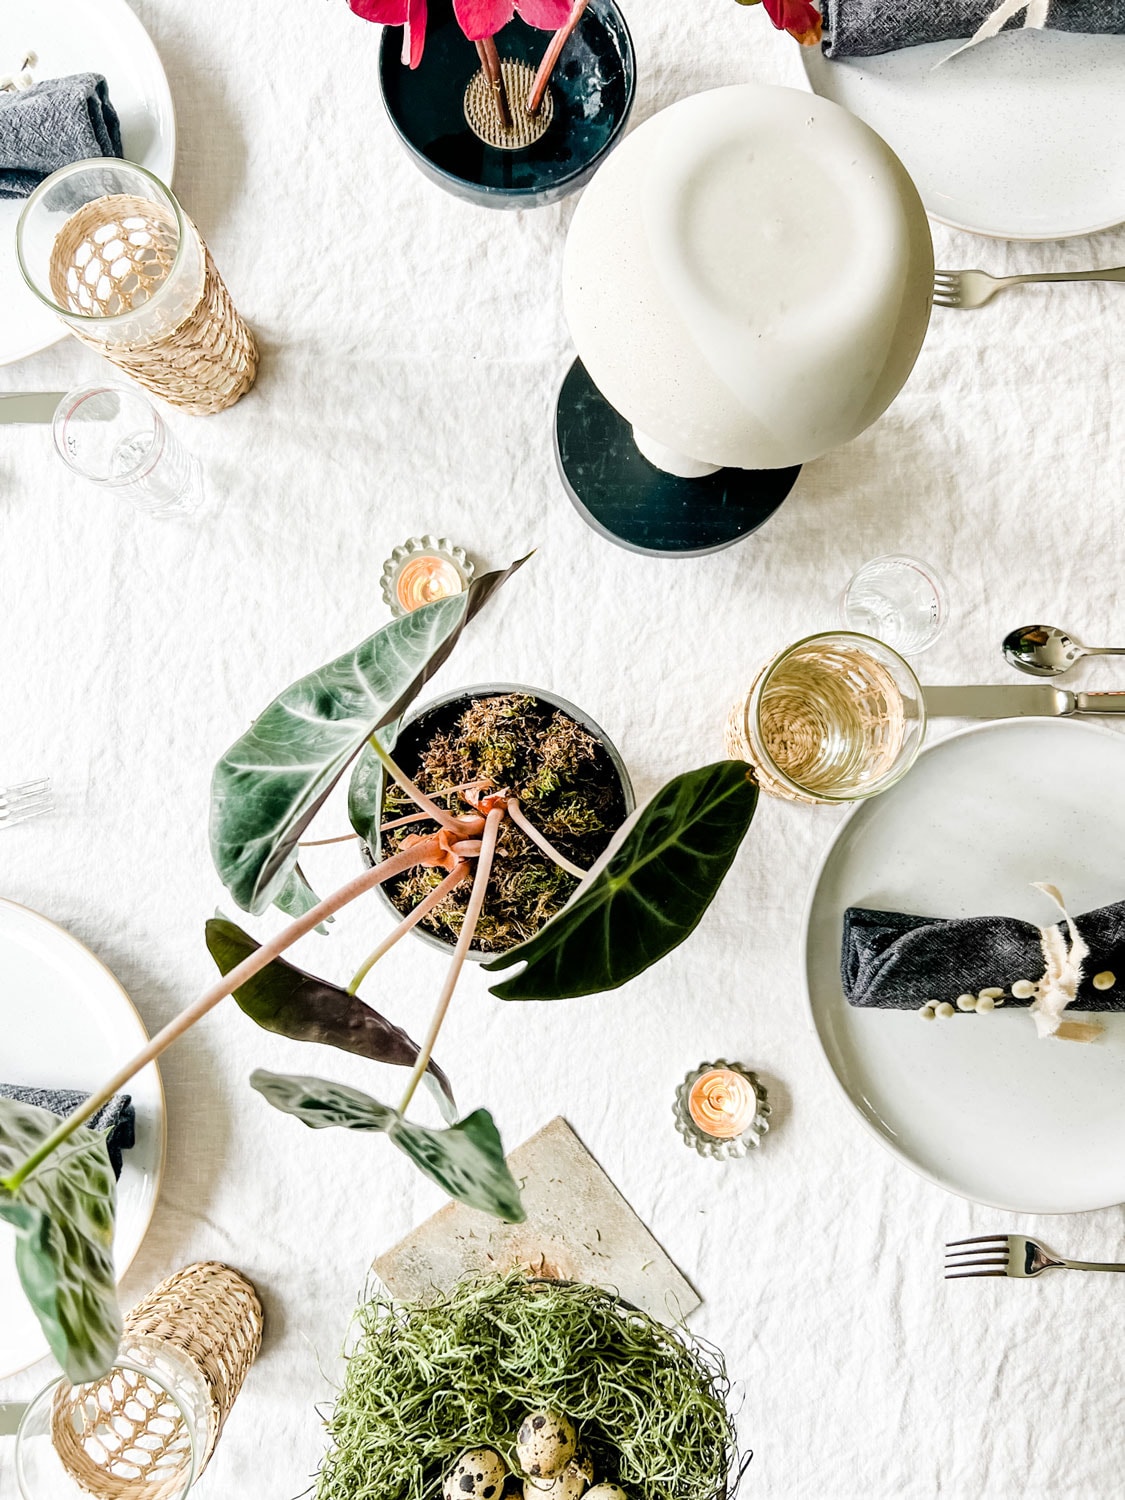
How to Create a Beautiful Forest-Inspired Table with Cement Mushrooms Inspired by Terrain
I used everything from around the house to create a beautiful table using the concrete mushrooms as part of the design that was very much like something I’ve seen at Terrain in their plant room. You can see a few in Terrain’s Mushroom Shop.
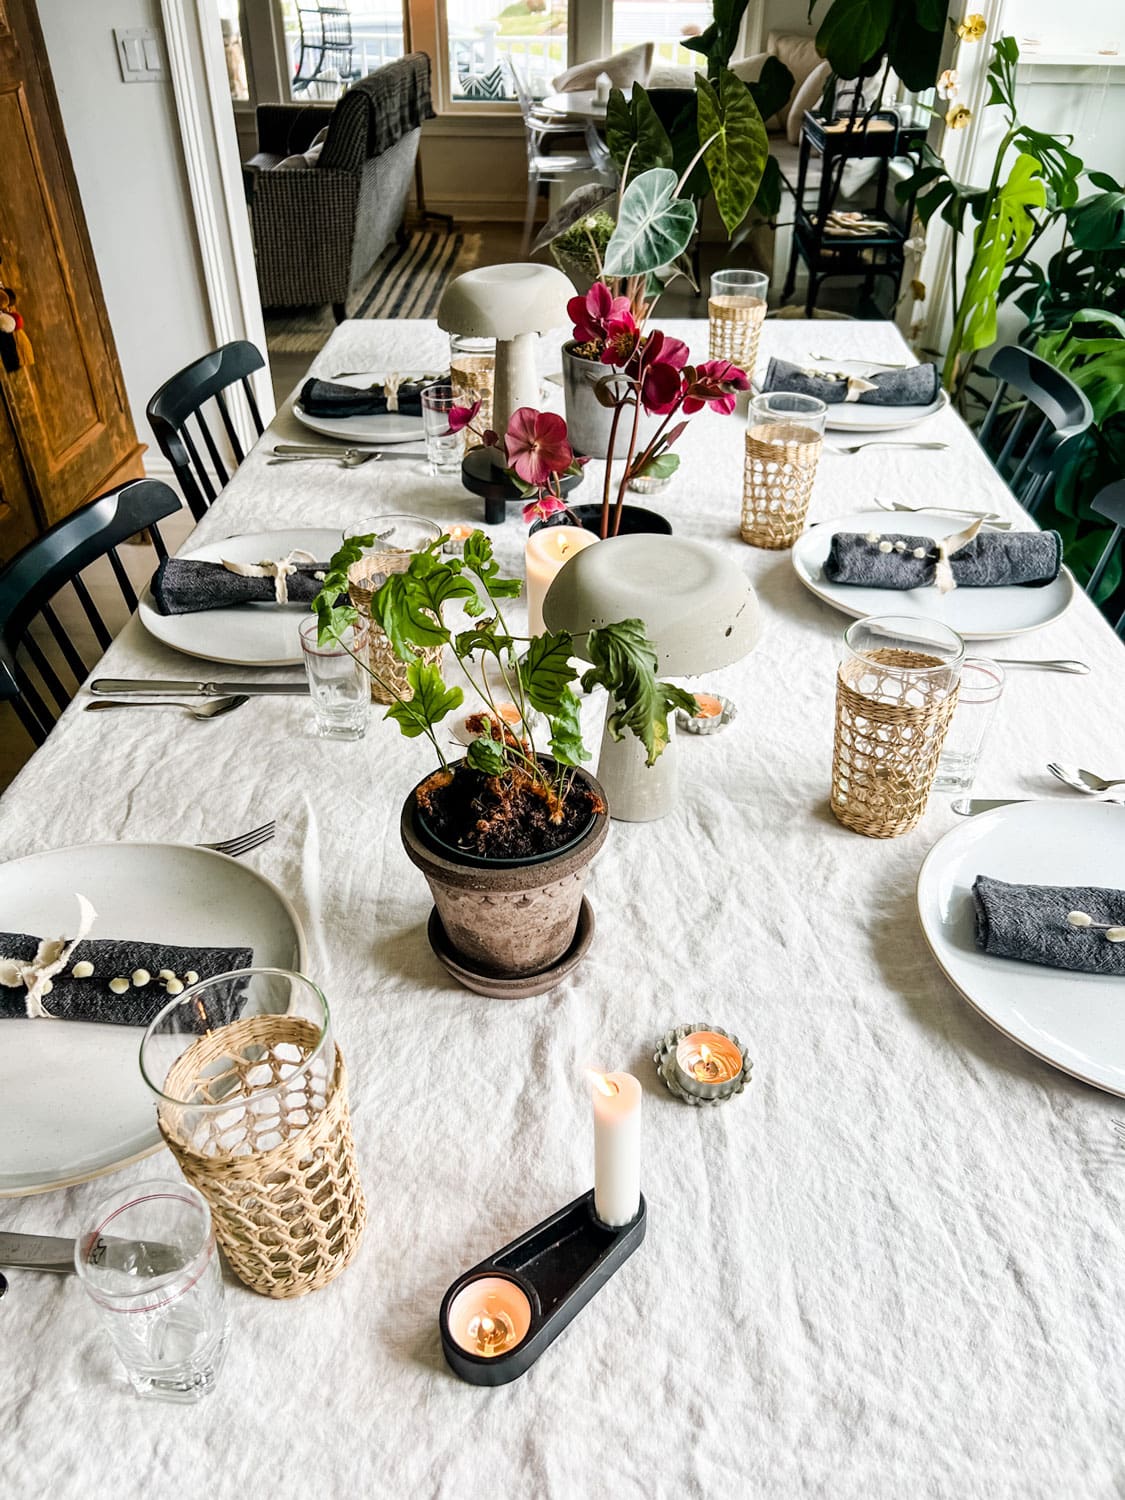
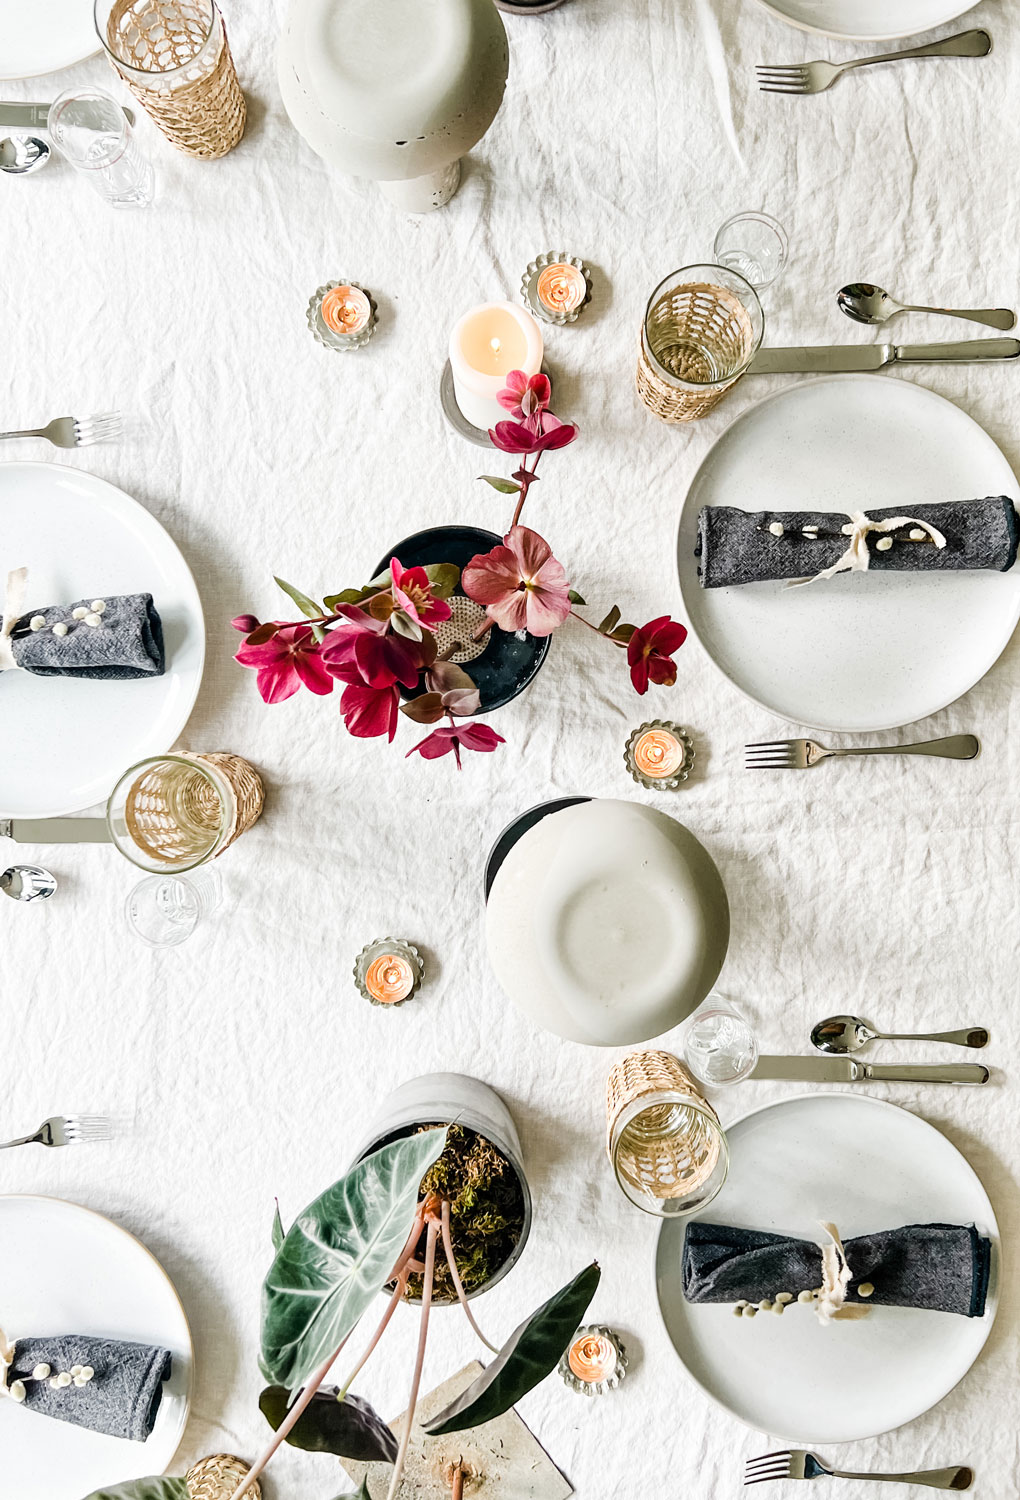
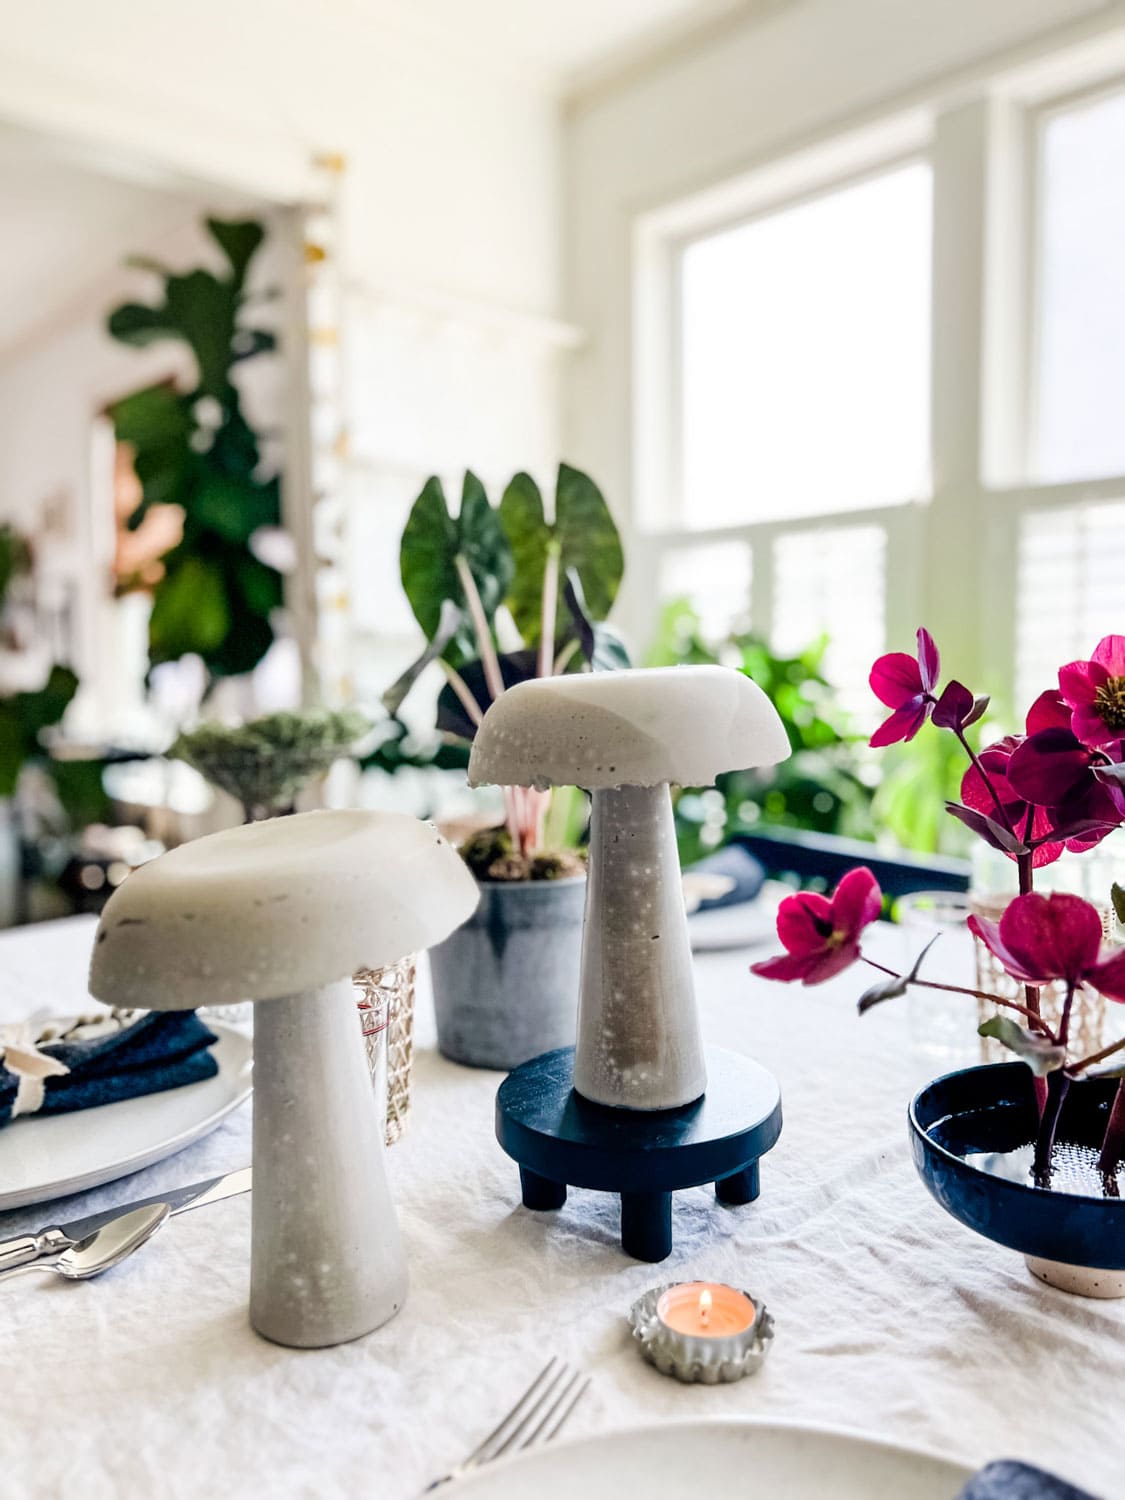
I grabbed potted plants, votive candles in tart tins, a bowl with some hellebores arranged using a flower frog, and a small plant stand to give one of the mushrooms a little height. The mushrooms are both the same size. I also used the iron nest from Terrain with some quail eggs.
I liked that there was no symmetry in the design. I just put all the elements down at the center of the table, staggering the height and mixing in the candles and votives. I have quite a few black things, like the bowl, and the candleholder from our trip to Copenhagen. The trivet is from Terrain, and everything just sort of blends together.
I tied the black linen napkins with a frayed canvas ribbon and tucked them in a small pussy willow branch. I used my Cayman glassware along with vintage French wine tumblers.
5 more ideas for budget-friendly crafts!
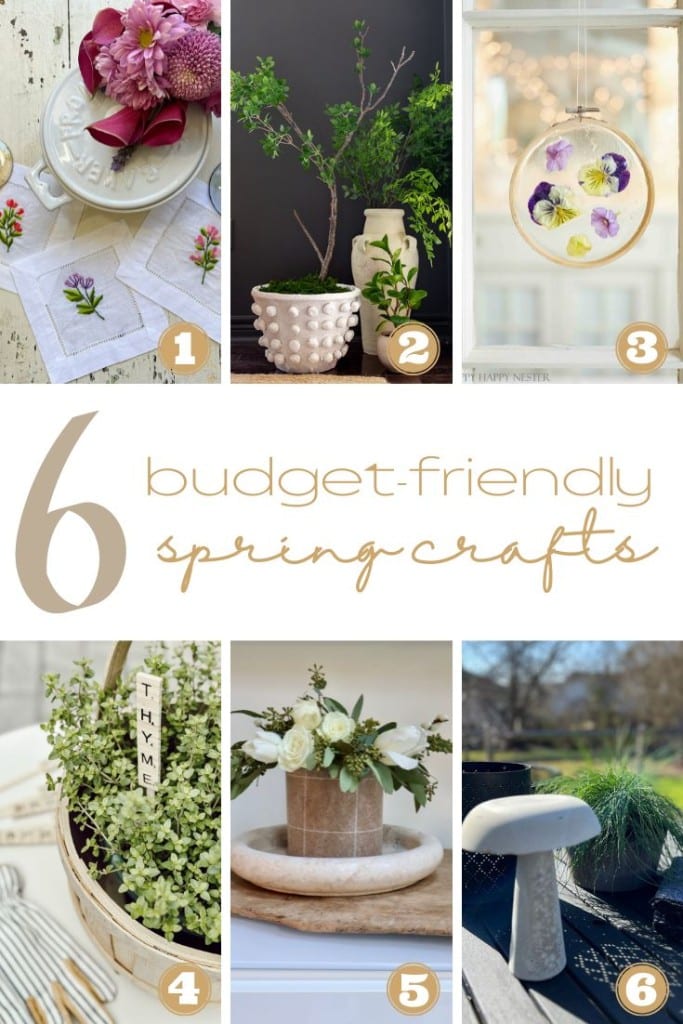
Blogger’s Best Budget-Friendly Spring Crafts
- Spring Cocktail Napkins with Flower Embroidery DIY | My 100 Year Old Home
- Minka Pot Anthropologie Dupe DIY | Craftberry Bush
- How to Make Suncatchers | Happy Happy Nester
- DIY Plant Labels for the Garden | Eleanor Rose Home
- DIY Wallpaper Vases | My Sweet Savannah
- How to make easy concrete mushrooms for your garden Most Lovely Things


These are the coolest Annie! I am obsessed with all things mushroom lately and these are fantastic! Pinned!!!
so clever, I am in love!
Annie,
I love any mushroom craft project. And these are super cute. You’re so talented! Thanks for creating such beautiful crafts!
These cement mushroom ideas are so cool and creative! I love how simple the process looks, yet the finished pieces add such charming character to any garden or outdoor space. The step‑by‑step instructions make it feel doable even for beginners, and it’s a fun way to personalize your yard with handmade décor. Thanks for sharing such a great project idea! 🍄✨
Thank you! I do love a simple project for something that adds a little charm to the garden!
I just tried making these cement mushrooms last weekend and they turned out way better than I expected! One thing I learned is that it really helps to mix the cement until it’s just the right thickness — too watery and they don’t hold shape, too thick and they’re hard to work with.
I also found a fun way to keep myself entertained while waiting for them to set by playing the **P67 Game**, which made the whole project feel less like work. If you’re new to this kind of DIY, don’t stress about perfection. Just enjoy being creative and try different sizes or colors once you get the hang of it!
Really creative idea and easy to follow for beginners. The final result looks amazing and adds unique charm to any outdoor space. Thanks for sharing this interesting project.
Such a fun and creative garden DIY idea! I love how these cement mushrooms add a whimsical, fairy-tale feel to outdoor spaces. Really inspiring and looks easier than expected.