
Make this DIY Modern Pegboard for houseplants
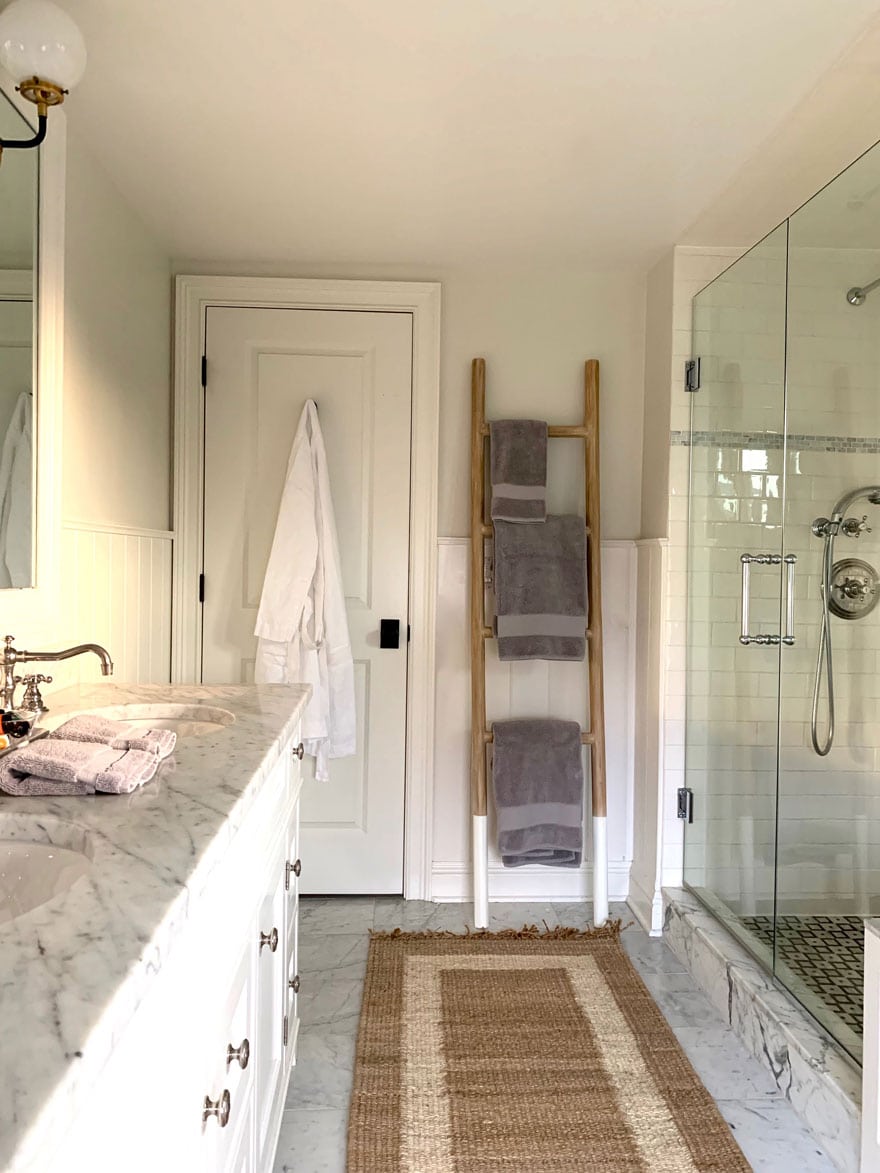
Make this DIY Modern Pegboard for houseplants. The primary bathroom was already pretty nice when we bought our little beach house. The previous owners converted a small bedroom into a primary bath. The tub is not a freestanding tub like I would prefer, but it’s big and it’s not a combined shower/tub situation, so you won’t hear me complaining one bit. The countertops are marble, and all the plumbing fixtures are beautiful. A bit traditional for my current taste, but again…not complaining! There’s a decent view out the windows, and with the reflection in the mirror, I can see the boats going by all year long from the harbor while taking a shower. I’m feeling pretty lucky.
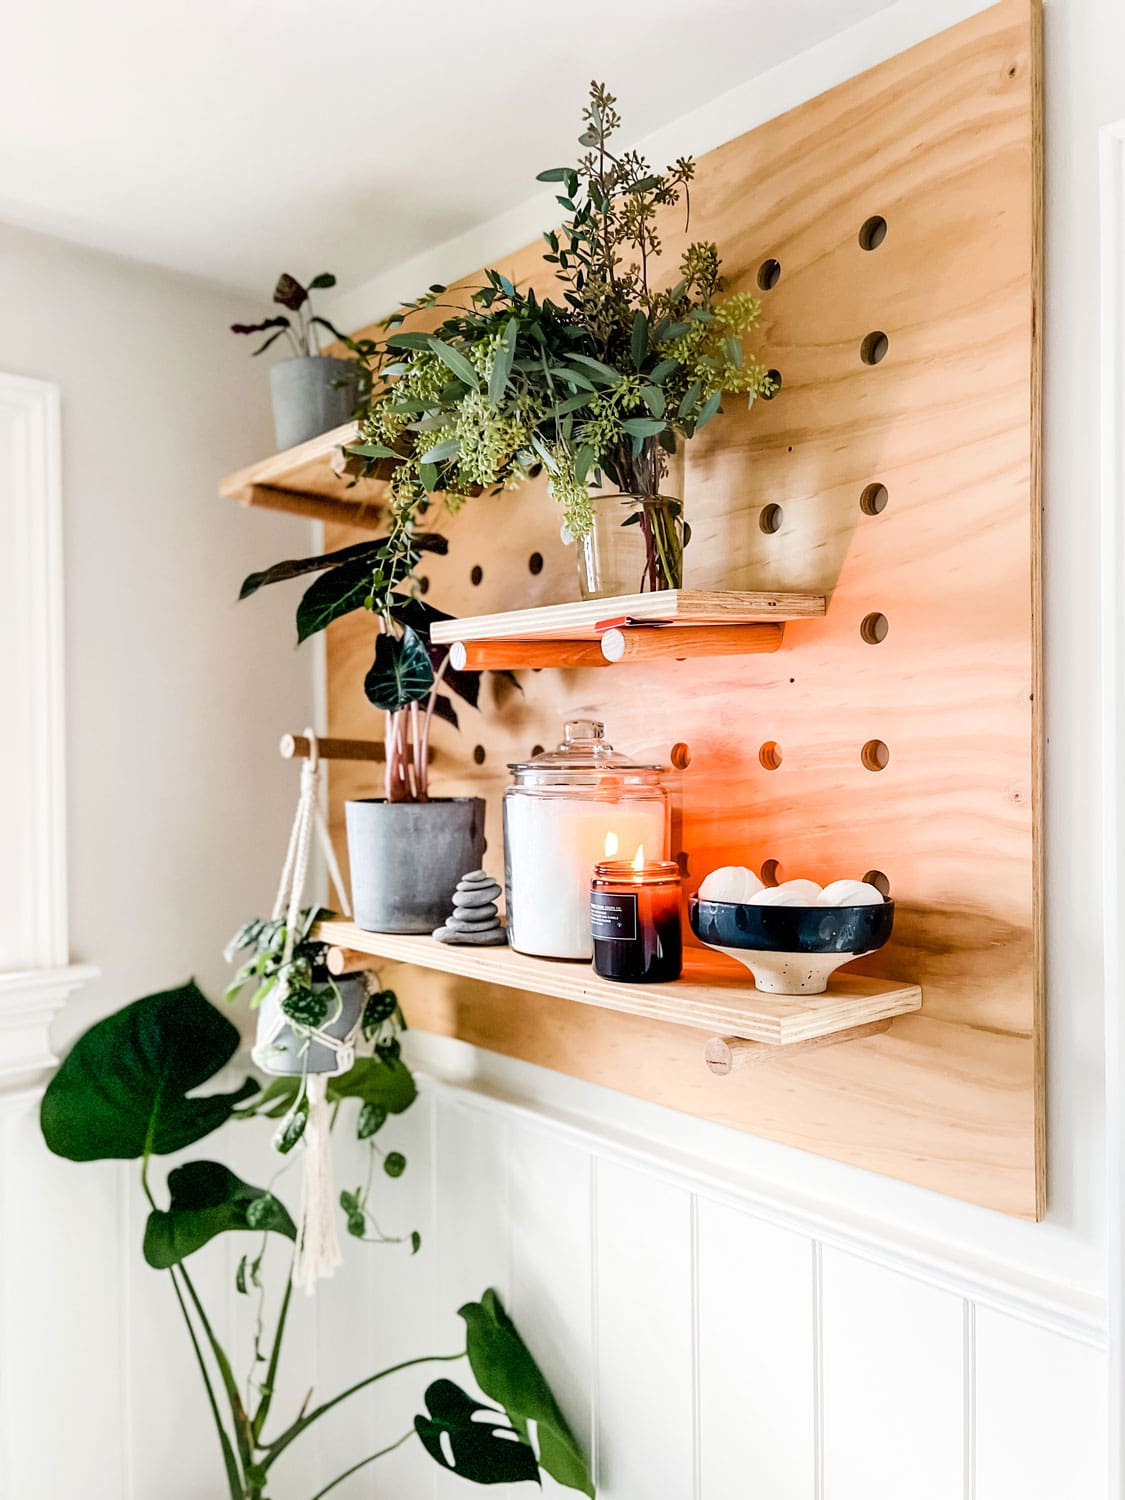
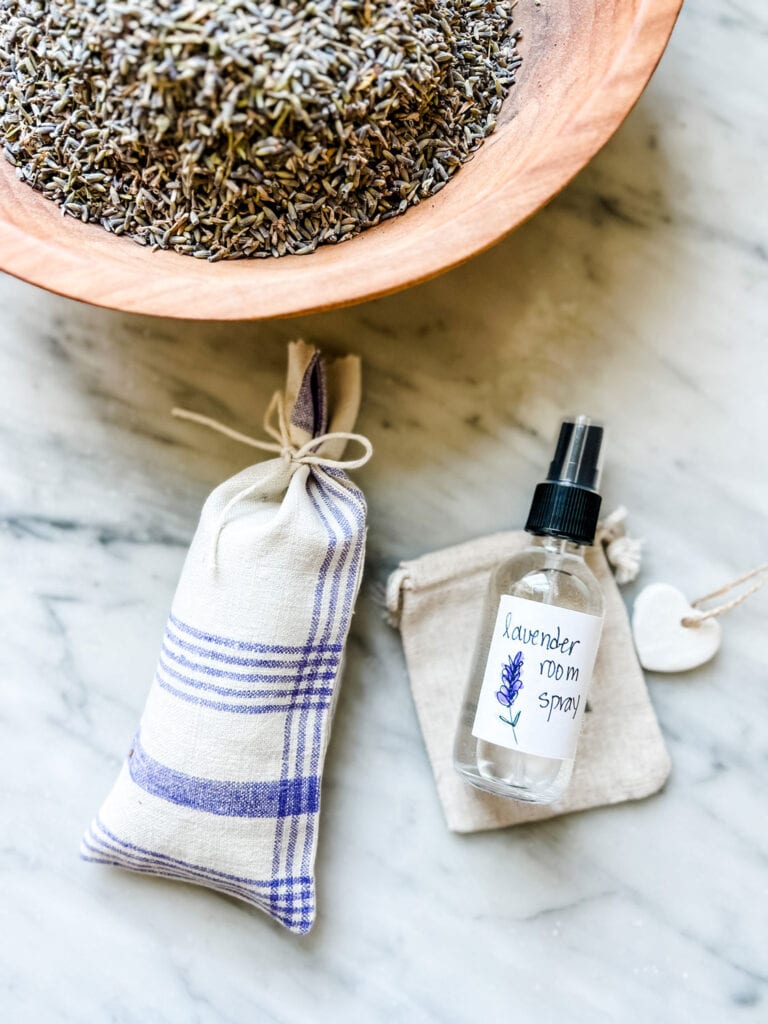
Freshening up the bathroom with fresh eucalyptus

So, all the bathroom needed was a little warming up with some natural wood, a jute rug, and of course, plants. Lots of plants. I considered just some simple shelves on the same wall as we have our DIY pegboard, but once I got this in my head…there was no turning back.
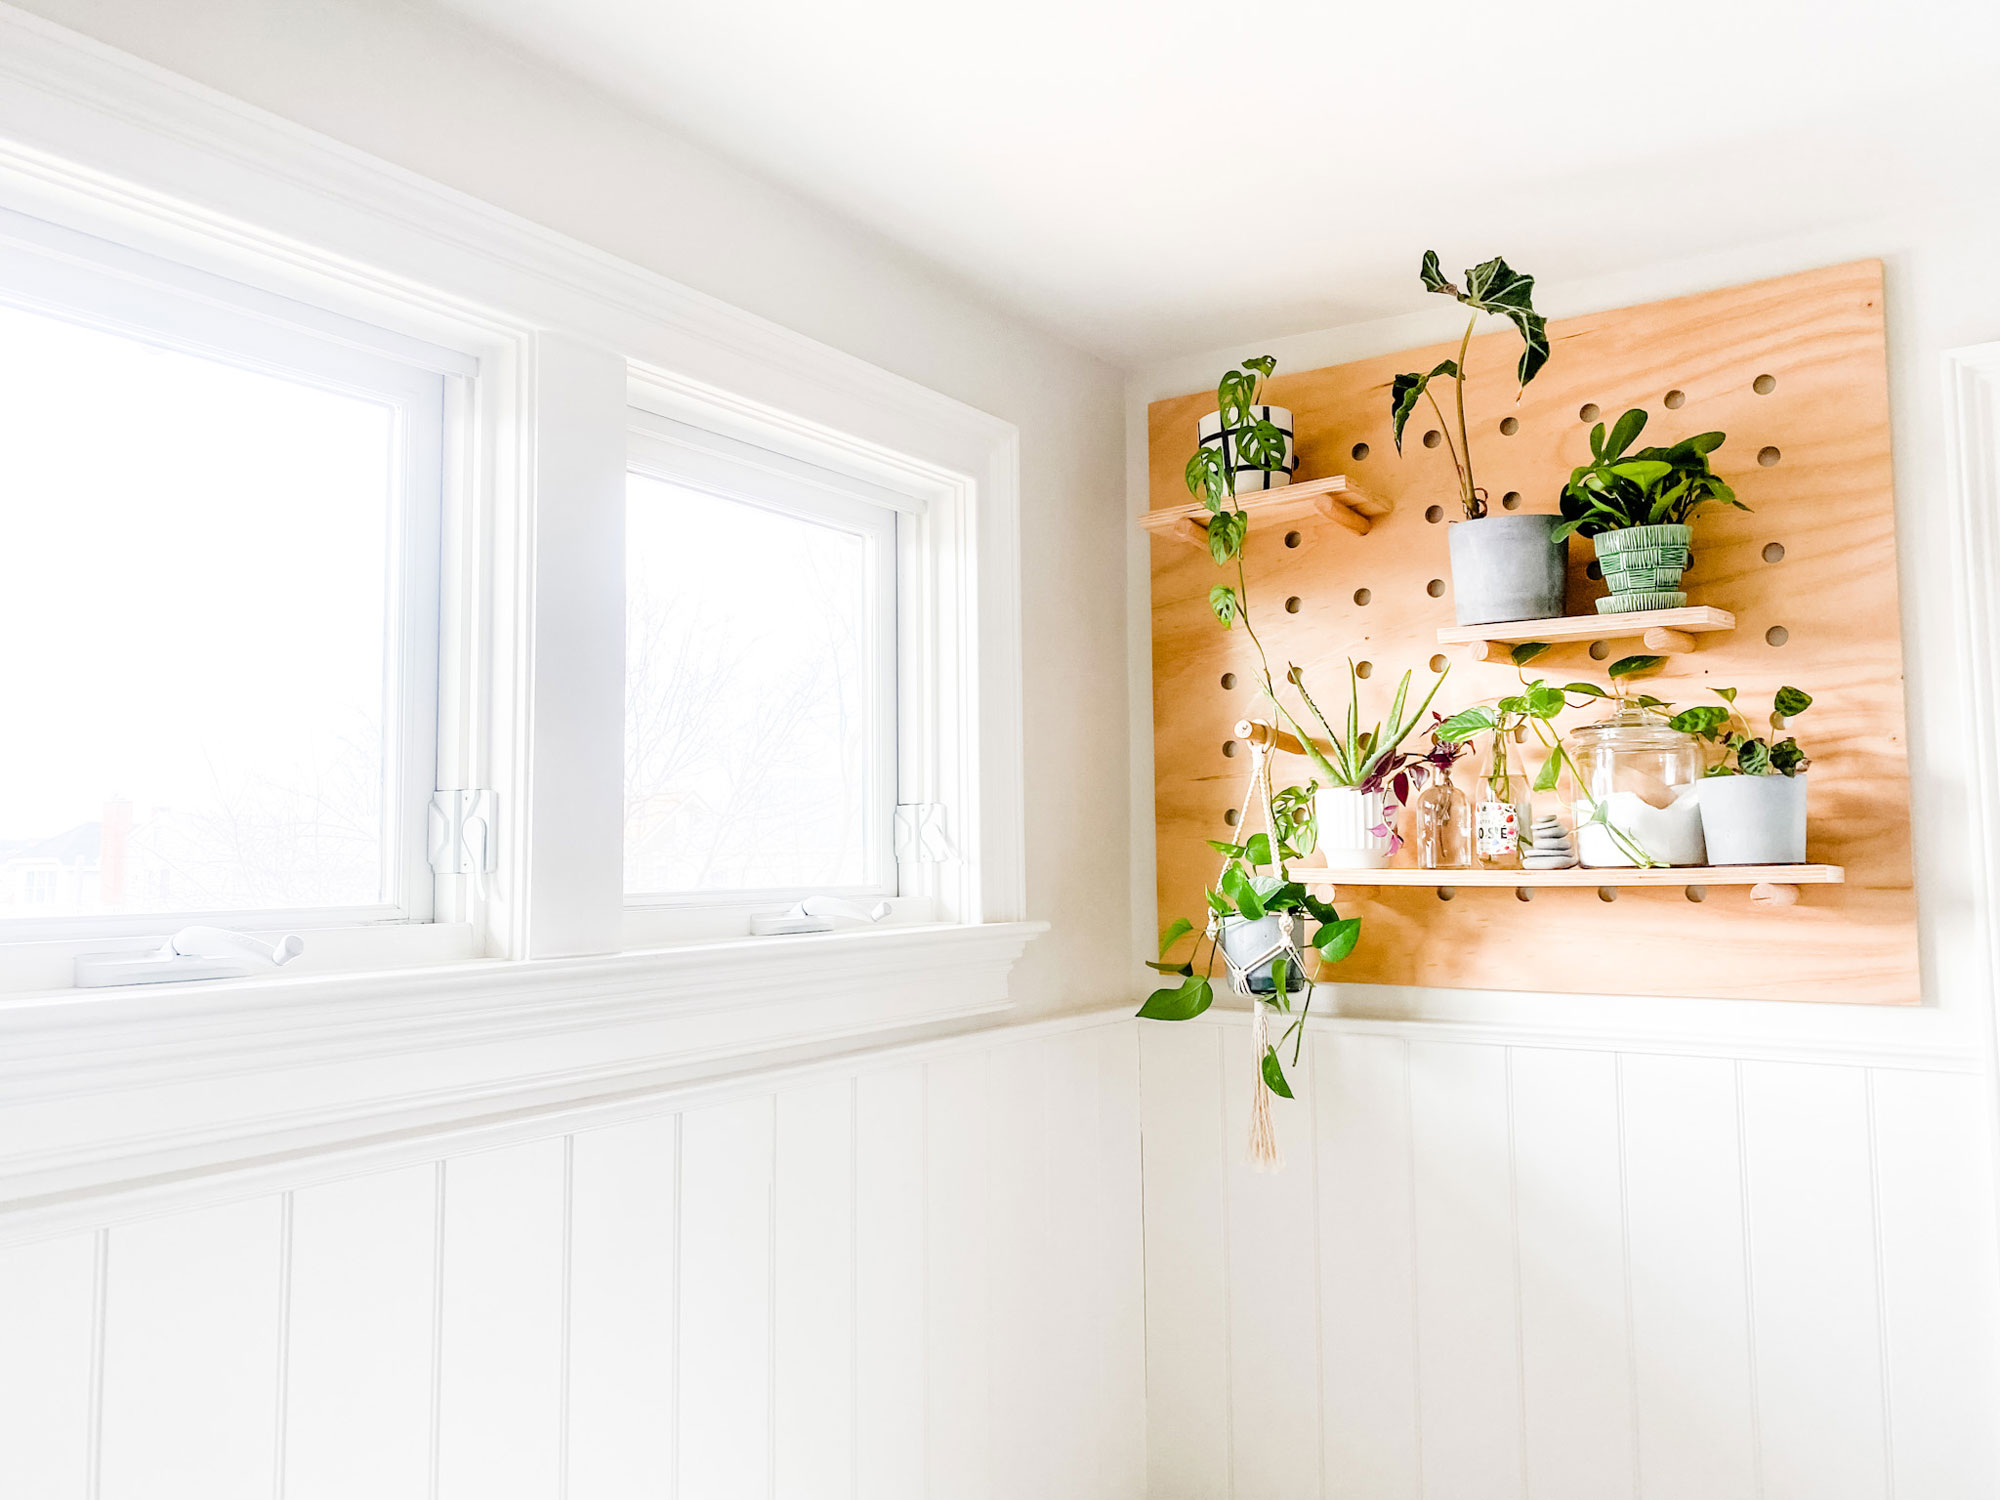
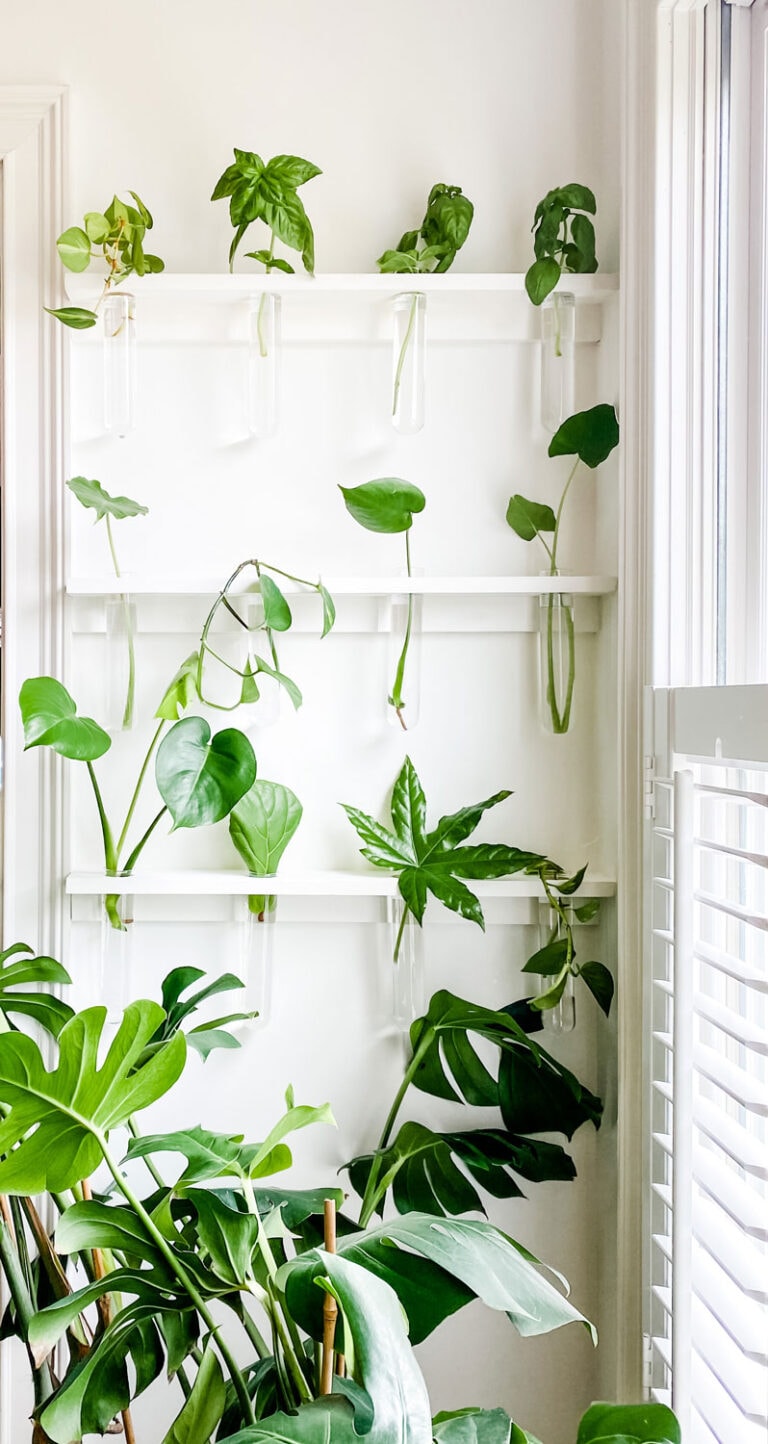
This DIY Pegboard is an everchanging display for plants and bottles.

The pegboard shelves are the perfect spot to add a few cuttings in small bottles to propagate plants from plant cuttings. The advantage of having it here in the primary bathroom is that I see it often. I can observe the cuttings, ensuring that when I see roots, I get ready to plant, so they don’t get confused and think they are water plants.
Where did we get the idea for a DIY pegboard for plants and cuttings?
I found the idea while visiting my sister in Arizona. We went to a Berdena’s Coffee shop in Scottsdale, and they had this huge pegboard with plants and things, and I thought…it’s perfect and pretty easy. I mean not for me…but for my husband! Haha Once I showed him the idea, and where I thought we “needed” it, he was on board. A quick trip to Home Depot, and we had our custom pegboard in one day.

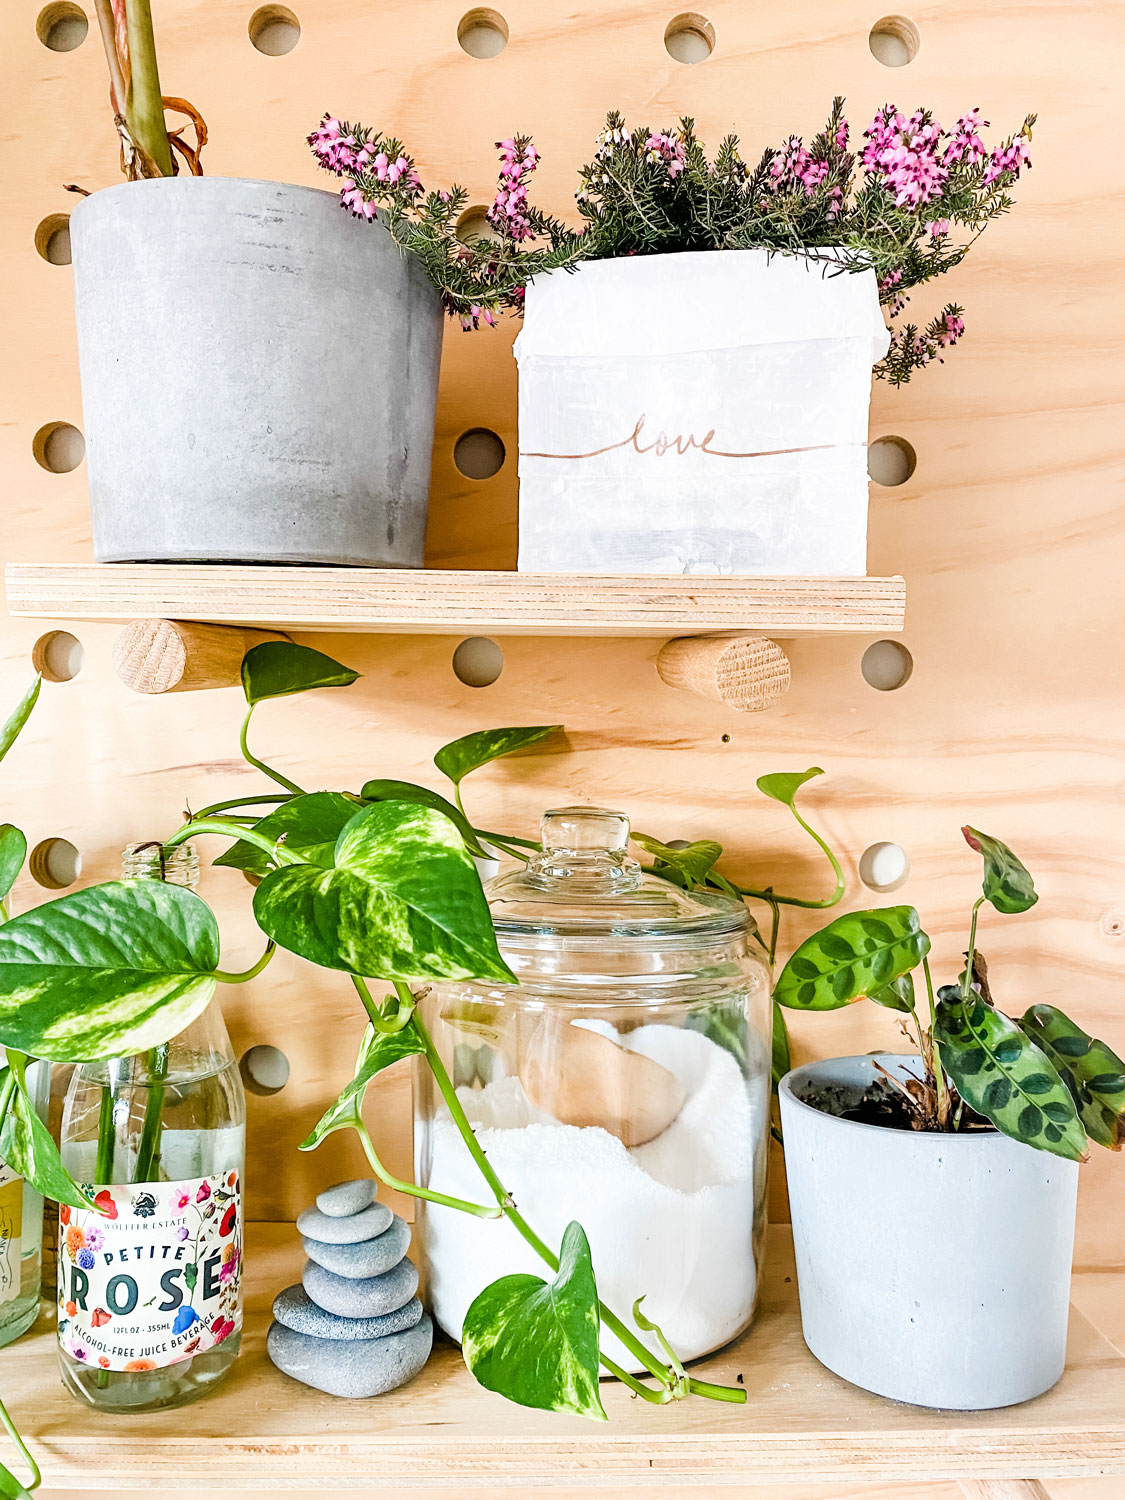
DIY Modern Plywood Pegboard to hold houseplants & Bath Salts

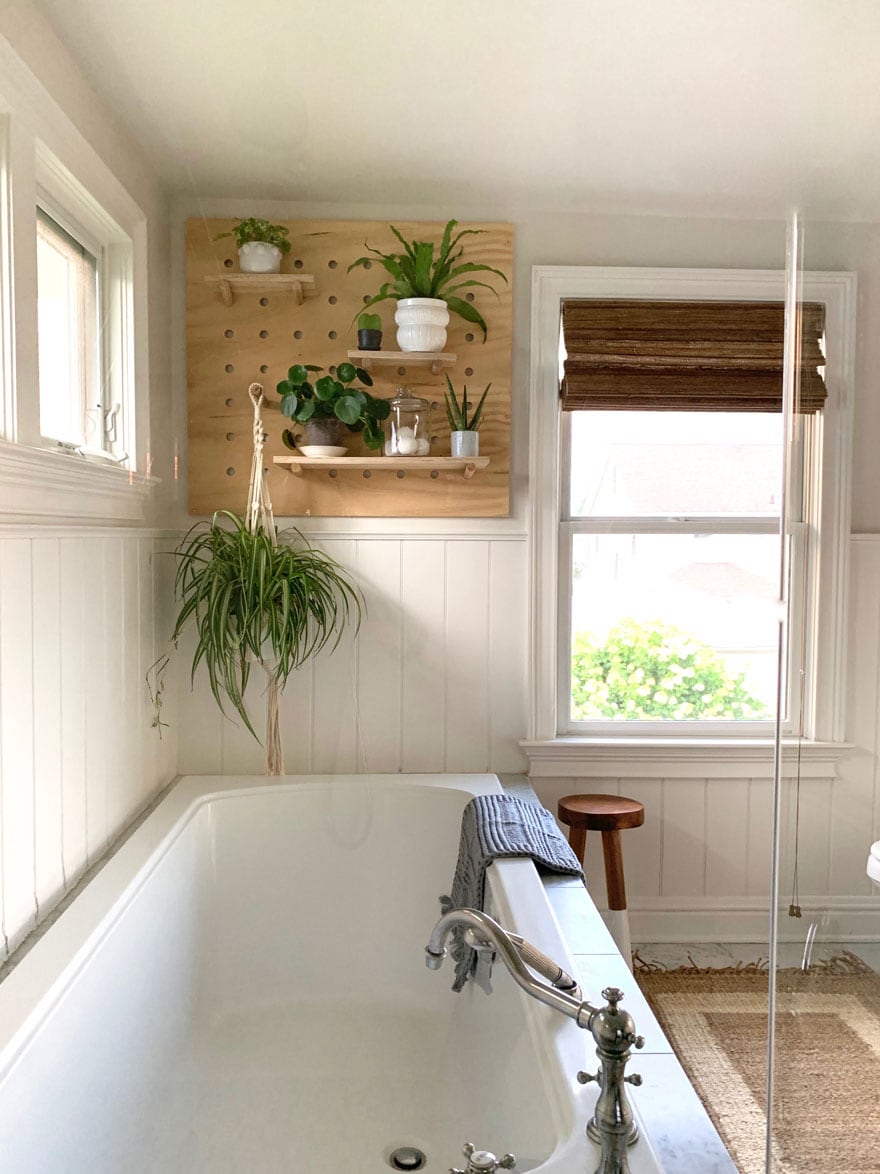
Add in in a teak ladder and a jute runner from Serena & Lily

Woven Wood Blinds, a Jute Border Rug & a dip-dyed stool warm things up in an all-white bathroom
The Lustre Diffuser on a wood trivet from target
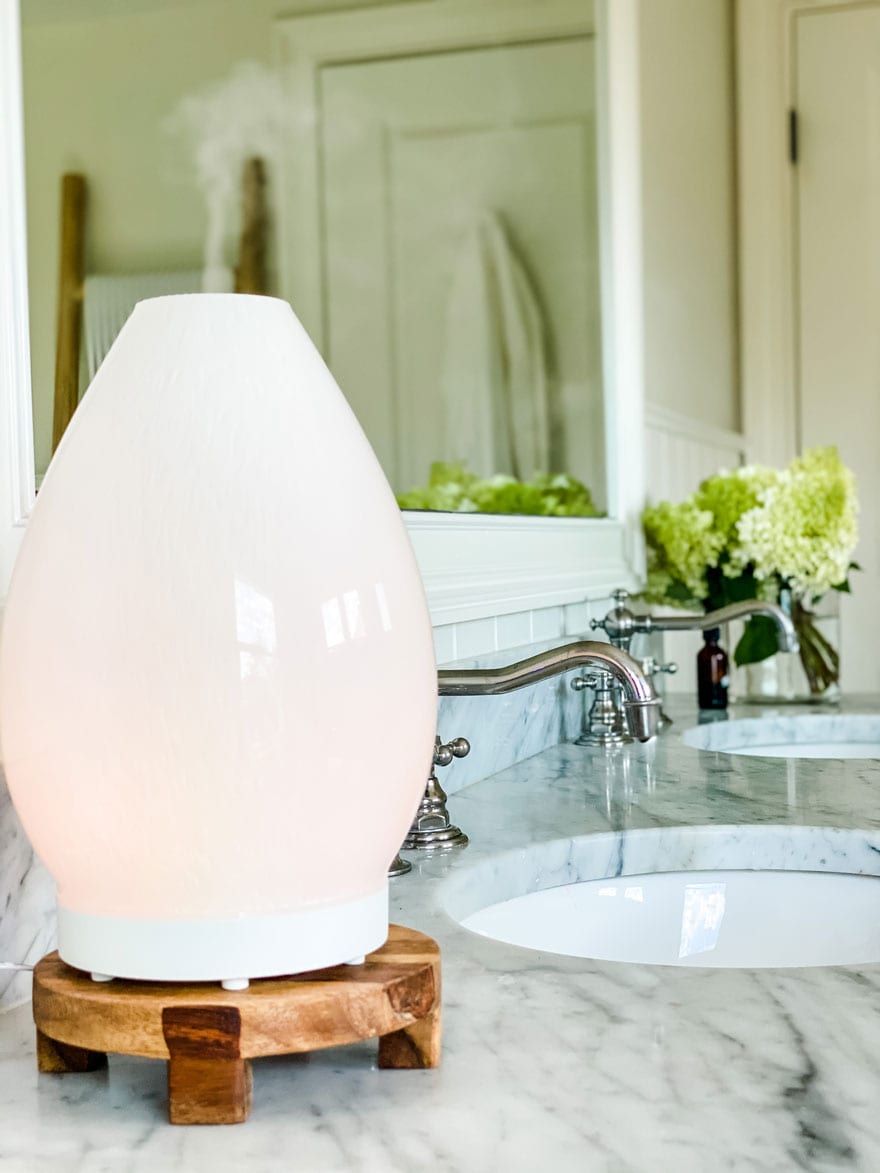
A diffuser is always nice in a bathroom with a tub…I love to diffuse orange and geranium.
Get the Look From Serena & Lily

Bath Mat, Jute Border Rug, Linen Robe, Napa Towels, Filbert Sconces, Dip-Dyed Stool, Teak Ladder

Here’s What You’ll Need to make the modern plywood pegboard:
 Supply List
Wood:
3/4 inch plywood 4 x 8 (finely finished)
Tools:
table saw (or have the wood cut at Home Depot)

Step 1:
We determined the size of the pegboard by customizing it for the wall space where we were using it. We then determined the size of shelves to balance on the pegs.
Step 2:
We penciled out the grid for where we wanted the holes spacing them 3 1/4″ inches apart with a 4″ border.

Step 3:
We took an extra step (not necessary, but I’m a visual person) so I used a round large hole punch and cut almost the same size pieces of black construction paper and put them at each grid intersection so I could get a good idea what it would look like and also visualize what the border would look like.
Step 4:
Now you are ready to drill the holes at each grid intersection. We placed the board on top of three Home Depot buckets to support the board moving it around as we drilled the holes. Important to note: Make sure to hold the drill level, going in straight so that when you put the pegs into the holes, they will hold the shelf and it will be level.
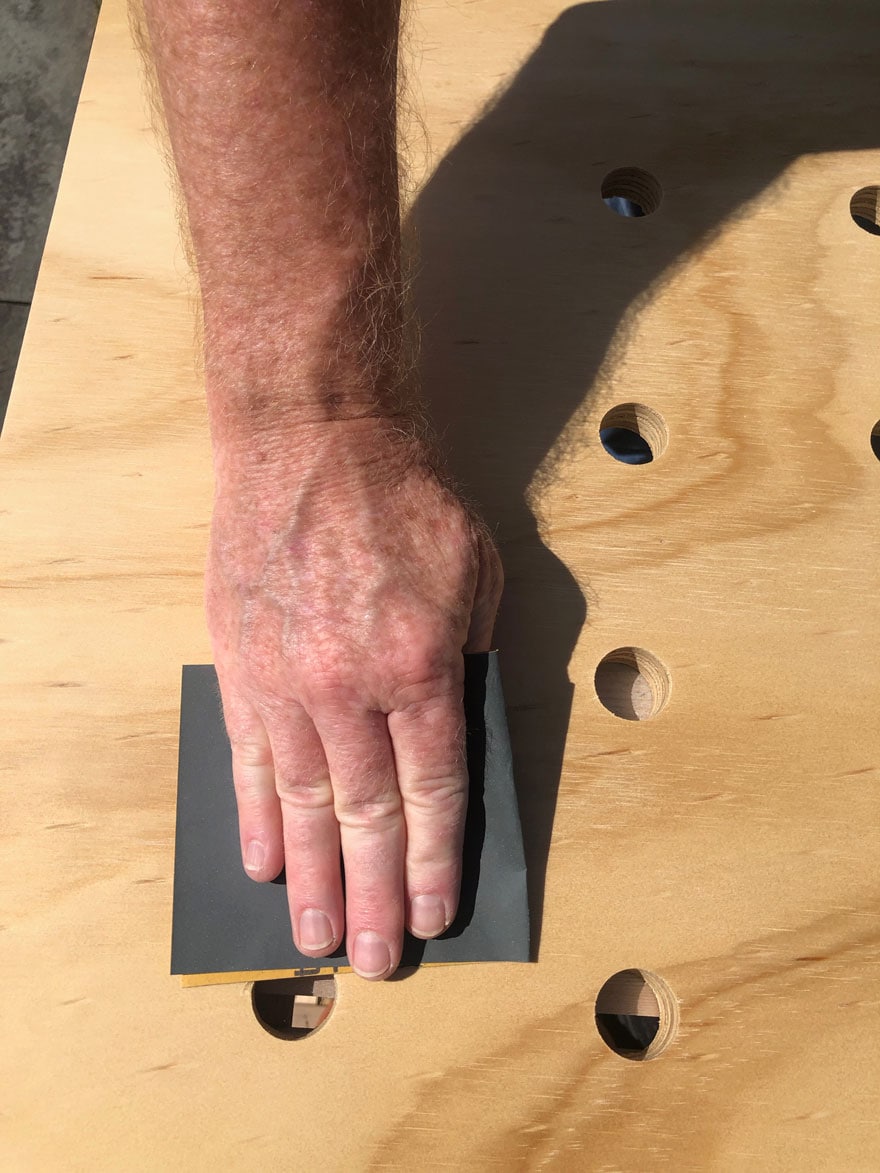
Step 5:
Once the holes have all been drilled, lightly sand the front of the board creating a smooth surface for finishing. We used a palm sander to sand all four edges. If any pieces of the layers of wood in the plywood chip off, you can leave it or patch with wood filler. Since plywood is made of layers on layers of wood, this will happen a little and you can decide what you want to do. We patched them for a more finished look, but not necessary.
Step 6:
Now you are ready to do the finished work. Spray the varathane on the surface. We used a spray varathane to eliminate drips in the holes.


We used mounting putty that we had on hand so that we could spray the dowels with Varathane.
We then went back and used very fine sandpaper to get a smooth finish after the Varathane.
Determining the size and placement of pegs and shelves…
is just a little playing around with pegs and shelves in different spaces…add in a few plants to get an idea for space and distance between the shelves.
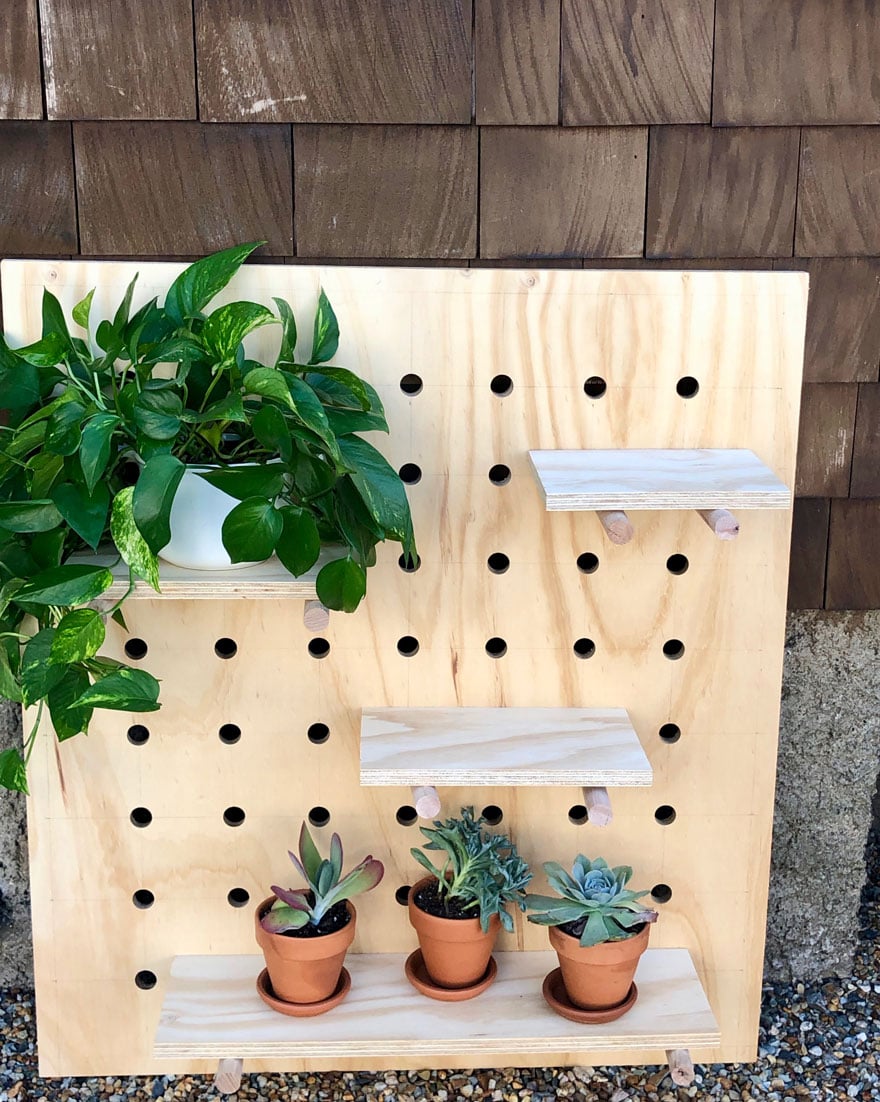
We added one extra dowel without a shelf to hang a macrame plant hanger. All of this is completely customizable and it could change over time, but for now, we are completely happy with the way the project turned out. And we could not be happier with all the items from Serena & Lily! Our once boring all-white bathroom is now anything but boring!


I love all your posts and your bathroom is so cute!
Your bathroom is beautiful! We are finishing up our master bath remodel that is quite similar and gives me some great ideas as we finish up! ❤️ your plants & the shelf as well. We live near the beach too … we can see the ocean from 2 sides of our home. A lot of projects to be completed but an amazing spot!
LeeAnne! To have ocean views from two sides…sounds dreamy! Are you east coast or west coast?
Maine ❤️🌊
I love the pegboard in that space! It looks so good!!
Thank you Courtney!
PLANTS!! My go to decorating staple! They add so much to a room – both in terms of esthetics and health benefits!
yes, totally agree!
I want to make this tonight!
Love this look! And very jealous you live so close to the beach! Would love this cute diffuser 😍
Annie,
You make spaces beautiful. I love your spa bathroom.
spa bathroom…yes, I never thought that, but with a diffuser it is quite spa like!
My difuser is dying and I need a new one! Thanks for the giveaway!
This turned out great! I love the warm wood tones against the white. And I love that diffuser so would love to win this sweet prize from you. Thank you!
I would love a diffuser in the bathroom!!!
I want this diffuser!!! 😊
I love the pegboard idea! Wish there was a spot in my house for something like that.
I think it could be used in many locations around the house! I would love one above a desk…If I had a desk! haha
Following all 4 of the above Instagram accounts!
This plant shelf is beautiful!!
Pam
Thank you Pamela!
Always obsessed with your home and diy projects!
Thank you Beth! That’s so sweet of you to say!
I think I am the last person on the planet difuserless.
Time to change that.
I am gonna check out Berdenas Thursday with my daughter(who is hip).
Speaking of hip the plant shelf is really cute!
Hi Susan! I’m sure you are not the last person to get a diffuser, but honestly…I don’t know how I lived without one for so long! If you want to know more about oils, I can help! Text me! 917-349-4215. And enjoy Berdena’s with your daughter! I wish I could meet my daughter at Berdena’s!
I love anything that adds more plants! I wish my husband was handy because this would be perfect for my bathroom. The wall by the tub is always so hard to design. Thanks for the inspo!
The plant shelf is the perfect addition to your bathroom!
All have been followed! Thanks for all the great ideas!
Love the pegboard. 😍
Curious as to why my original comment from earlier today was deleted.
Never mind- apparently still awaiting moderation, so this one can be deleted. Sorry.
Sorry! It took me a bit of time to look at the comments! Have a great day!
I love your house decor & your bathroom is so cute!! Definitely have to try and make that peg board shelf 🙌🏼😩
I love that peg board. I can see one in my office.
We don’t have a place for this in our bathroom but DEFINITELY an option for our living or dining room!!
Love the peg board idea and love your bathroom. That tub looks amazing!!!
Love how it turned out! I am working on getting more indoor plants! I just love how they make a space feel so alive and fresh! Followed all 4 accounts! What a sweet giveaway. 💗
I moved my plants our from my living and dining room to photograph on my front porch and when I walked in my house with the plants all outside…the inside looked so empty and like all that was missing were moving boxes! They really do add life! Thanks for entering Caitlin!
Live this project!! How did you hang it???
Hi Susan- we just used long screws and screwed into studs. You could also mount pieces of wood onto the wall and mount it to the wood to give it more of a floating feel.
What a nice renovation, and the walk through of the peg wall really helped! With the varathane did you spray more than one coat?
It was just a very thin spray coat of varathane!
How did you mount the peg board in the wall? Anything special to help with the weight of it?
Hi Kris! I’m going to have to check with my husband! I remember seeing him mount it and asking if we would be able to take it with us if we moved, and he said of course! But the wall would have to be repaired….it’s up there to stay!
Great Article!! You make spaces beautiful. I love your spa bathroom.
It looks great. I have just one question, how did you mount this to the wall?
we just used long screws into studs in the wall.