
How to Make Polka Dot Pumpkins
I’m joining a few friends to share some ideas on pumpkin crafts. Creating pumpkins using power tools counts as a “pumpkin craft”, right?.
It’s really quite simple and surprisingly satisfying, compared to using a knife to cut a face. I was never very good at carving faces anyway. Using power tools is easy, fast, and efficient when it comes to carving pumpkins.
Steps for carving pumpkins with power tools
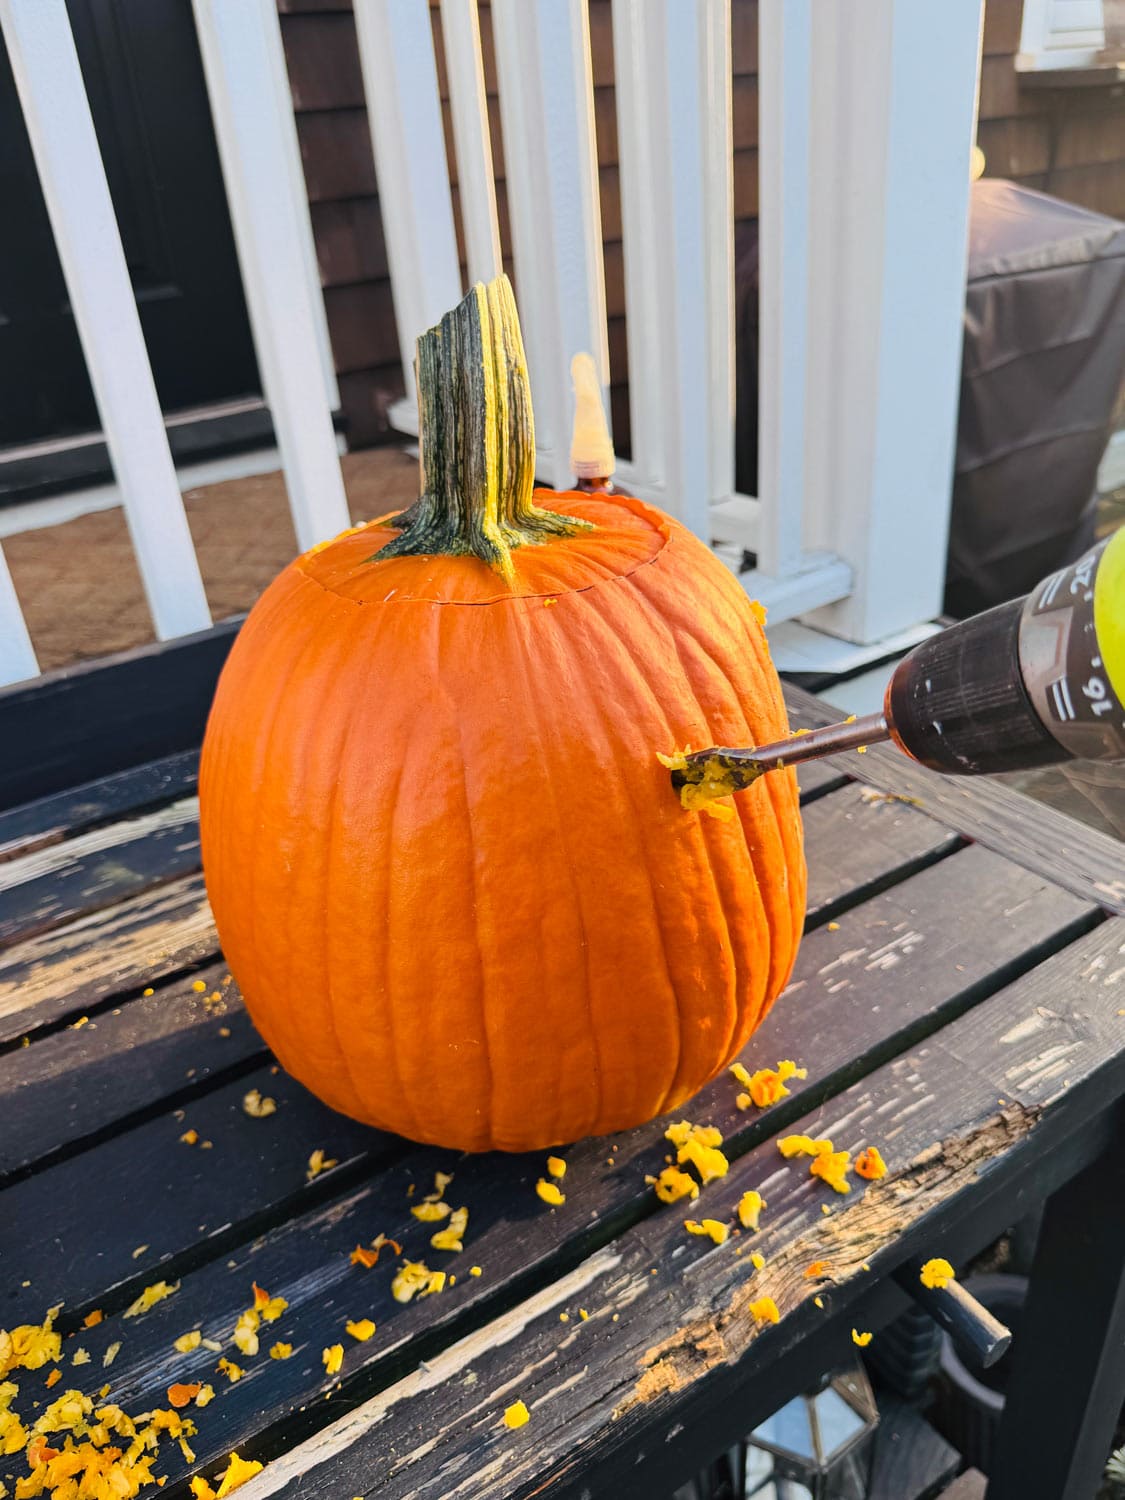


- Prepare the pumpkin – With a sharpie, draw a circle the size you want the lid to be. When cutting the lid, angle the knife inward so the lid won’t fall in. Use a large spoon or scoop to remove all the seeds and pulp until the inside walls are smooth. Cut out a notch or triangle on the lid if you plan on using a real candle.
- Plan your pattern – For a structured design, you can use a Sharpie to mark where you want to drill your dots. For a random “whimsical” effect, you can simply drill holes freehand. I find this to be a bit easier.
- Start drilling. Fit your drill with the bit that’s the size of the holes you want (I used a 3/4″ boring bit). Hold the drill perpendicular to the pumpkin and apply steady, gentle pressure.
- Create your design. Continue drilling with a variety of bit sizes to create a random assortment of dots, or use one size drill bit all over the pumpkin like I did. (See this post for using different sizes).
- Clean up. Once finished, wipe off any remaining marker and clean out any loose bits of pumpkin pulp clinging to your holes. Consider covering your surface with a drop cloth! It’s messy!
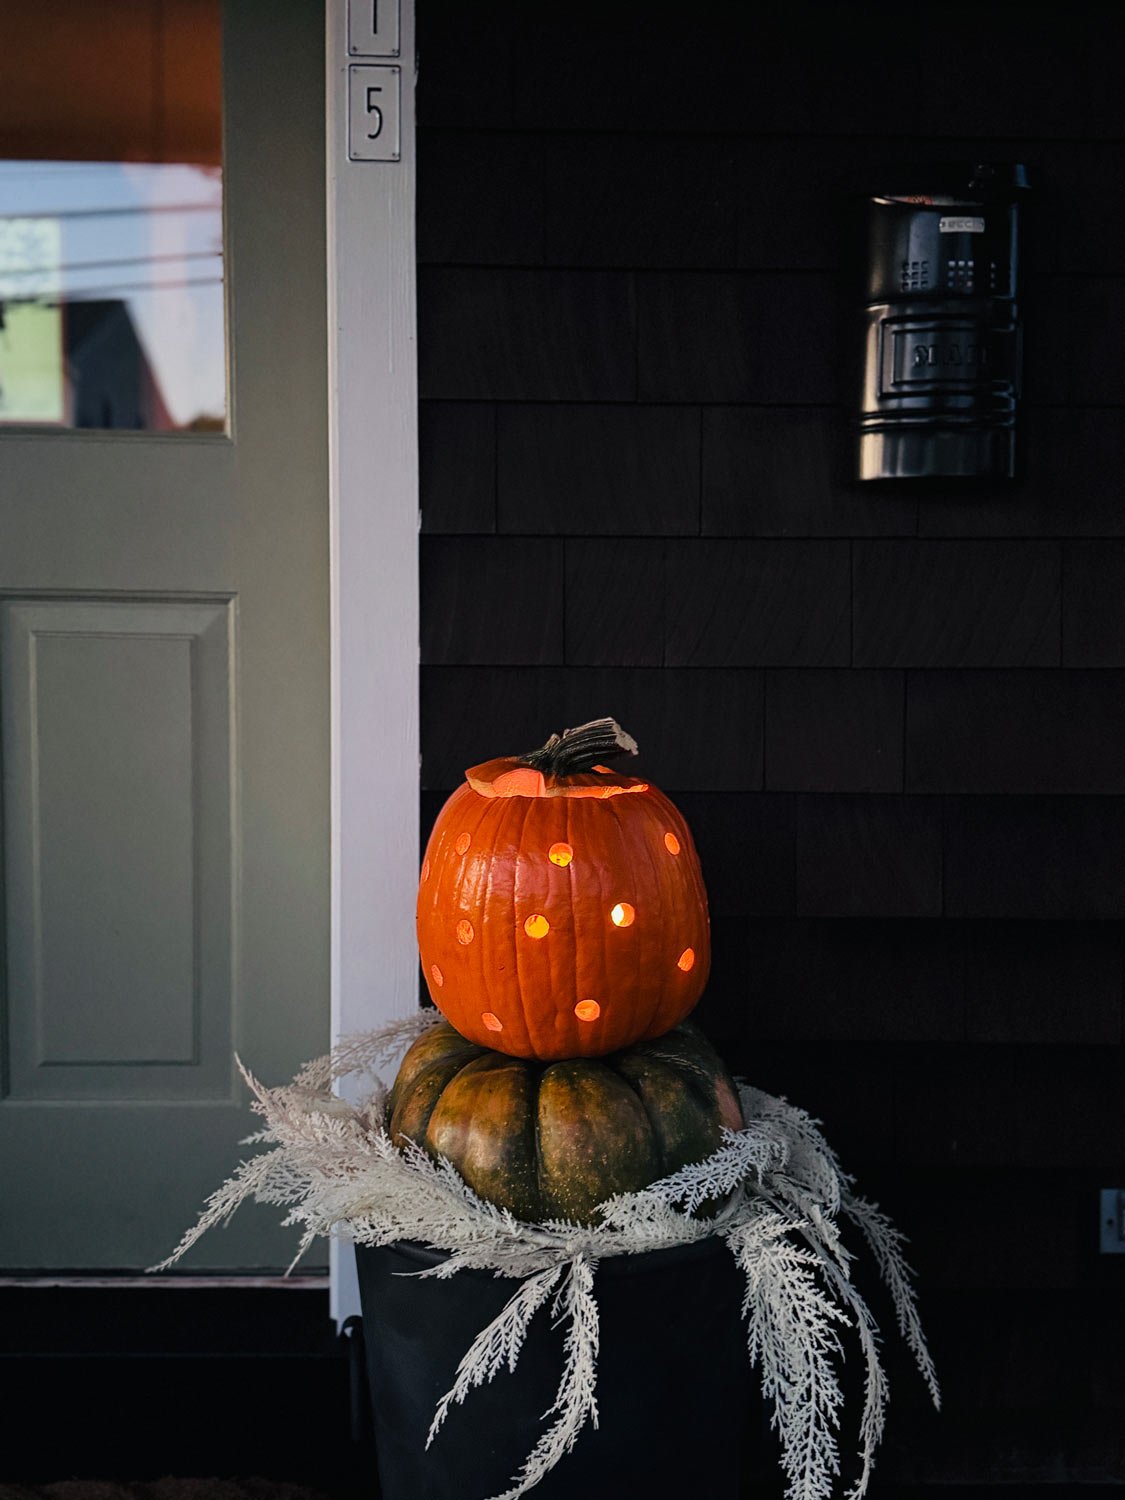
- Light it up. Place a candle or battery-operated twinkle lights inside your finished pumpkin to see your polka dots glow.
Note: Since carved pumpkins attract knats and other annoying insects, I like to spray the inside of the carved pumpkins with a non-toxic, eco-friendly bug repellent. I also spray and wipe down the outside of the pumpkins. It’s not perfect, but it does help. If you have a different or better way of keeping bugs away, please let me know and I’ll add it to this post.
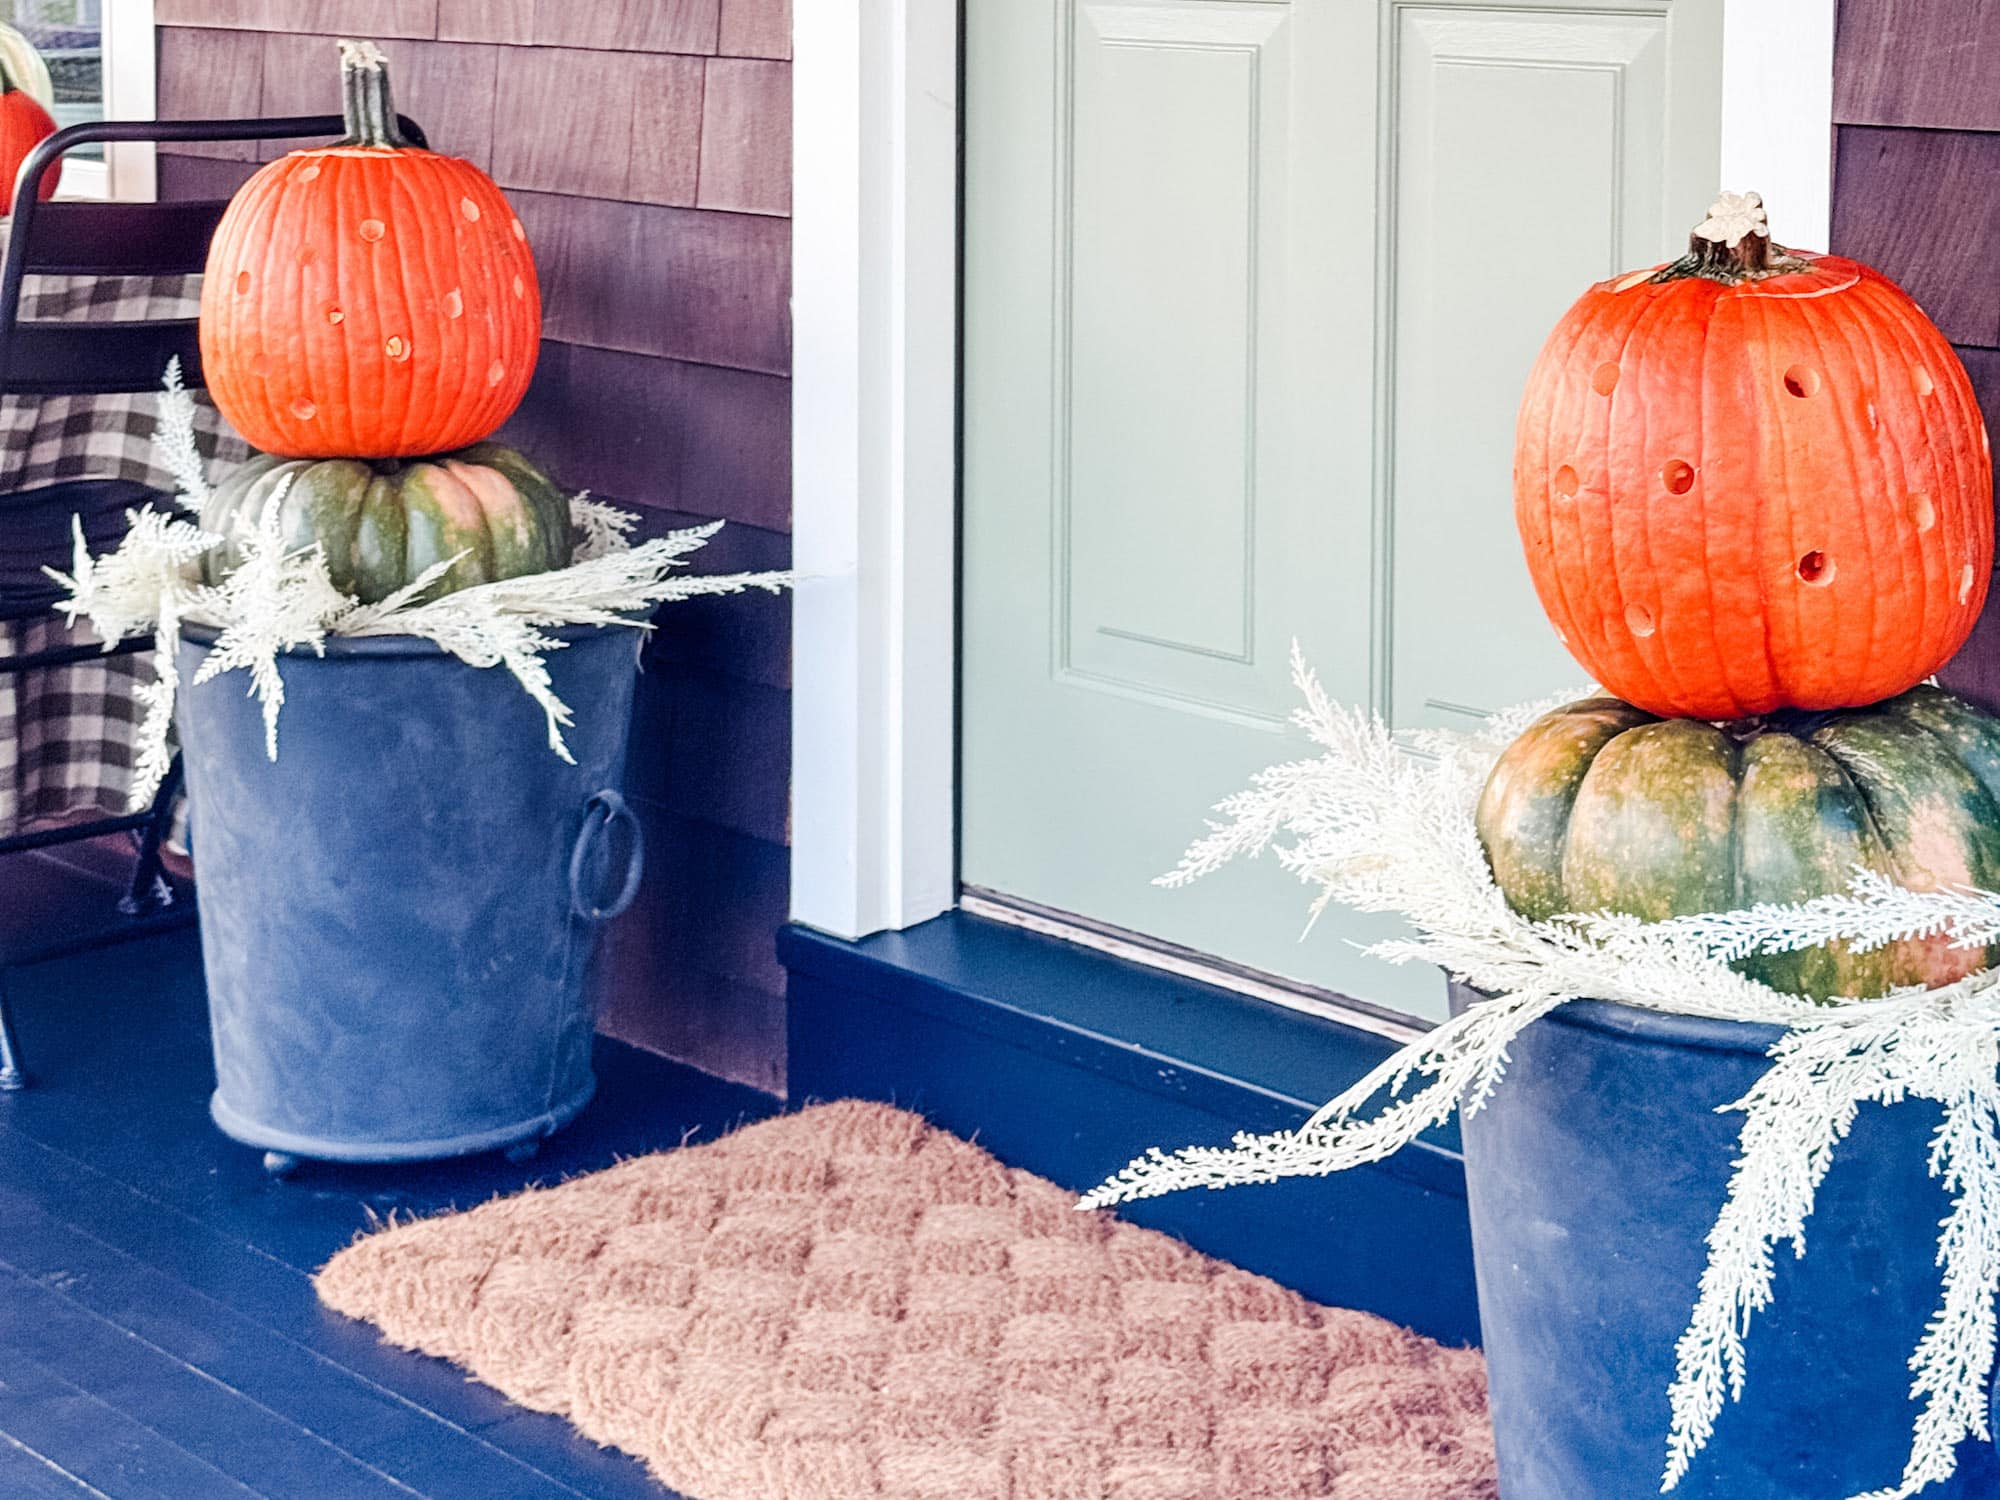
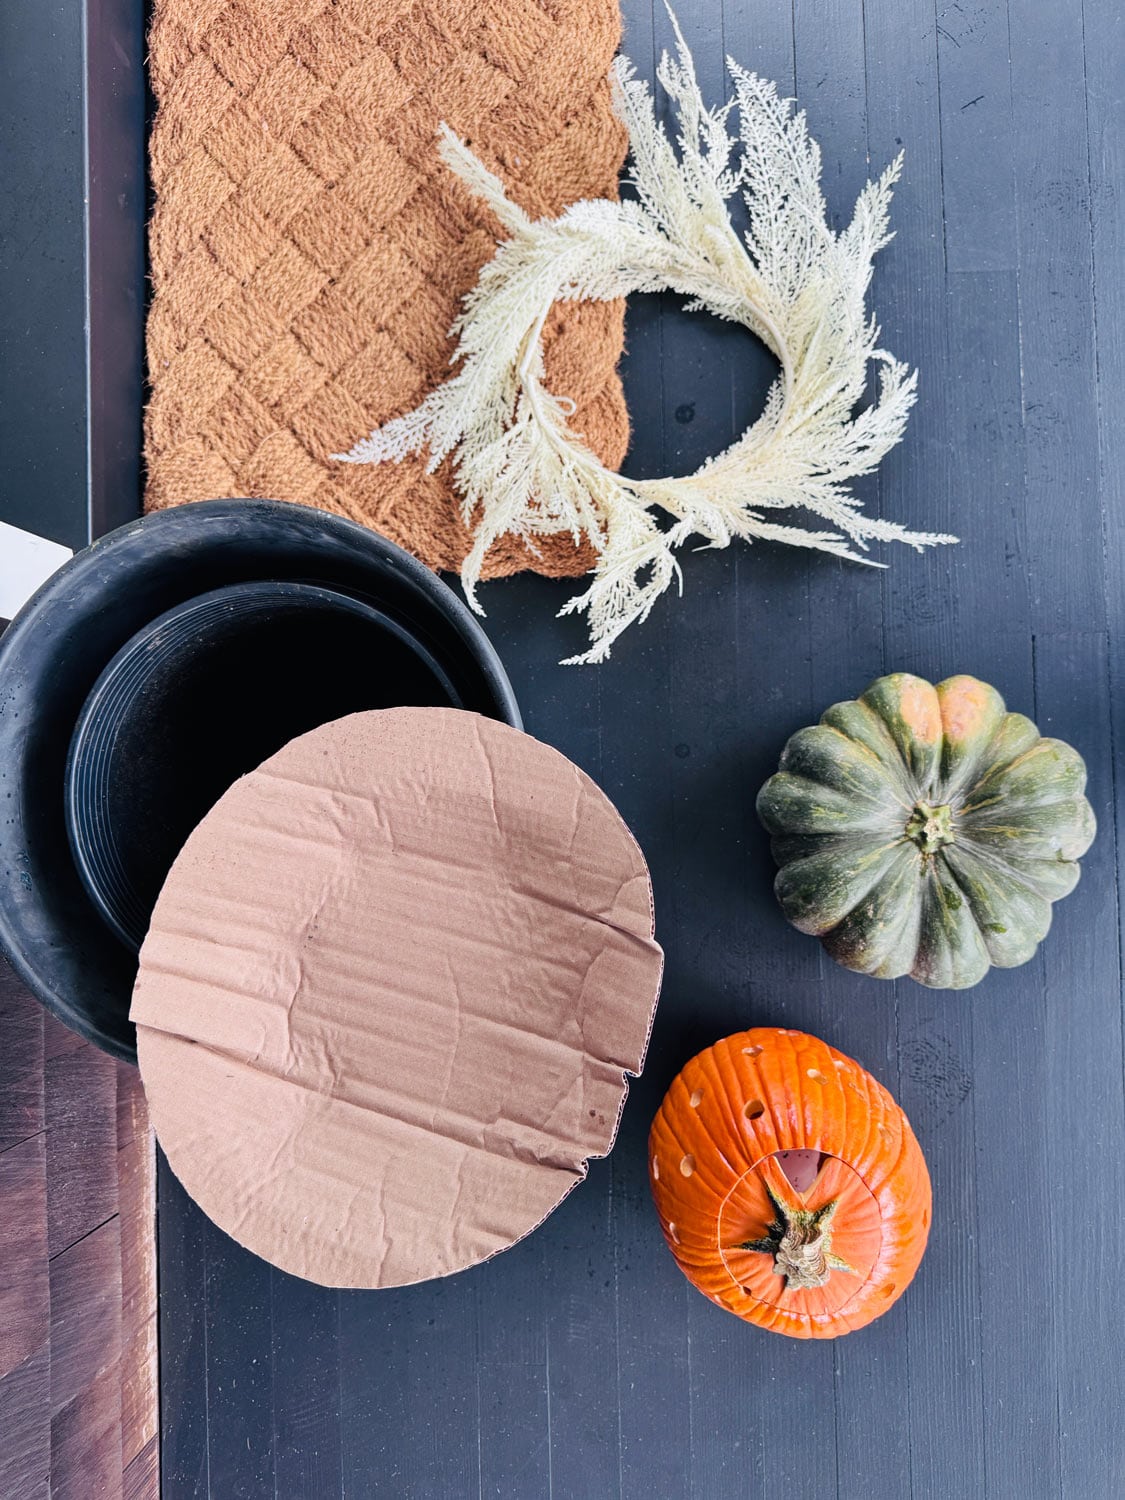
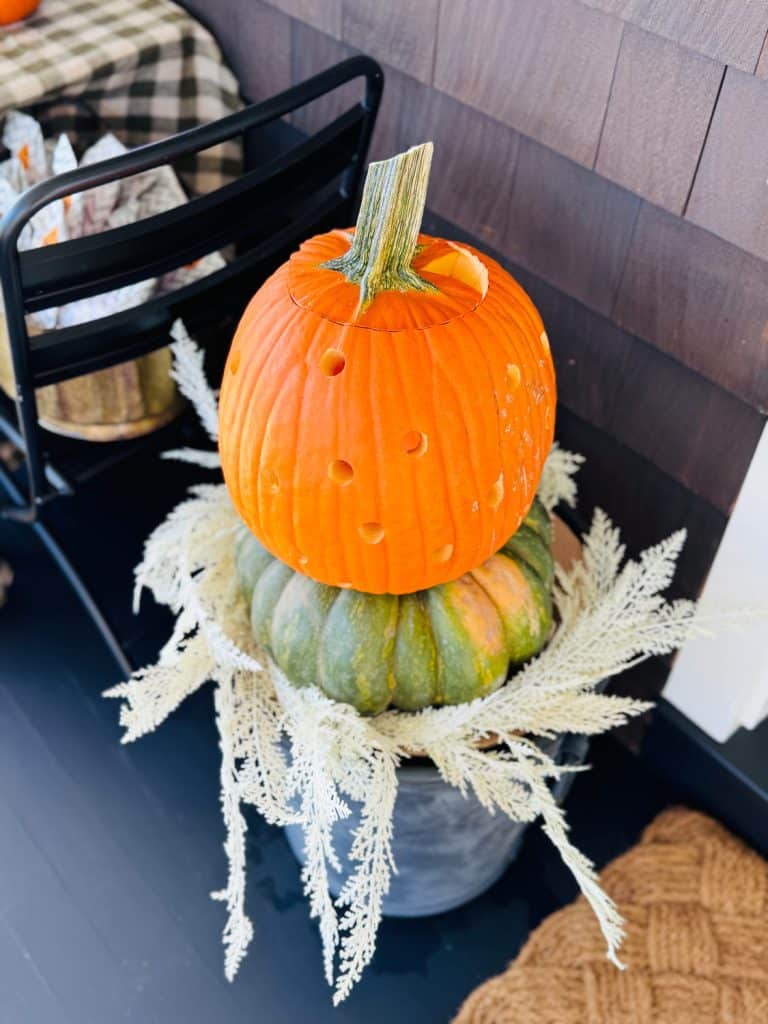
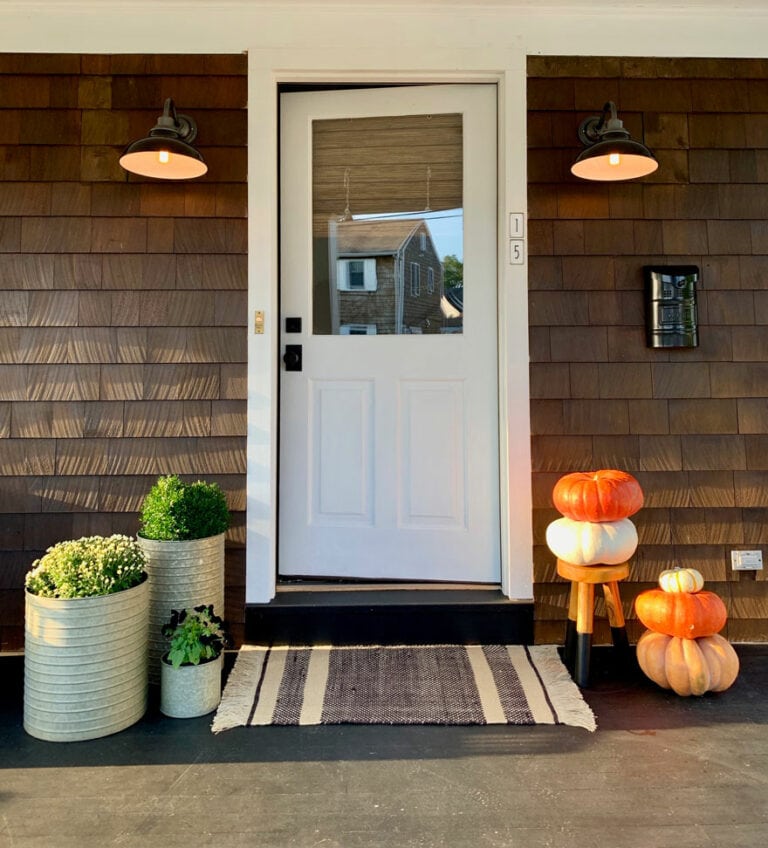
Stacked pumpkins on planters or pots


I use a pot liner inside the planter to support a piece of cardboard to fit just inside the planter. Then I placed a pumpkin just slightly smaller than the opening of the planter, with the polka dot pumpkin on top. I used faux garland that I had on hand to cover any cardboard showing under the bottom pumpkin. You could use hay or pine needles to accomplish the same thing.
How to stack them up


Polka dot pumpkin glows after dark with a candle
You may also like these Halloween craft posts:


Make Paper Doily Ghosts for Halloween
Halloween Yogurt Jar Jack-O-Lantern & Ghost Luminaries
Blogger’s Best Pumpkin Craft Projects
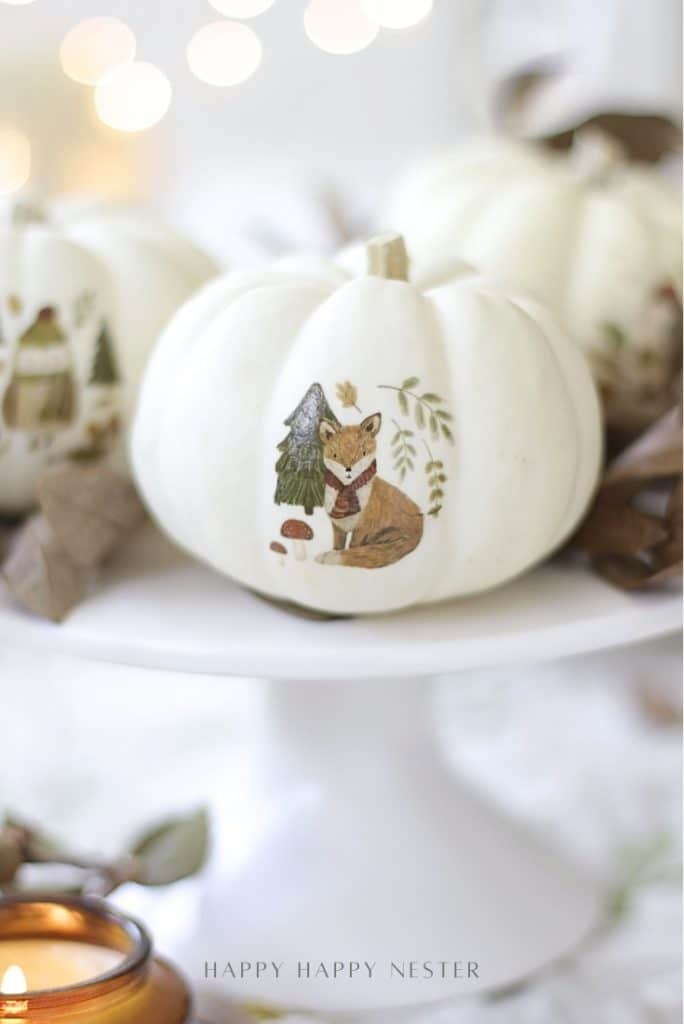
Pumpkin Decorating Ideas Without Carving (Temporary Tattoos) | Happy Happy Nester
Pumpkin Decorating Ideas without Carving (Temporary Tattoos) are one of the easiest and cutest ways to style your pumpkins this fall. I used adorable woodland animal tattoos—like a hedgehog, rabbit, raccoon, bear, owl, and fox—on small white pumpkins, and the results are absolutely charming. The tattoos go on so easily and instantly transform a plain pumpkin into a sweet fall decoration. It’s a quick craft that requires no carving mess, no paintbrushes, and no special tools—just simple, stylish pumpkins that look like they came straight out of a storybook. Perfect for kids and adults alike, this pumpkin decorating idea is as fun as it is beautiful!
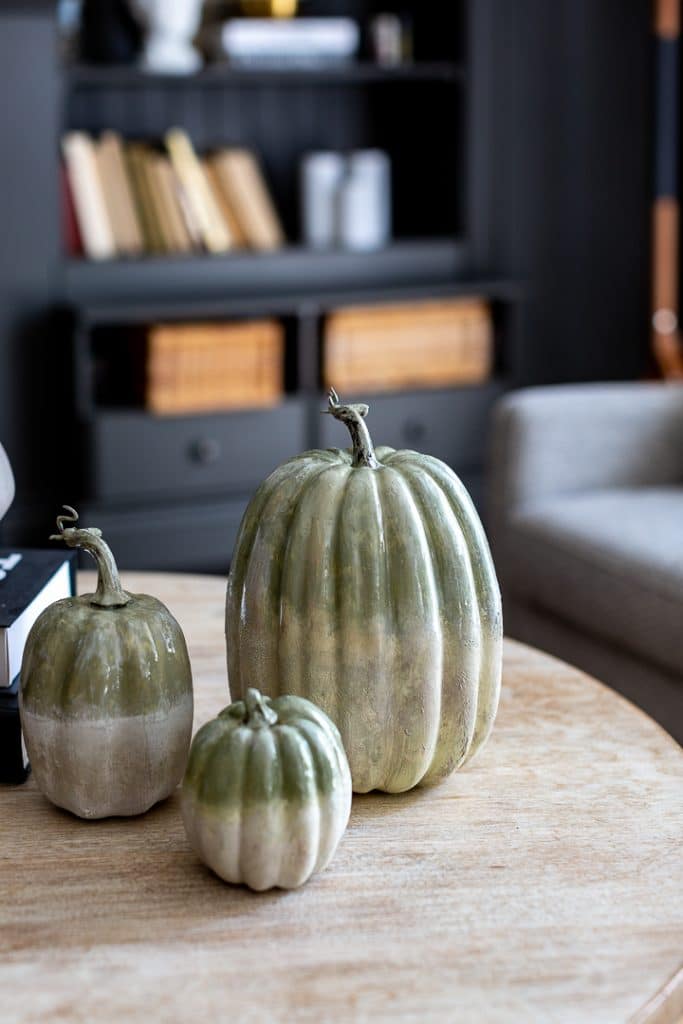
French Glaze Pumpkin DIY | Craftberry Bush
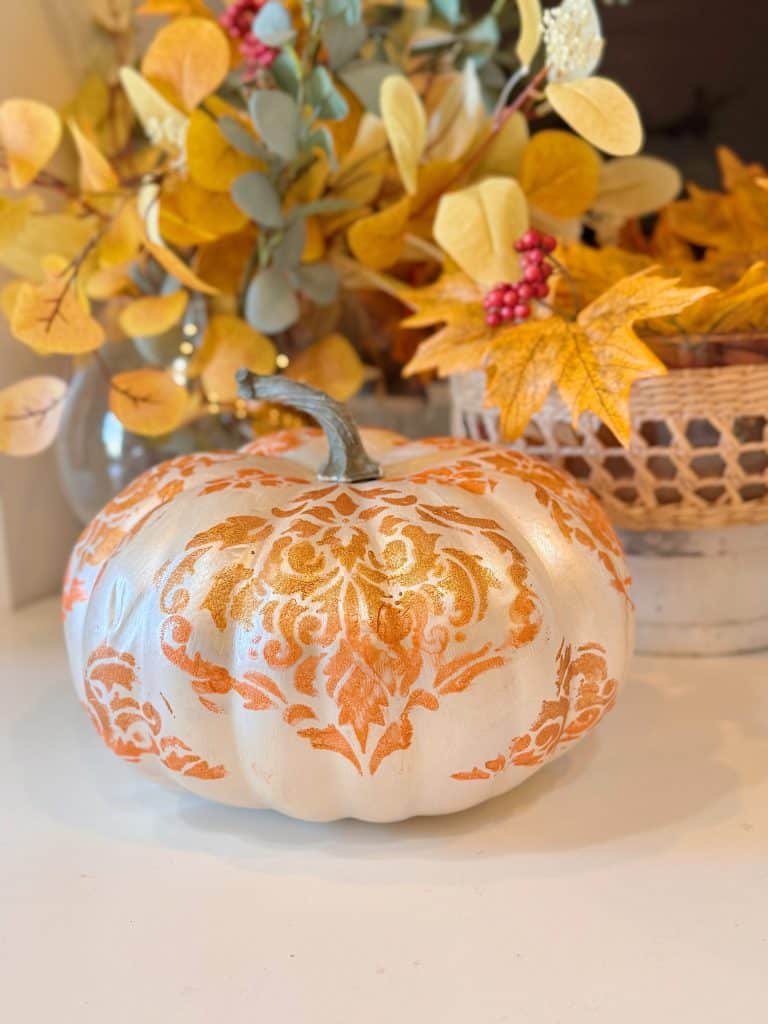
How to Make a Stenciled Painted Pumpkin That Looks Like a Designer Find | My 100 Year Old Home
I love taking something inexpensive and transforming it into a piece that looks like it came from a high-end store. That’s precisely what happened with this stenciled painted pumpkin project.
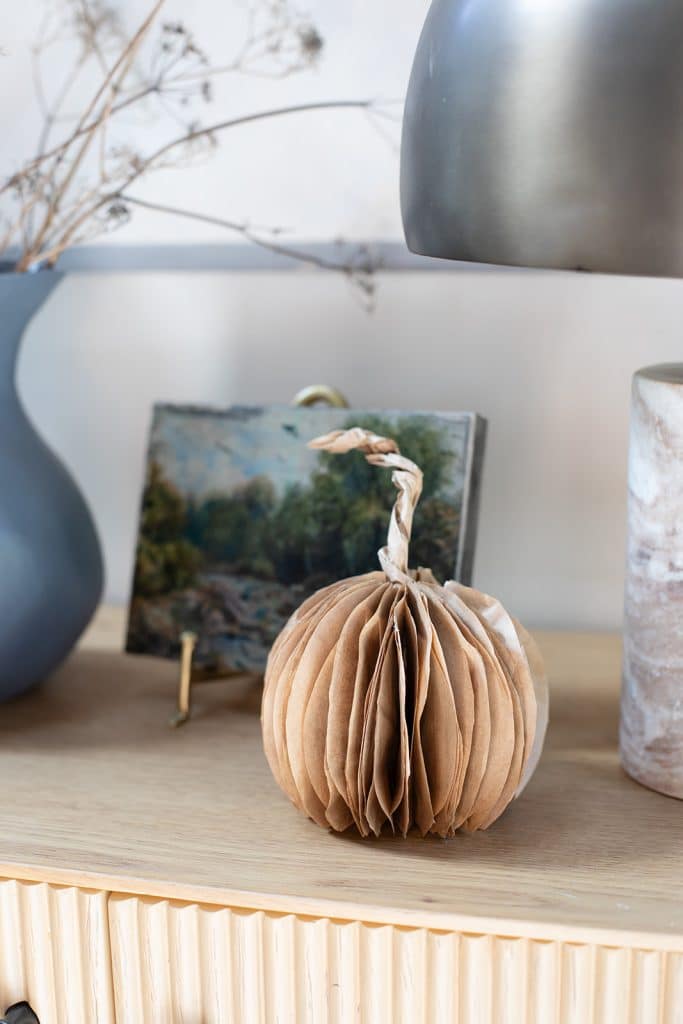
Free Pumpkin Decor Craft | My Sweet Savannah
Learn how to create free pumpkin decor craft using lunch sacks or grocery bags. This simple DIY is budget-friendly, 3D, and perfect for fall decorating.
How to Make Polka Dot Pumpkins | Most Lovely Things
Make beautiful, glowing polka dot pumpkins using a drill.


LOVE YOUR POLKA DOT PUMPKINS!