
How to Make a DIY Frame

We made a DIY frame for an original piece of art. If you think about it, it’s better to save your money for buying art rather than spending it on the framing.
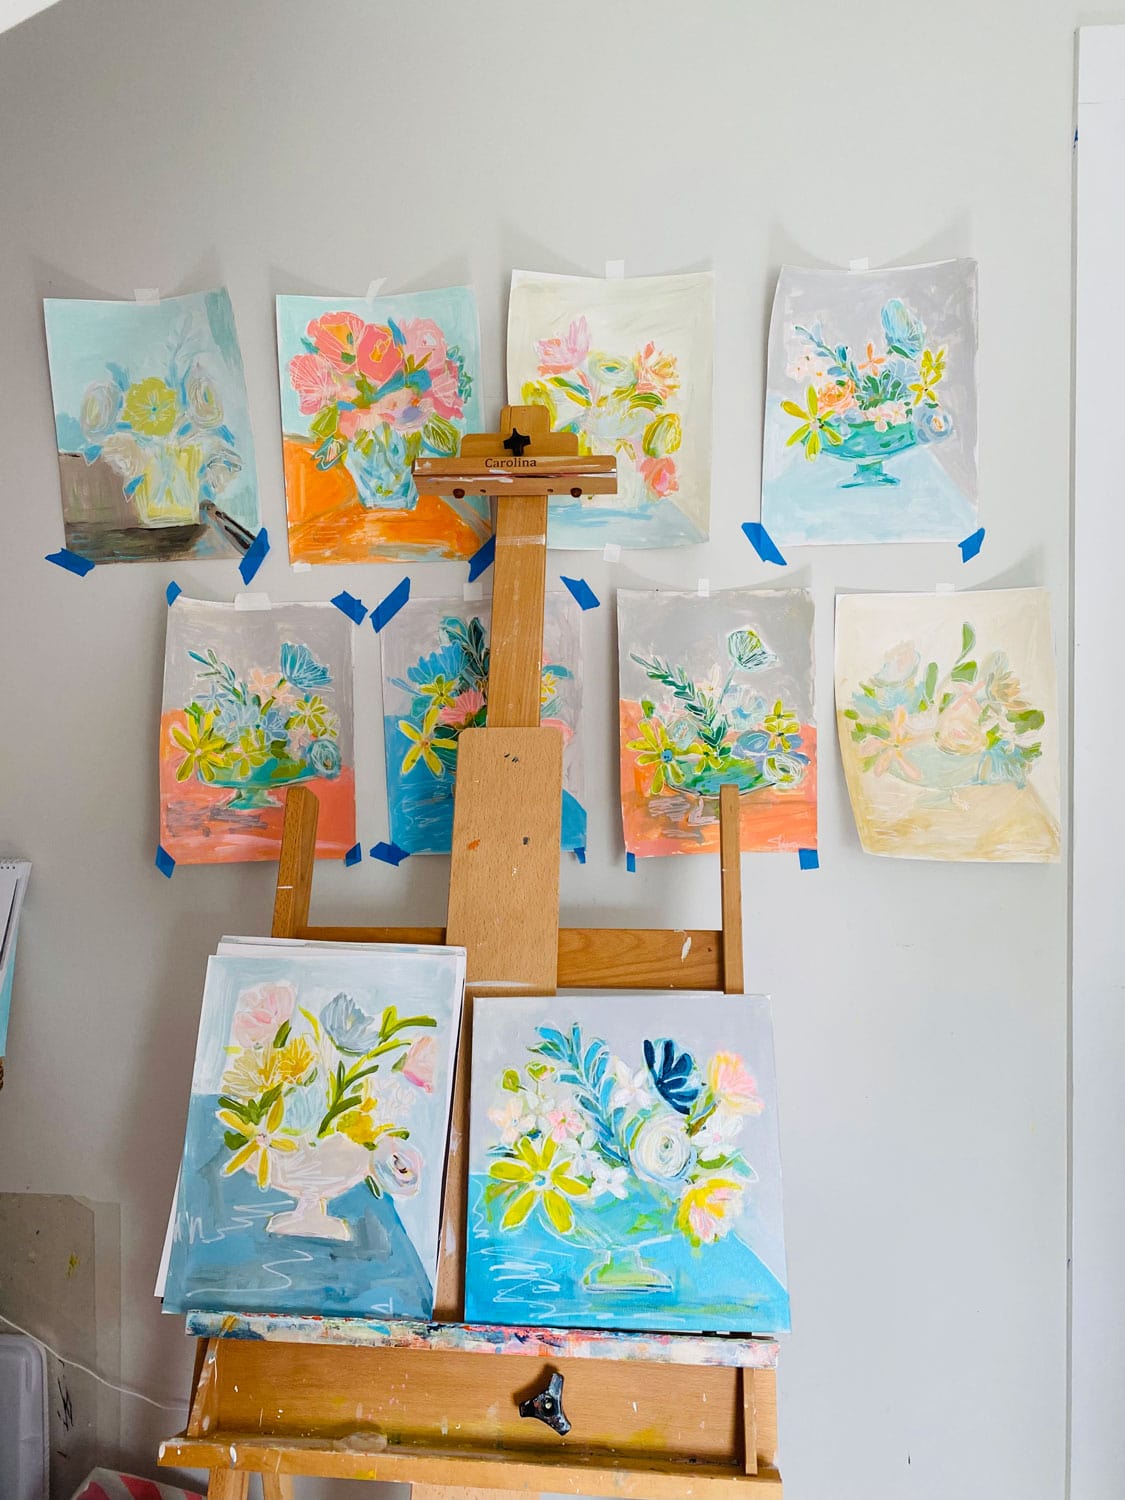
Artist Nancy Sharpe
This particular painting is by my friend Nancy Sharpe. I wrote about Nancy’s studio in this post. She has since moved from the country to a seaside city just down the shore from us. I think her new series that she’s calling Fun + Florals has a coastal vibe. I’m not sure if it’s the colors or what exactly, but I think her new studio with water views has inspired her recent works. Everything she paints is beautiful. I love to visit her studio to see what’s in the works. I was absolutely thrilled to be one of the first to have a Fun + Floral painting in my home. I couldn’t wait to hang it, but first, we needed to make a frame.
A look into Nancy’s Seaside Studio

Fun + Florals on Linen (first look)!
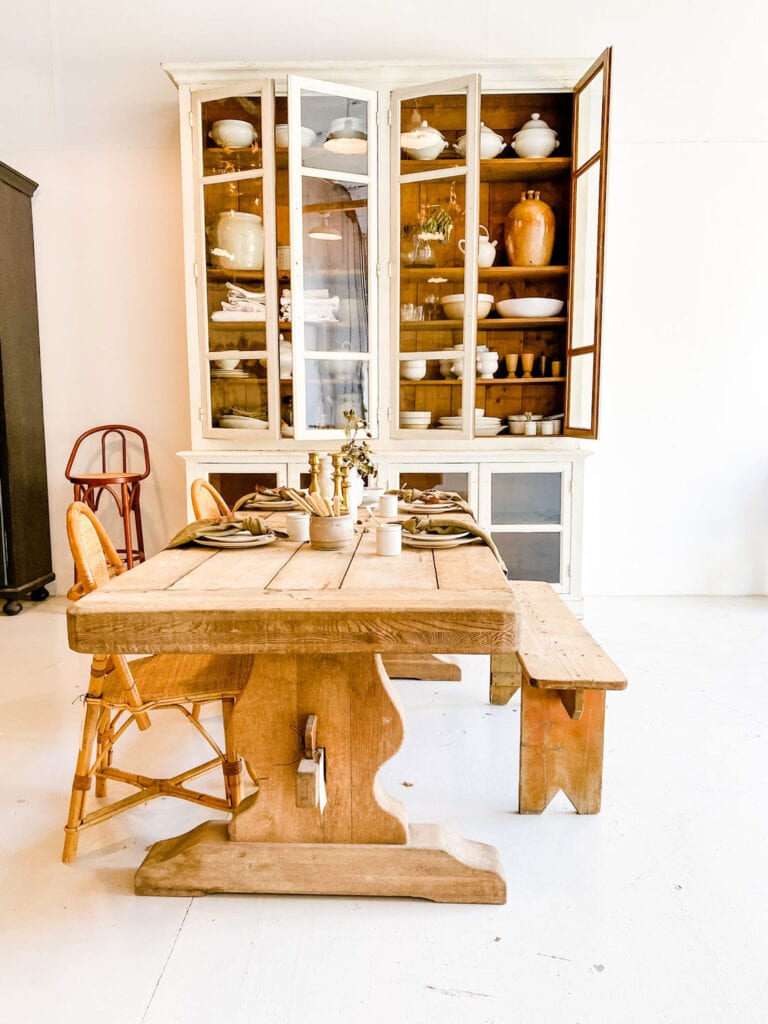
Fun + Florals in our dining room

Right away I knew that I would be adding it to the wall in our dining room with a landscape from Lizzy Love (I wrote about Lizzy in this post) and the Enzo Mari Apple Pear Poster. I love a modern Mix. Nancy’s Fun + Floral art is the perfect addition to this wall. Nancy uses a varnish to protect the paintings so that no glass or plexiglass is ever needed. We don’t want to cover up original art.
10 Easy Steps to Making a Picture Frame
If you haven’t worked with power tools before, it can be a little scary. But don’t let that stop you. You just have to take your time and be extra careful. And if you don’t have power tools, you can do this with an inexpensive hand saw and miter box set. You’ll just have to tweak it a little and find a way to mount the photo/painting inside the frame (a painting on a stretched canvas board would work best here). But go ahead and get creative.
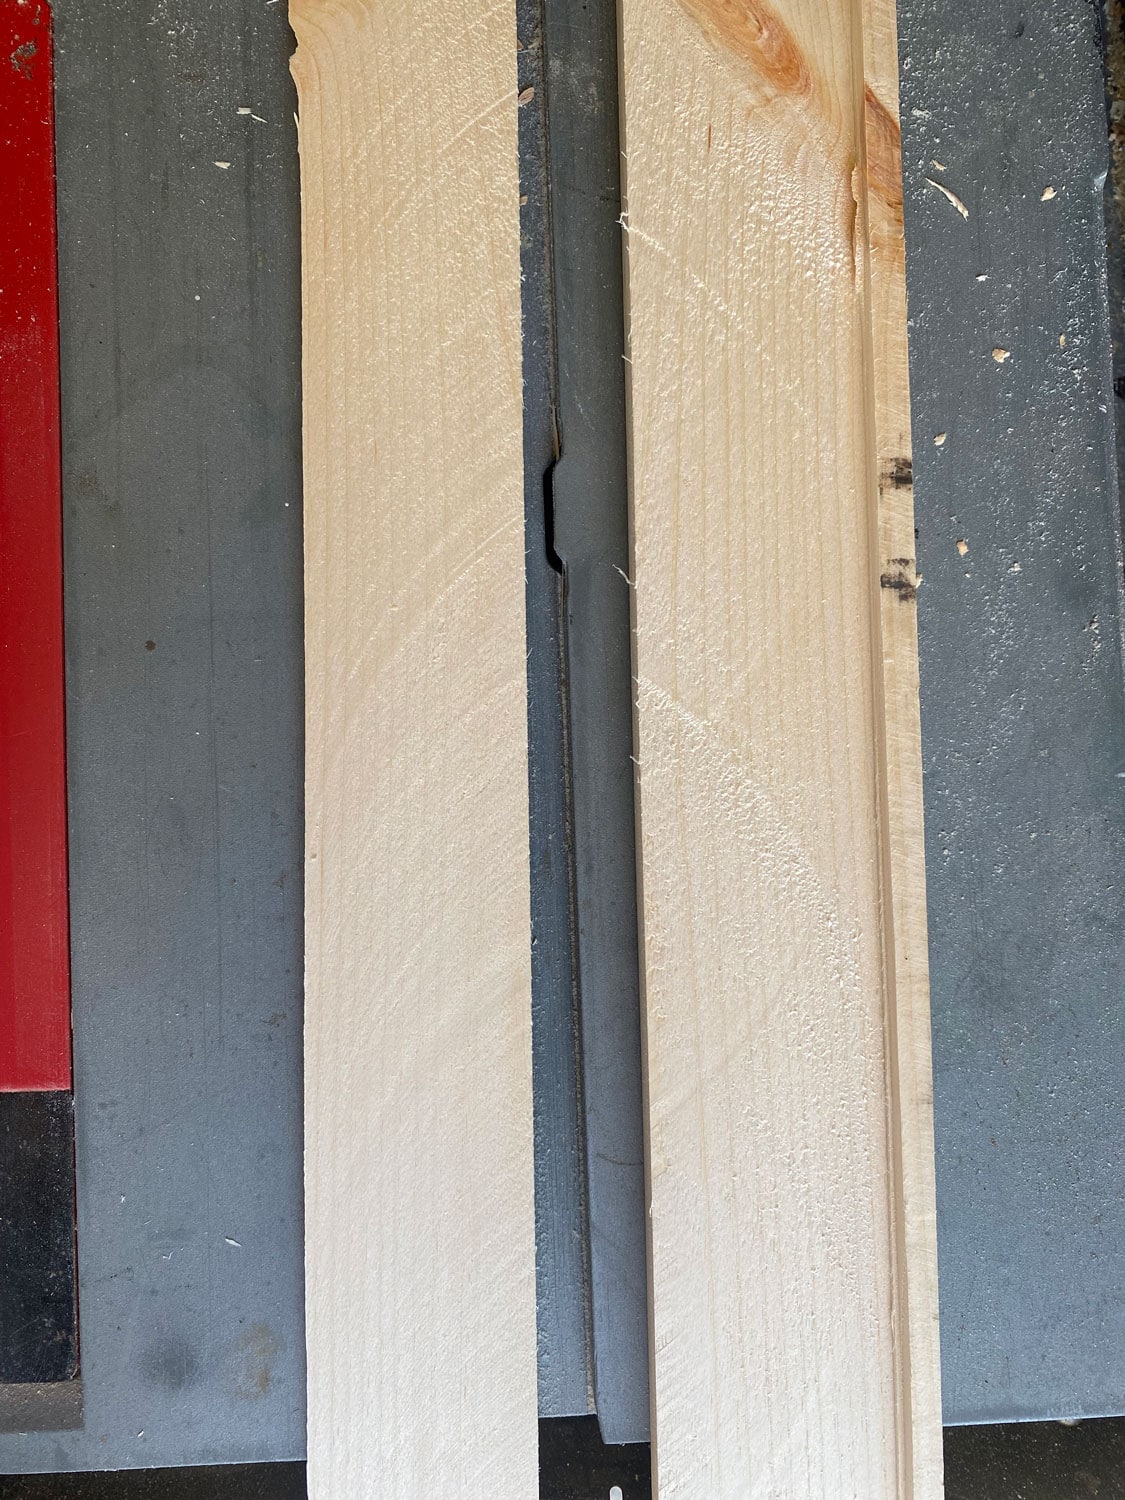
The first thing you’ll need to do is determine the size of frame you need and what kind of wood you think would look best for your specific photo or painting. In this case, we used 1X3 pine boards. We bought a 10 ft. piece which is more than enough. It even leaves room for a mistake or two in measuring. We’ve also used walnut wood for other frames but walnut is a very hard wood. It looks good but is much more difficult to work with – in terms of cutting, sanding, and finishing.
Step 1:
You’ll need to cut a notch in the wood so that the painting lies securely inside the frame. You can determine the width, but in this case, we used ⅜”.
Using a table saw, set the frame ⅜” wide and ⅜” deep and carefully run the board over the table saw blade.

Step 2:
Readjust the frame and run the board over the table saw blade again. Here’s what it will look like after cutting.
Step 3:
At this point, We like to make a 45-degree cut as the first corner of the picture frame.
We then lay out the board, gently lay the long side of the painting in the notched groove, and with a pencil mark the length of the painting and cut another 45-degree angle.

Continue doing this until you have all four sides of the frame.
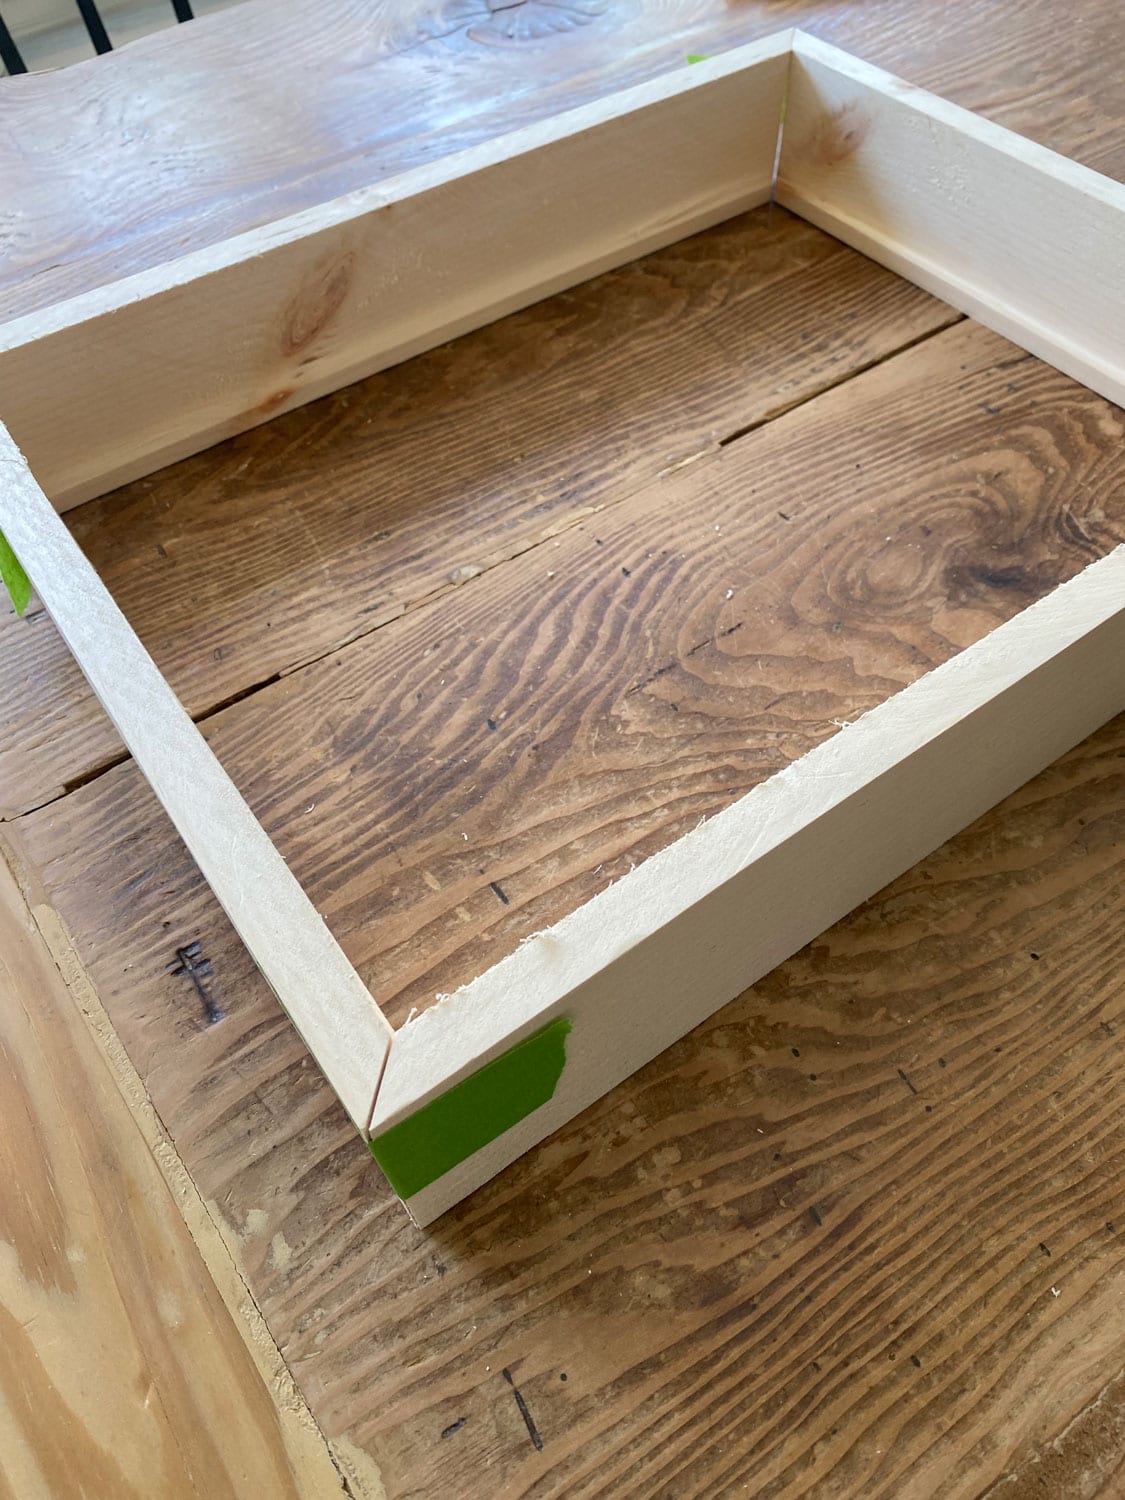
Step 4:
Because all four sides need to fit together perfectly before we begin attaching them we use painter’s tape to temporarily hold all four sides together. Once again, we lay the painting inside the frame to make sure it fits.

Step 5:
Now it’s time to assemble the frame. We start with one long board and one short board. One trick we use is to apply a very thin layer of wood glue to each of the 45-degree angles and let it dry.

The wood absorbs the glue and makes a tighter fit. Next, we apply more glue to the 45-degree angle cut and use painter’s tape to temporarily secure the corners of the frame and let it dry. We now have two pieces of the frame.
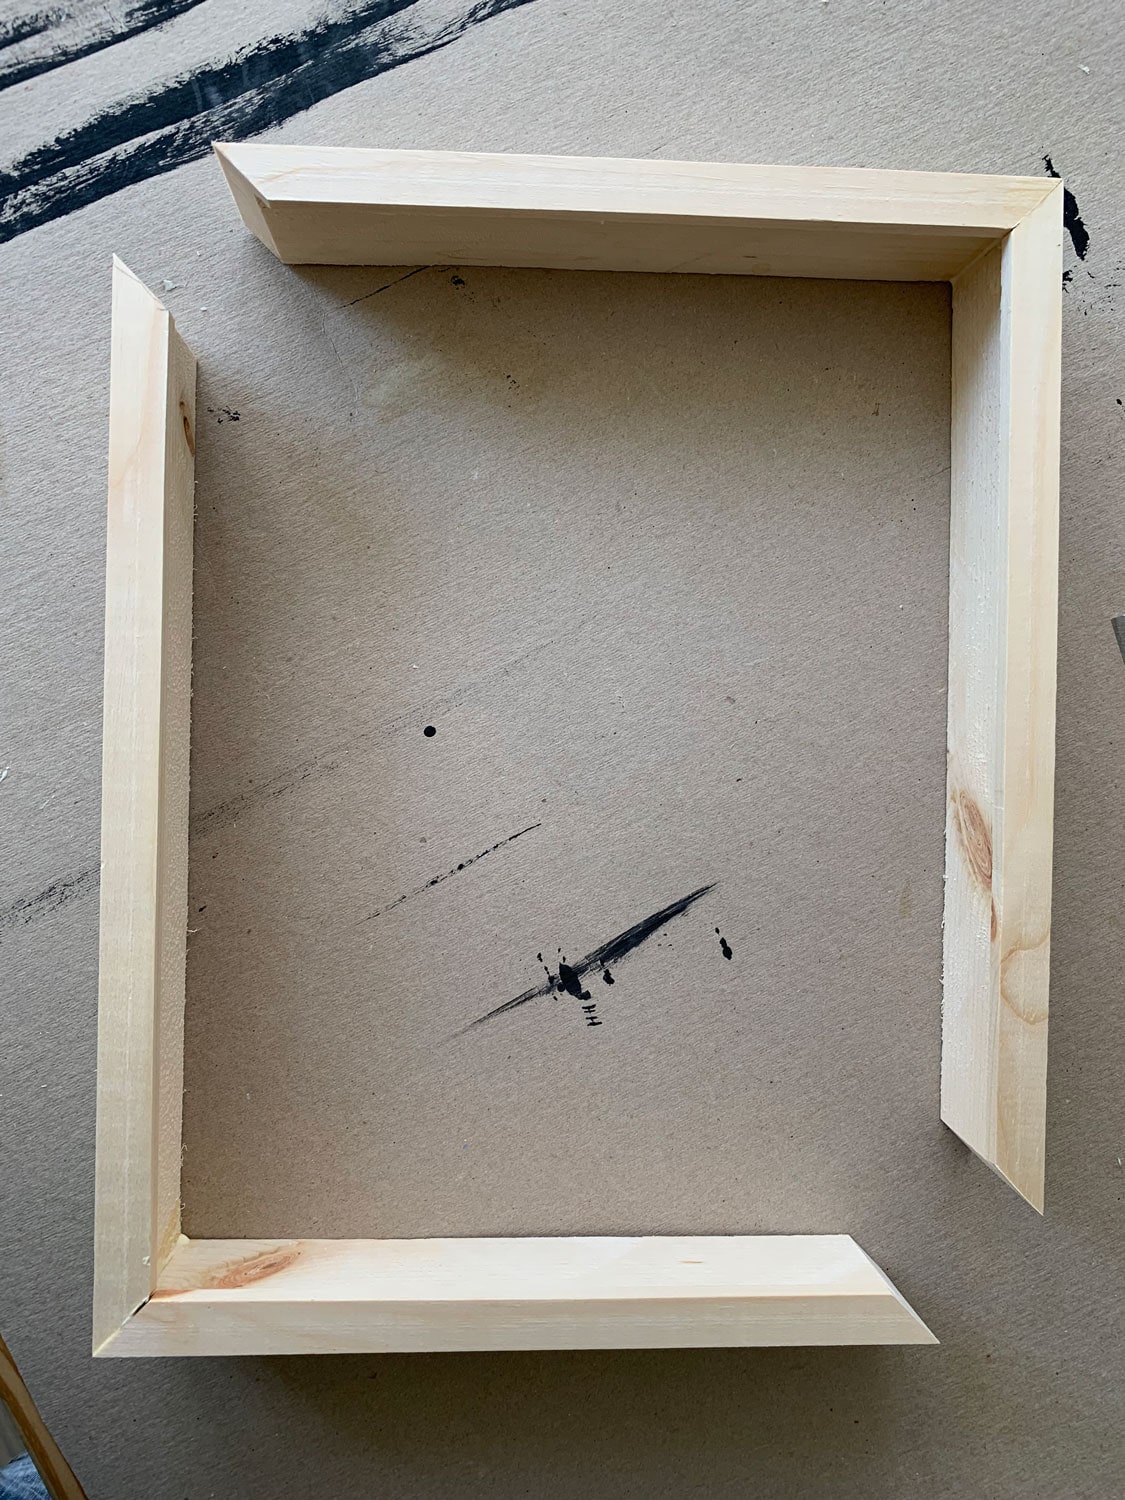
Step 6:
Next, repeat the gluing process and attach the two pieces of the frame with painter’s tape and let the glue dry.
Step 7:
Now It’s time to secure the frame as the glue is only temporary and not strong enough to hold the frame together on its own.
To secure the frame, using a 5/64” drill bit we drilled two small holes in each corner of the frame. This keeps the wood from splitting when we use the screws to secure the frame.

Step 8:
Once you have pre-drilled the holes, we used 2 ½” #8 self-setting screws and screwed them into the pre-drilled holes. Repeat this process on all four corners of the frame.

Step 9:
Now it’s time to finish the frame. Because we used natural pine wood we also bought some natural colored wood filler to fill in the screw holes. For the first coat, we just used a finger to apply and fill in the holes. Once it dried, we sanded it until smooth and then used a painter’s spatula to carefully apply the final finish of the wood filler and sanded it one more time once it dried.
We also used an electric palm sander to sand the entire frame until smooth with no flaws showing in the wood. Since pine is a very soft wood, you can sand it by hand. It just takes a bit longer.

Step 10:
Once sanded, smoothed, and finished to your liking, wipe clean with a damp rag and let it dry. And then apply one or two coats of Varathane. We like Satin but Varathane also comes in flat, semigloss, and gloss.
After the Varathane has dried, insert the painting secured to the cardboard backing. Use standard push pins to hold the cardboard backing in place.


Supplies you’ll need to make a DIY Frame
1 X 3 X 10 pine board
Painter’s tape
#8 2 ½” self-setting screws
Natural wood filler
Sandpaper


Annie, you make this look so easy! I love your new piece of art, it looks so beautiful! Thank you for the introduction to Nancy!