
Homemade Potato Chips for a Picnic Lunch
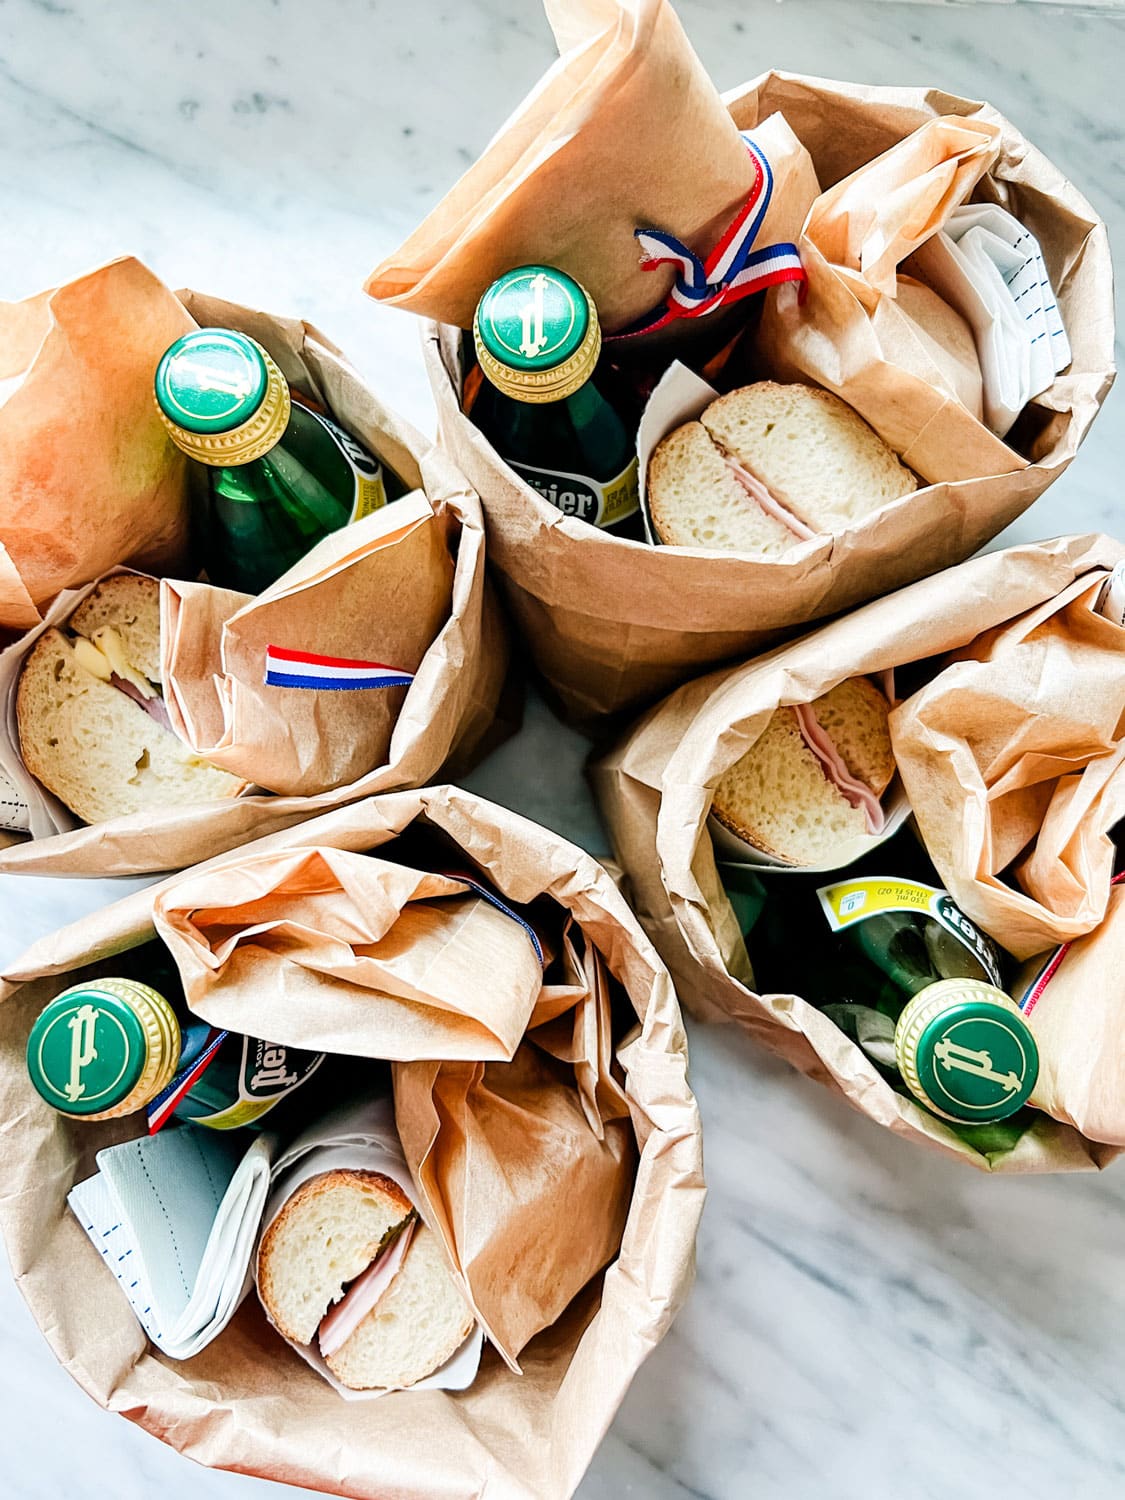
Joining a few friends today to talk picnics! We made homemade potato chips for our picnic lunch. The lunch was so simple that we knew we had to add at least one homemade element. And homemade potato chips never disappoint!
Fall is the perfect time for a picnic. Really, there’s never a bad time if you have good food and a view. It could even be in the winter! If the weather doesn’t cooperate, find a spot with a view and have a “car picnic.” We’ve done this at the beach in the Hamptons on many windy, cold days. After a long walk on the beach, there’s nothing like staying for the view but sitting in the car and having a picnic.
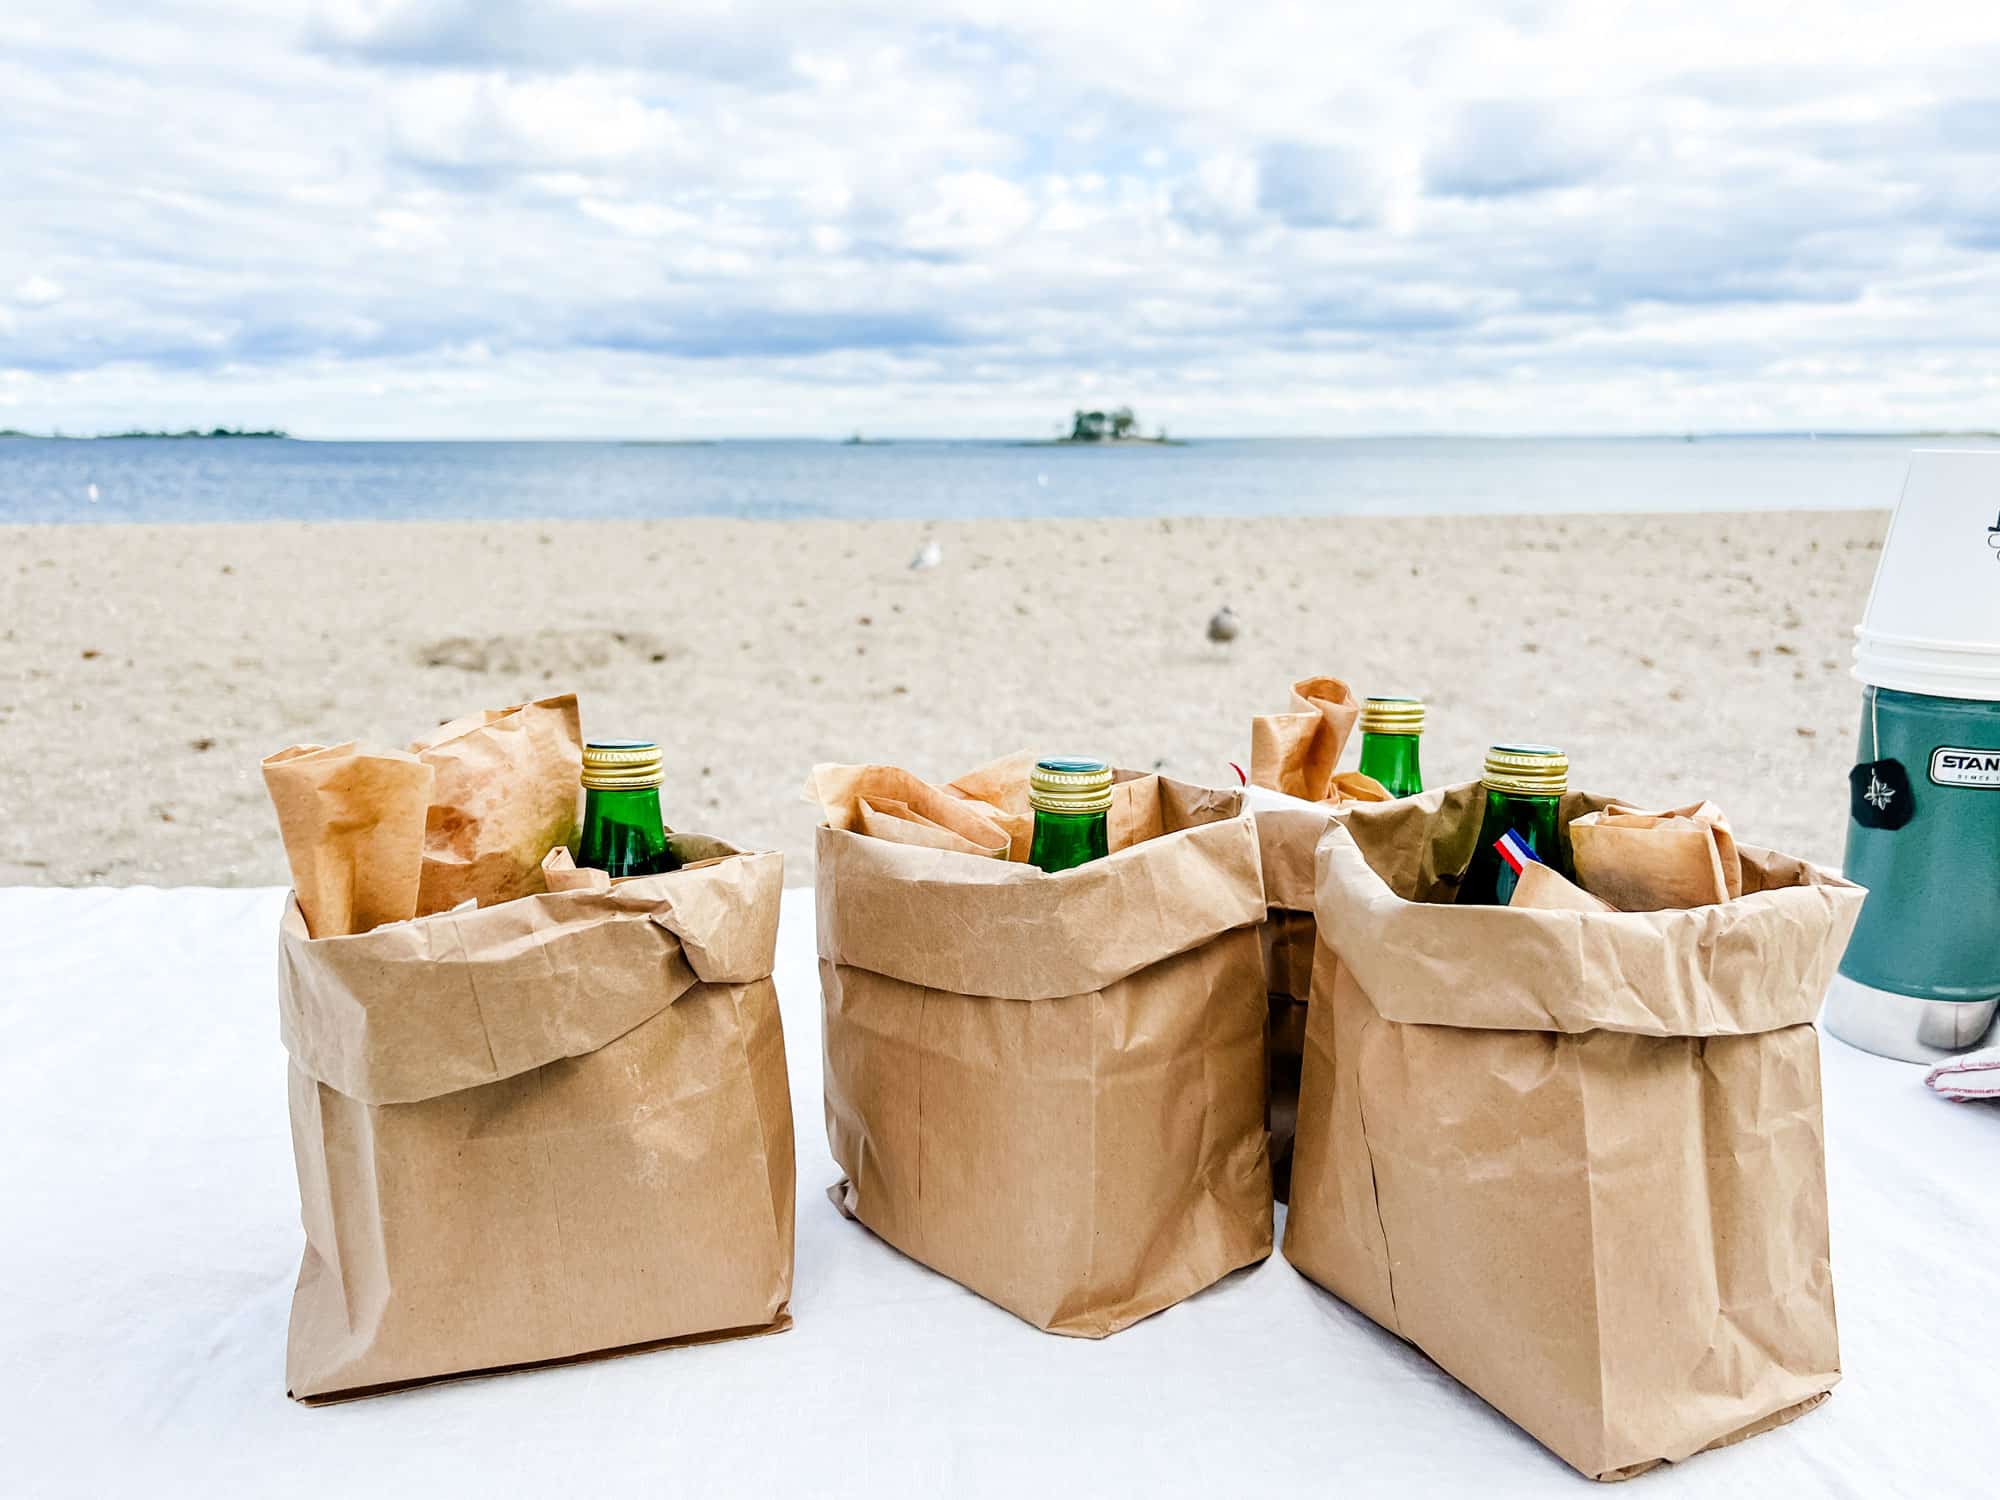
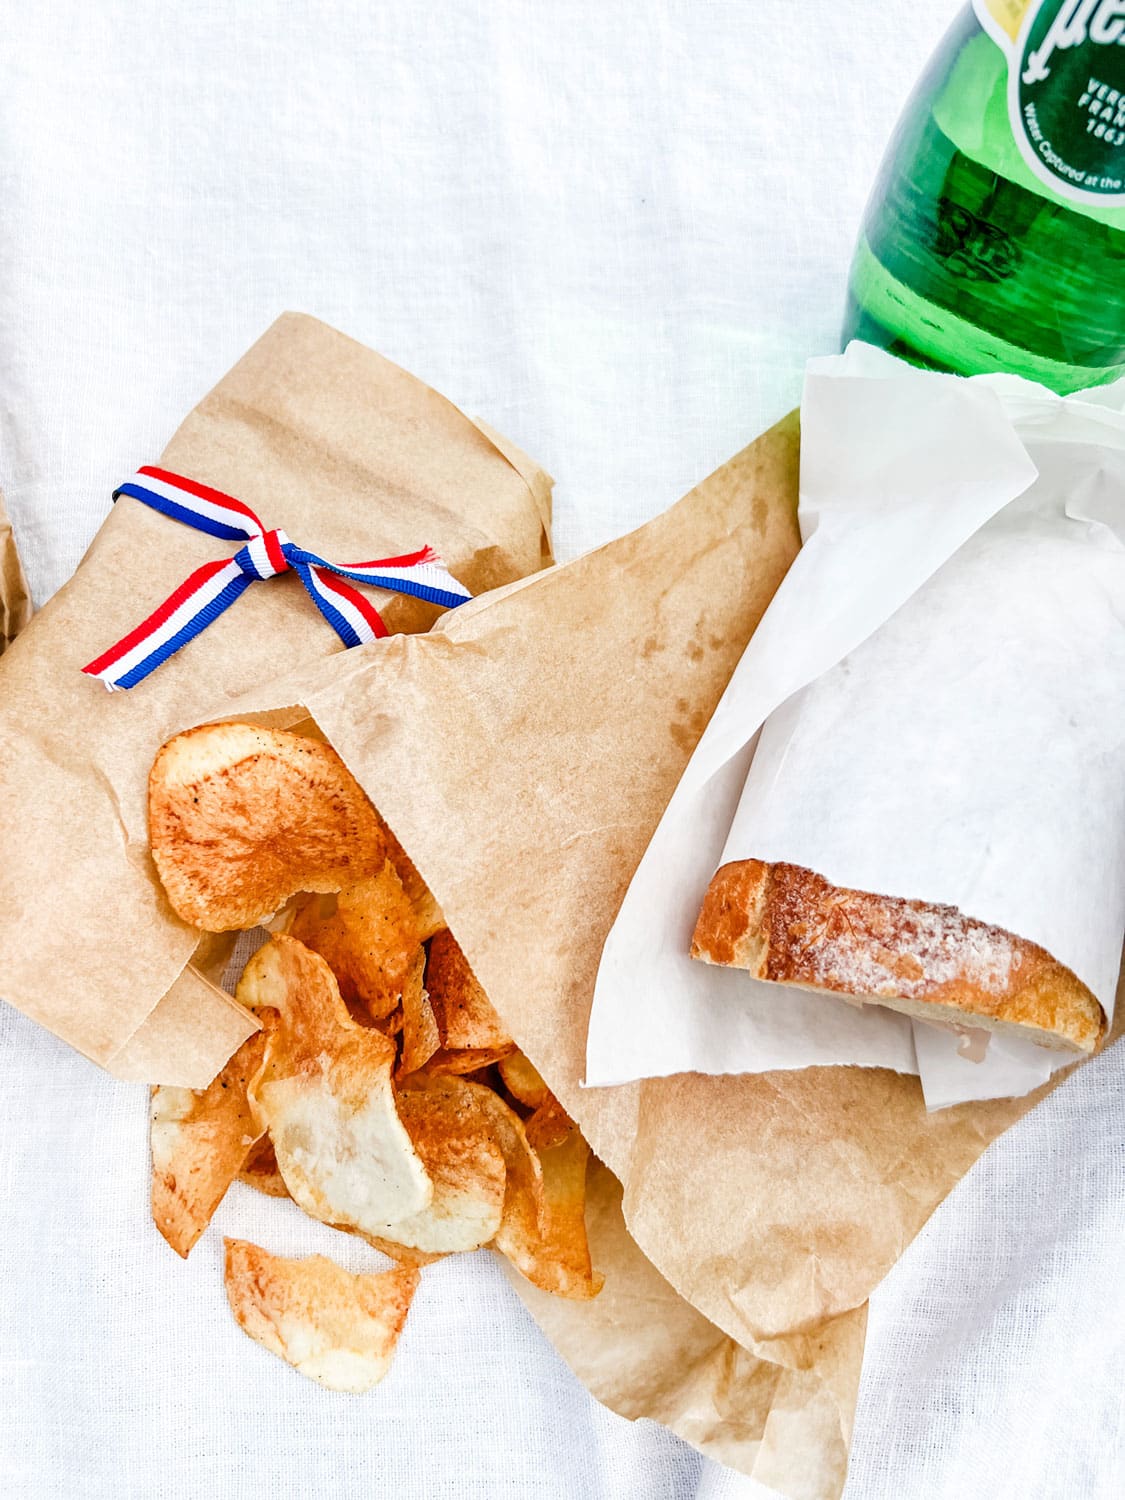
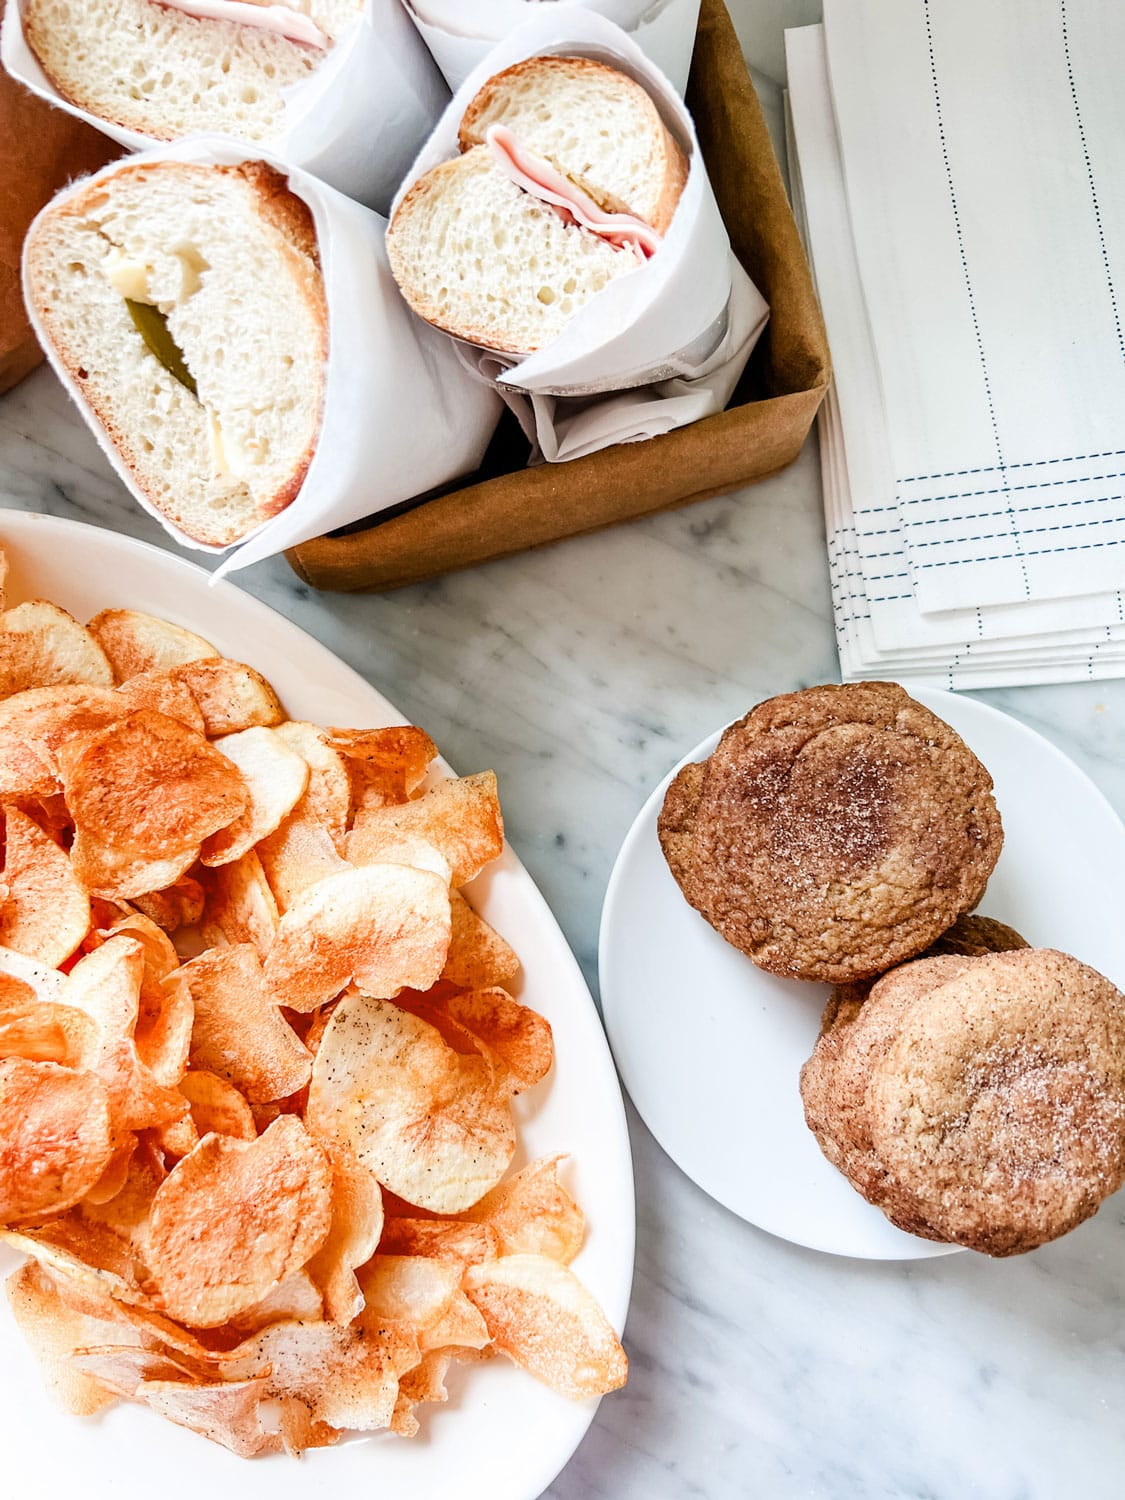
Our picnic today is French-inspired. A simple ham and butter sandwich with cornichons. The homemade chips were a nice touch and way easier than I remember!
For dessert, we had hot coffee and tea in thermoses and pumpkin snickerdoodle cookies (recipe coming soon) – If you’ve never had pumpkin snickerdoodles, I must warn you…they are addicting!
What You Will Need for Homemade Chips
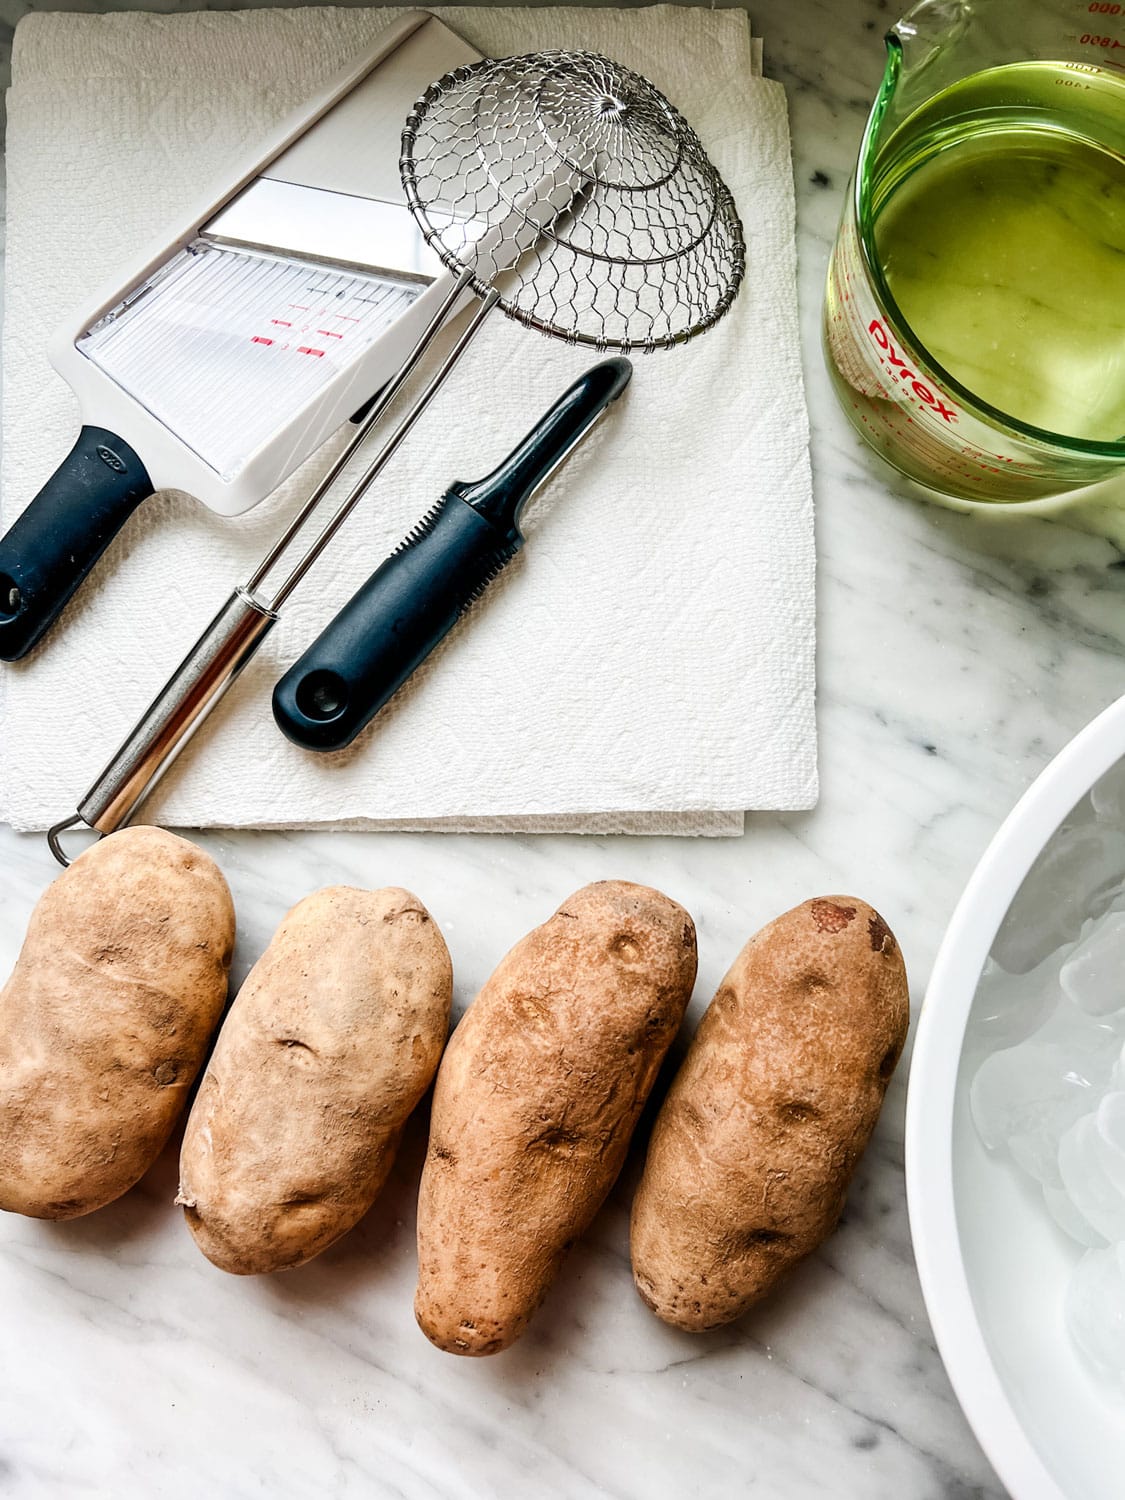
The Tools:
- Potato peeler
- Sharp knife
- Cutting board
- Mandoline
- Heavy pot
- Slotted spoon or Spider strainer
- Large bowl
- Paper towels
The Ingredients:
- Russet or Yukon Gold Potatoes
- Vegetable oil
- Salt and pepper
- Other seasoning like onion powder, garlic powder, paprika, or any combination of spices.
Methods to Make Homemade Potato Chips
- Oven-baked potato chips
- Air fryer potato chips
- Deep frying them
We went with the most traditional way of making homemade chips. Deep frying them in hot oil. We think this is the ideal way to get the best possible results in taste and crispness.
Some things to keep in mind when making homemade potato chips:
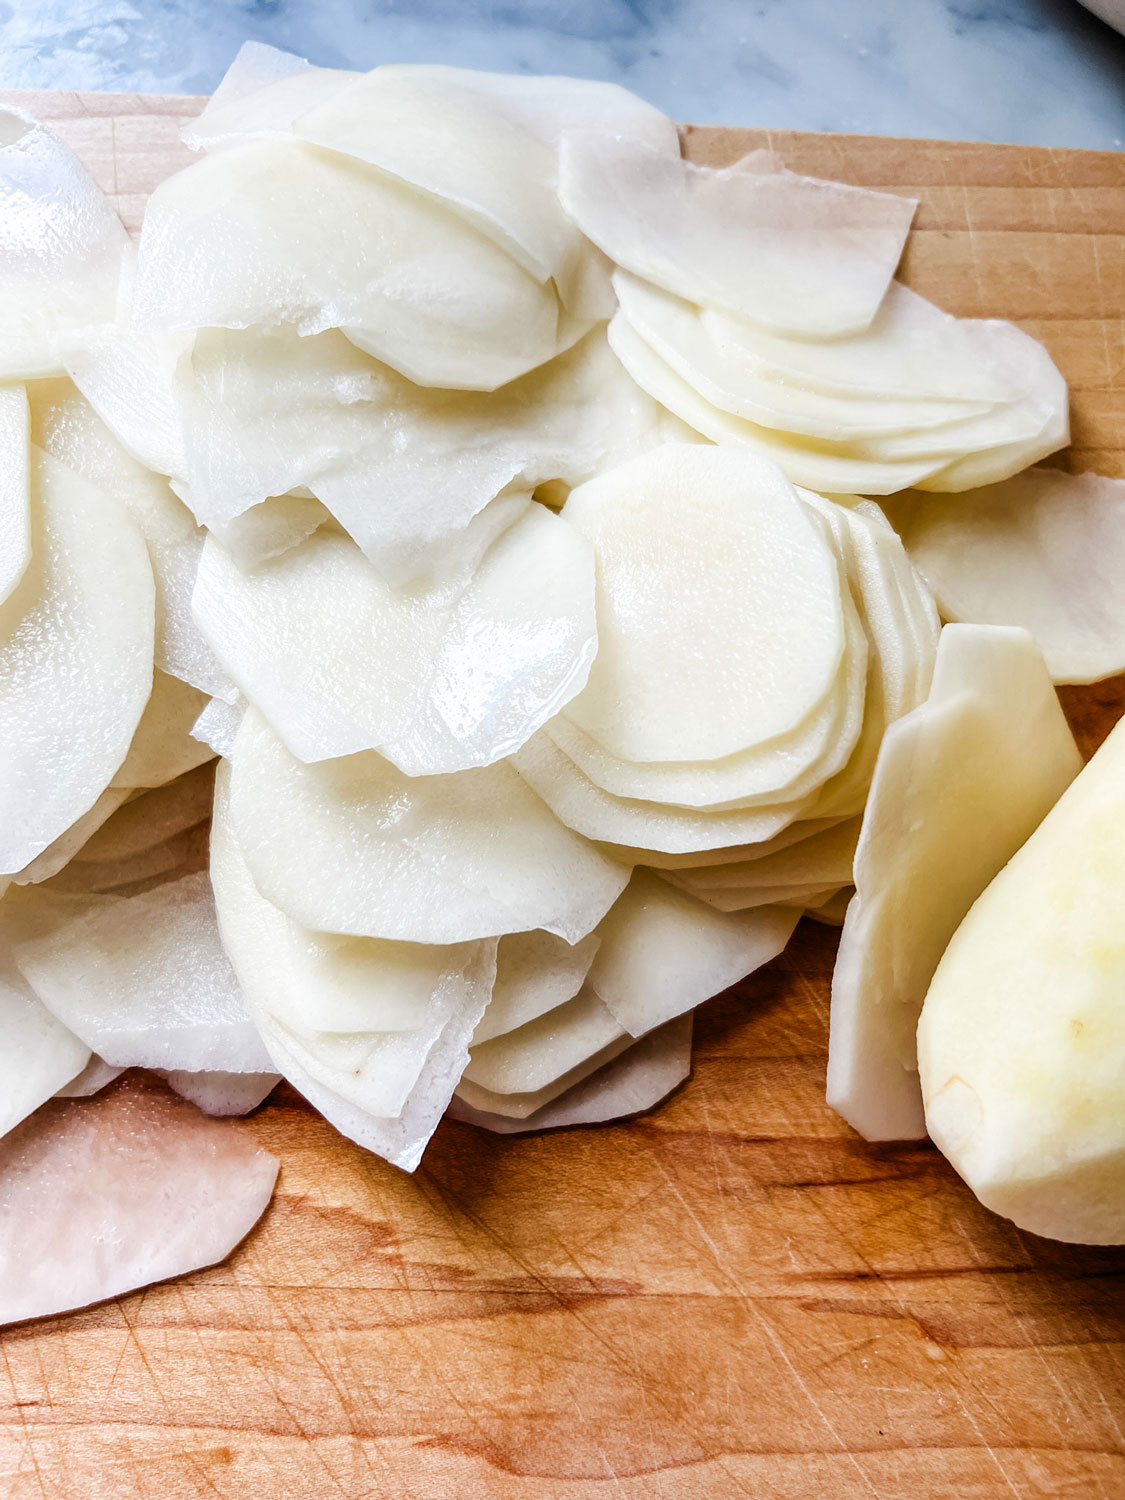
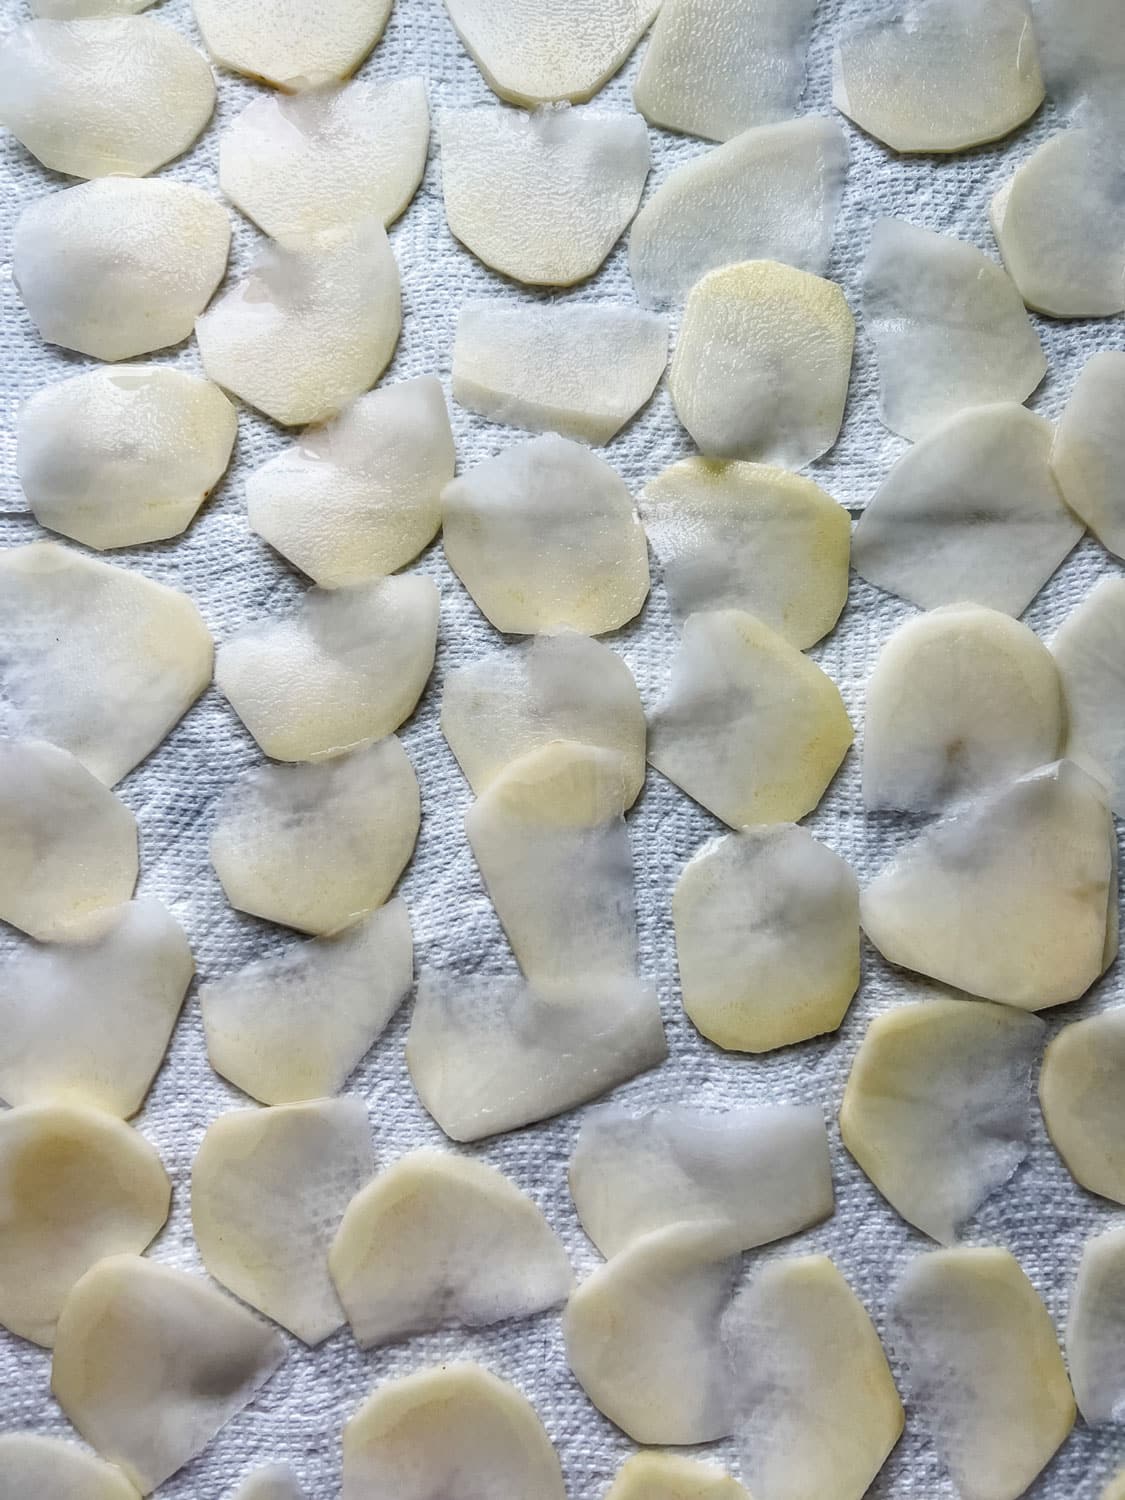
- The potato slices need to be really thin. A mandoline slicer works best to get really thin slices.
- You will want to put them in ice water so they don’t turn black from exposure to the air. Also, soaking them in an ice bath first, makes them crispier when frying.
- Then, after rinsing them, lay them in a single layer on paper towels and work in small batches.
- When putting them in the oil in a heavy-bottomed pan, make sure to drain them using a slotted spoon and then on clean, dry paper towels.
- Store in a paper bag for best results. We were quite surprised that even after two days, they were still crisp!
Homemade Potato Chips

Homemade potato chips aren’t necessarily hard to make. They just take a lot of time. But they are so flavorful and crispy, that they’re definitely worth the effort.
- Prep Time: 35 minutes
- Cook Time: 25 minutes
- Total Time: 1 hour
- Category: Lunch or Snack
- Method: Frying
- Cuisine: Snacks
Ingredients
- Russet potatoes
- Vegetable oil
- Salt and pepper
Instructions
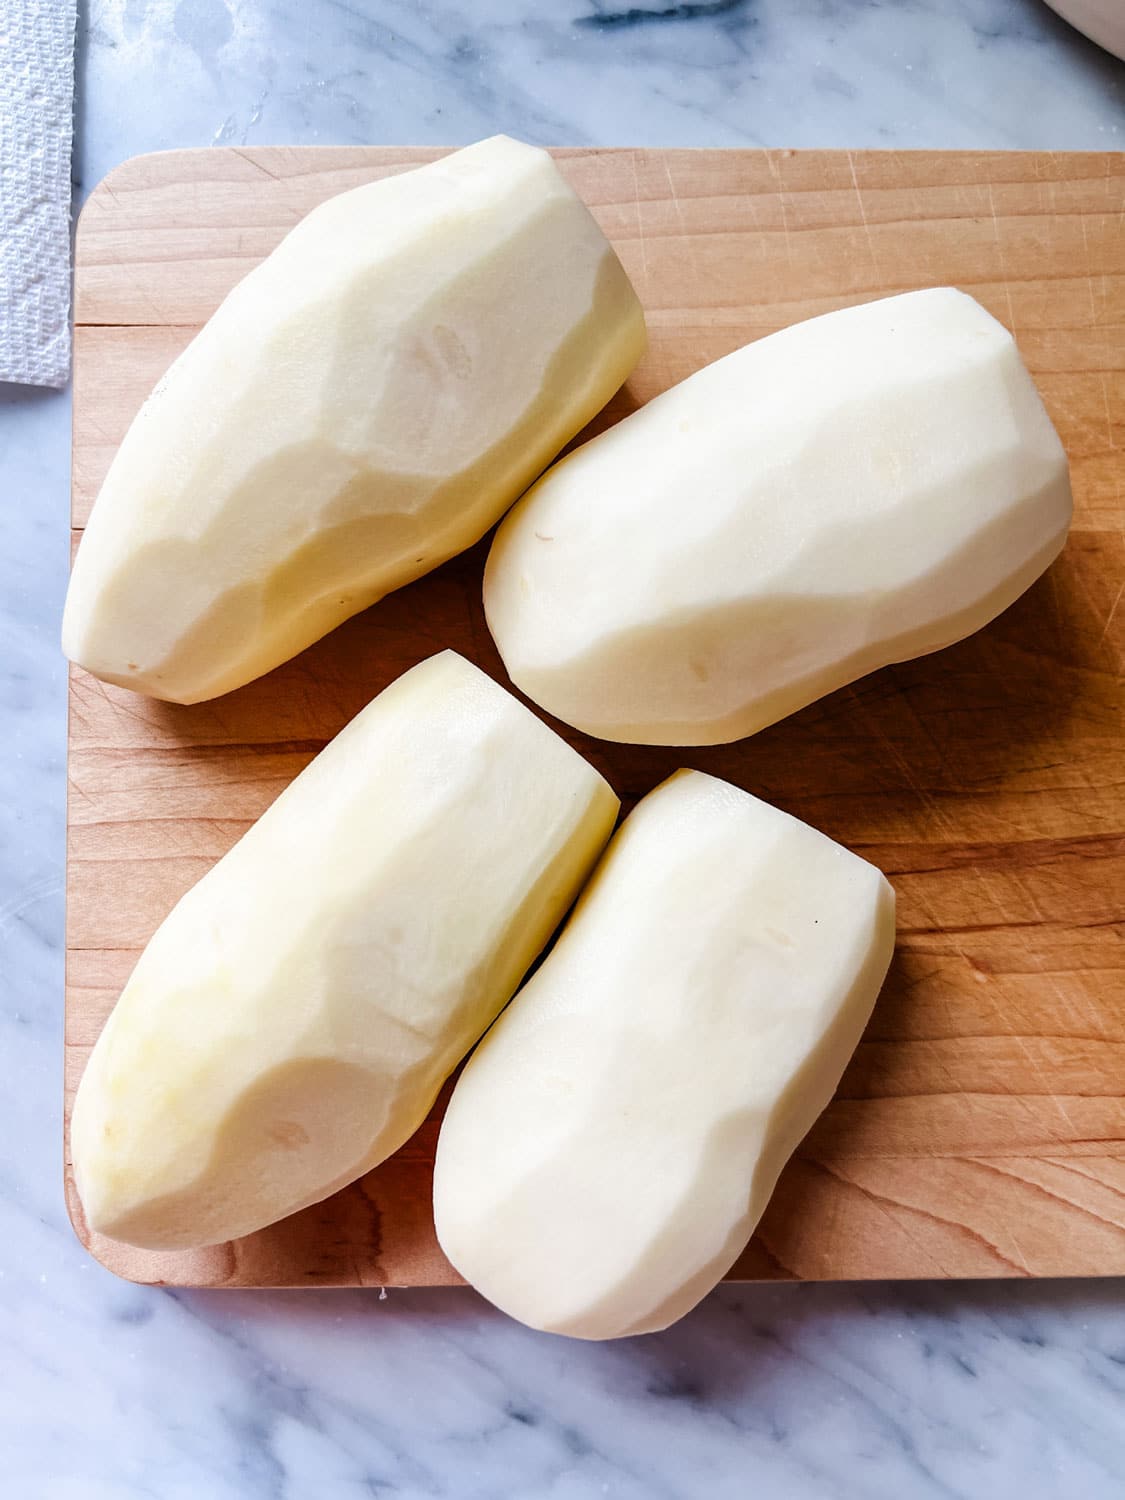
- Peel the potatoes.
- Using a mandolin on the thinnest setting, slice all of the potatoes.
- Add the potato slices to a large bowl, fill with enough water to cover the slices, add a layer of ice cubs on top, and let sit for 30 minutes.
- Drain the sliced potatoes in a colander, lay them individually on paper towels, pat them until dry, and transfer the slices to a plate.
- Heat the oil in a large Dutch oven to about 350 degrees. On our gas stovetop, it was set to medium-high.
- Working in batches, add the potato slices to the oil in a single layer and cook them for around 3 to 4 minutes until they begin to turn brown.
- Remove the chips with a slotted spoon or spider drainer and put them on a plate lined with paper towels.
- Salt and pepper them immediately. And don’t skimp on the pepper. It really makes them special.
Notes
We always use a cut-resistant glove to avoid any mishaps with the mandoline – especially when slicing large batches when the repetitive motion can become a bit monotonous and you can easily lose your concentration.
Making homemade potato chips for a picnic or serving with drinks like they do all over Paris is easier than you think. And the best part is that they can be made a day or maybe two ahead of time. We loved the peppery chips served as a snack with drinks at Cafe de Flore, and so we made ours the same. I’m always dreaming of Paris…even while having a picnic at the beach!
Let’s see how Cindy, Mary Ann, and Sheri Picnic!
Cindy Hattersley Design
Classic Casual Home
Sheri Silver
If you enjoyed reading Homemade Potato Chips for a Picnic lunch, you may also like,


What could taste better that a peppery home-made potato chic? How darling the way you packaged them!
Oh my these would be the death of me! We had a neighbor growing up that made the most delicious potato chips. Annie your pictures are so beautiful and you always have a way of making whatever you do appear effortless. Even though I know better!
Not to gild the lily, but these sandwiches sound as if they’d be divine with your tomato jam!
ooohhhhh, they would! I forgot about tomato jam!
Homemade potato chips? I’m IMPRESSED! They look perfect and you’ve included so many helpful tips – I just may have to try these myself!
Gorgeous little brown paper bags filled with goodies, it’s so lovely Annie thank you for sharing your ideas. My mother used to make incredible individual lamb and onion pies and homemade tomato chutney for blustery winter days at the beach. We would eat them after our long walk, watching the waves from the back of the car and then head to the nearest pub! Love winter picnics!
Francesca -That all sounds amazing! Your sentences paint an image of little hands holding a lamb pie after a cold walk on the beach…love it!
These sound divine. I’m going to give them a try. I haven’t used my madoline since I sliced my finger on Easter Sunday 2 years ago, slicing fennel.
Oh Rita! I only use my Mandoline with a cut resistant glove! I know too many people that have had accidents! When I see them using them on cooking shows…and they are going at lightning speed…I can barely watch! Easter Sunday? It’s always a holiday, right?
What a wonderful idea in a great way to elevate, store-bought sandwiches for a picnic! I always enjoy reading your blog, even though I don’t always have time to comment!!xo martha
Martha! That’s so sweet of you to say! Thank you! Such an exciting time for you…less than a month to the big day?!