Easy DIY Window Box Planter
Make this easy DIY window box planter in four hours or less. Window boxes, as simple as they are, make such a dramatic impact on any space. You can use several plants and favorite flowers depending on sun/shade exposure, the time of year, and what fits your home’s exterior landscaping. But let’s face it, these days, window boxes are expensive. It’s hard to find one under $100 and one that fits naturally with the design of your home. So, we decided to build our own and did it for under $10. We already had some of the materials on hand, so if you start from scratch, you’re still looking at $20 or under.
A step-by-step guide to making a wooden window box planter
In this step-by-step guide, we’ll walk you through the process of building a wooden window box planter using only a few materials and tools. From selecting the right wood (some people prefer cedar boards, but we used pine), making sure it can drain, and choosing the perfect plants or beautiful flowers, we’ve got you covered. Follow along and create a stunning window display to enhance any window area around your home. Let’s get started!
Our Inspiration: Window Boxes in Greenwich Village
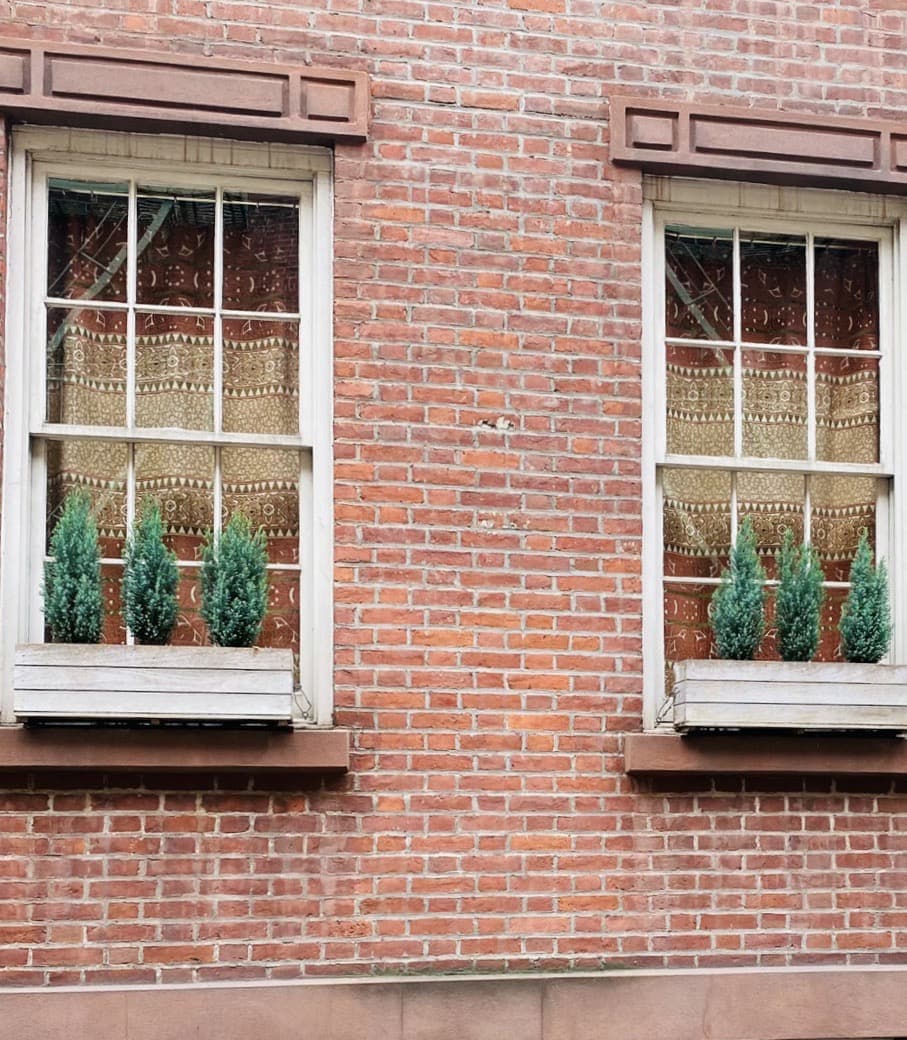
This simple weathered wood is exactly the look I wanted on our black garage. I snapped a photo while we were walking through Greenwich Village of the simple design that I knew Brent could easily replicate.
Getting started on your DIY window planter box
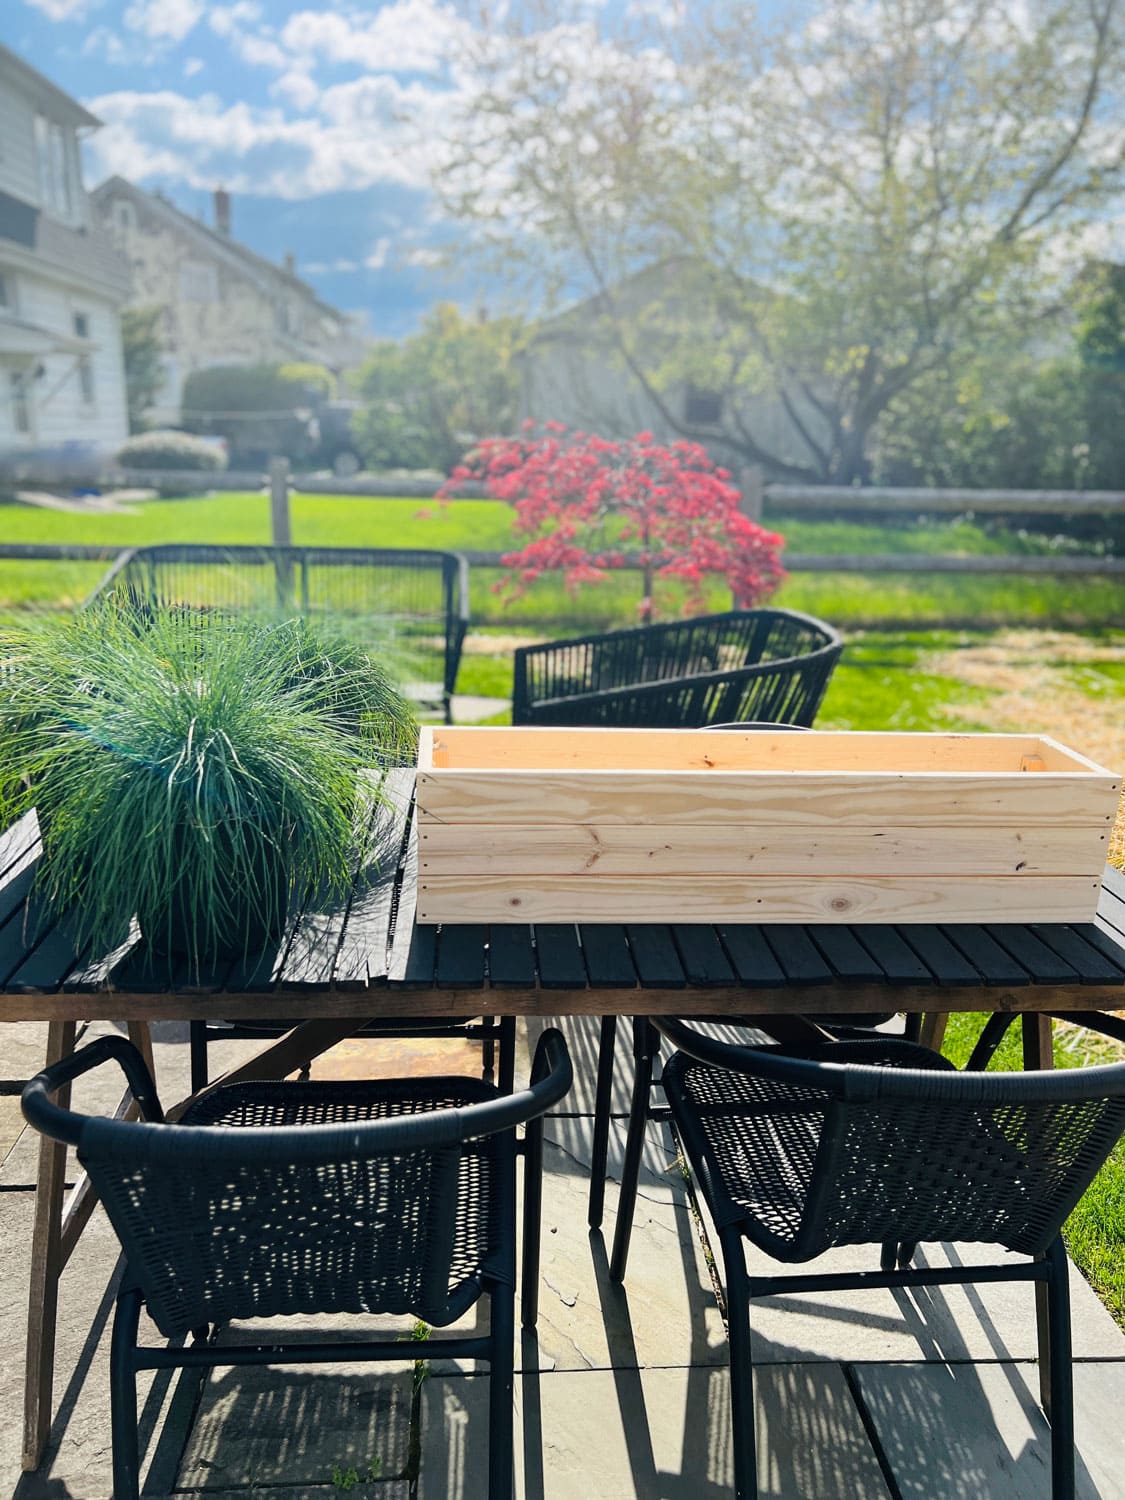
Every project needs a plan. So after looking at many different window boxes, we settled on a very simple, rustic design that is 32.5” long, 7.5” deep, and 7.5” wide.
Finding the Perfect Spot for Your Window Box
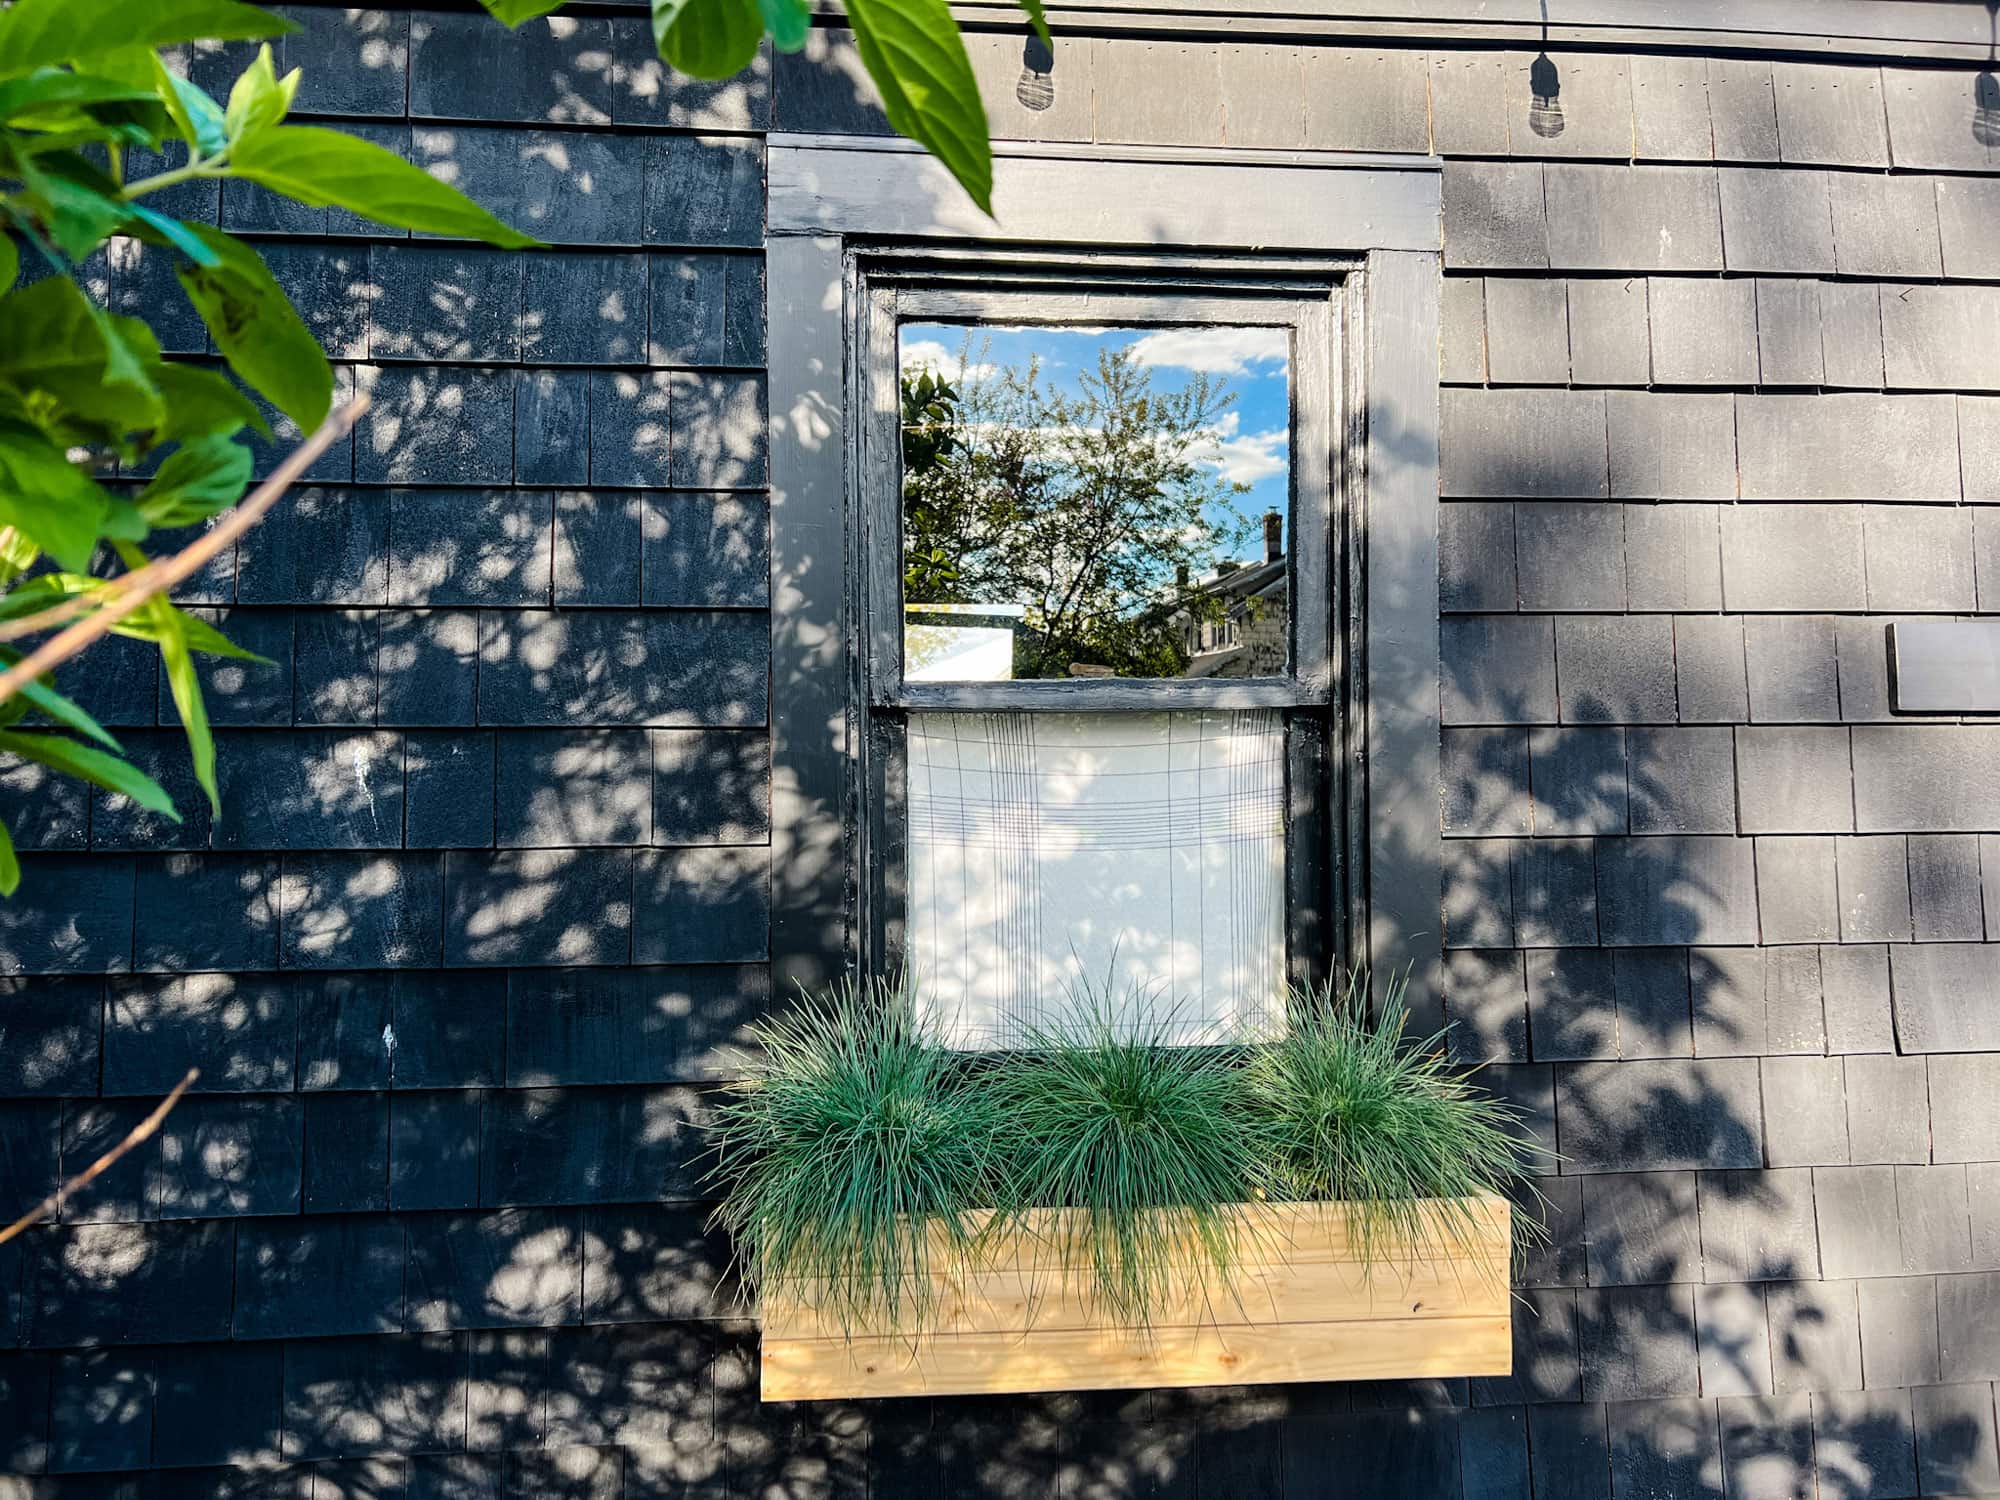
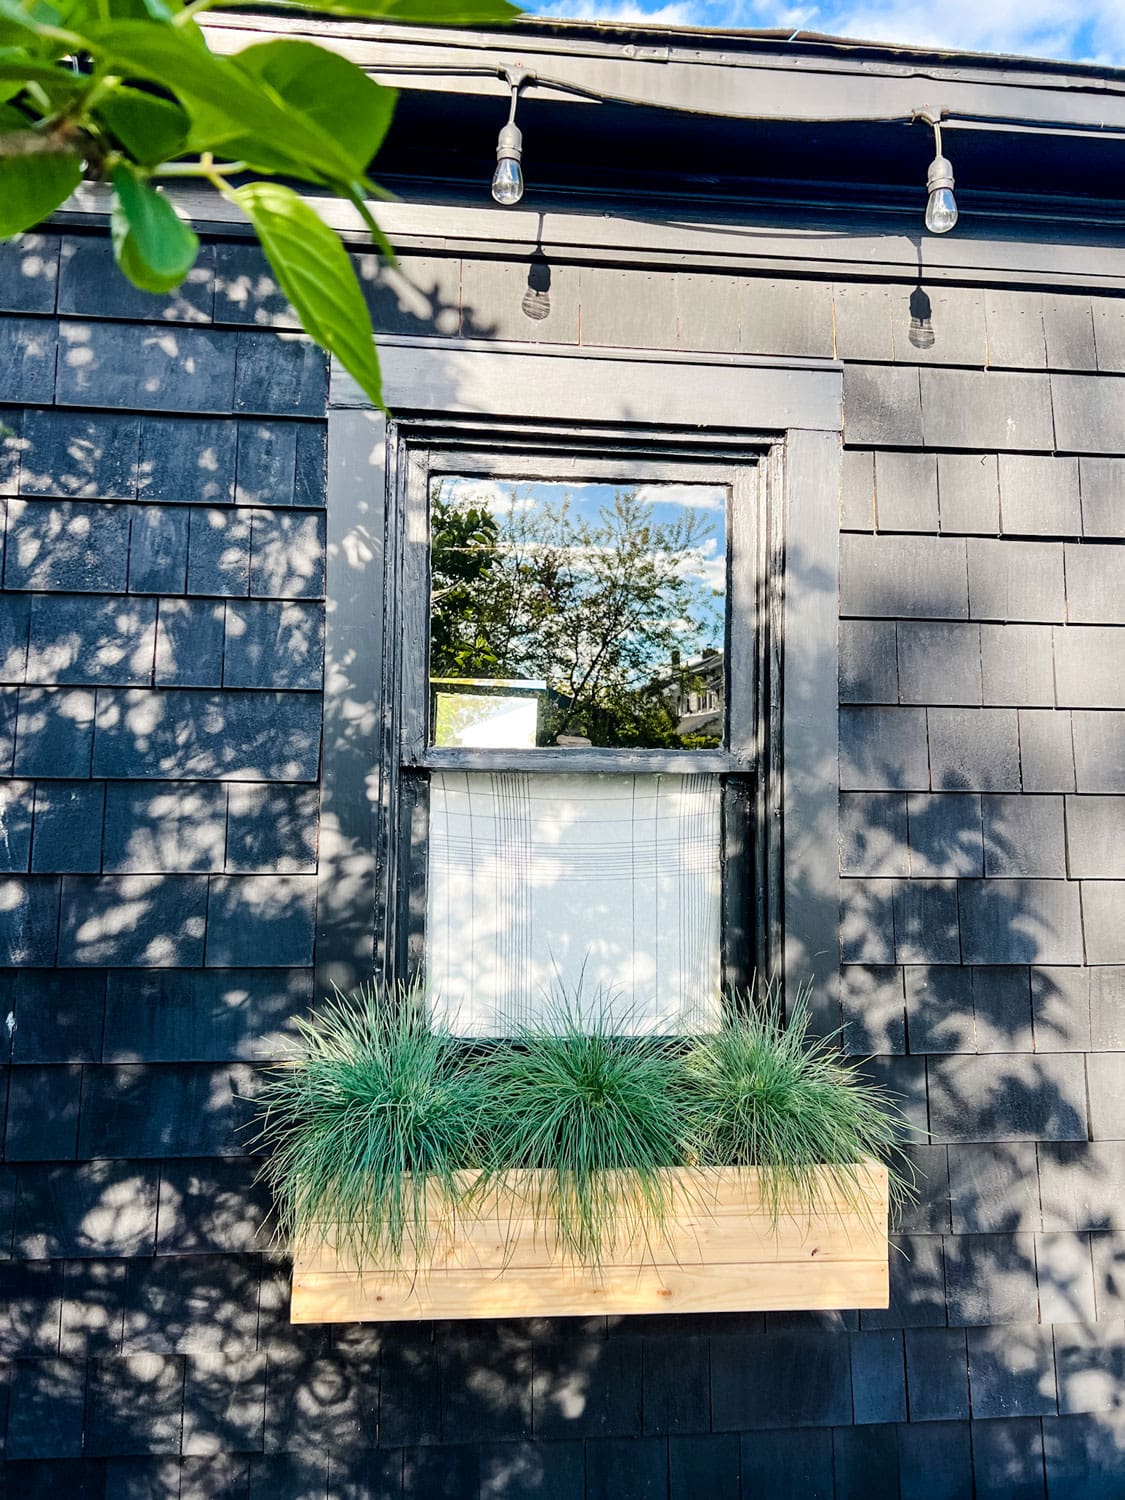
The side of our garage faces our backyard (that’s what you get when you buy a house that was built in 1920 – practical for sure, but not very aesthetically appealing). We stained it black a few years back, and while that helped dramatically, it still looked like a plain and boring wall with a window in the middle of the yard, which makes this the perfect place for a window box and some plants, colorful flowers, or fresh herbs.
Once you’ve determined where you’re going to add the window box, you’ll need to get all the materials together.
Materials needed:
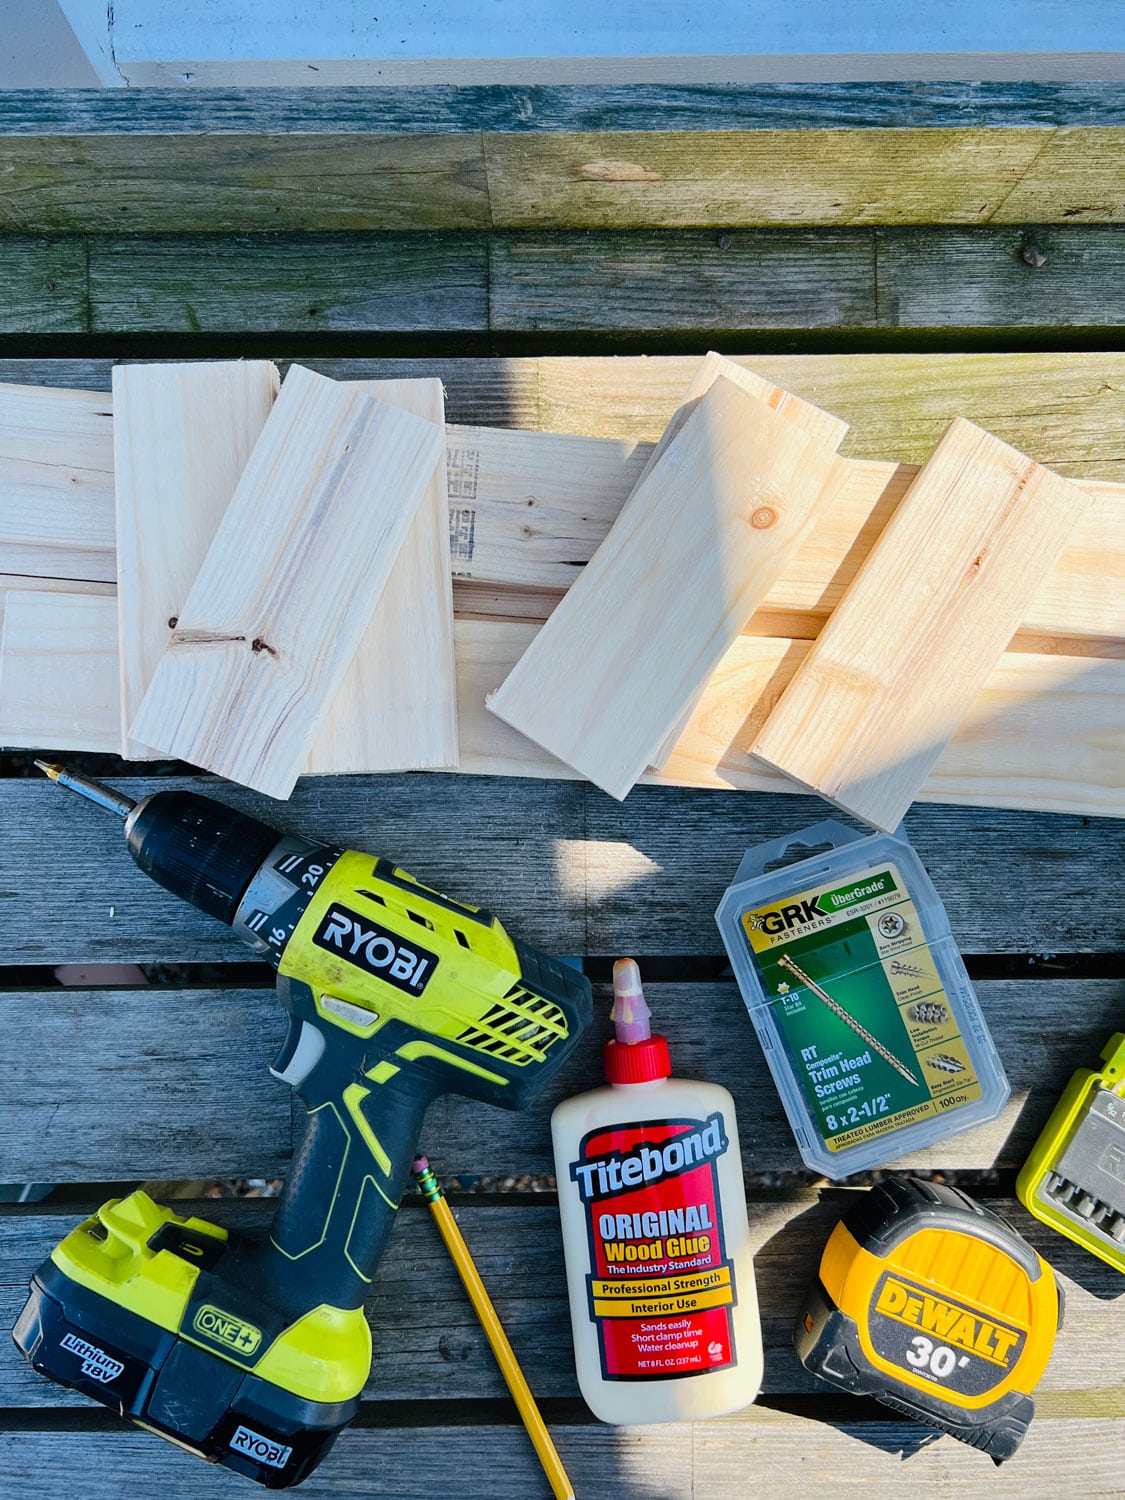
- 4 pieces 1 X 3 X 8 rough pine wood ($9.92 total at Home Depot or $2.48 each)
- 2 1/2” self-setting screws
- Wood glue
- Cordless Power Drill/Driver
- Drill bits
- Table saw
- Miter saw
- Tape Measure
- Pencil
- Medium grit sandpaper (power hand sander if you have one)
Note: Home Depot can usually make the cuts for you if you don’t have any saws. You need to be organized and know the exact measurements before heading to the store.
Cutting all the pieces
We have two power saws (table and miter saw), so we cut all our pieces. If you don’t have a saw or aren’t comfortable using one, don’t worry, Home Depot can do all the cuts for you. Just look for the big saw in the wood department (if you can’t see it, you’ll definitely be able to hear it), find someone who works there and give them the details on exactly what you need. We’re not sure what they charge today, but before we had our saws, they would make cuts for around $.25 each. You may also want to check with your local hardware store and see if they offer cutting services.
We started with the 1” X3” X8’ boards and cut six 32 ½” pieces for the front and back of the window box. It’s basically three slats stacked on top of each other.
Next, we cut six 6” pieces for the sides.
We also cut four 1” X 1” pieces that are 5” long for the corner stakes and 2 pieces 1” X 1” by 6” long to lay the three bottom pieces on.
For the bottom of the window box, we used two pieces that were 2 1/2 “ wide by 31” long and one piece that was 1” wide and 31” long. There will be small gaps between the boards that will provide proper water drainage and eliminate the need to drill separate drainage holes to avoid excess water buildup in the soil.
Assembling the window box

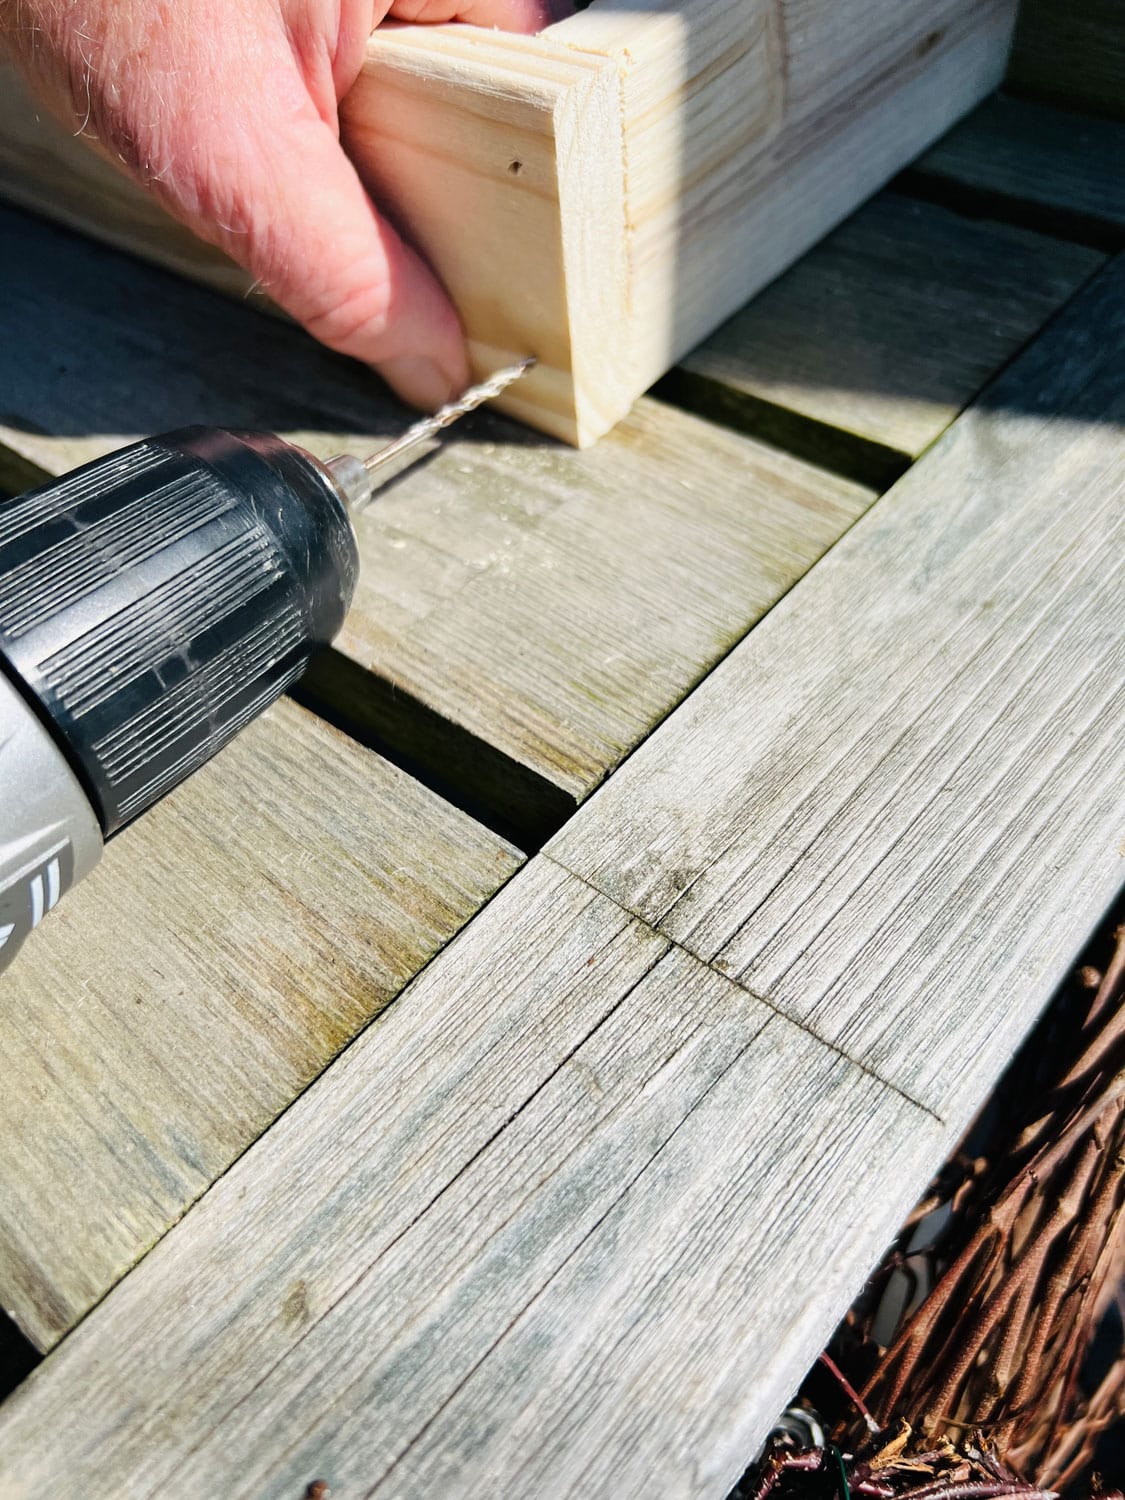
Step 1: Measuring and pre-drilling the pilot holes
Since our design is rustic, we used self-setting (2”) screws and no wood filler for the screw holes. Since inserting the screws close to the ends of the wood, we used a small drill bit 3/32” to pre-drill pilot the holes. This keeps the wood from splitting as you insert and attach the screws. You want the screws to be directly in the middle of the 6” piece of wood you attach to the 32.5” piece. For our holes, we measured ⅜” in from the side of the wood and ½” from the top and bottom, as shown in the photo.
Step 2: Attaching front pieces to side pieces

Start with one slat of wood (2.5” by 32.5”) and attach one 6” side piece by inserting one of the screws into the predrilled holes. Repeat the process until you have two 6” pieces attached to the two 32.5” pieces to form a rectangular box.
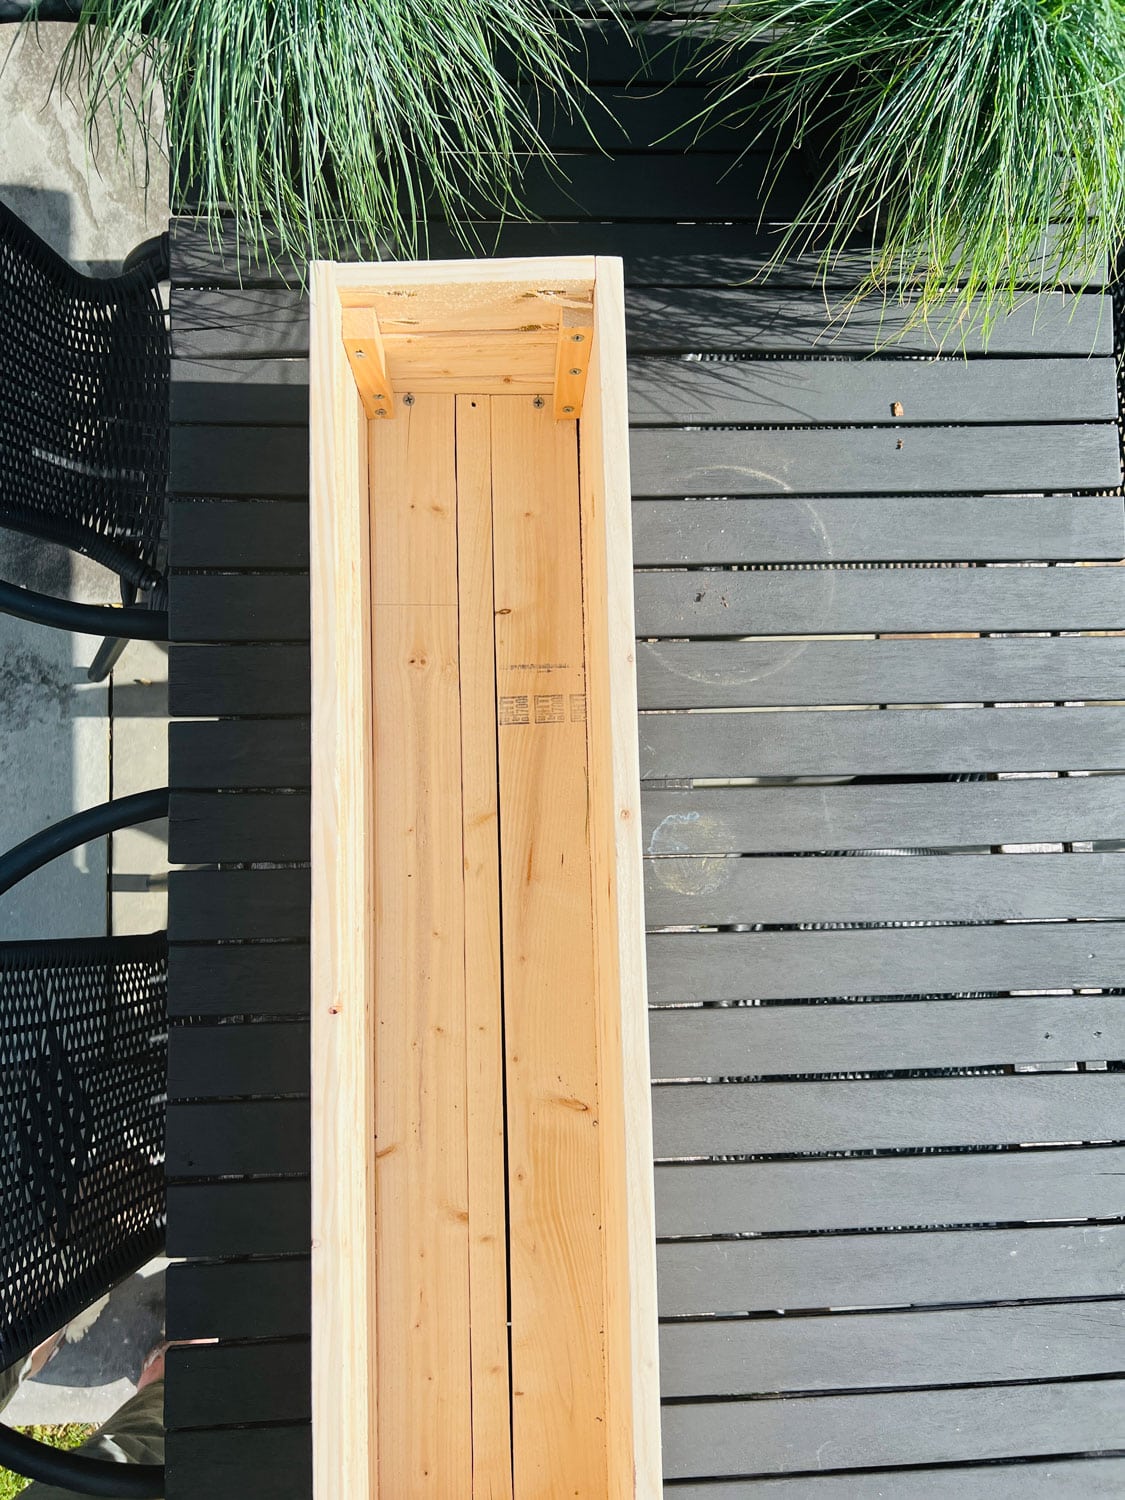
Step 3: Building the bottom of the box
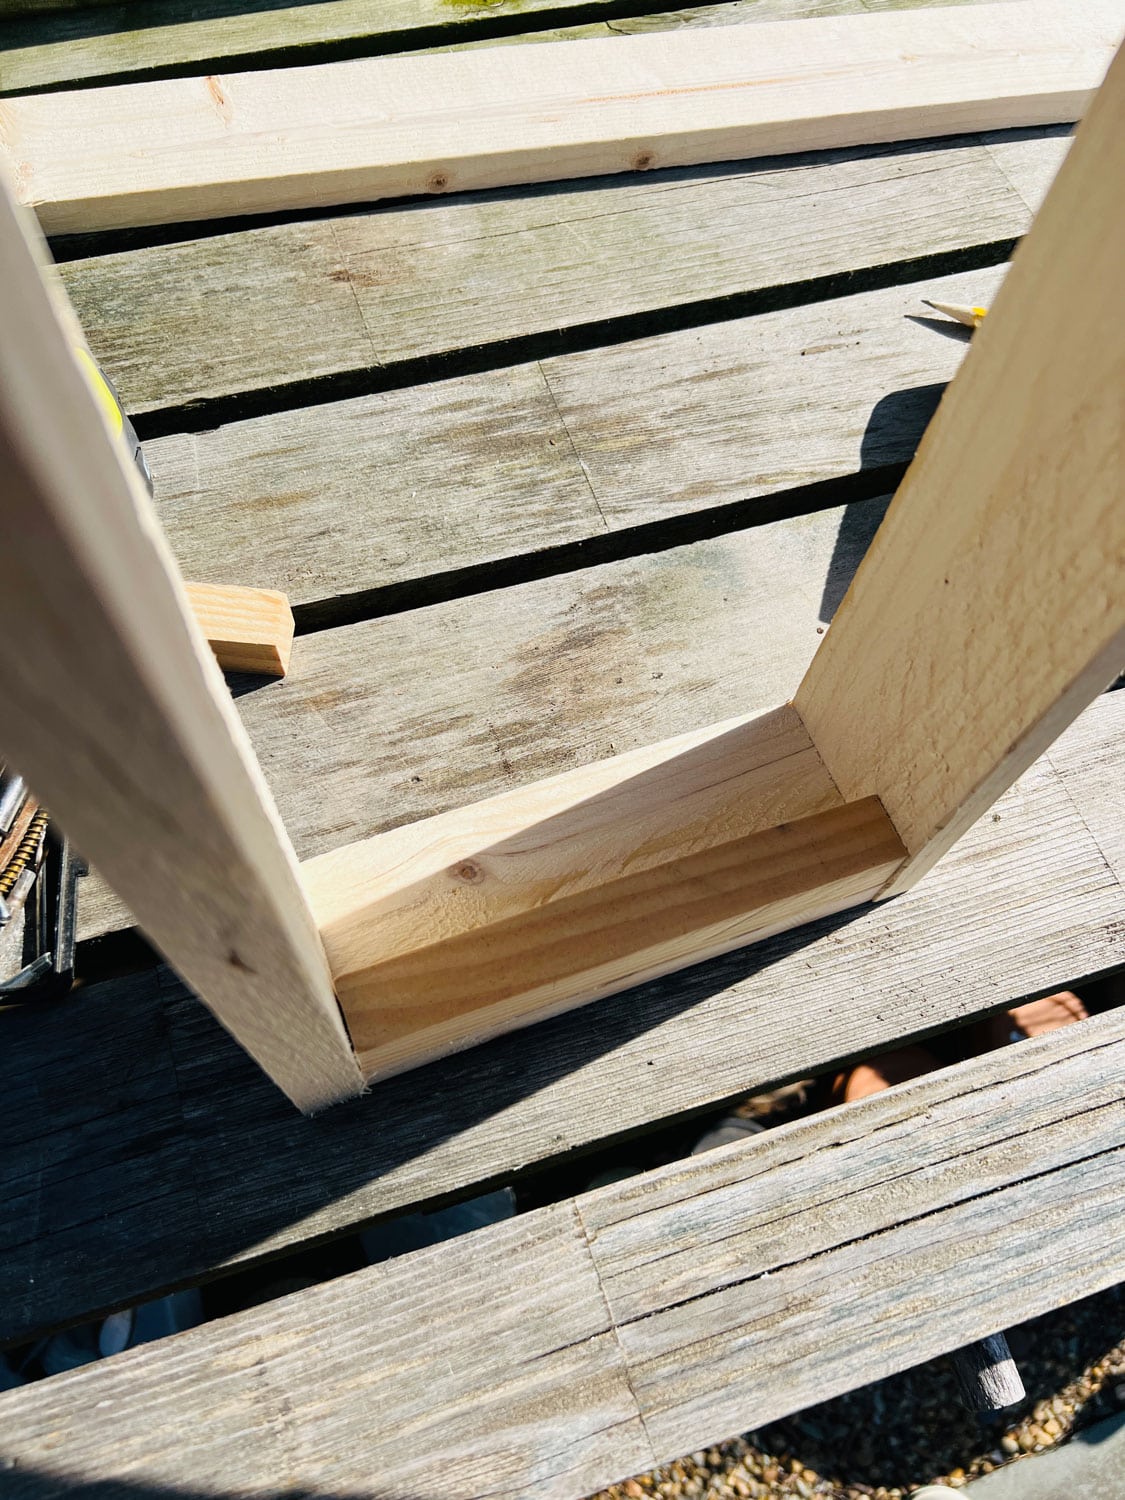
Here you’ll need two pieces of wood 1” x 1” X 6”. Attach them to the rectangular box as shown here. We attached them with 1 ¼” standard wood screws.
Step 4: Attaching the bottom of the planter box
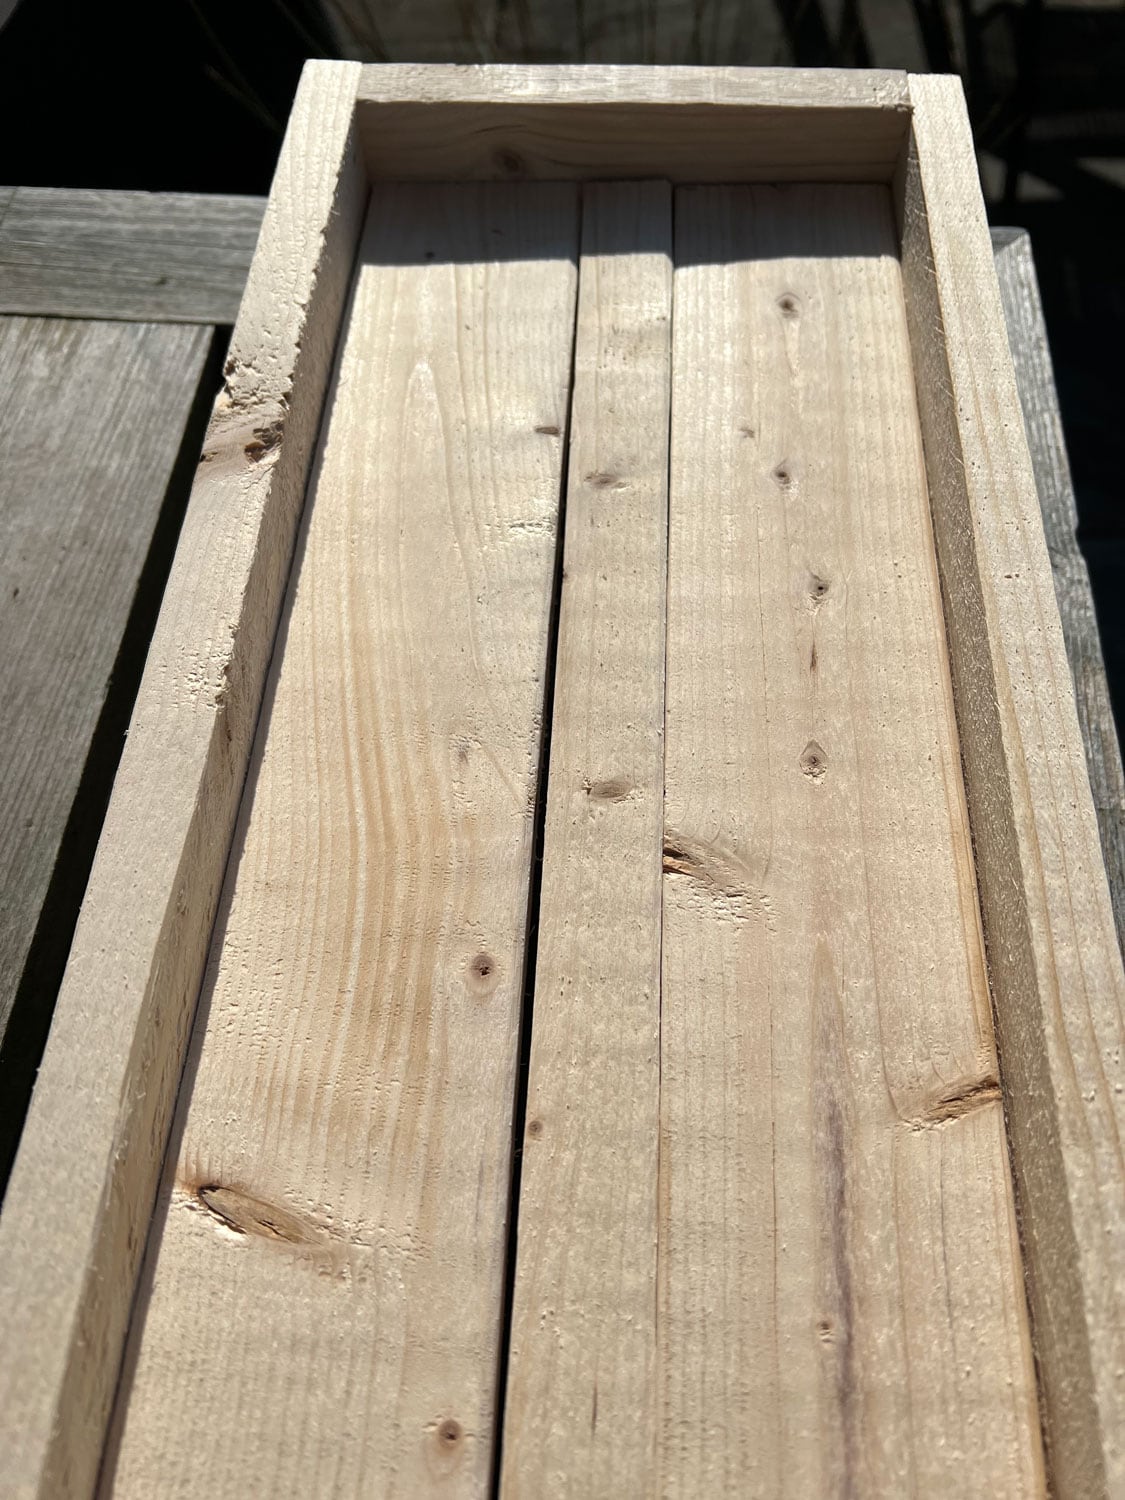

Next, we laid three pieces of wood in the bottom of the planter box on the braces we just installed. We attached these with 1 ¼” wood screws as well.
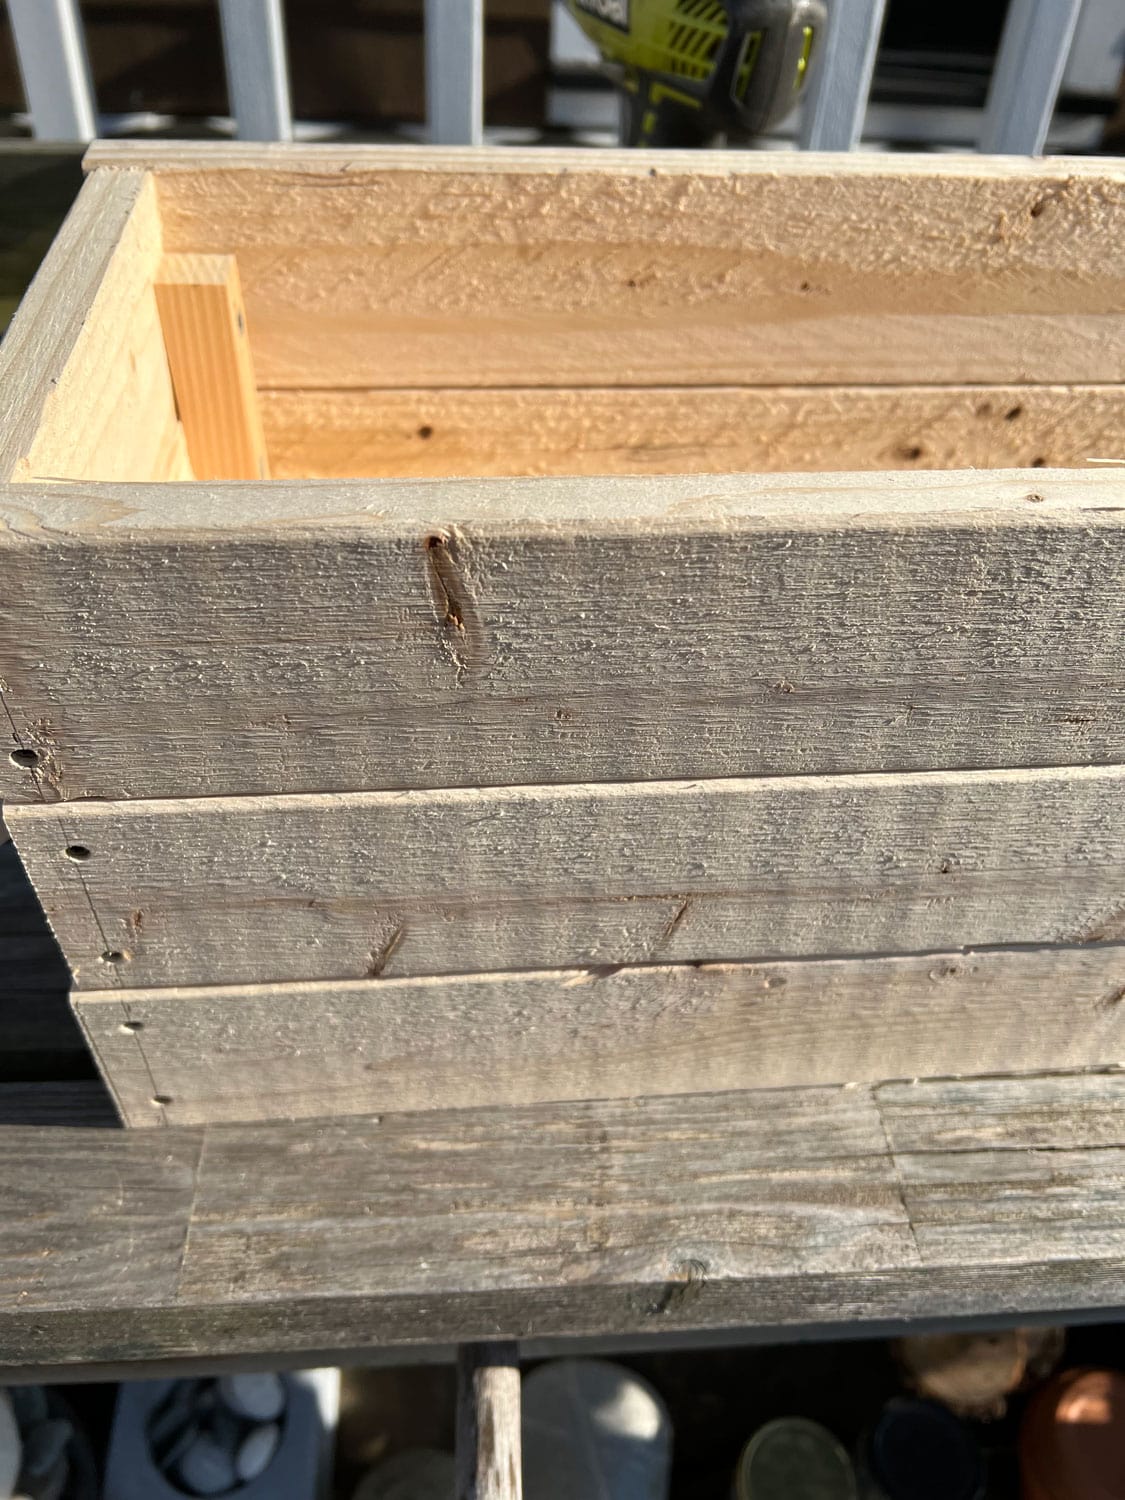
Step 5: Attaching the additional front and side pieces
Now it’s time to begin building the additional fronts and sides of the window planter box. Here you’ll need four 1’ X 1” X 5” pieces of wood in each corner of the box. The remaining two fronts and sides, and backs will attach to these four pieces of wood. Pre-drill three holes in each piece of wood, and from the inside, attach them to the sides with 1 ¼” wood screws, as shown here.
Once you’ve attached all three layers, the inside and outside of your window planter box should look like this.
Step 6: Sanding the window planter boxes
You’re almost done here, and now it’s time to finish the window box. As mentioned earlier, you can either hand sand the boxes or use a simple palm sander. We used a palm sander and medium grit sandpaper and sanded all the rough spots, edges, and pencil markings until smooth. Since it is a rustic window box, we didn’t sand it perfectly and purposely left some rough spots. You can sand it to your preferred look.
Step 7: Hanging the window box
We wanted to maintain the rustic design, so we didn’t need brackets. Instead, we used the self-setting screws and mounted them directly to the garage shingles underneath the window sill.
Selecting the Right Plants
We settled on grasses for plantings to blend in perfectly with the coastal vibe and feel of the neighborhood.
The most important thing to consider when choosing plants is how much sun/shade is required. The grasses are very low maintenance. And we love the look.
Building a DIY wooden window box planter is a fun and rewarding project that can add charm and beauty to any space around your yard and home. You can create a unique, personalized planter with simple tools and materials to enhance curb appeal. Whether you’re a seasoned DIYer or a beginner, this project is a great way to get creative and try your own woodworking. So roll up your sleeves, grab some wood, and create your own wooden window box planter for about $20!
Pin for Later
If you enjoyed reading: Easy DIY Window Box Planter
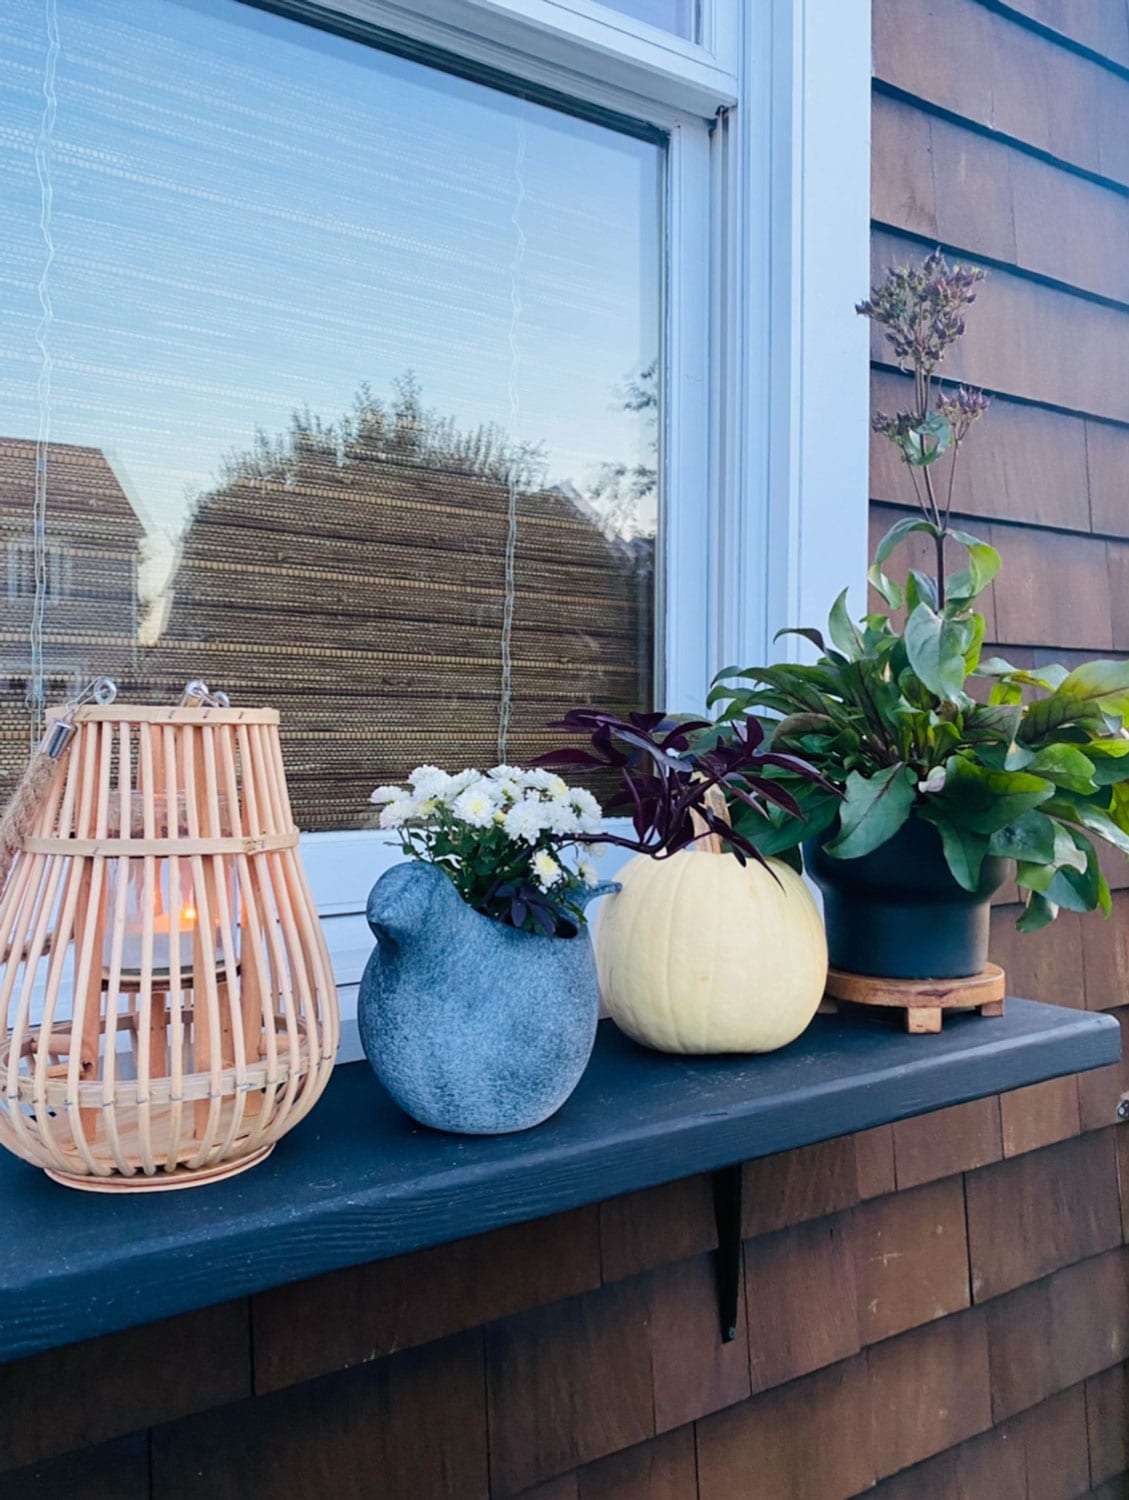
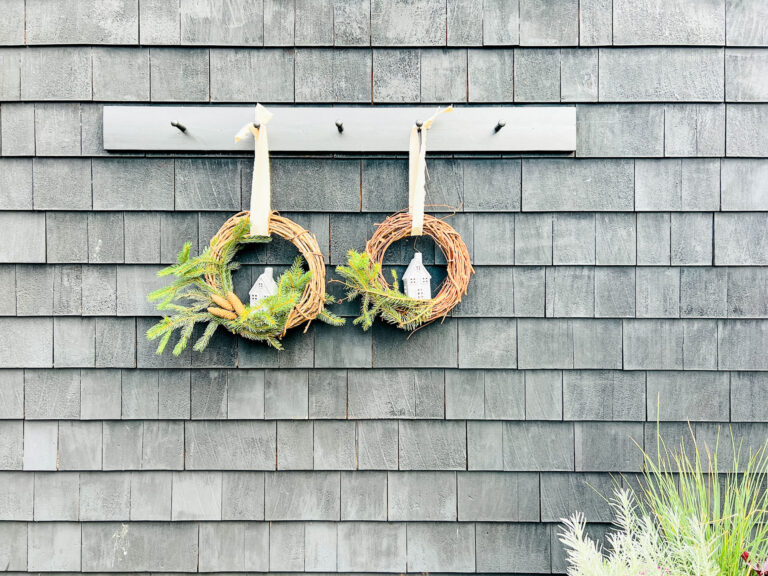
You may also enjoy reading this post about making and using a shelf instead of a window box.
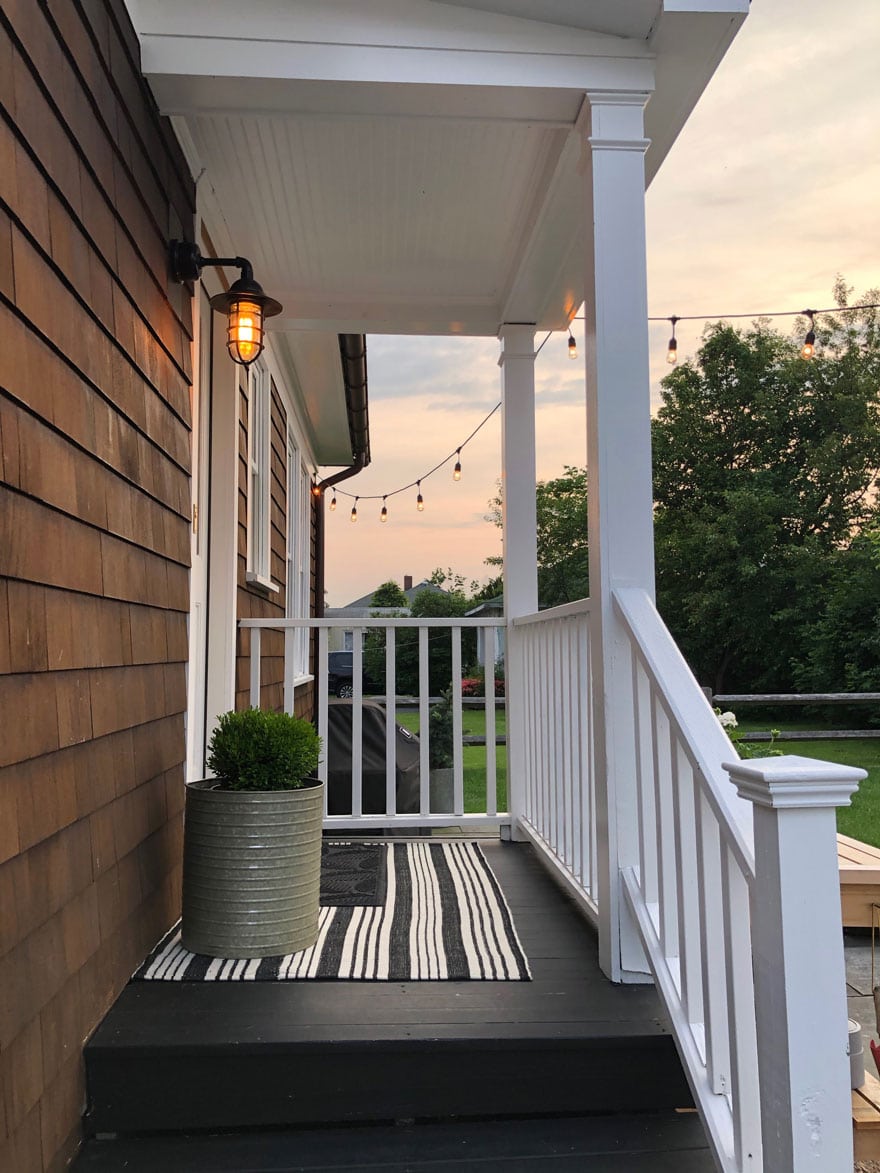
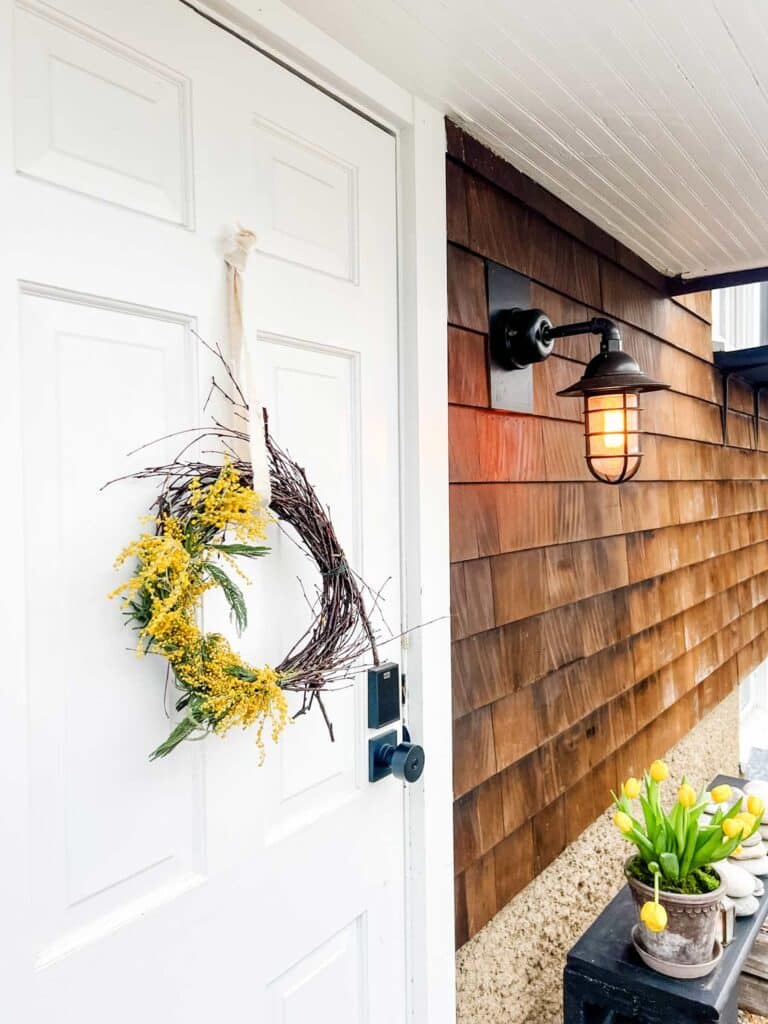
Or this post on exterior lighting for your home.