
Super easy 4th of July decorations you can make

If you’ve been following me since the holidays, you know I’m slightly obsessed with making decorations using paper lunch bags. This super easy 4th of July decorations can be made with just a few simple supplies that include a stack of white paper lunch bags! How easy is that?
The supplies you’ll need for this fun July 4th decorations.

- To make each paper bag decoration, you’ll need eight white paper lunch bags
- watercolor paints and brush
- glue gun and several hot glue sticks
- a good pair of scissors

How do you make them?
- Take eight white paper lunch bags and lay them on a table covered with paper. Seven is too few and nine is too many. Eight is just right.
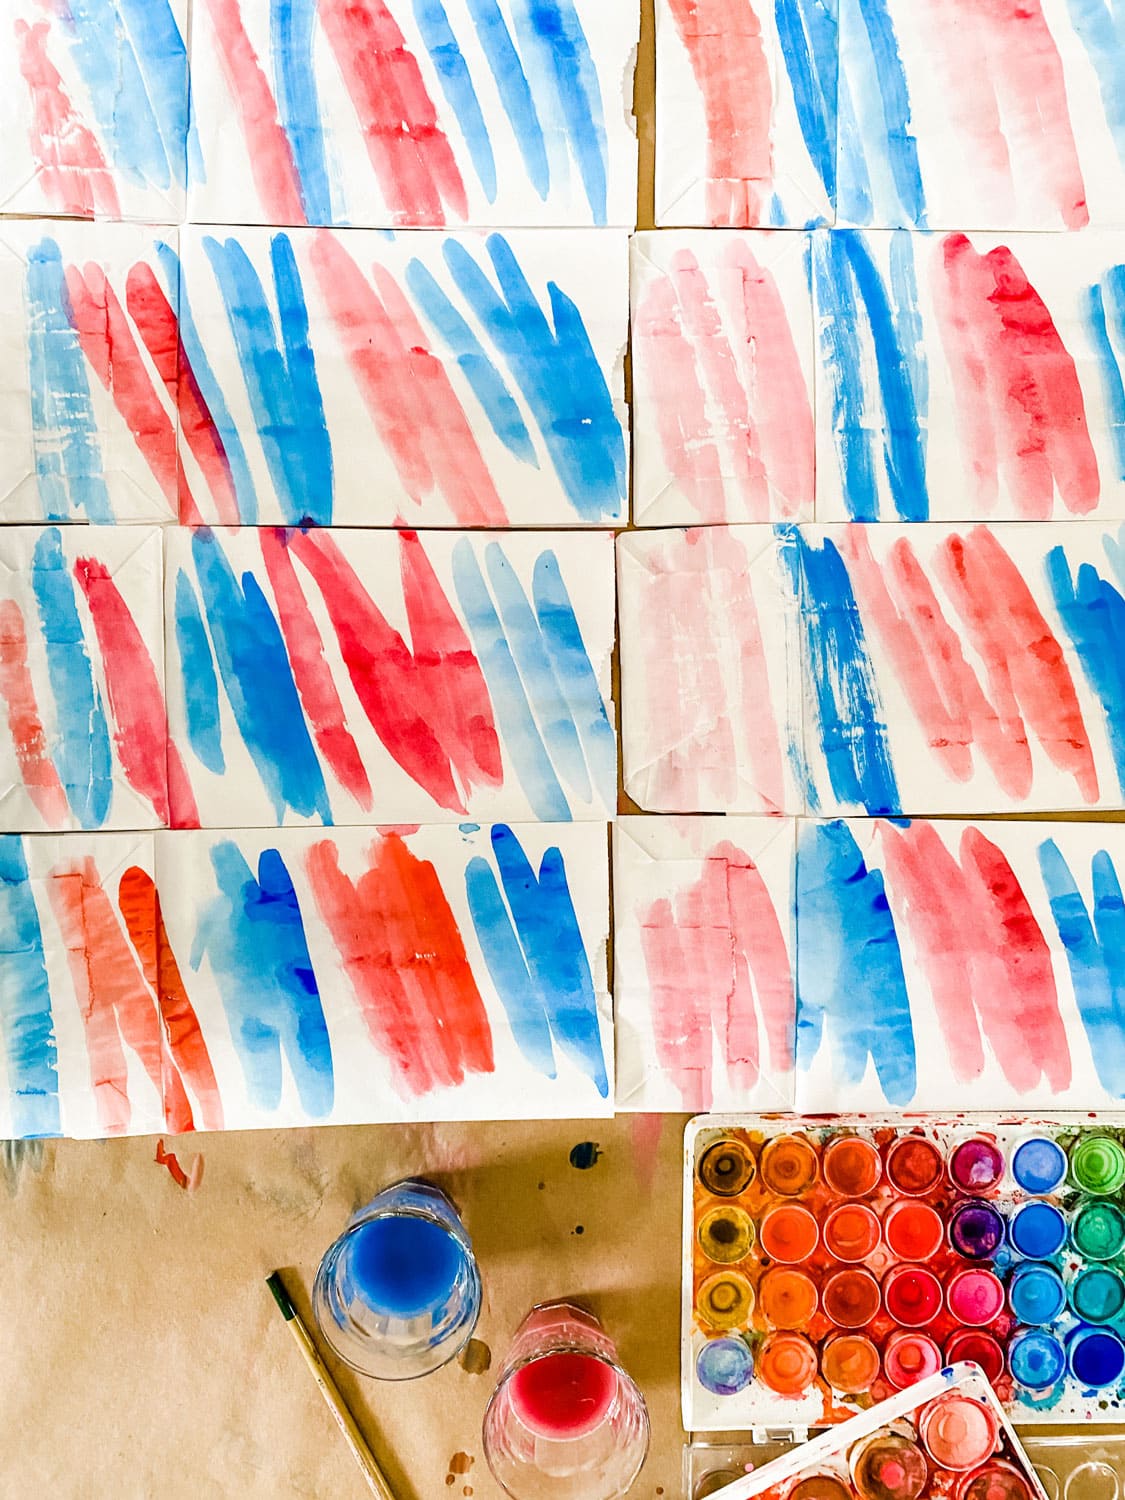
- Get your red and blue watercolor paints ready. (I use a couple of very inexpensive sets).
- Paint messy stripes or whatever all over the surface of each bag and allow to dry.
- Then repeat this process on the reverse side. (or you could just do one side and leave the other blank if you are short on time (or patience)! ha
- When both sides are dry, stack them up with the flap facing up.
- Using a glue gun, draw a “T” down the front, starting about an inch from the top (opening) of the bag, and then place the following bag (flap facing up) on top and smooth out to secure it to the next bag. Repeat until all bags are glued to one another.
- Take your good scissors, and make cuts on each side, just like when you cut our little snowflakes from folded pieces of paper.
- I repeat the same cuts I made on the other side. Nothing fancy, half-circles, triangles, maybe cut the tips. Play around with it; worst case, you’ll need another eight bags.
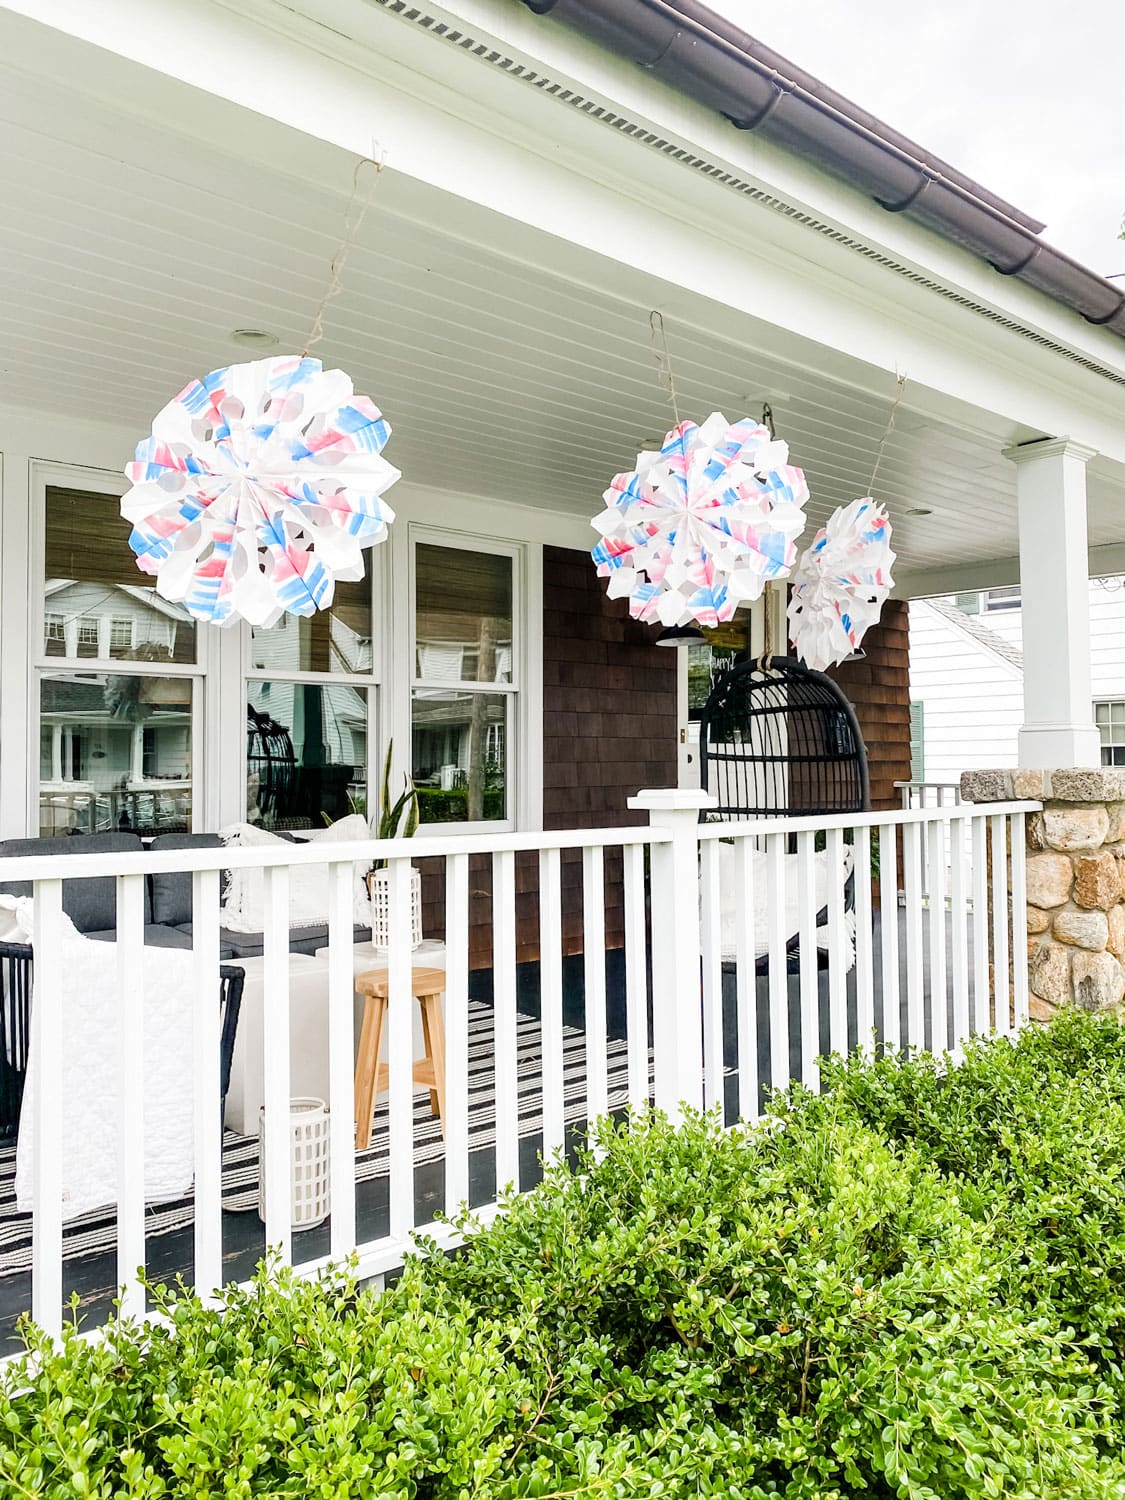
- This is the cool part. Take the first layer of each bag and gently open forming a decoration. (During the holidays, I say open your snowflake, but it’s summer…)
- Hang outdoors (unless rain is expected)!
Can kids make these?

Yes and no. Yes, they can paint the bags, and maybe using a glue stick (although this way takes forever), they could glue the bags together. However, most children cannot cut through eight paper bags. I can barely do it. That’s why I say use your good scissors! Yes, the ones you know you’re not supposed to be used to cut paper, let alone eight layers of paper bags, but that’s what’s needed. And these are pretty cool decorations with stuff you probably have around your house.
- Kids of any age can paint the bags using watercolor paints
- They can stack the bags once they are dry with the flap facing up
- Using a glue stick, draw a “T” down the side with the flap and secure the next bag and repeat until all eight bags are glued together. Allow the glue to dry.
- Have an adult make cuts on each side with good scissors.
- Take the most outer bag on each side and twirl it around to make a decoration (or snowflake).
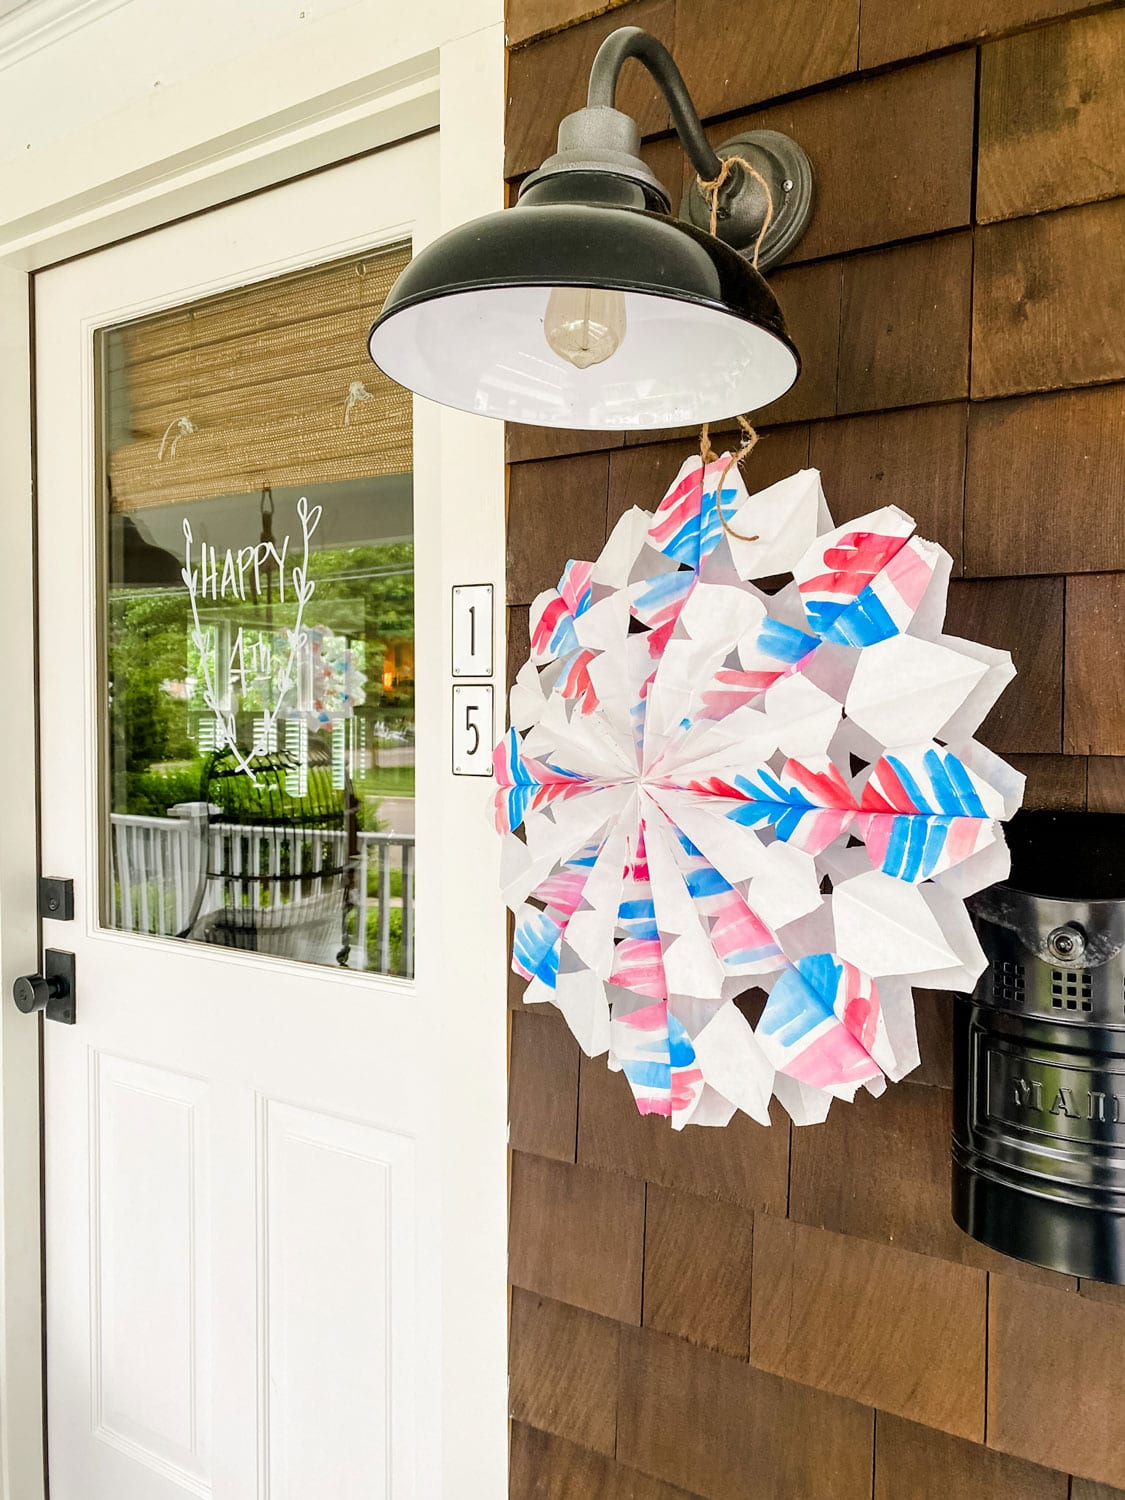
How to hang or display your 4th of July Decorations
I punch or cut a slit in the first two bags and hang them with twine or thin ribbon. I like to hang in the window during the holidays.
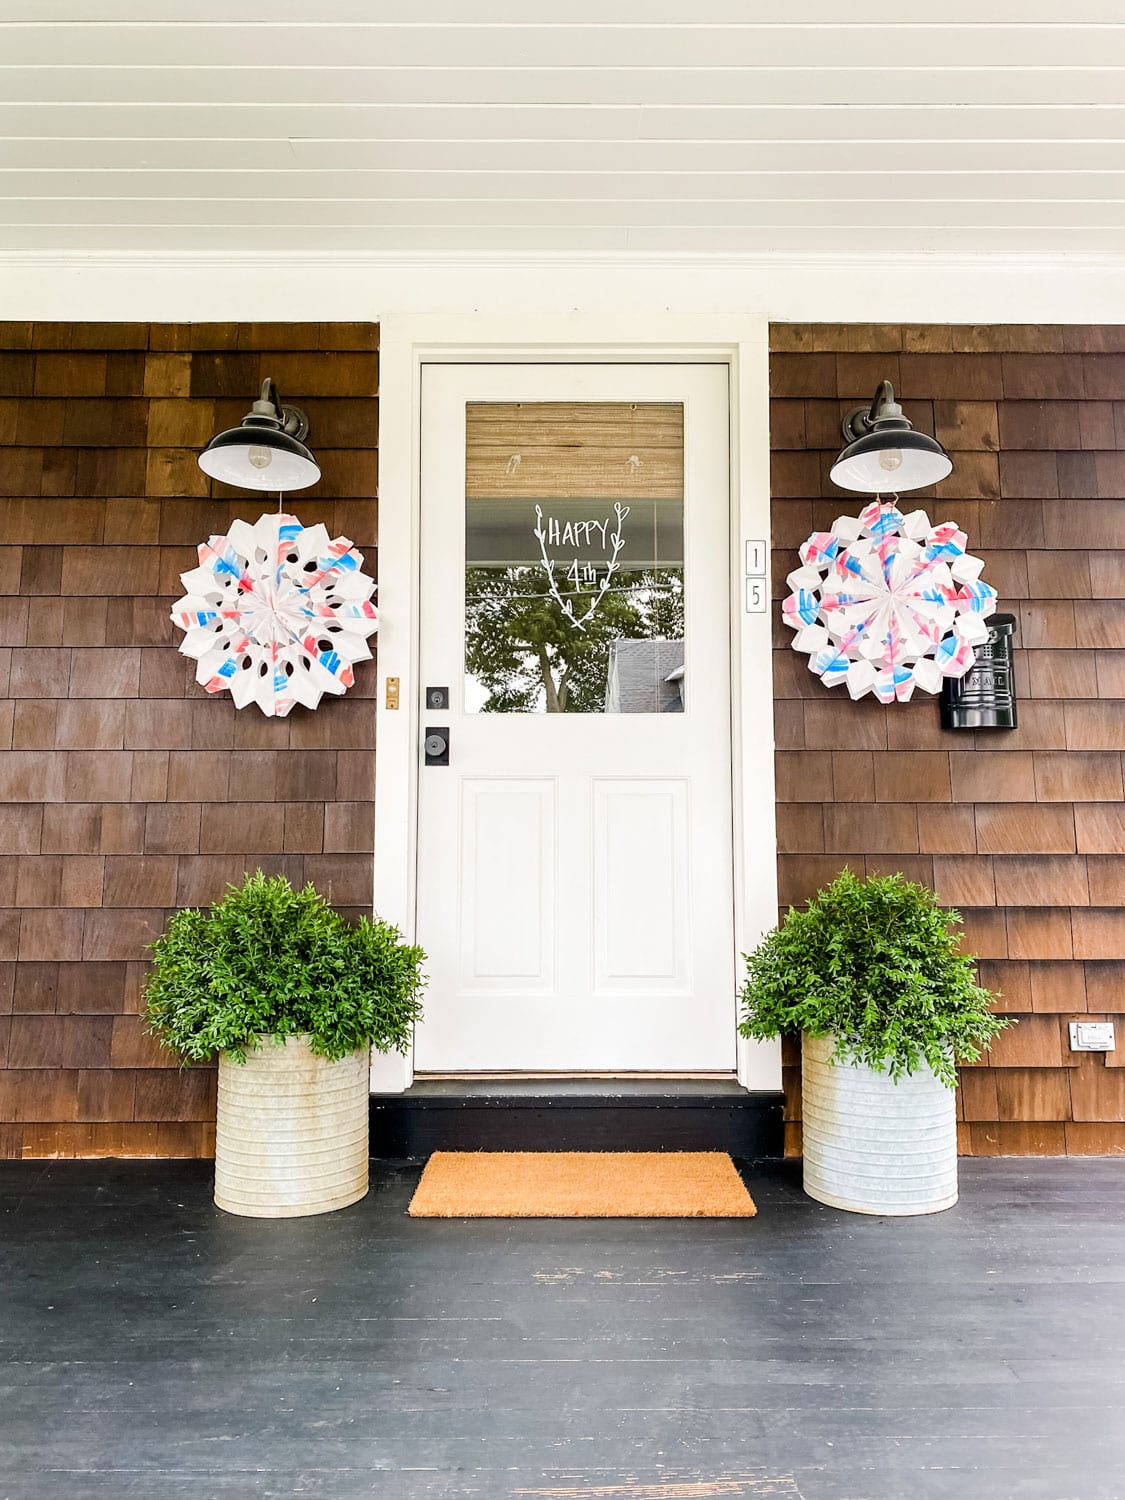
For the 4th of July, we will hang them on the porch. Our little beach neighborhood has a parade that makes its way down our street on the morning of July 4th. It’s almost expected to be festive! We love this about our community.
Pin this and save it for later!

You might also like these posts where I use paper bags:
How to make giant paper bag snowflakes
How to Make a Paper Bag Bunny
How to Put Together A Spring Lunch for the Girls
A simple DIY Plant Holder for Valentine’s Day
More of my favorite finds from friends this week!
Each week Cindy, Mary Ann, and I bring you our favorite finds of the week. It might be a packable straw hat from GAP that I found and love or Paris travel tips or tips on wearing all white! Which I happen to love when I’m not wearing all black!
Read Cindy’s post on The Best Factory Store Separates You Can Wear Now while she works on that wearing all-white piece!
Mary Ann just got back from Italy and France. I especially loved this post since we are going to France in September and calling it to work! We will be buying for the shop all over France! Make sure you are following on Instagram @shopmostlovelythings & @most_lovely_things.
This cake is from Smitten Kitchen. I love how she describes how it fits in the bottom of a grocery bag, so it’s easy to transport. I don’t know about you, but I have never thought of making a cake in the rectangle cake pan and then slicing it lengthwise and stacking it. It makes it easy to cut and serve too!
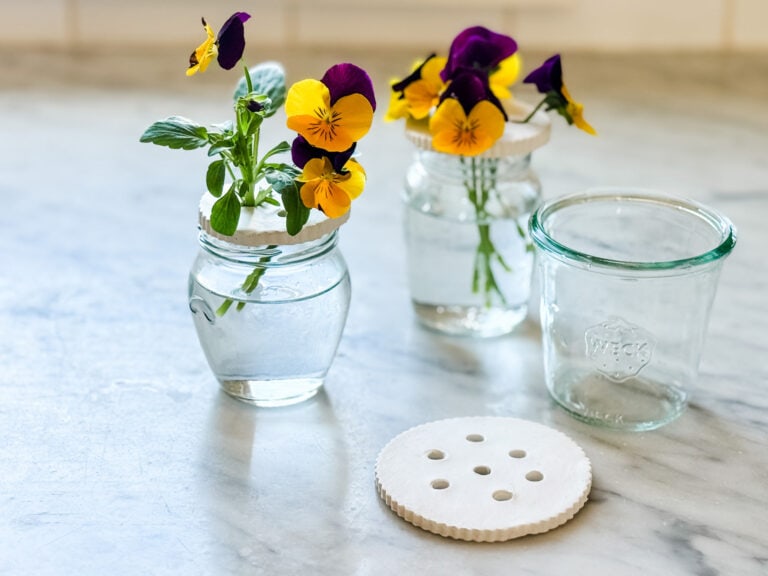
These adorable DIY plant stakes from Modern Glam Home are the cutest with UASHMAMA® paper bags. It would make a cute gift for the host or table decorations, and then have each guest take one home!


France for a whole month…jealous!! You will find the best things. This is so exciting.
When I saw your tutorial on the paper bag decor for the fourth…I thought what a fun thing to do with a grandchild!
Dear Annie,
My granddaughter squealed in glee over paper bag 4th!! At 16, she is very eco conscious and loves your ideas for using common items that are inexpensive with flourishes for creativity.
We’re looking forward to another opportunity to play with “Annie” ideas start
ing on the 1st of July.
Hi Diney! I missed this comment, but it just made my day, so I’m glad I found it! I would love to see your darling grandaughters’ 4th of July creations! Thanks so much for reading and for taking the time to comment! xx