How to Make plywood floating shelves for essential oils
Finding a place to store or display our essential oils became necessary as our collection went from 12 to over 80 little bottles of oils. We use them for everything from skin care to cleaning and of course diffusing. You can read more about how we use oils here. 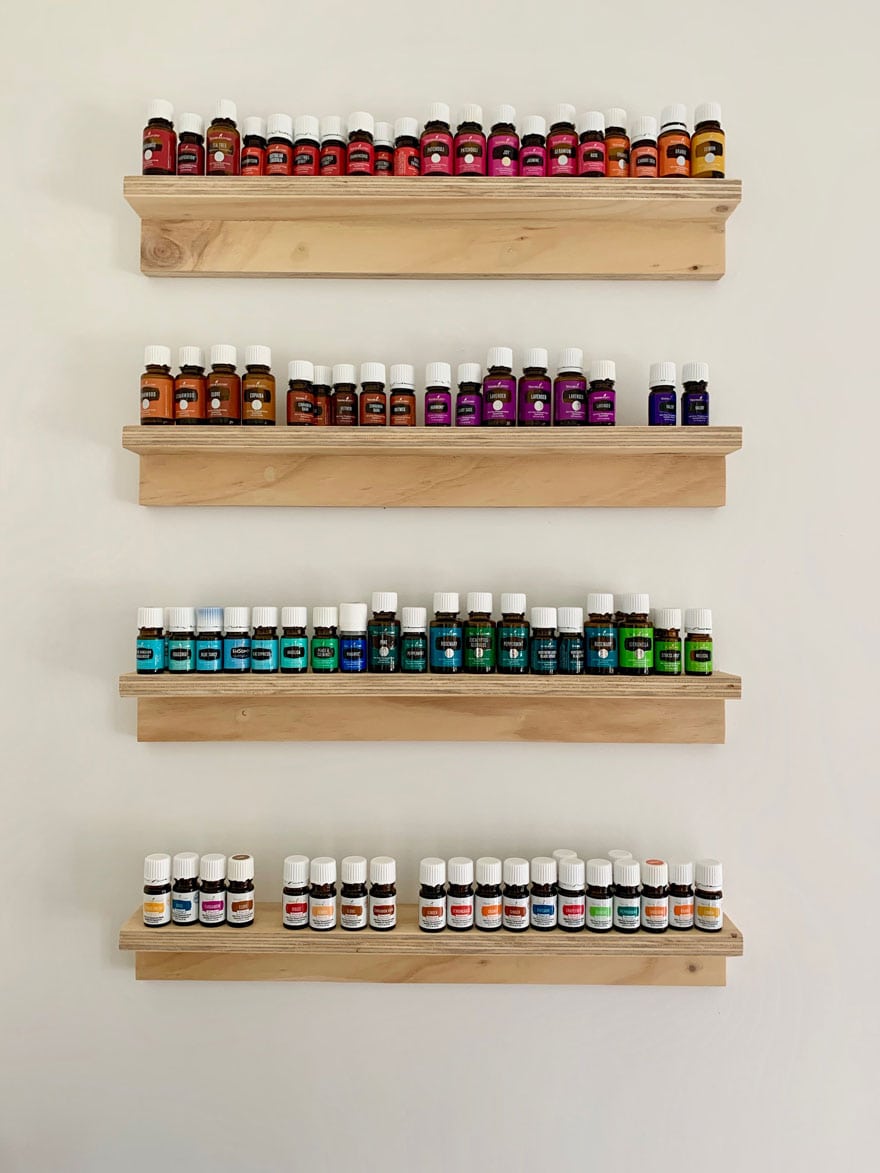
materials & tools
One 4×4 – 3/4″ finished plywood
Finish Trim Screws
Sandpaper
Wood Filler
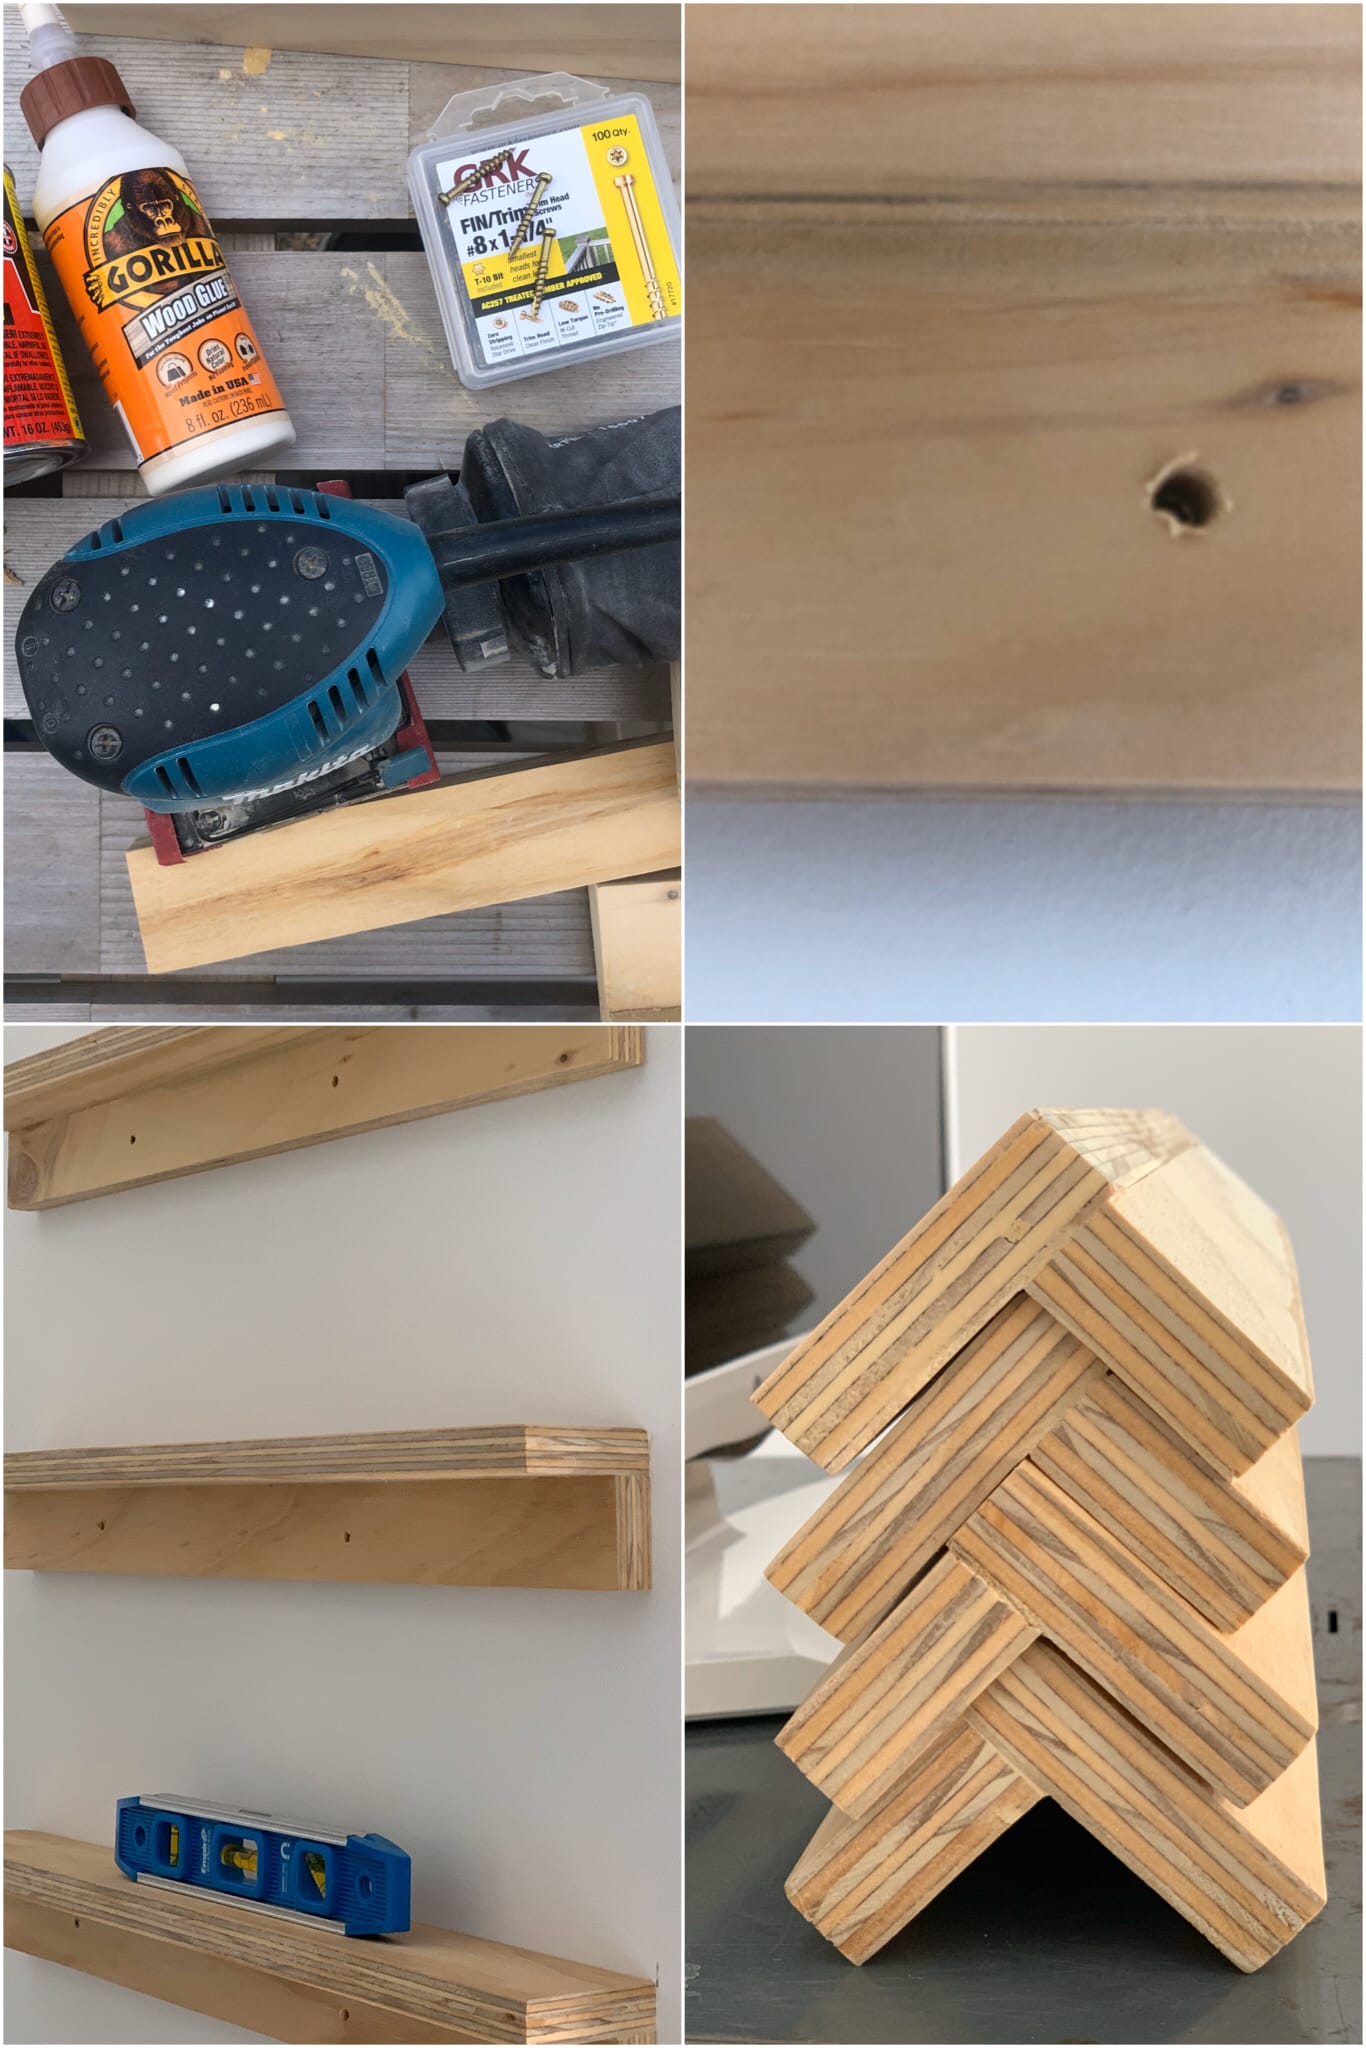
Wood Glue
Vararthane
Level
Palm Sander
Power Drill
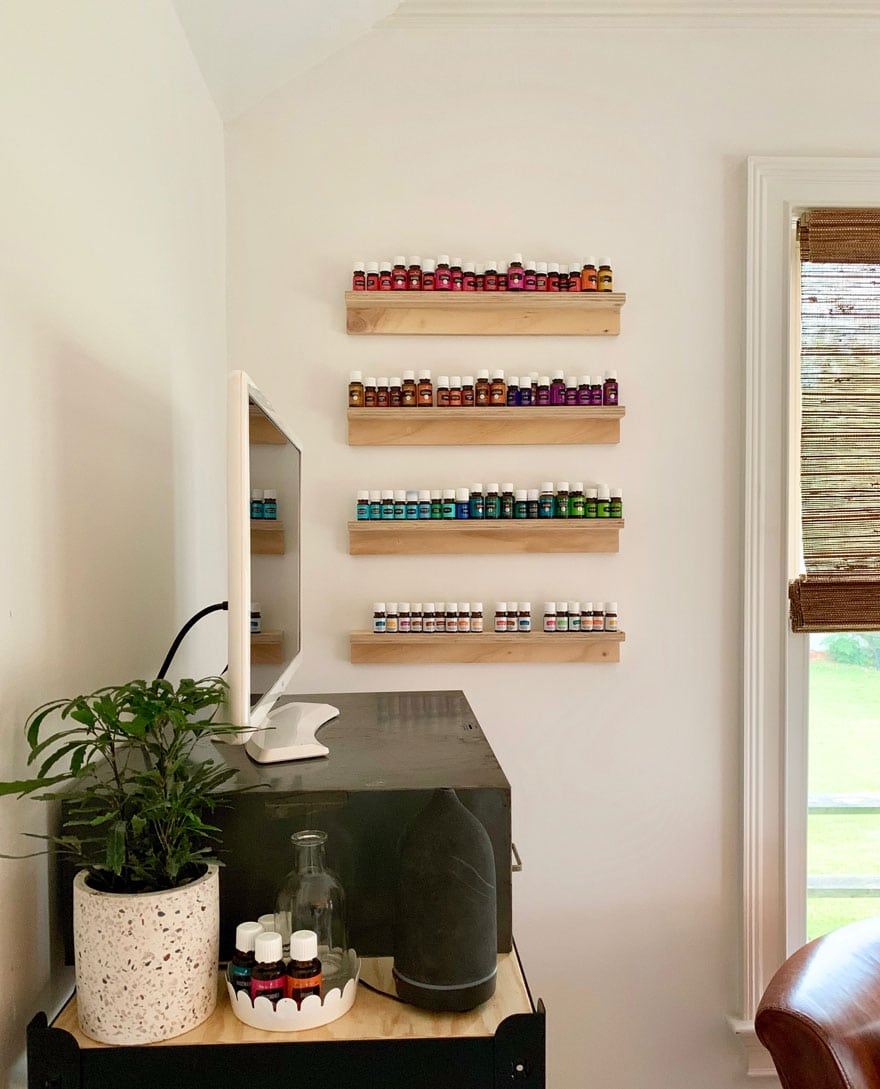 We decided on this wall in the office because it does not get direct sunlight and we wanted the oils to be easily accessible. We arranged the essential oils by color on the top three shelves and then placed vitality oils on the bottom shelf.
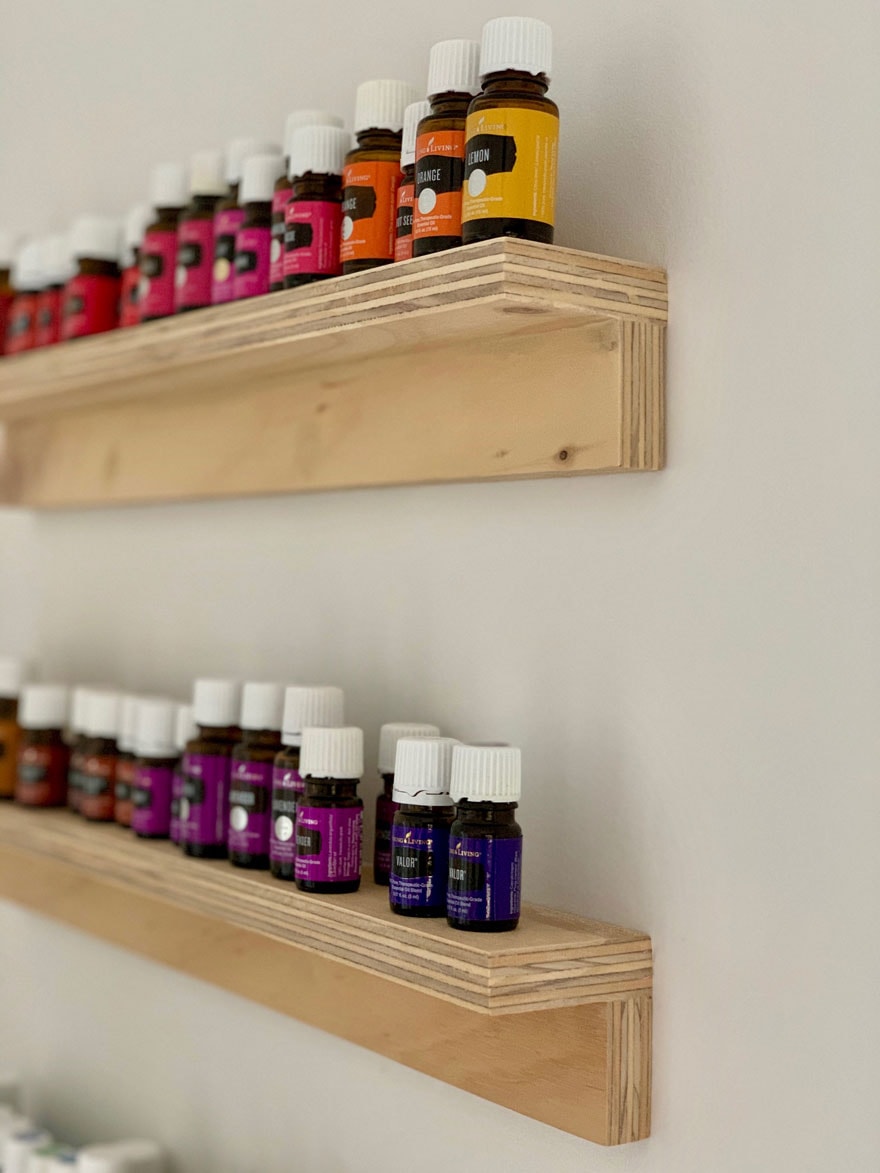
Directions
- Cut four pieces of plywood 20″ long is 2- 1/2″ wide (top piece or shelf)
- Cut four pieces of plywood 20″ long and 1- 3/4″ wide (bottom piece or brace)
- Attach a bottom piece to a top piece using finish screws and wood glue and allow glue time to dry.
- Fill in holes with wood filler and sand until smooth.
- Wipe clean with a damp cloth and spray with Varathane.
- For an extra smooth finish, lightly sand using super fine wet/dry sandpaper.
- Mount the shelves to the wall by using long screws directly into the bottom piece. We sunk the screw heads into the wood and then patched over the holes with wood filler and then sand again lightly.

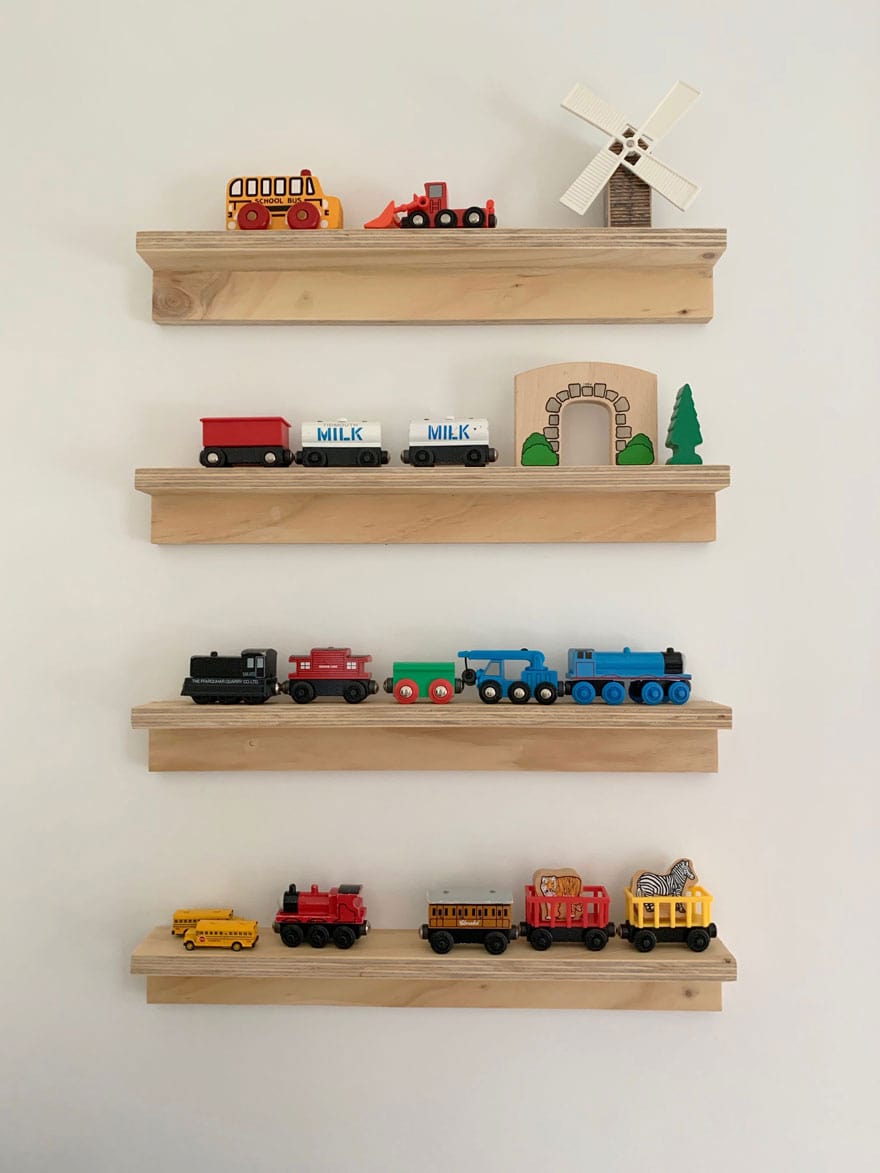
Narrow shelves could also be added to a child’s room for toy display & storage above a table
Shop the Post

Thank you for sharing your favorite products with us. I learned a lot and I am looking forward to trying many of them.