DIY Canvas Wrap Vase
[mv_video doNotOptimizePlacement=”false” doNotAutoplayNorOptimizePlacement=”false” jsonLd=”true” key=”vyoo0lpbw5kew3cxn2pq” ratio=”16:9″ thumbnail=”https://mediavine-res.cloudinary.com/video/upload/vyoo0lpbw5kew3cxn2pq.jpg” title=”DIY Canvas Wrap Vase” volume=”70″]
Let’s make a DIY canvas wrap vase!
Today I’m joining a very talented group of bloggers to share a DIY involving fabric. I said yes and then panicked because I don’t sew. I used to always tell my kids that the good scissors are only to be used on fabric. I remember when they said, “ok, but you don’t sew, so I’m going to use these on paper!” That’s true, but I still need a good pair of scissors at all times because you never know when you’ll need them! Like this project!
I have been seeing these leather wrap vases all over Etsy and Pinterest. Last year I got my friend Diane one from Jenni Kayne. I have been slightly obsessed with these trendy wrap vases, but I didn’t have any leather on hand so I used canvas that was leftover from this project. It was a pretty quick project and you probably have a few of those cylinder vases from the florist. We can never give them away and now you have a good reason to use them! With just a few supplies from the hardware store and craft or art supply store, you’ll have enough supplies to make several.
1. The Supplies
a glass cylinder vase
heavy cloth or leather
eyelet Pliers & eyelets
a good pair of scissors
leather cord

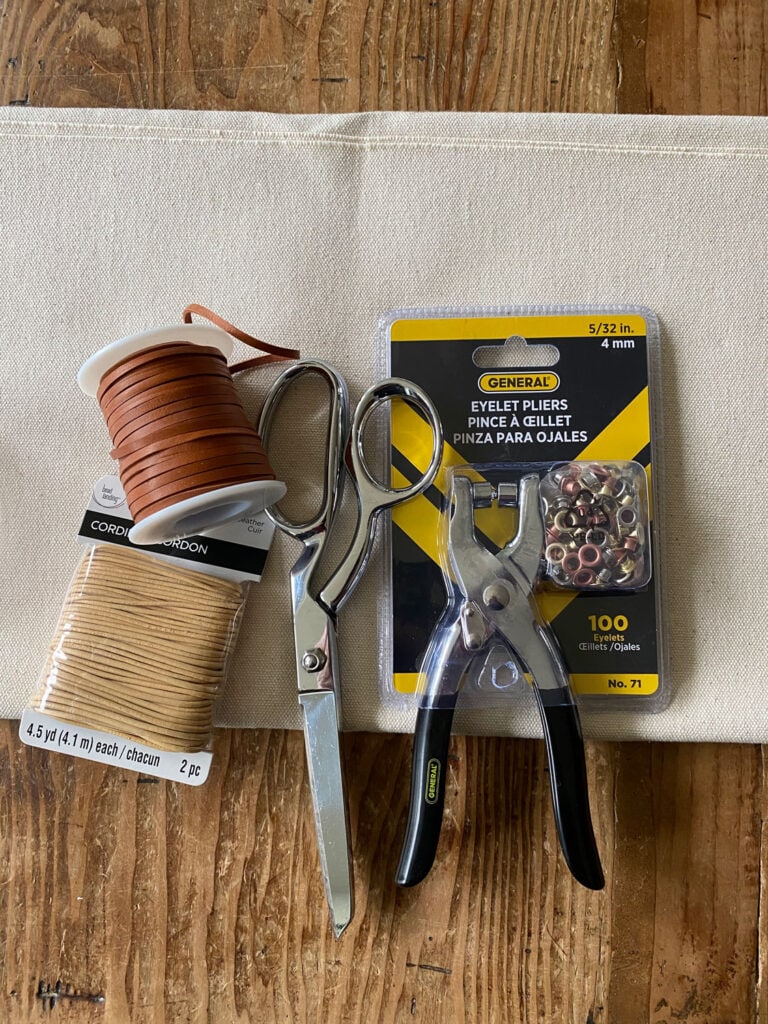
You’ll need a glass cylinder vase. The kind that you get from the florist. Any size will do, but it does need to be straight up and down, not tapered. I used #10-ounce natural canvas. You need something sturdy like canvas or leather. The eyelet pliers from Home Depot came with the eyelets in three finishes. I chose the copper-looking ones. You’ll need a good pair of fabric or cloth scissors and a straight edge like a metal ruler.
2. Step by step instructions
- Measure the height and the circumference of the vase.
- Mark the canvas with a pencil and using a good pair of scissors cut the piece to size. I used the original top of the fabric with the slightly fringed edge as my top of the vase, but that is my personal preference.
- Once you have your piece of fabric, determine how many eyelets you’ll need on each side at the seam. Measure and it’s okay if the top or bottom is a little wider. It’s hard to get it perfect. The most important thing is that each side is identical.
- Begin at the top and lace the two pieces together. When you get to the bottom, tie each side on a knot and trim.
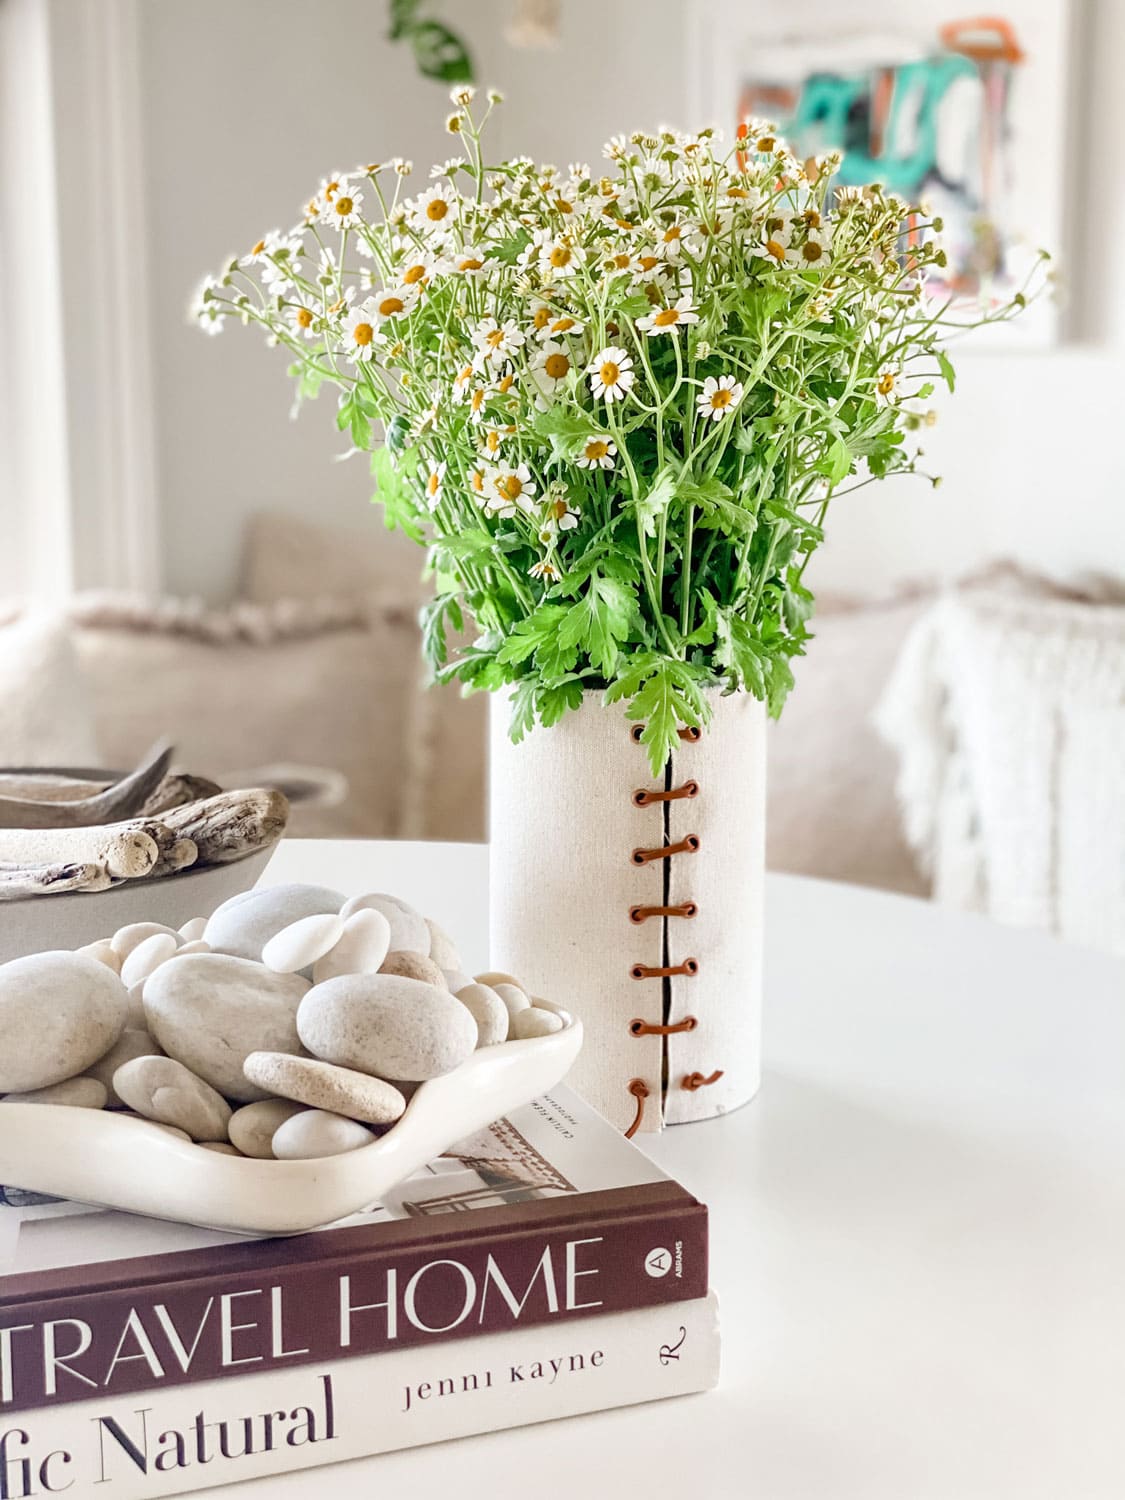
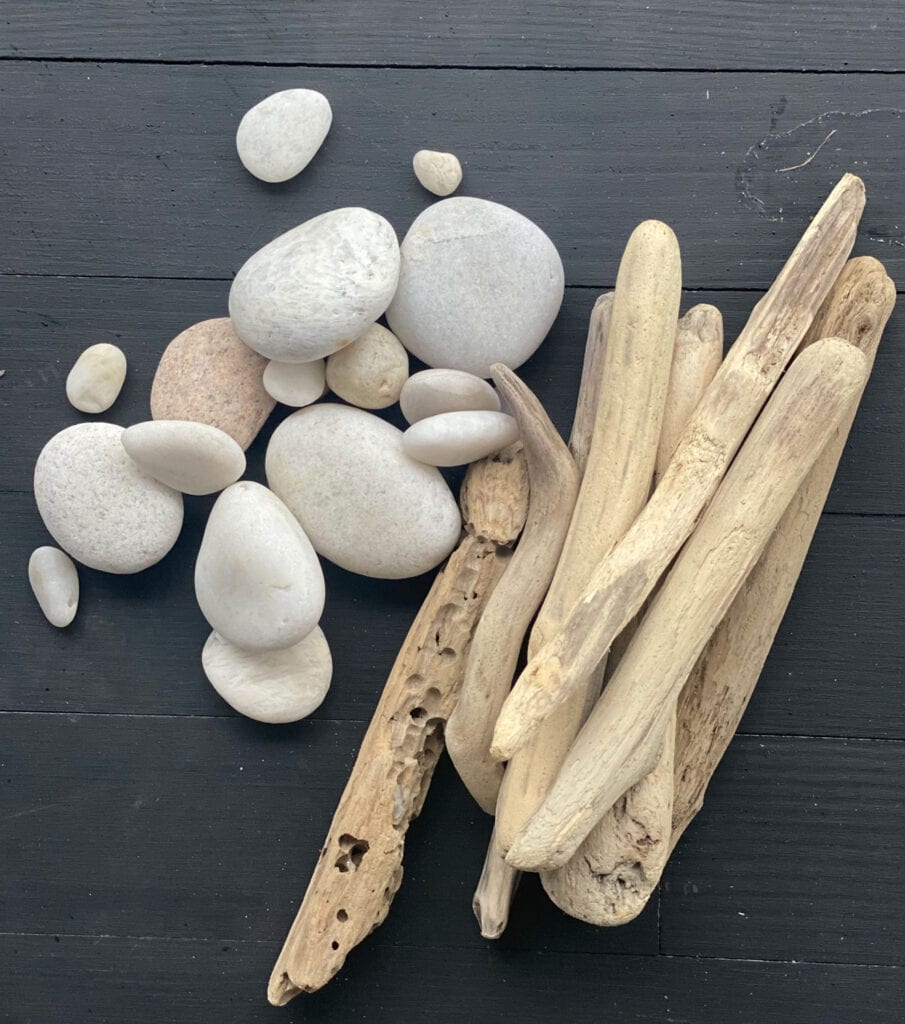
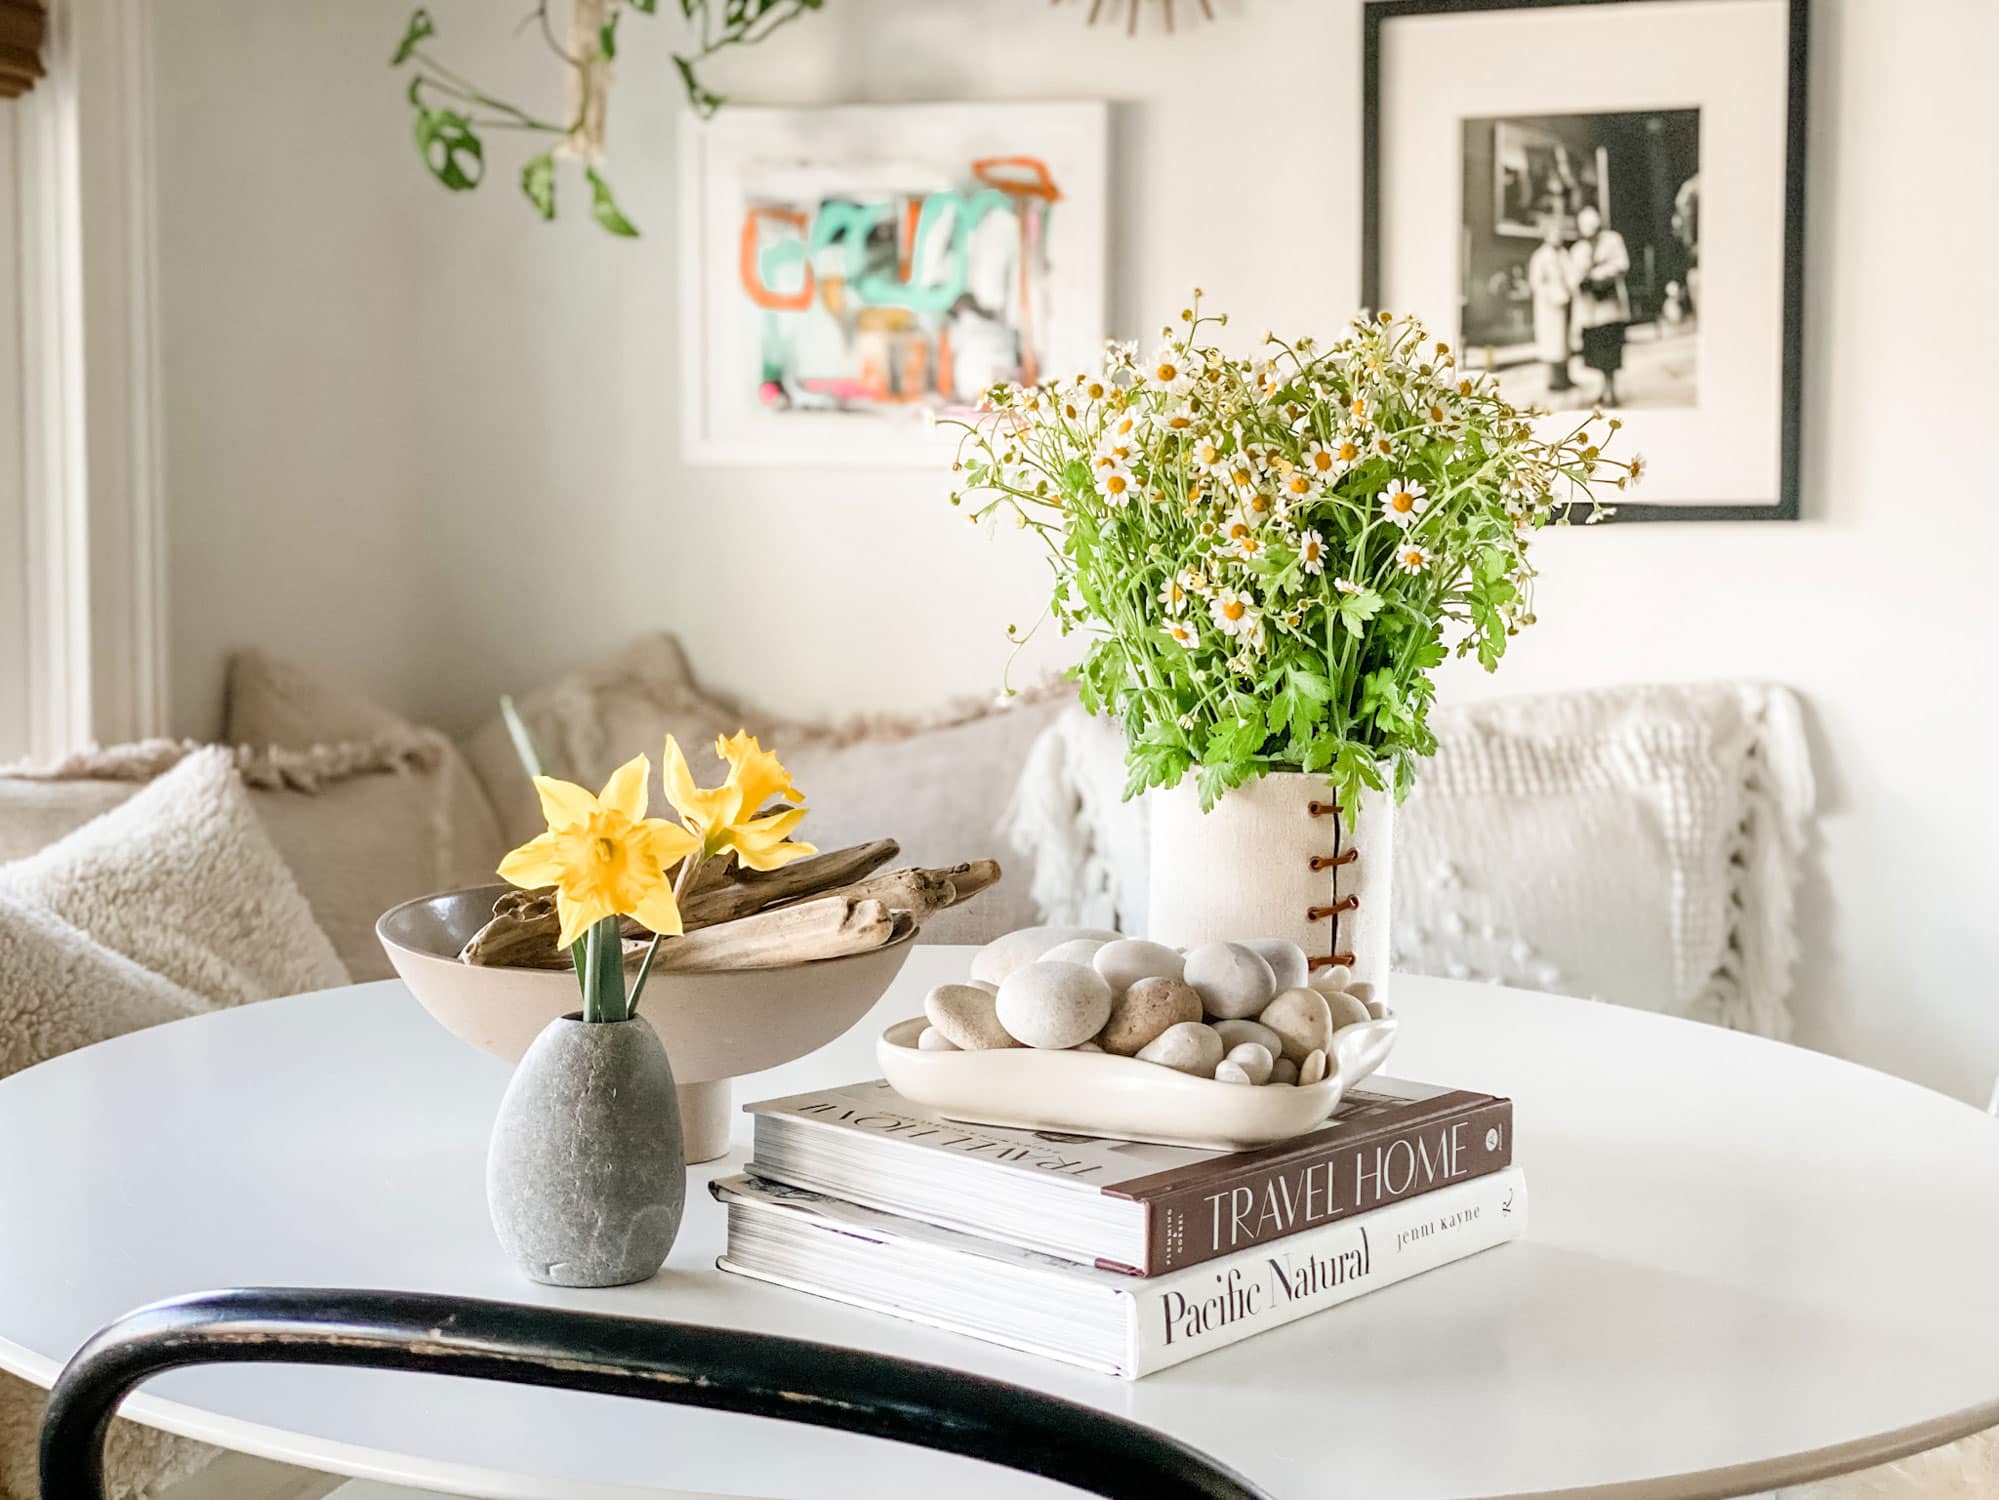
- So easy, right!? Now find some flowers or branches for your new vase and add in a few other natural elements like driftwood and rocks. Add in a few books like Travel Home, Pacific Natural, Simple Home, or Down to Earth.
Shop for supplies


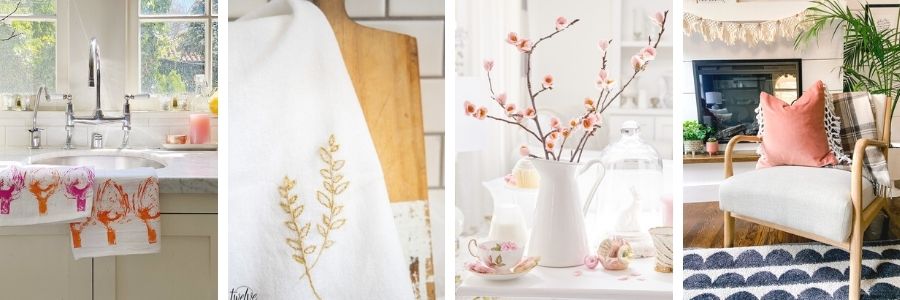
My 100 Year Old Home | DIY Craft Easy Vegetable Printing
Twelve on Main | Easy DIY Embroidered Tea Towels
Happy Happy Nester | How to Make Felt Flowers
Tattertots and Jello | Pillow Cover with DIY Macrame Fringe Trim
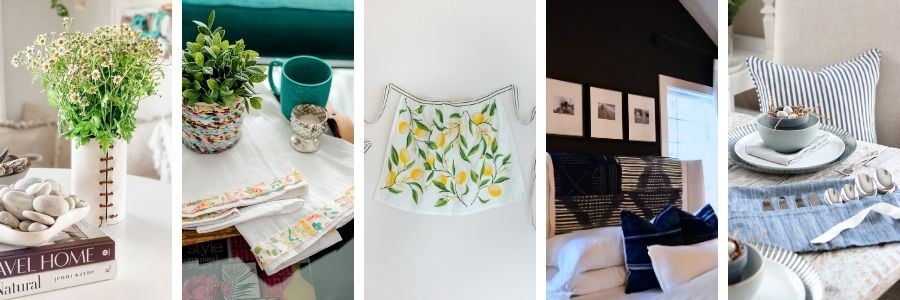
Most Lovely Things | DIY Canvas Wrap Vase
The DIY Mommy | No Sew Ruffled Tea Towel from Scrap Fabric
Zevy Joy | How To Sew An Apron From A Kitchen Towel
My Sweet Savannah | DIY Shibori Flag
Satori Design for Living | DIY Tea Towel Flatware Holder