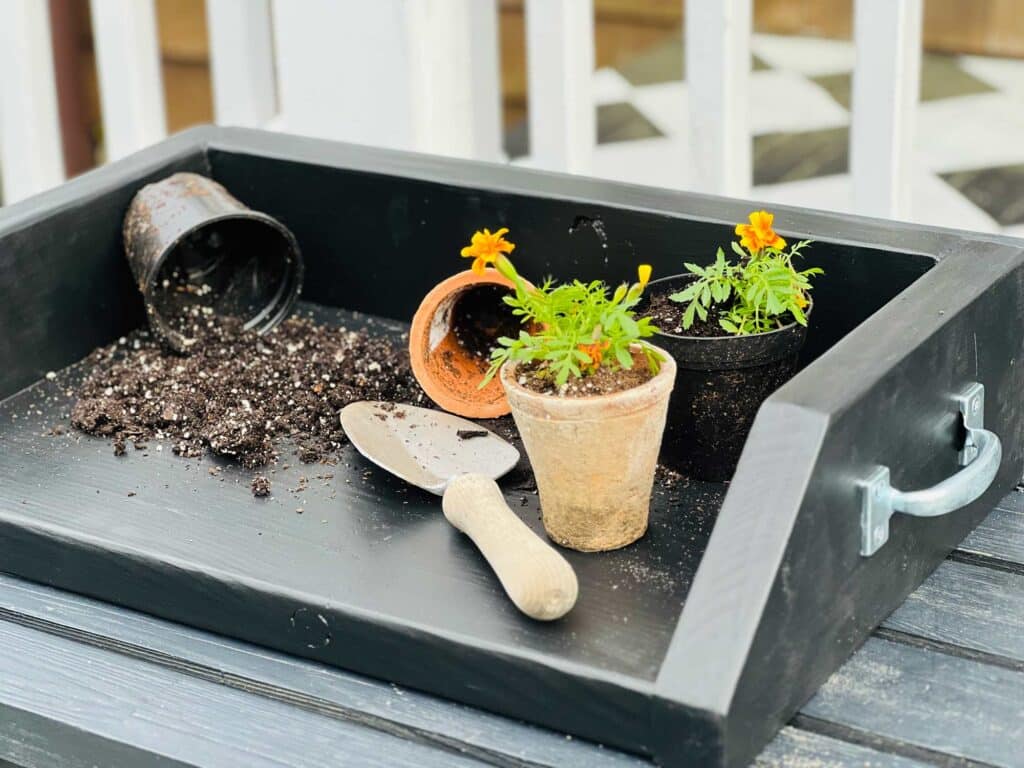
How to build a simple bench top wood potting tray that will keep your potting bench organized and clean, or at least cleaner. I love plants. They make me happy and I have them throughout my house and yard. My potting bench is in constant use. But because I use it so much it always has leftover potting soil scattered on it. And if the soil isn’t on the work surface, it has fallen through to the bottom slats and into the extra pots I store underneath on the bottom shelf. As much as I try to keep it clean and tidy, it always seems dirty – organized but dirty.
So this year we decided to change that and build a small potting tray to use when potting new plants or re-potting existing ones. And we couldn’t be happier with how it turned out. It only took a few hours of work – not including the stain and sealant drying time. And it doesn’t require a lot of tools either. We choose the dimensions so that it fits on our potting table. When not in use, it can just sit up against the back of the potting bench.
Potting trays come in all shapes and sizes, so customize this potting tray to fit your space and needs and use our measurements directionally.
Materials list
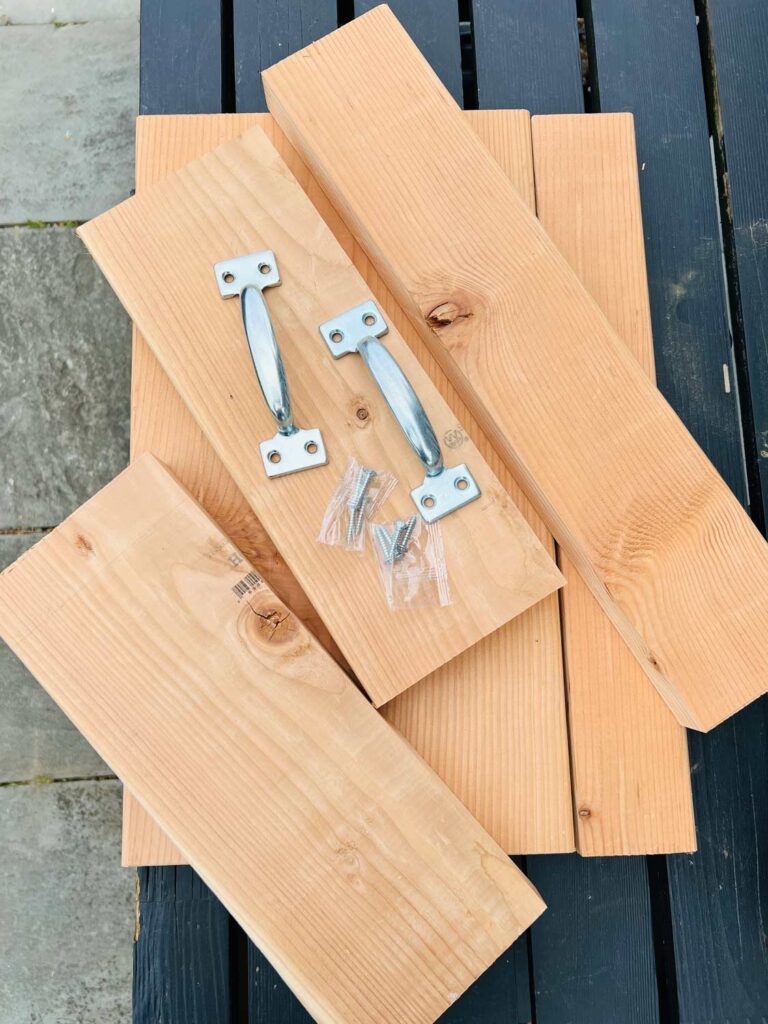
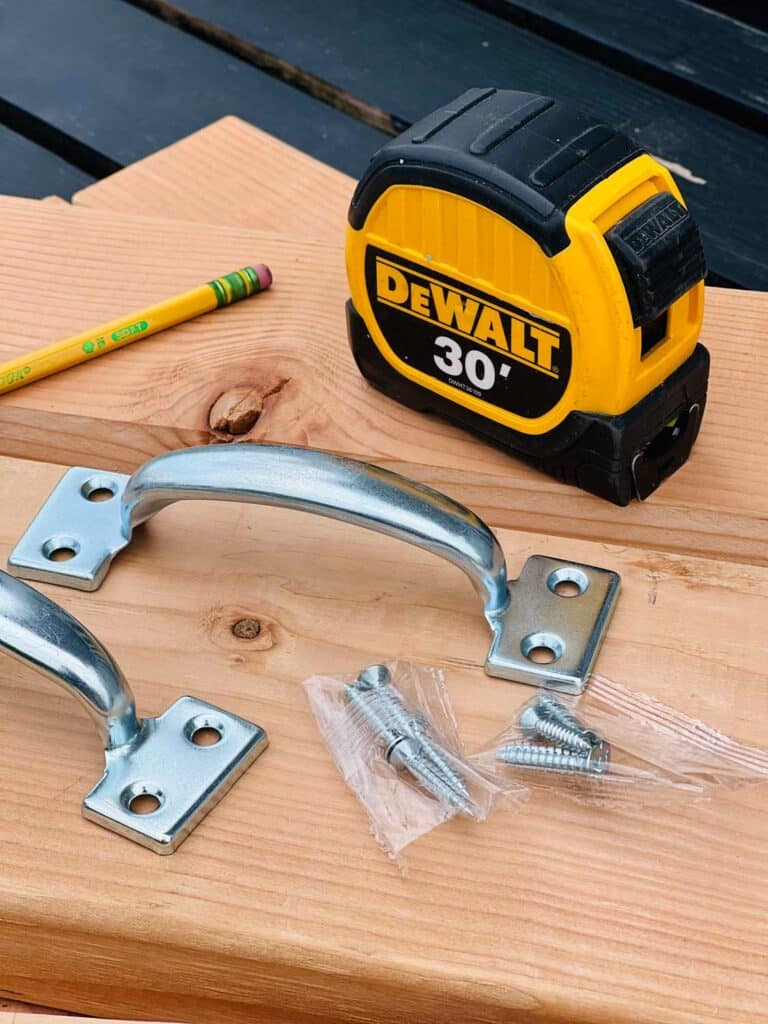
- Wooden boards
- Screws (we used GRK self-setting trim screws – #8 2 1/2″ long)
- Handles
- Sandpaper
- Wood filler (it’s a good idea to make sure it is waterproof)
- Stain
- Varathane
Tools we used
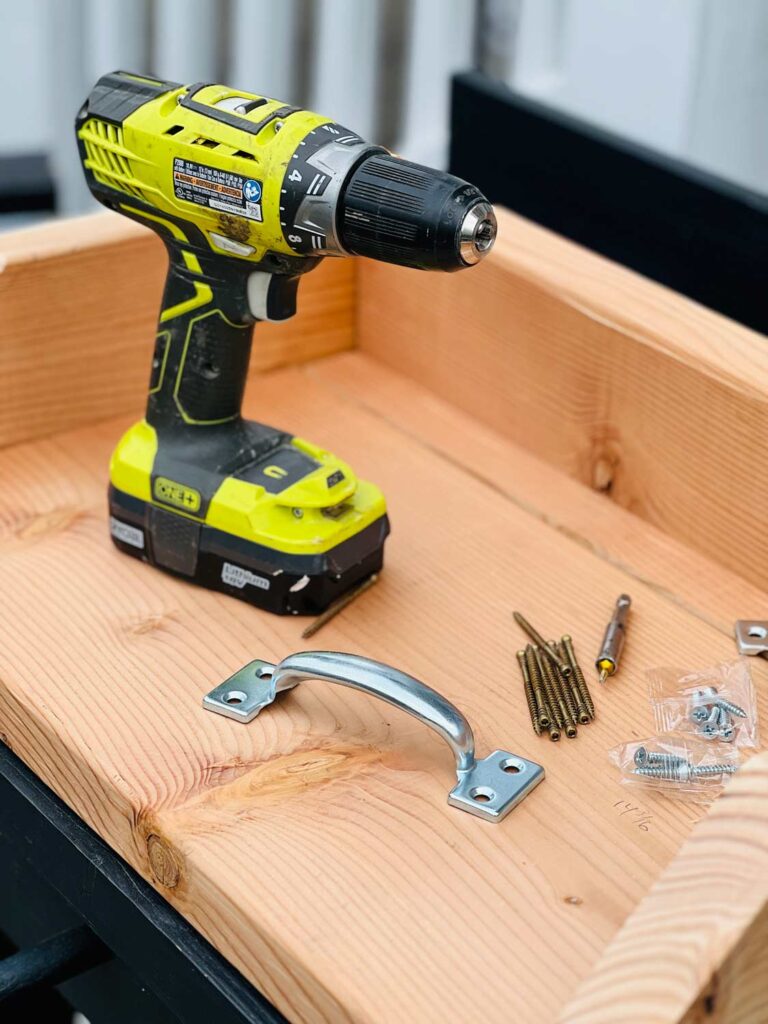
- Saw (table saw, mitre saw or circular saw)
- Electric sander
- Power screwdriver/drill
- Paintbrush
Choosing the right wood
The first step of the project is choosing the right wood. I have a plant shelf that runs along the outside of the house and sits underneath the windows of my office. I enjoy looking out the window and seeing blooming plants or flowers. We had some leftover wood from that project so we decided to use it make this tray. When selecting wood for your potting tray there are a few options like pressure-treated lumber (that’s what we’re using in pine), cedar, or redwood. These woods are very durable and also resistant to rot and insect damage. Don’t hesitate to use different wood and customize the tray to fit your space and needs. Just use this article as guide but make it your own. It’s a fun and useful outdoor project.
The wood thickness for the tray we made is 1 1/2″. But I think 3/4″ thick would also work. It won’t be quite as heavy and sturdy but it would be easier to work with.
Step-by-step instructions for building the potting tray
We’re going to provide our measurements but just use them a guide if your space requires a different size. And if you don’t have a saw or access to a saw, an option is to buy your wood from Home Depot and ask them to make the cuts for you. Our local Home Depot does provide that service. You just have to know exactly how many pieces you need and what size the pieces are. The only downside, they probably won’t cut the 45 degree angle on the sides for you.
Measuirng and cutting the wood
When it comes to measuring and cutting, our top tip is to use the old woodworking saying of, “measure twice and cut once” just to make sure all the pieces are the right size. We even make cut lines and then measure again just to be sure. But even being that careful I’m amazed at how many times over the years we’ve had to run back to the store and buy another piece of wood because we made the wrong cut.
- 2 side pieces: 14″ long by 5 1/2″ high (10″ from the back of the wood is where I started the 45 degree angle cut)
- 1 back piece: 20″ long by 5 1/2″ high
- Bottom piece: 20″ long by 14″ deep (I used two pieces to get 14″ deep)
Assembling the tray
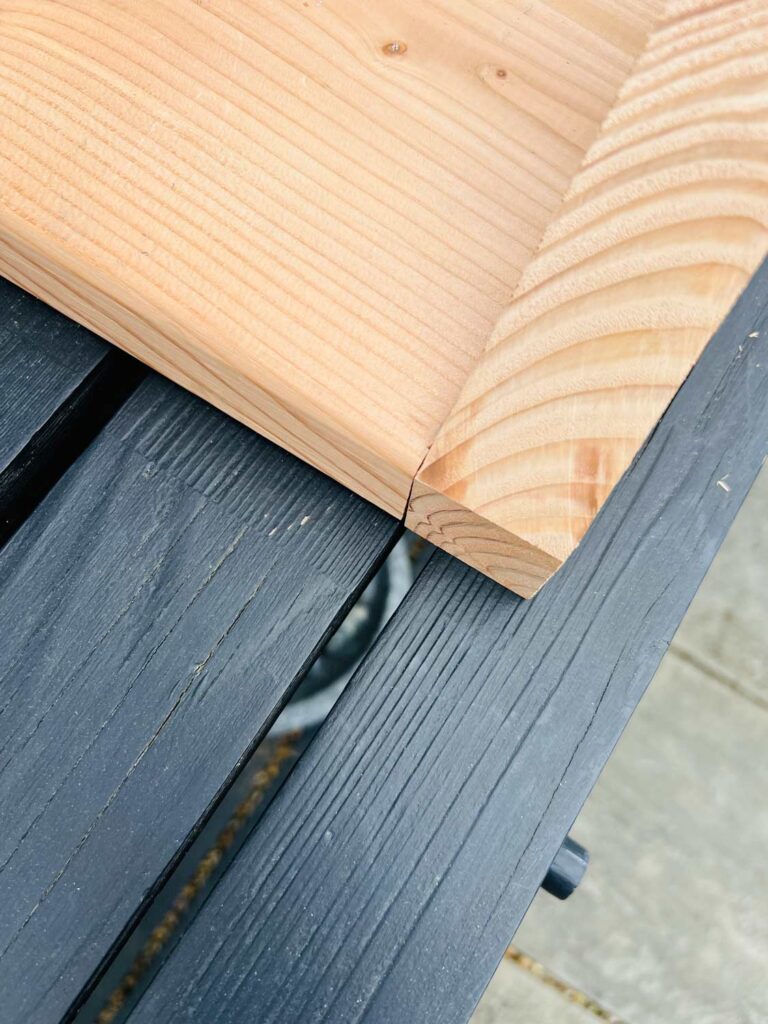
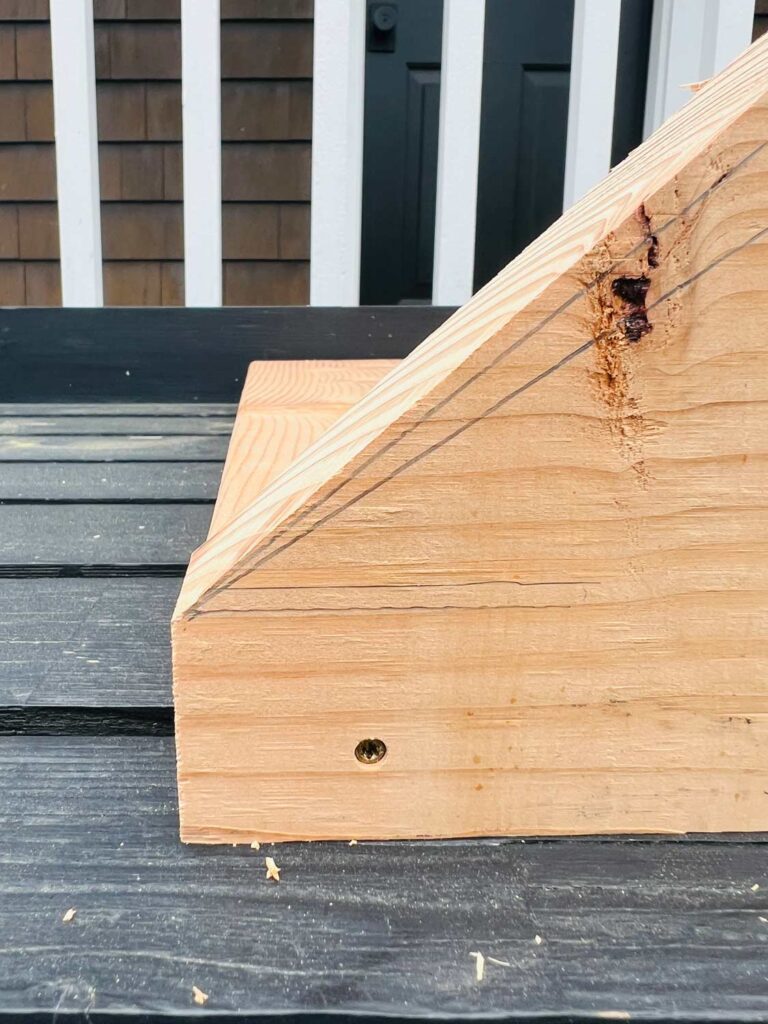
- Make sure you have plenty of room and a level surface for assembly. Lay out the bottom piece(s) on a flat surface (we used our potting bench for this). Put the side pieces in place making sure everything lines up and is flush. Secure the side pieces to the bottom pieces with screws. I used self-setting screws so there was no need to pre-drill pilot holes. However, if you’re using different screws or thinner wood, a drilled pilot hole is always a good idea to keep the wood from splitting.
- Attach the back piece in the same way you did the side pieces.
Sanding and finishing
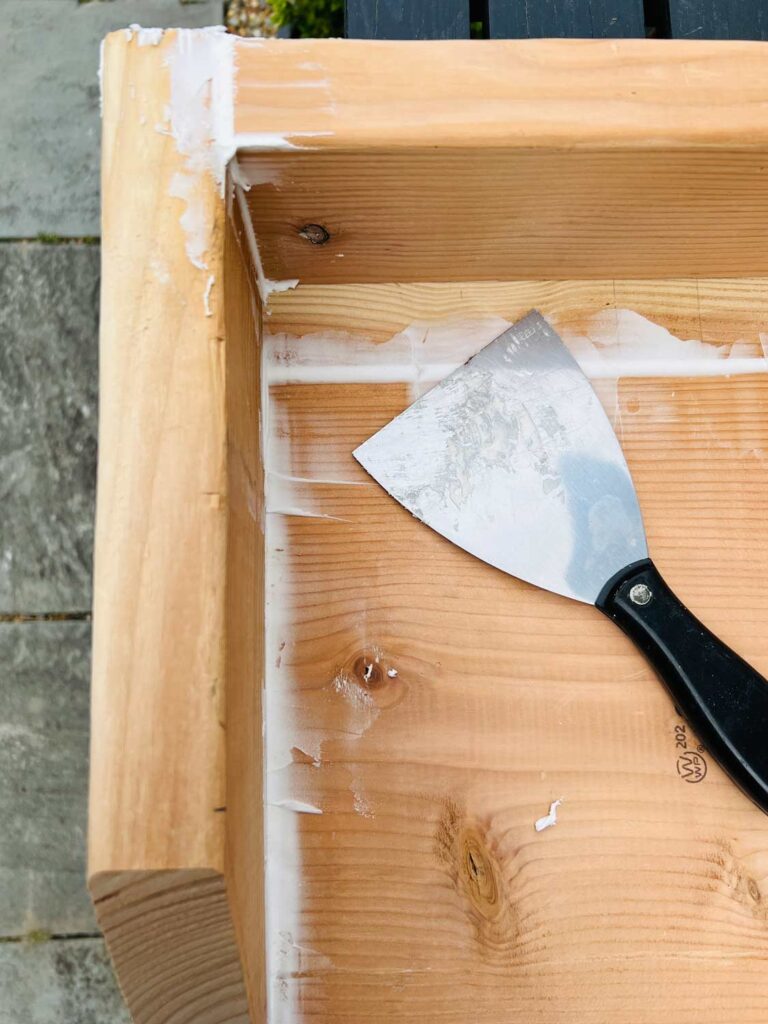
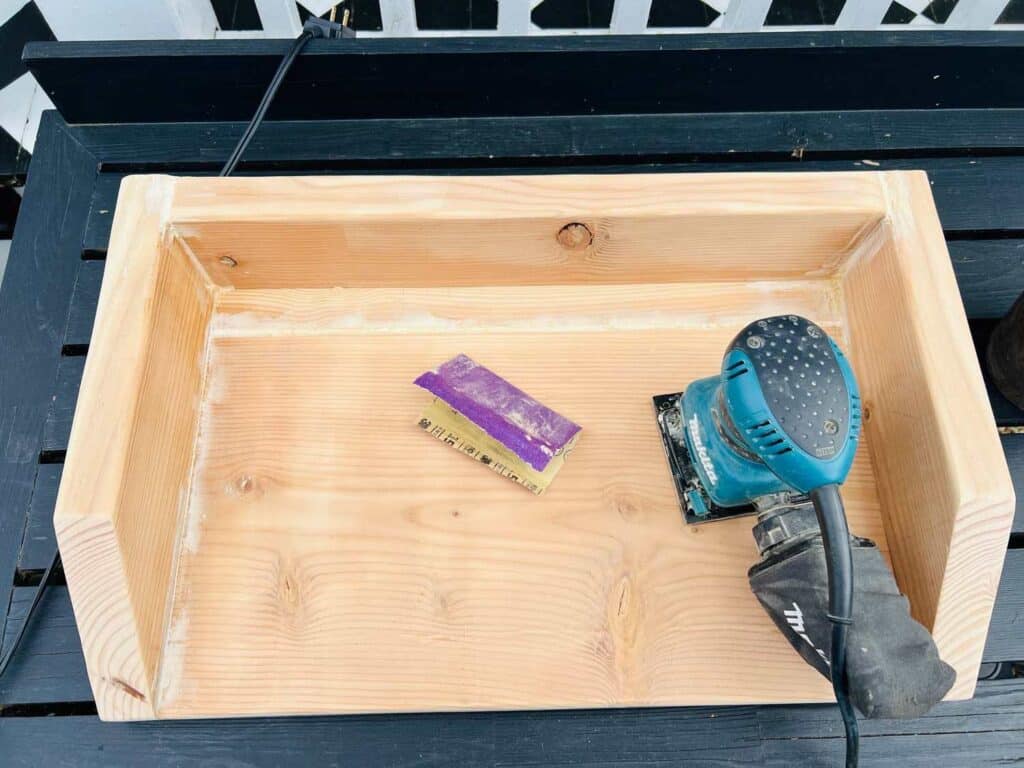
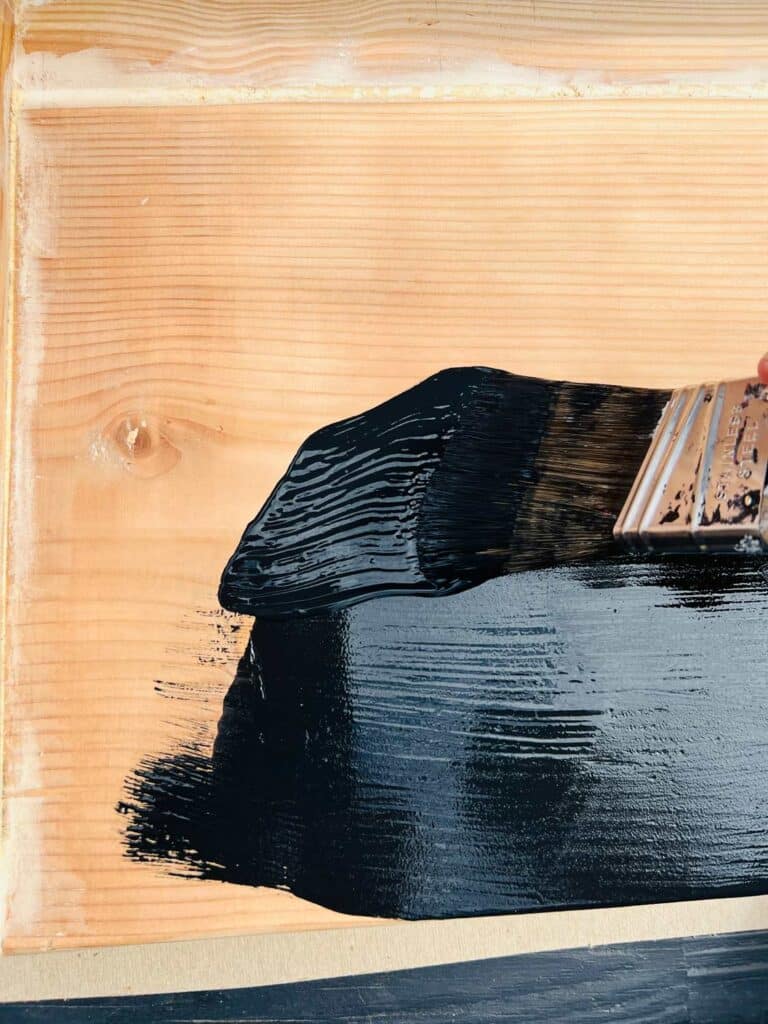
- We wanted a fairly smooth surface so we spent a little extra time sanding any rough edges. We used a medium grit sand paper. If you’d like a super smooth surface, finish with fine grade sand paper.
- Fill all the screw holes with wood filler. Also fill any holes or open cracks in the knots of the wood. Once it has dried, sand lightly until smooth.
- Wipe the surface clean with a damp, soft cloth.
- If using stain, apply it now. One coat should be enough but add a second coat if needed and allow to dry.
- Apply varathane. We used a satin finish varathane. But if you’d rather have a shinier surface, use semi-gloss or gloss.
Adding a functional feature
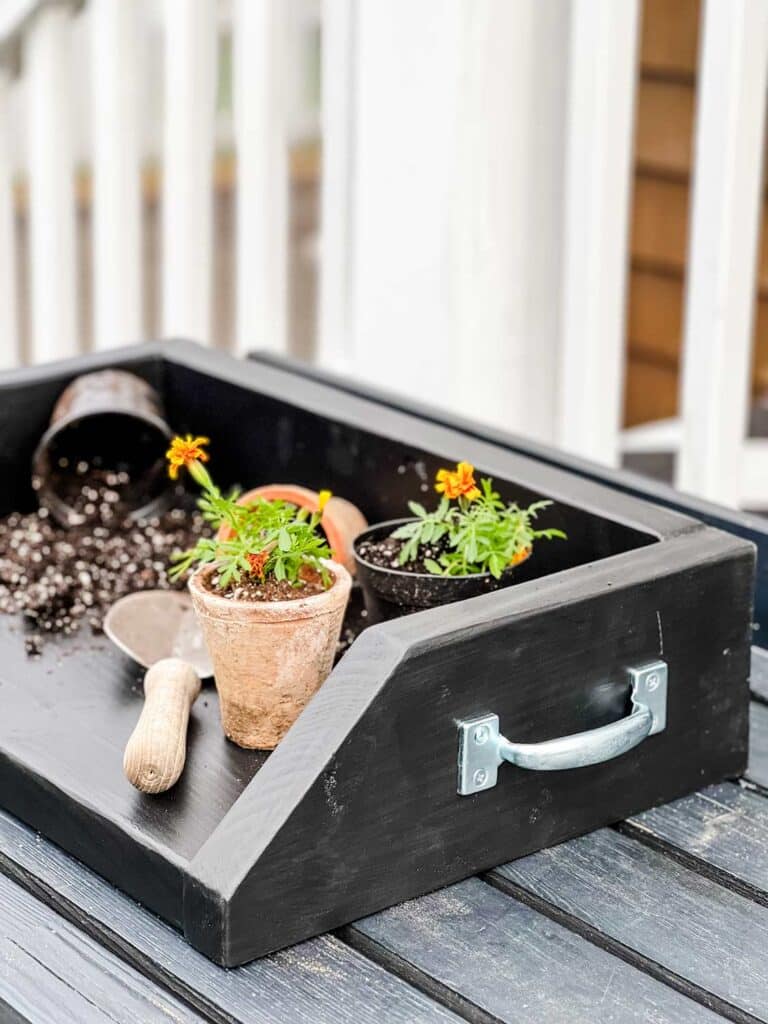
As a finishing touch, we decided to add some door pull handles from Home Depot. It makes it easier to carry and move around as needed. And we think they look good too.
Using and maintaining your potting tray
After each use or serveral uses, clean the tray to remove soil and debris, and check for any signs of wear or damage. Using garden tools like a shovel can somtines scrape the finish. Re-apply a protective finish as needed to ensure it lasts a long time even with heavy use.

Leave a Reply