Our version of Shiplap Wall (DIY) in our c. 1900 home. When we purchased it 3 years ago we waited almost a year to remodel the kitchen. This little corner of the kitchen was the only part that we felt just wasn’t quite “done.” When we purchased the home there was a large built in desk where the table sits now. I had it removed before even seeing the house. I always need a place for our Saarinen table. I think it has been in six or seven homes since we bought it. The rest of the kitchen has white subway tile, chalkboard paint, original brick painted white and cabinets. This little corner had boring walls above the built-in bench. After seeing shiplap everywhere, we decided we needed to give it a try. I showed my husband the post from Jen at City Farmhouse and Studio McGee’s Guide to Shiplap Walls for inspiration. The project took just two days over the holiday break.
Tools Needed:
Materials Needed:
Pine or MDF 1 x 6 boards
2.5″ wood screws
spackle or wood filler
sand paper (180 grit)
paint
painters caulk
Measure the space to determine the number of linear feet of wood or MDF boards
We prefer natural wood, so we selected a high quality pine that was already primed. If you want to save money, using MDF would cut your material expenses in half. Since our space was small, we went with natural wood (pine).
We have a table saw, but you could have your builder’s store cut the wood to your specific lengths required. However our home was built in 1900 so from top to bottom the length of boards varied by almost an inch from top to bottom. Using primed wood or MDF makes painting a lot easier because you do not have to paint inside the nickel or double nickel gap.
To get started we found and marked the wood beams behind the drywall to know where to secure the wood to the wall.
We started at the top so that the odd size board is at the bottom and mostly out of sight.
If you don’t have a table saw, you’ll need to have them rip the last board to the proper width of the space at the bottom.
We used 2.5″ screws to secure the boards. We pre-drilled a hole the size of the head so that it would be recessed inside the board. Then we came back and filled each screw hole with painter’s spackle. After it dried, we sanded it smooth and flush with the board disappearing once you paint over it.
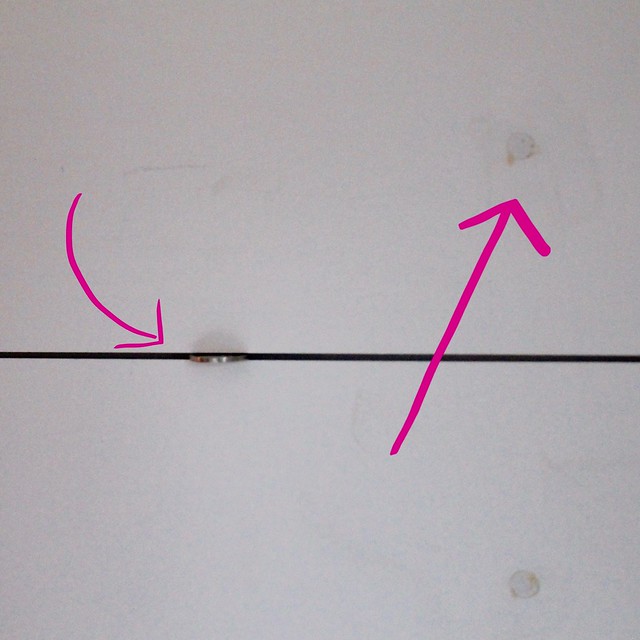
To space each board we placed 4 to 5 nickels across the board and pushed the board up flush against the nickels leaving a “nickel gap” and then secured it. Once all the boards were secured, we used a caulking gun with a tube of painters caulk and filled all the rough edges around the top and sides being careful not to let the caulk spread into the ‘nickel gaps.”
We used a jigsaw to cut around the light switch and light socket. Any imperfections will be hidden behind the covers.
Since the wood was primed, we painted two coats using a brush. We did not use a roller because it would have been harder to avoid filling in the “nickel gap” with paint.
The entire project took a weekend including a couple of trips for supplies.
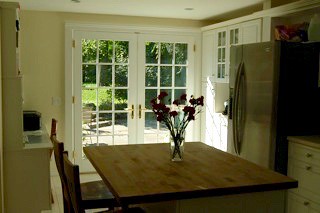
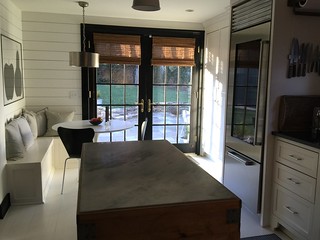
Here’s a before and after of the same space today and from the real estate listing sheet.
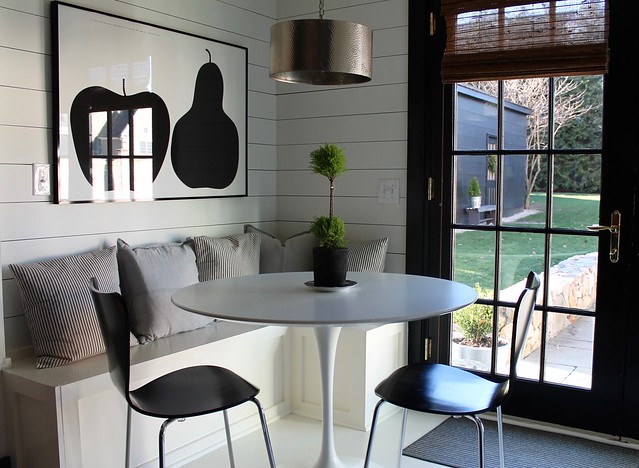
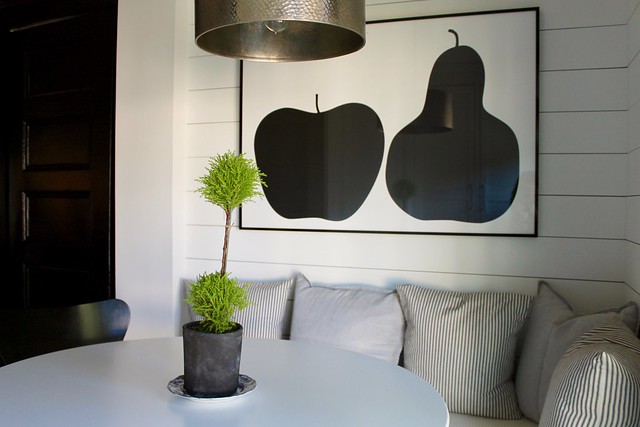
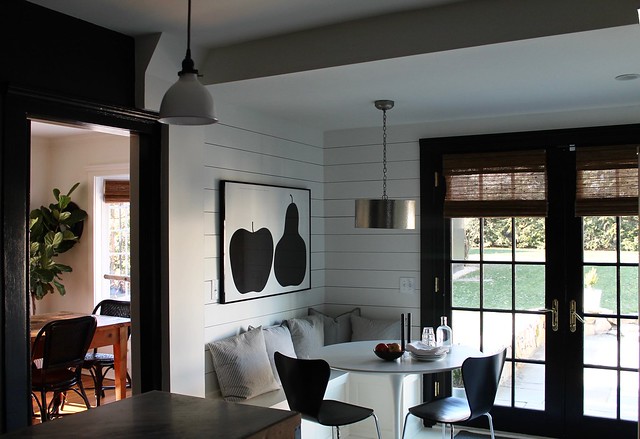
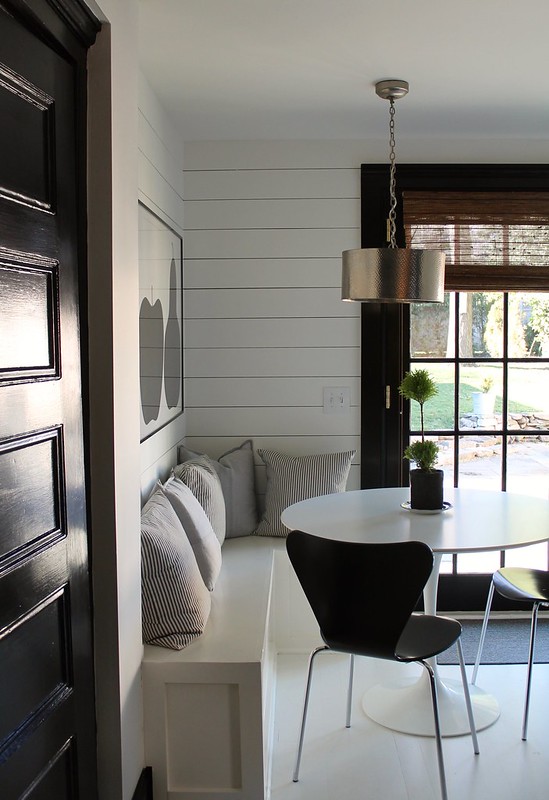


Stunning!
This is the perfect corner of your kitchen. Thanks for the DIY on installing ship lap. I’ve heard so much about it and of course, watched Joanna Gaines on Fixer Upper use it everywhere.
Karen
Annie, your project turned out beautifully! I’m always inspired by your vision and talent. ?
Annie- It looks amazing! I’m doing a similar wainscoting project in our hall and entry (I’m attempting it solo). Thanks for the inspiration!
Annie, it looks sooooooo good! Love it! Also love seeing your before/after picture and what a huge difference the changes you’ve made make. You just have the best eye!
It sure looks fantastic, Annie! And the before and after shots…wow! Love love love everything you did in the kitchen and dining nook!!
Annie
This was such a great idea. That little corner has so much character now. Love the art on the wall as well. Simply fabulous!!
100 times better than the way you inherited it! I really love the fresh take on “classic” you have put on your historic home.
Thank you so much Kim!
This is a great tutorial!
This looks beautiful! You did a great job. I’m working on a basement right now and we are using boards actually called Nickel Gap – the boards are actually cut so they overlap and leave a gap. I like your trick of using nickels for spacing!
Looks awesome Annie! Love your kitchen breakfast nook so much.
love the texture it adds so much. looks timeless but totally fresh at the same time. also, love your graphic art as well.
It looks really great Annie! And I agree with Cindy, it has really added character to that corner.
Sheila
xo
http://www.maisondecinq.blogspot.com
Hi!
Did you guys build that little bench as well? Would love to know how you did it!
This is awesome! We are doing a ship-lap ceiling in our nursery this weekend using your tutorial, thank you so much! Can you tell me the color of white you used? It’s the perfect shade!
Lindsay
Hi Lindsay!
Ship-lap on a ceiling in a nursery!? That is going to be amazing! If you have time, I would LOVE to see a photo!
We always use Benjamin Moore Cloud White or if you are out west, and can buy Dunn Edwards paint, the same color of white is called Whisper White. It’s the perfect white…in my opinion! And we have used it in several homes inside and out! We used the same color for trim, just different finish. Good luck Linsday!
annie