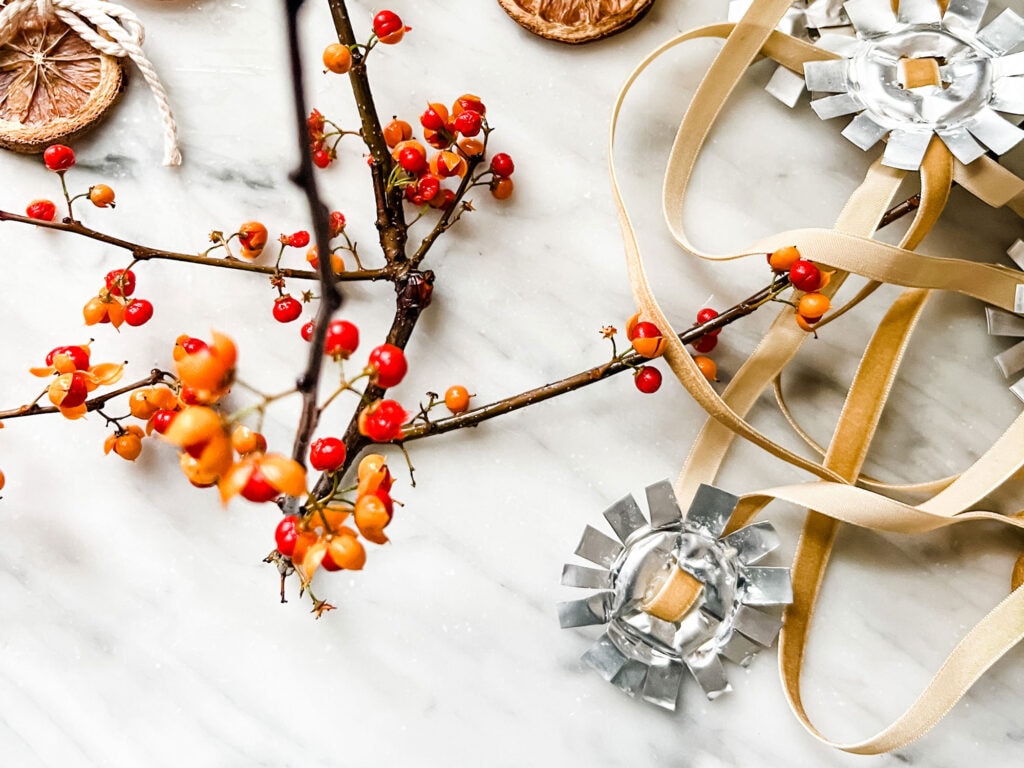
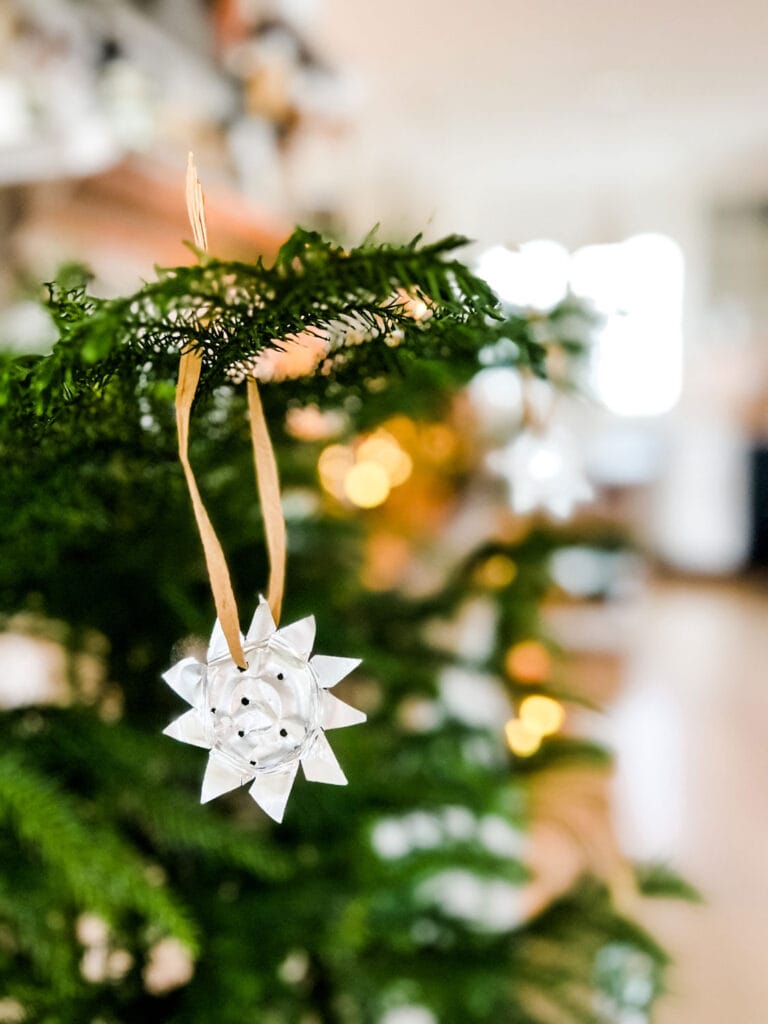
Make these simple ornaments from upcycled tea lights in no time!
Raise your hand if you never know what to do with all those little tea light tins after burning the candles. Make these simple ornaments from upcycled tea lights. I knew this year I would do something with them. Of course, Christmas is a perfect time!
I’m joining six bloggers today, and we are sharing ideas on homemade ornaments. I was determined not to buy anything new and use only what I had on hand for this assignment! I’ve made all the foraged ornaments using dried oranges and lemons and tied them up with eucalyptus and baby’s breath. I used frayed ribbon that’s actually canvas made into the ribbon.
No, for this one, it has to be a new idea. The bags of little tin tea light holders were spilling over in the corner of my office when I looked at my supplies.
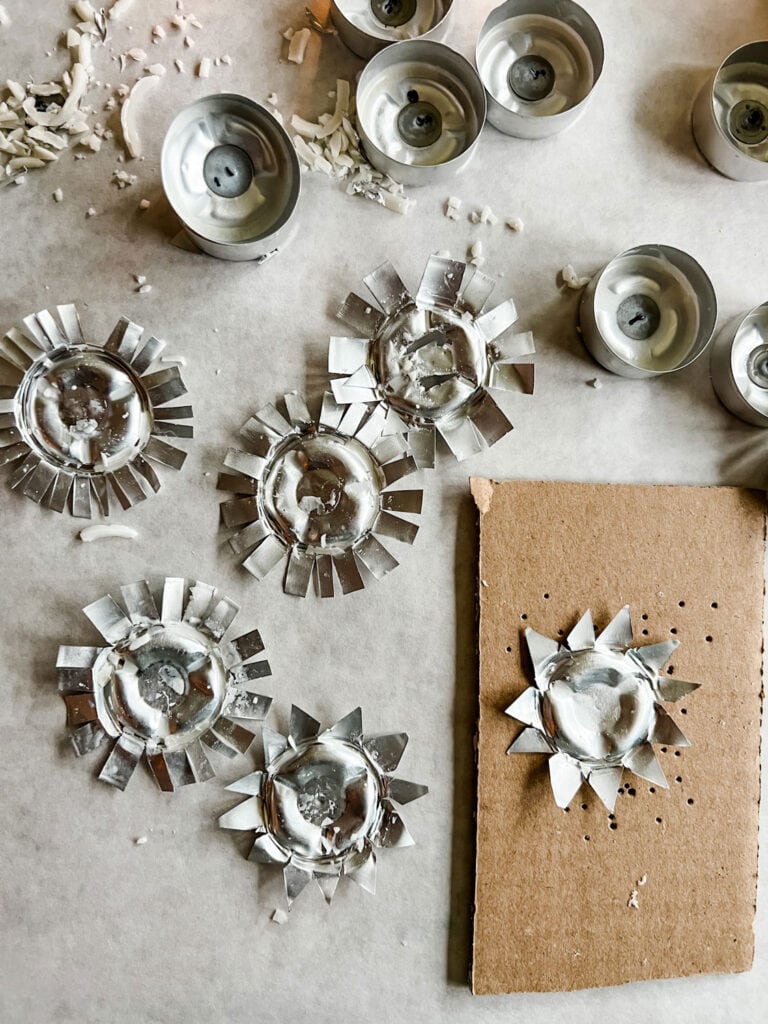
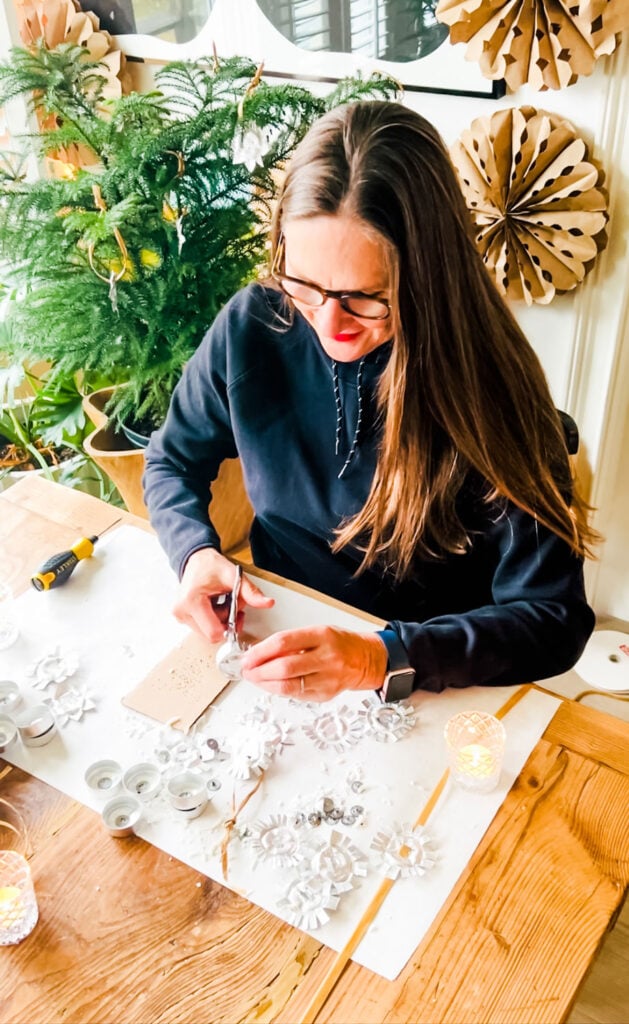
I grabbed a bag, set up a work area, and got to work. I might caution you to wear gloves and maybe protective eyewear. I started to snip snip, and it was a lot easier to make them into ornaments than I could ever imagine.
How to Turn the Tea Light Into an Ornament or Garland
- First, remove the little metal wick and discard it. There will be a little wax, but it will work out as you make each ornament, so don’t worry too much about that.
- Next, take a pair of scissors and cut the rim in straight or angled cuts. The angled cuts will make a point of the star. Work your way around the perimeter of the tea light and then carefully flatten as much as possible. The points are very sharp!
- To make the star with straight cuts, do the same as above and then carefully flatten.
- Make a hole to hang or slits if you are going to thread ribbon through for a garland.
- I used a sharp point of a screwdriver. It’s best to put each star on top of a piece of cardboard and then make the holes. You may want to add several holes so light filters through. Holes are easy to make as the tin is very soft and easy to work with.
- Add a piece of twine, raffia, yarn, or ribbon to hang on the tree. Or, if you make a garland, punch four holes, and cut slits, using the holes as a guide.
- Thread the ribbon through each slit. I spaced mine about 12″ apart using a thin velvet ribbon.
I think the idea of upcycling something is always a good idea. And making something beautiful from something normally tossed in the trash is pretty cool.
What supplies and tools will you need to make these ornaments?
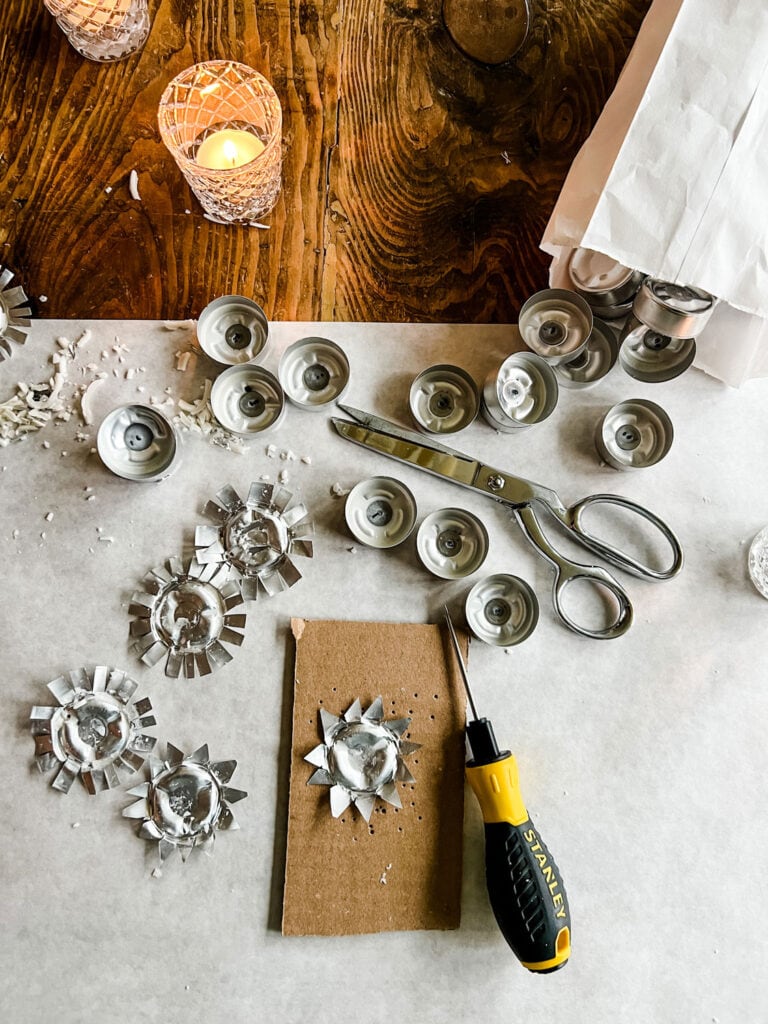
- tea light tins
- twine or velvet ribbon
- scissors
- gloves
- safety glasses
- sharp tip screwdriver
- cardboard and paper to protect the work surface
Note: The metal is sharp, especially making the pointed stars. I recommend wearing some sort of glove for protection. I also would wear safety glasses.
Make star ornaments for hanging on the tree, or make a garland with ribbon.

Blogger’s Best DIY Ornaments

- Gingerbread Birdhouse DIY Ornament | Zevy Joy
- Make Ornaments Using Recycled Tea Lights | Most Lovely Things
- Gingerbread House Village Snow Globe Ornament | Craftberry Bush
- Anthropologie-Inspired Painted Bouquet Ornaments | Tatertots and Jello
- Yarn Hat Ornaments Using A Toilet Paper Roll | Modern Glam
- DIY Wooden Christmas Tree Ornament | My Sweet Savannah
- DIY Gingerbread House Wood Christmas Ornaments | My 100 Year Old Home

These turned out so pretty! Reminds me of punched tin ornaments my mom has.
Gorgeous, Annie, and I love that they are so doable! I’d love for you to join us over at the Creative Crafts Linky Party every Wednesday through Sunday
https://creativelybeth.com/creative-crafts-linky-party/
Pinned! 🙂
Creatively, Beth
Beth,
Thank you so much for the invitation to join you! I would love to!
Annie