
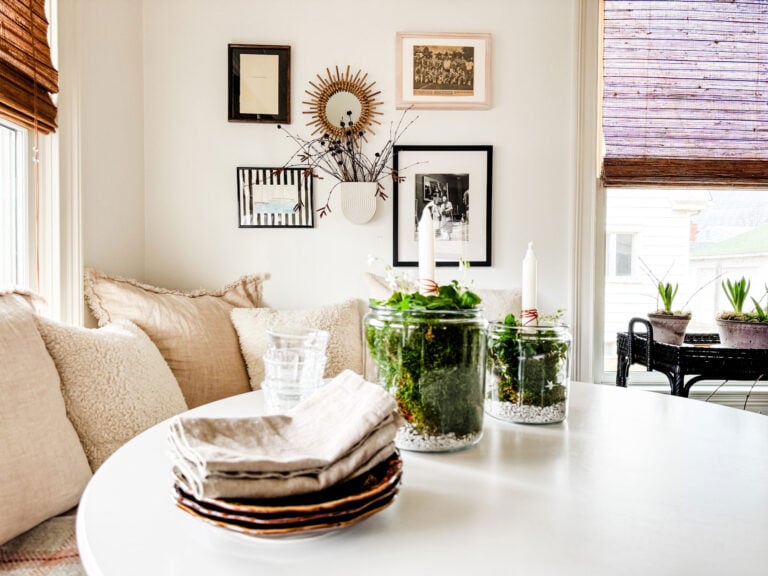
Make an easy indoor spring planter box with simple supplies
We may be a week away from spring, but we can still make an easy indoor spring planter box using simple supplies. Just pick up a few plants at the grocery store and use what you have on hand for the rest. In case you are new here, every Sunday I join my friends Mary Ann and Cindy to share our five favorite things of the week.
Each week is completely different. Sometimes it will be a recipe, a DIY or a favorite shop, or an item I absolutely love! These Sunday posts are like a weekly coffee date, just sharing what we love as friends often do!
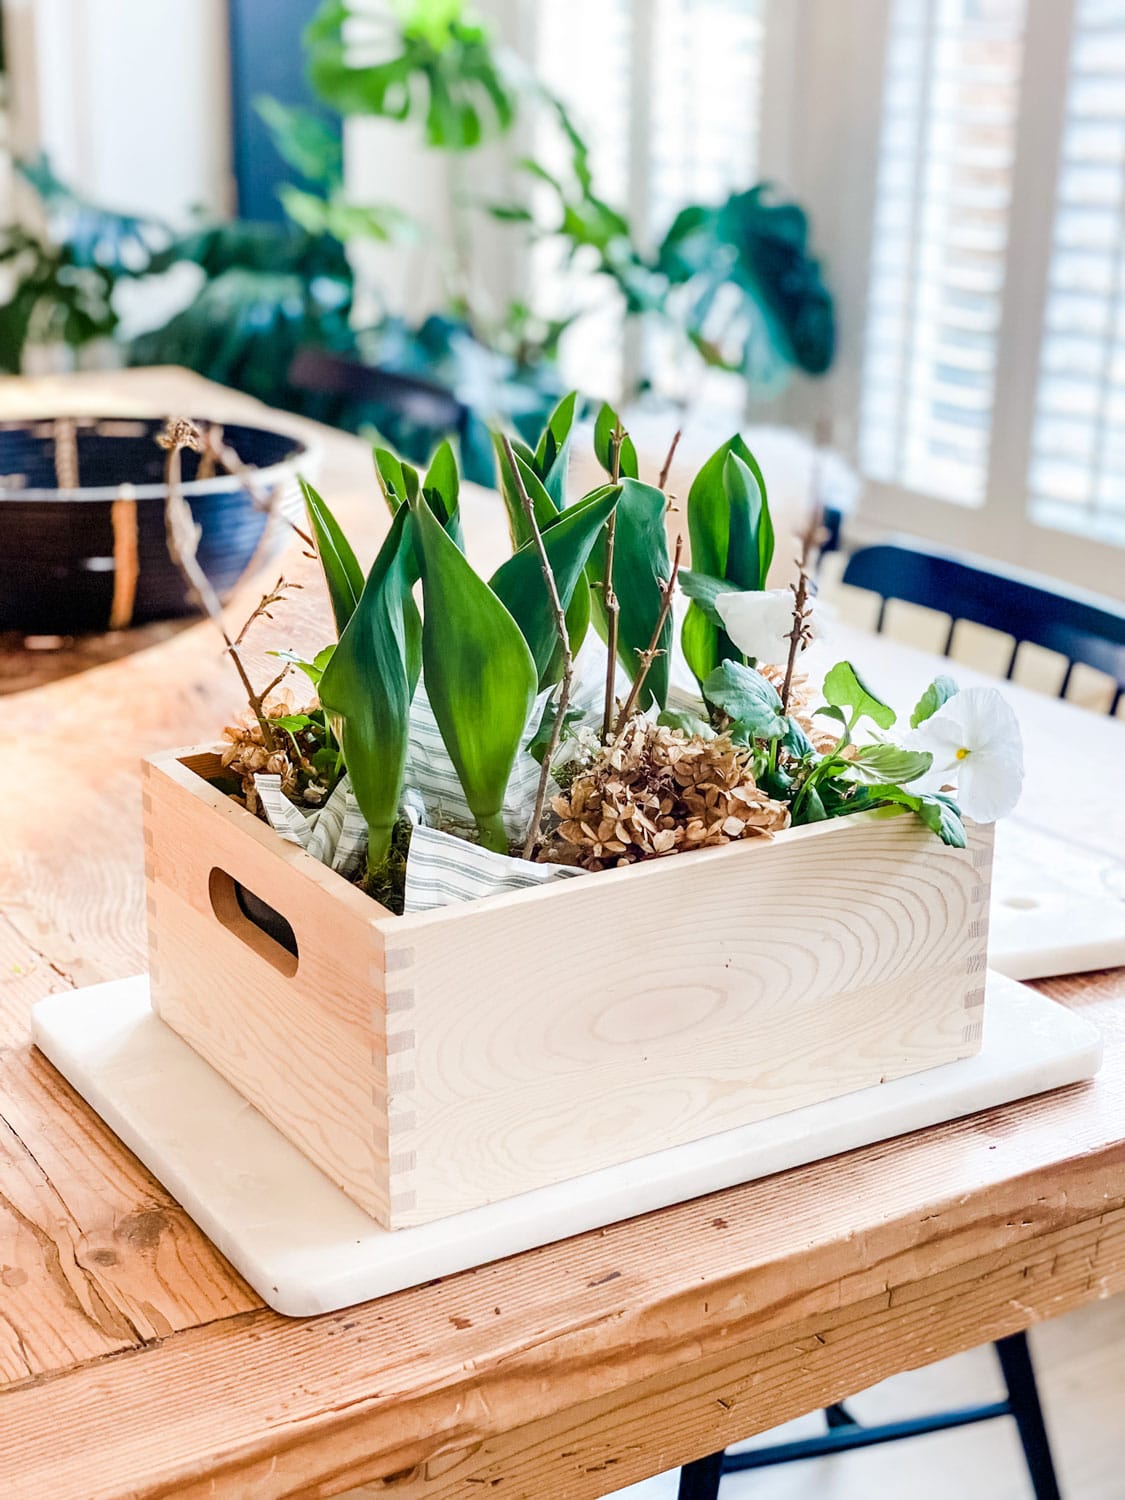
a new modern crate with pansies and tulips for an indoor spring planter box
Start with a crate, a tray, or a basket. The size will depend on the number of plants but don’t worry too much, there’s always filler!
A vintage crate, hyacinth and pansies to Make an easy indoor spring planter box with simple supplies

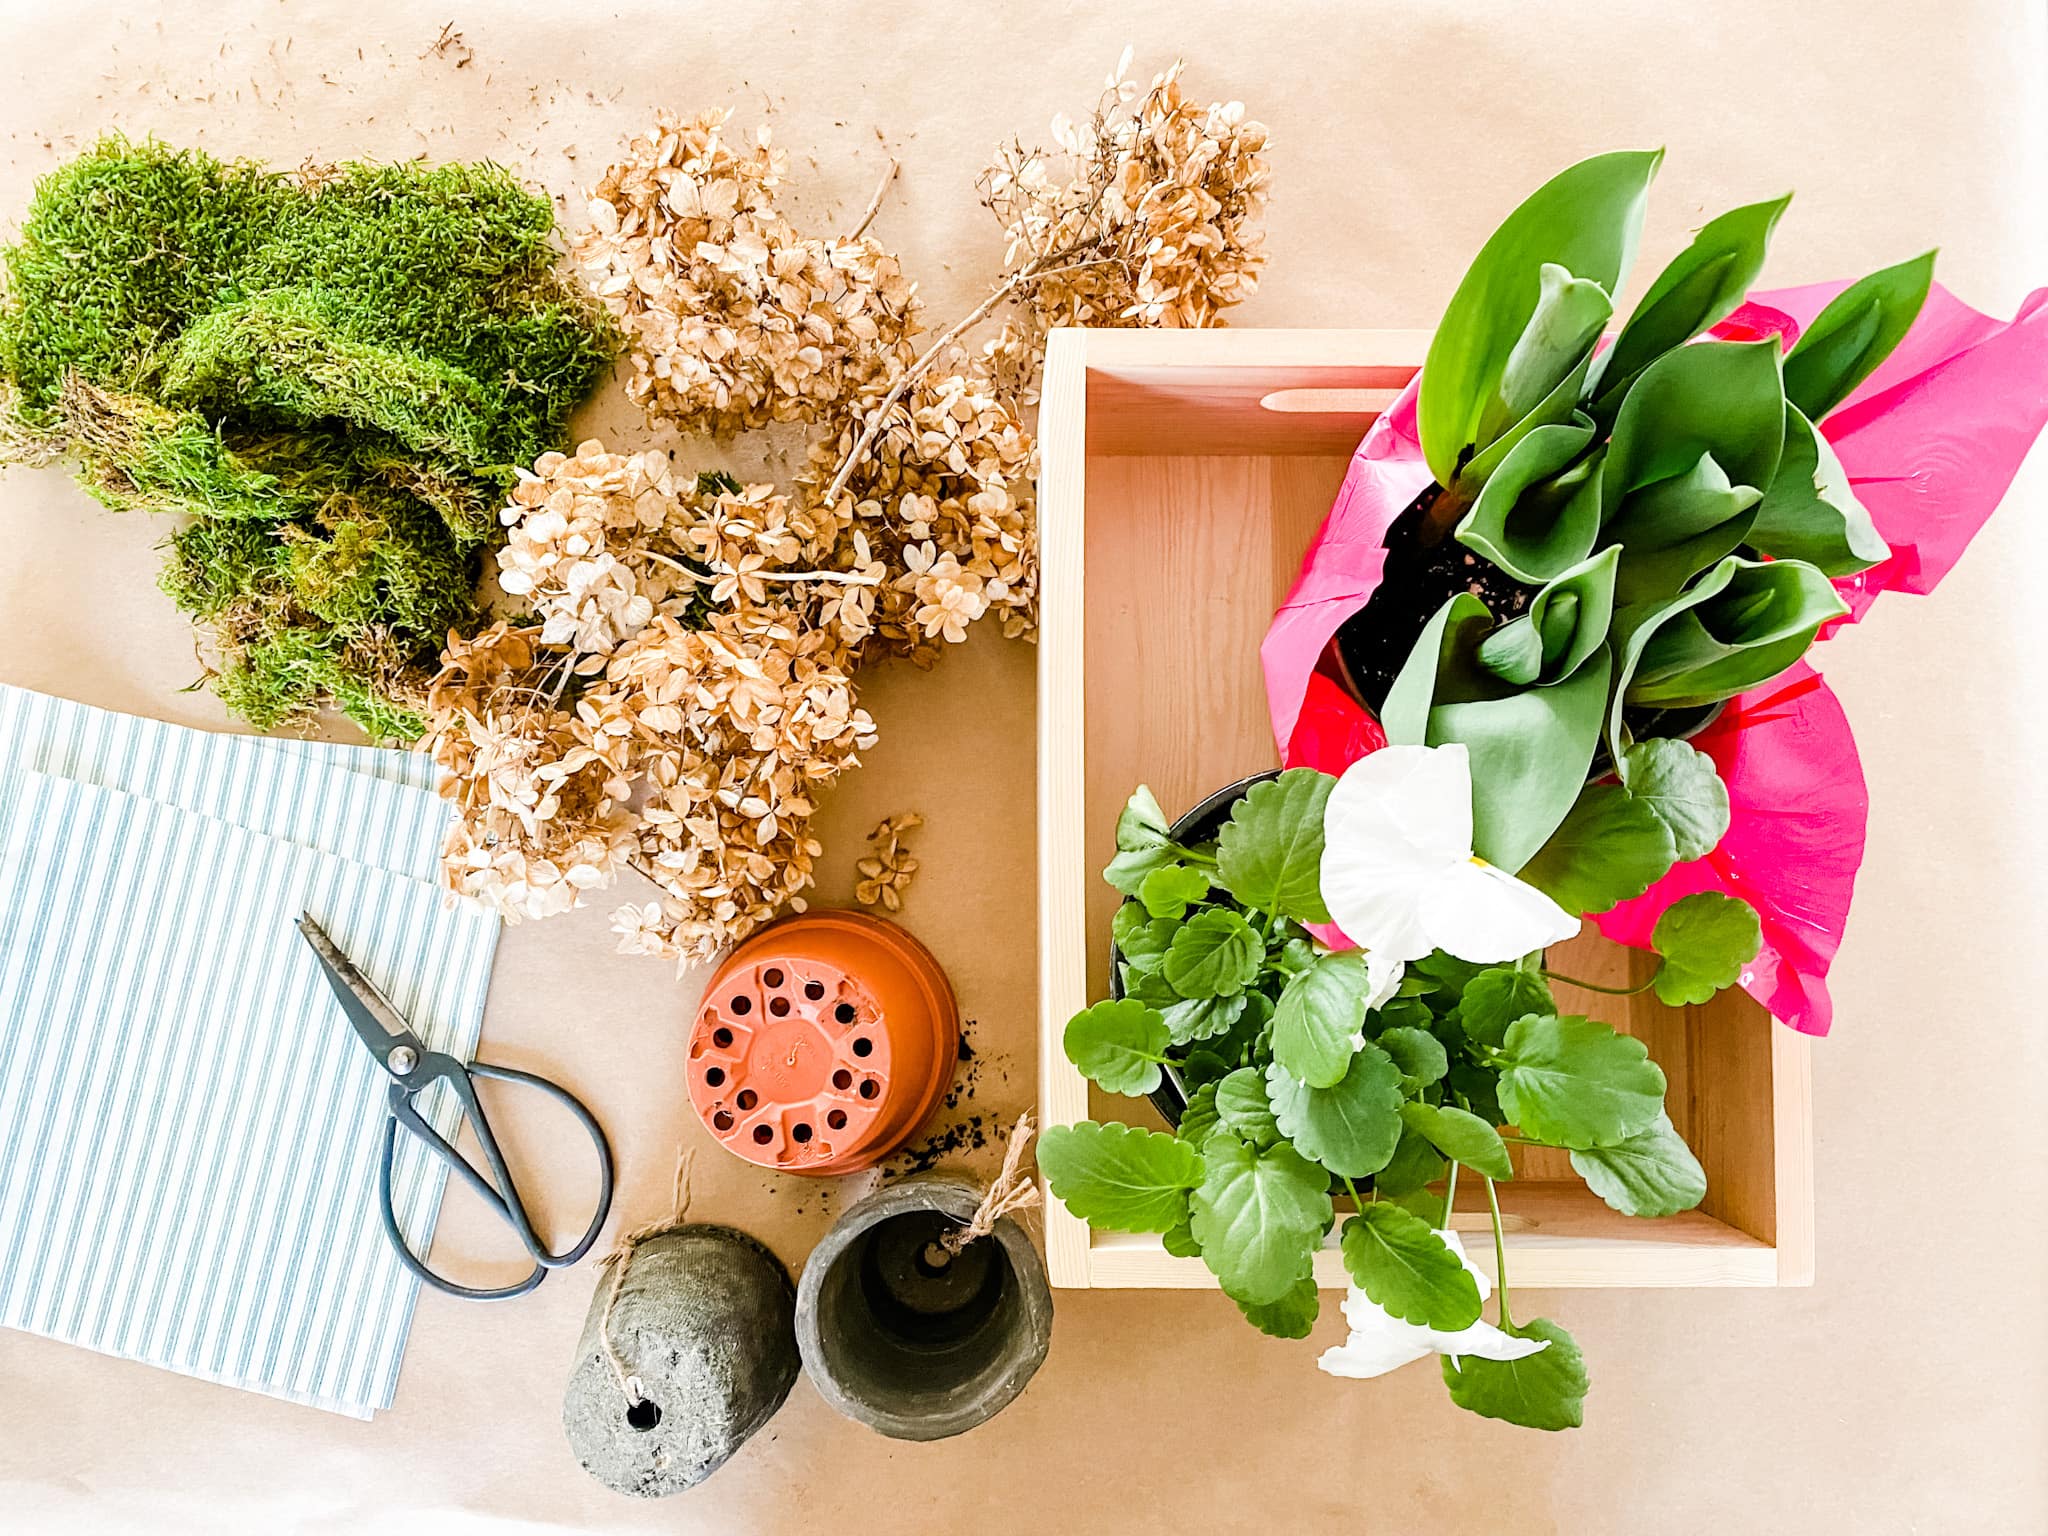
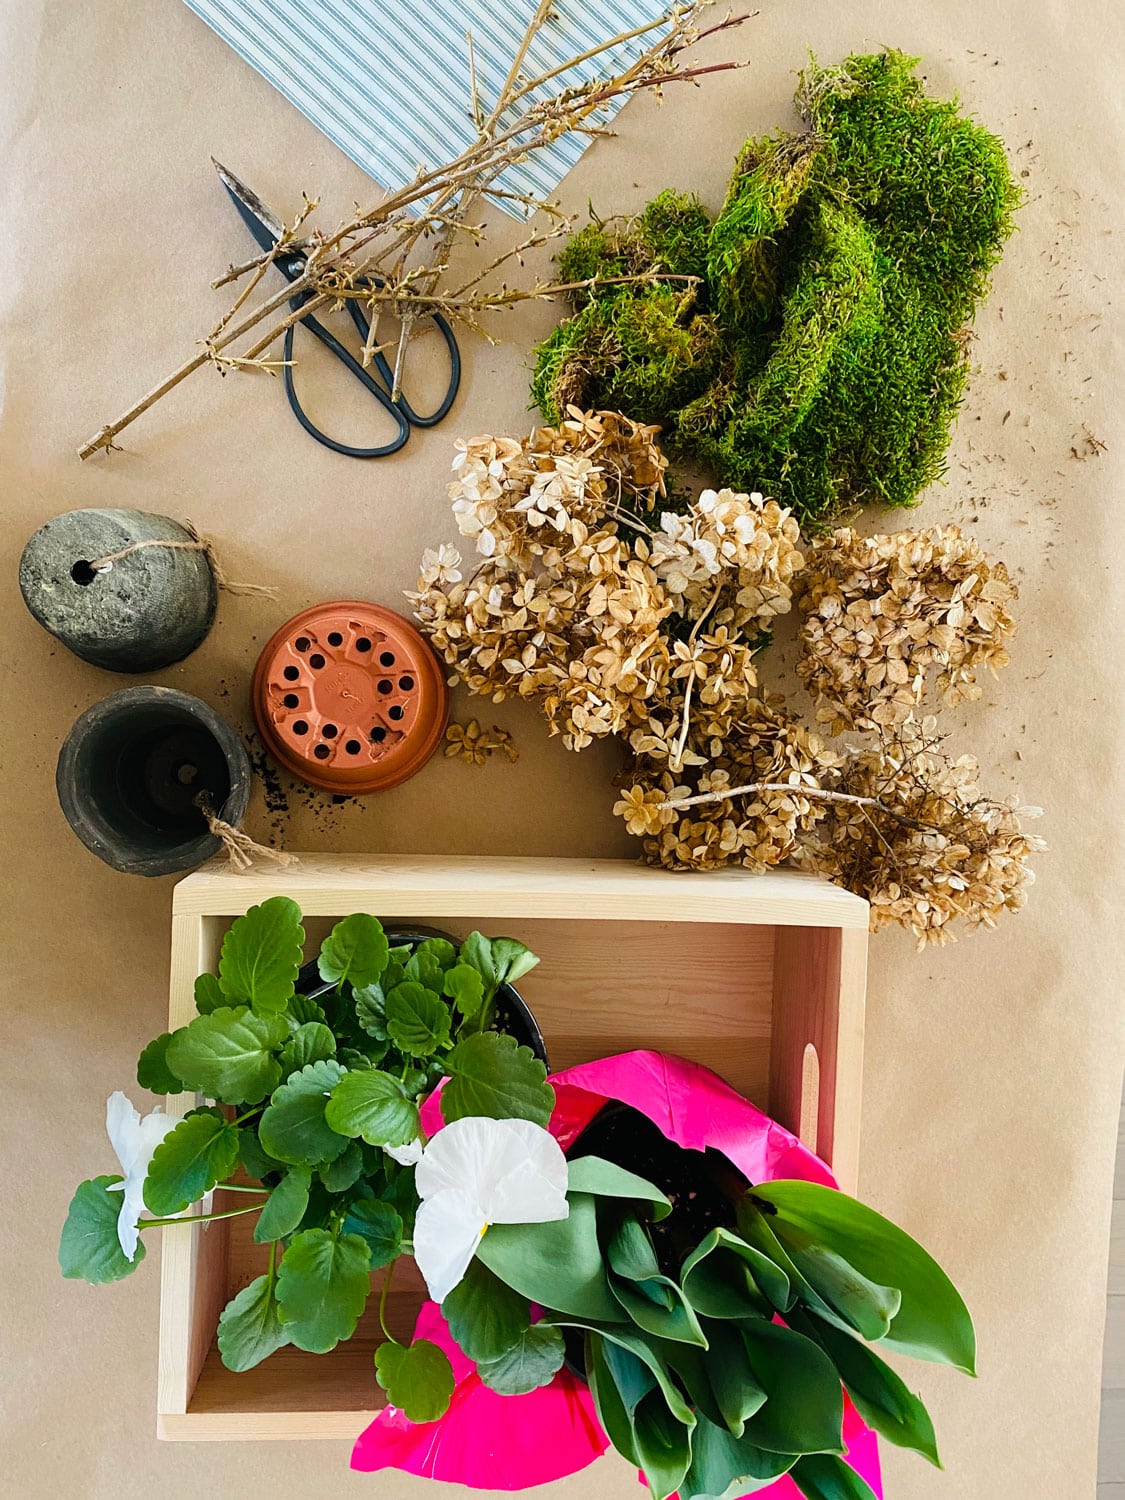
The Supplies you’ll need to make a spring planter box to display indoors
- a crate, tray or basket
- 5 – 7 small plants (2 kinds of plants)
- small pots
- tissue paper
- dried hydrangeas for filler
- sheet moss
- A few branches (I clipped a few from a forsythia bush)
How to put together and maintain a simple indoor spring planter box

- Once you decide on your crate, tray or basket, determine how many plants you will want to use. I like to use 3 of one kind of plant and then 2-3 of another kind of spring plant. For both of these crates, I used pansies and then hyacinth in the vintage crate and tulips in the new more modern crate.
- I used small pots for the pansies. I could have used small pots for the hyacinth/tulips, but I just used the nursery pots instead. Tip: when you bring home plants in decent looking nursery pots, always save them for little projects like this. I then cut a sqare of tissue to wrap around each pot. Use whatever you have, I used some leftover green stripe from the holidays and kraft paper for the vintage crate.
- Make sure each plant is well watered before you begin. Let them drain for an hour or so before placing into the basket or crate. If you are concerned, you can always line your crate or basket with plastic.
- Cover the larger pots with a little sheet moss if you like. The pansies pretty much take up all the space of the small pot, so it seems unnnecessary.
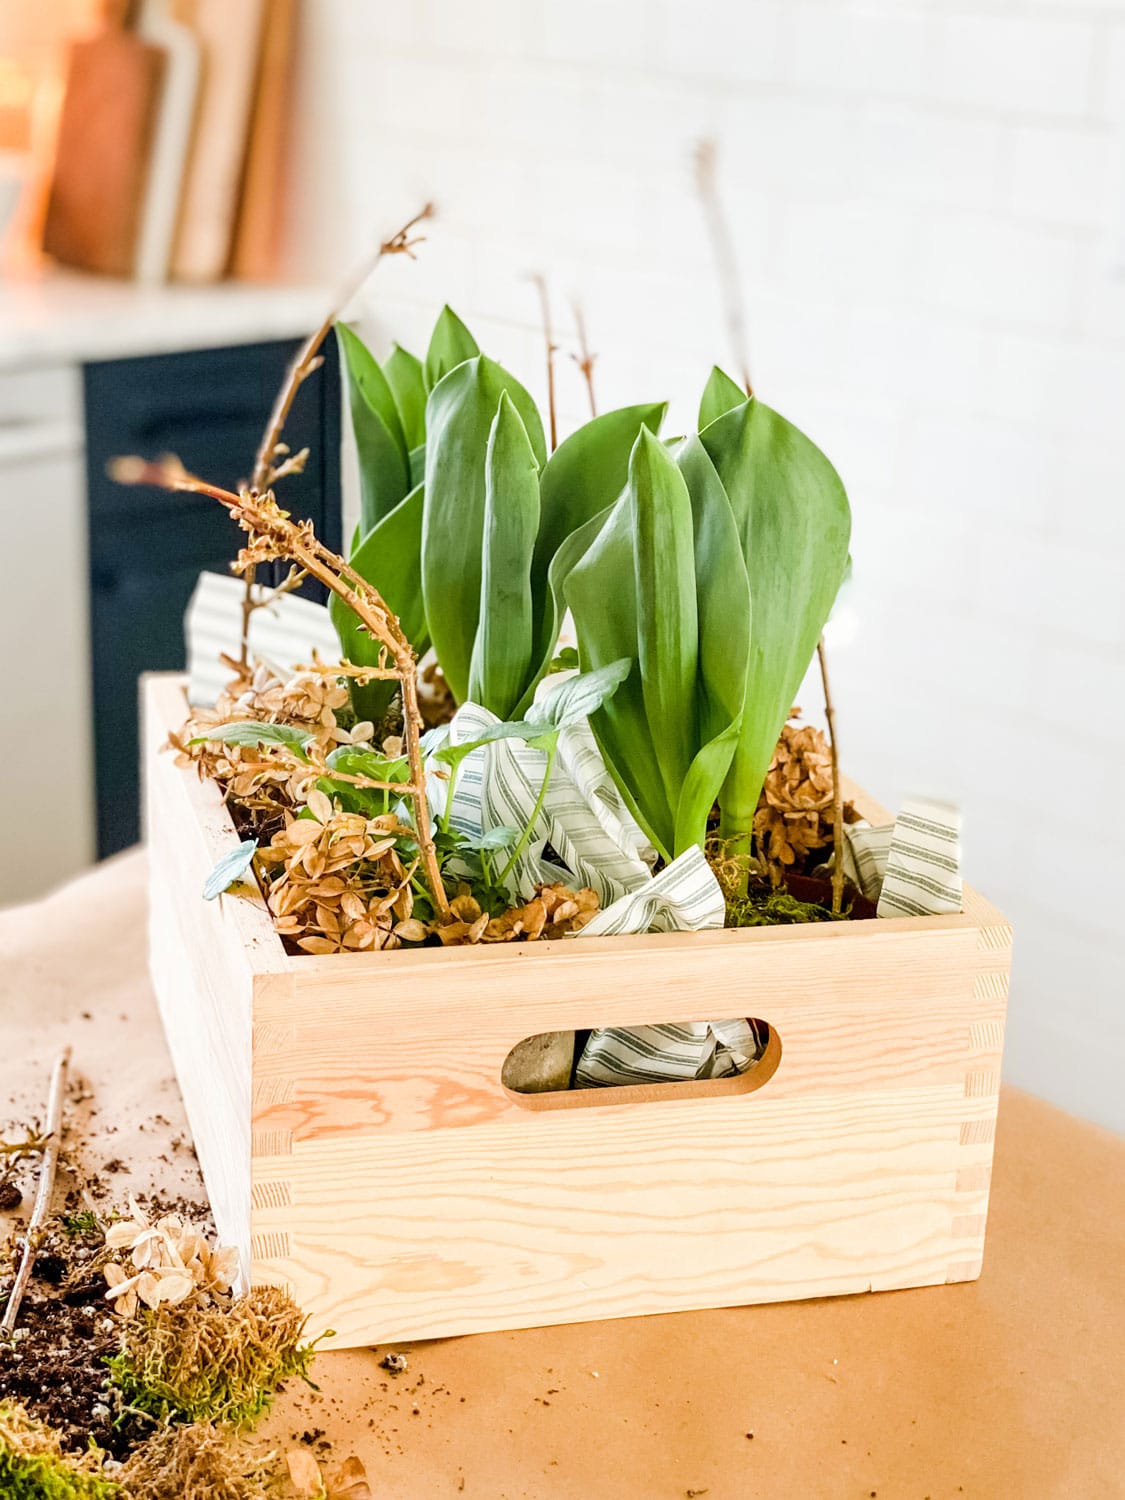
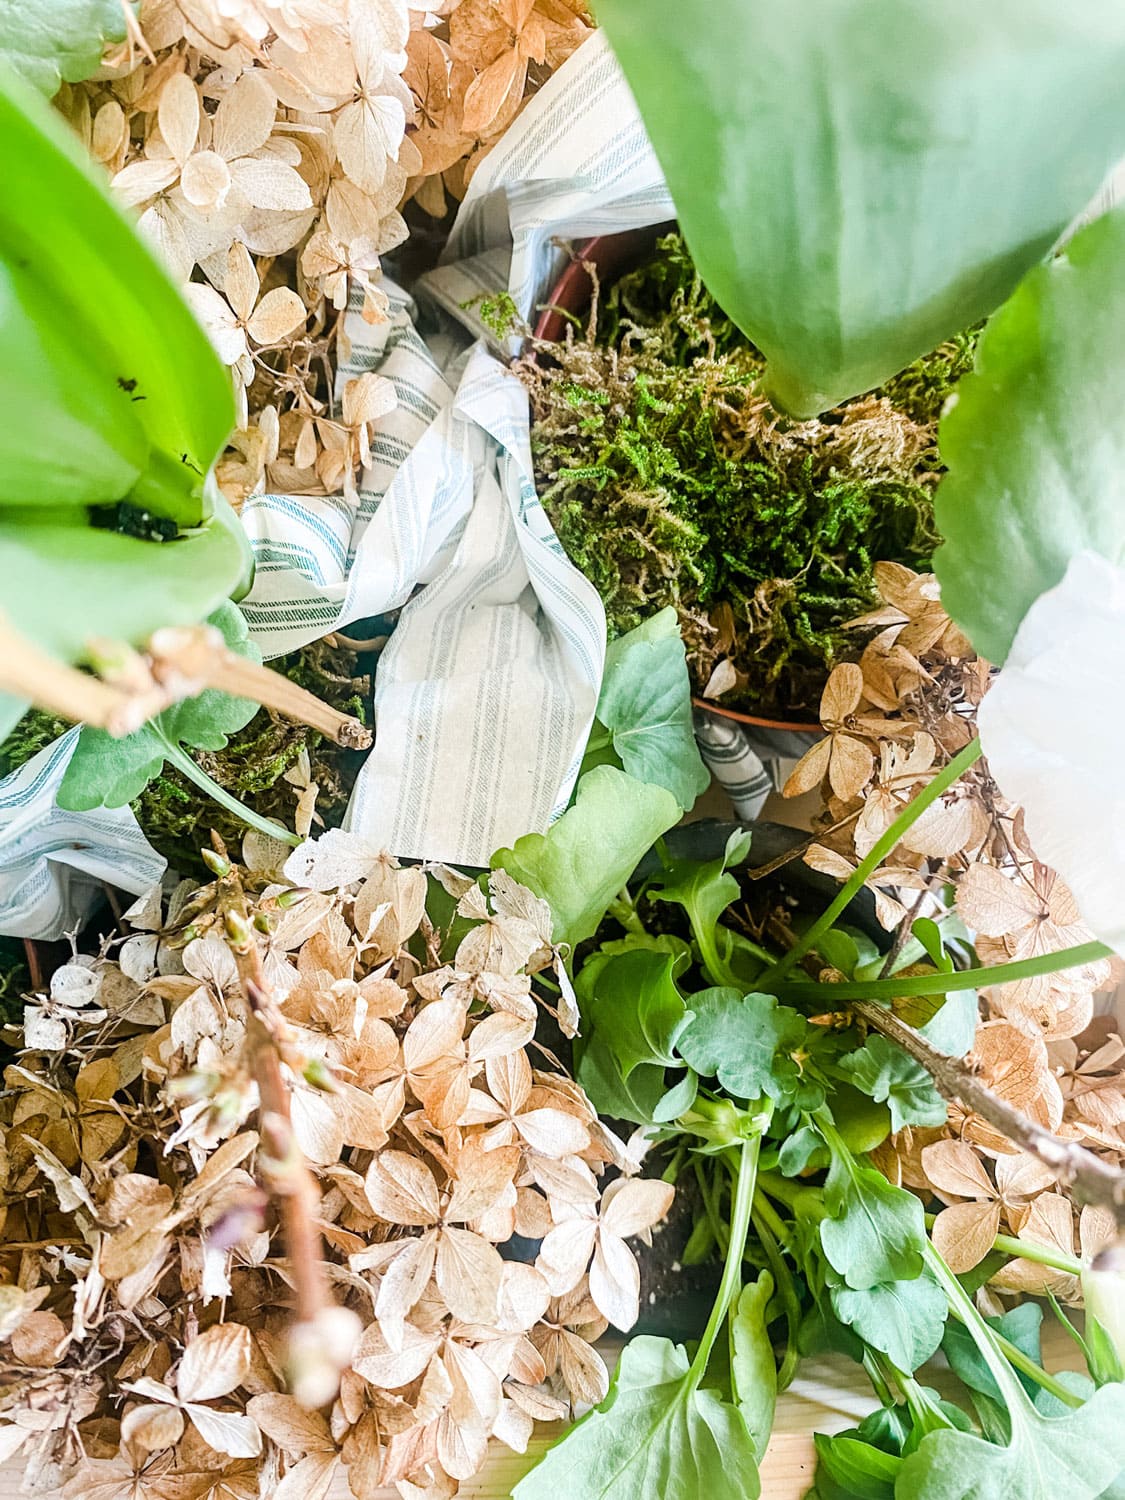
- Once all your plants are placed in the crate or bakset, fill in any gaps with a few dried hydrageas. I love how the earthiness of the brown dried hydrangeas resembles the ground. It’s what inspired me to use them as filler. Seeing the bulbs popping up in the dirt under the hydrageas tree.
- Clip a few blooming branches from a tree and stick them into the plants. It gives a little height and it all resemebles what is going on in the garden right now! (at least if you live where it’s cold).
- To water plants, remove them, place them in the sink and water well. Let them drain and then place them back into your planter box.
- Your box will last a few weeks indoors and then you can plant the plants outdoors! That’s how easy it is to make an easy indoor spring planter box with simple supplies. I made two!
Inspiration for making an indoor spring flower box
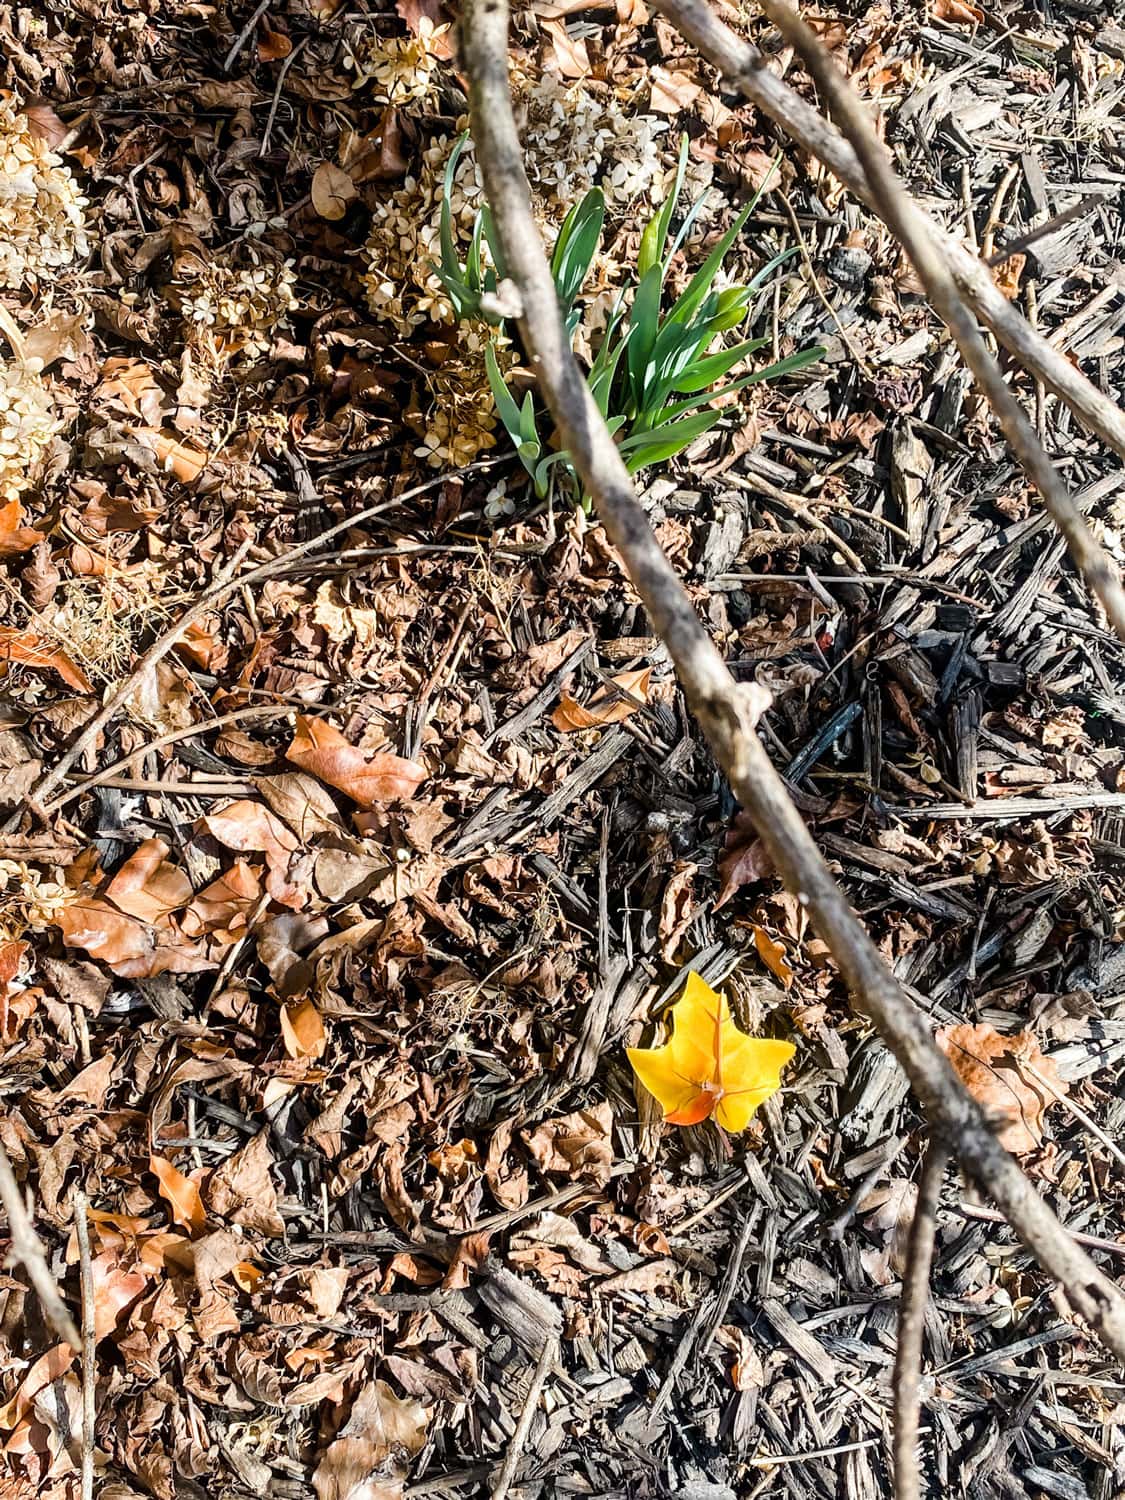
My inspiration came from seeing bulbs popping up under the hydrangea tree through the mulch. Plenty of dried hydrangeas had fallen to the ground and I decided to use them as “filler” in my indoor flower box to represent what’s going on in the garden.
2. Five days of pilates + Movement workouts with Robin Long
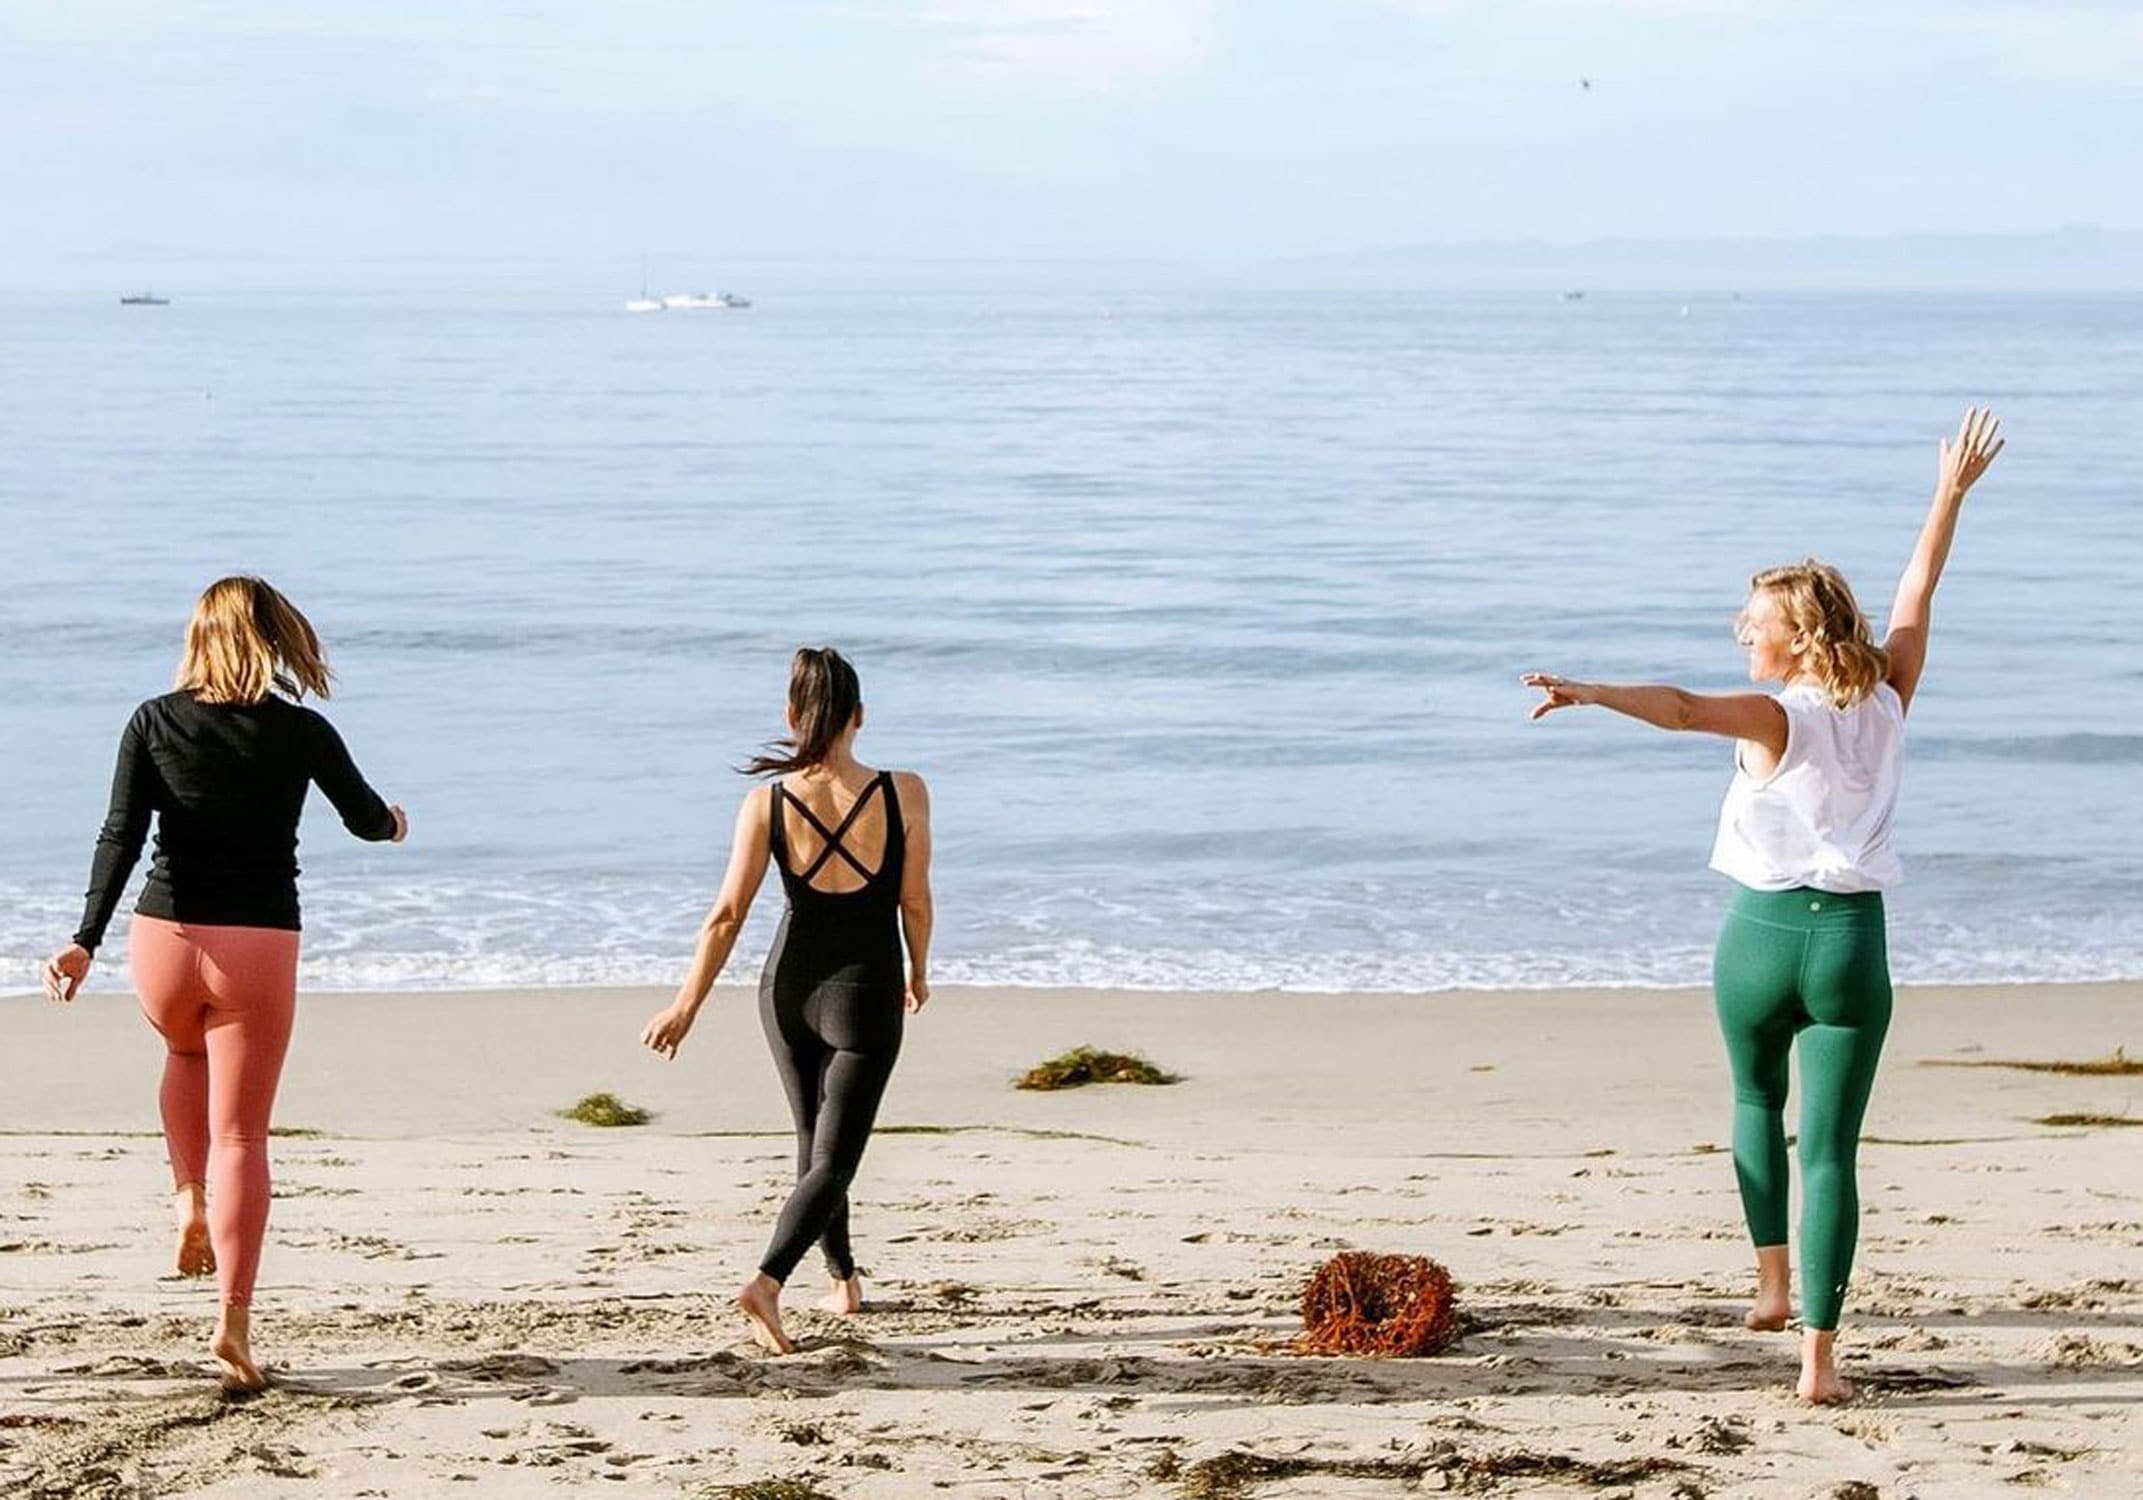
I’ve mentioned The Balanced Life Pilates Workout with Robin Long before, but if you have not had the chance to check it out, this is a perfect time. Starting March 14th, you can join 5 Days of Pilates + Motivation. I’ve been a member for almost two years, but you can try out five workouts before you even join to see if it’s a good fit for you. Use this link to sign up.
What is the best thing about The Balanced Life Pilates workouts?
What I love about The Balanced Life, is that I can always work out when it fits my schedule. I always feel better after I complete one of the workouts. You can select the exact workout that you want from the Workout Library and even look for one that is the length you want. Like some days I may only have 15 minutes, there’s a workout that fits. Other days I have time for a full workout and I’ll select from the 35+ minute library.
3. Zachary Burr Abel
Have you heard of this guy? He reminds me of Paul Rudd, do you see it? But, more importantly, he has amazing travel tips! I first discovered him on Travel and Leisure’s Instagram. He delivers valuable travel tips and information in a fun way! Check him out on Instagram and TikTok and please, report back if you used any of his tips!
@zacharyburrabel
4. Sneaker Cleaning Kit
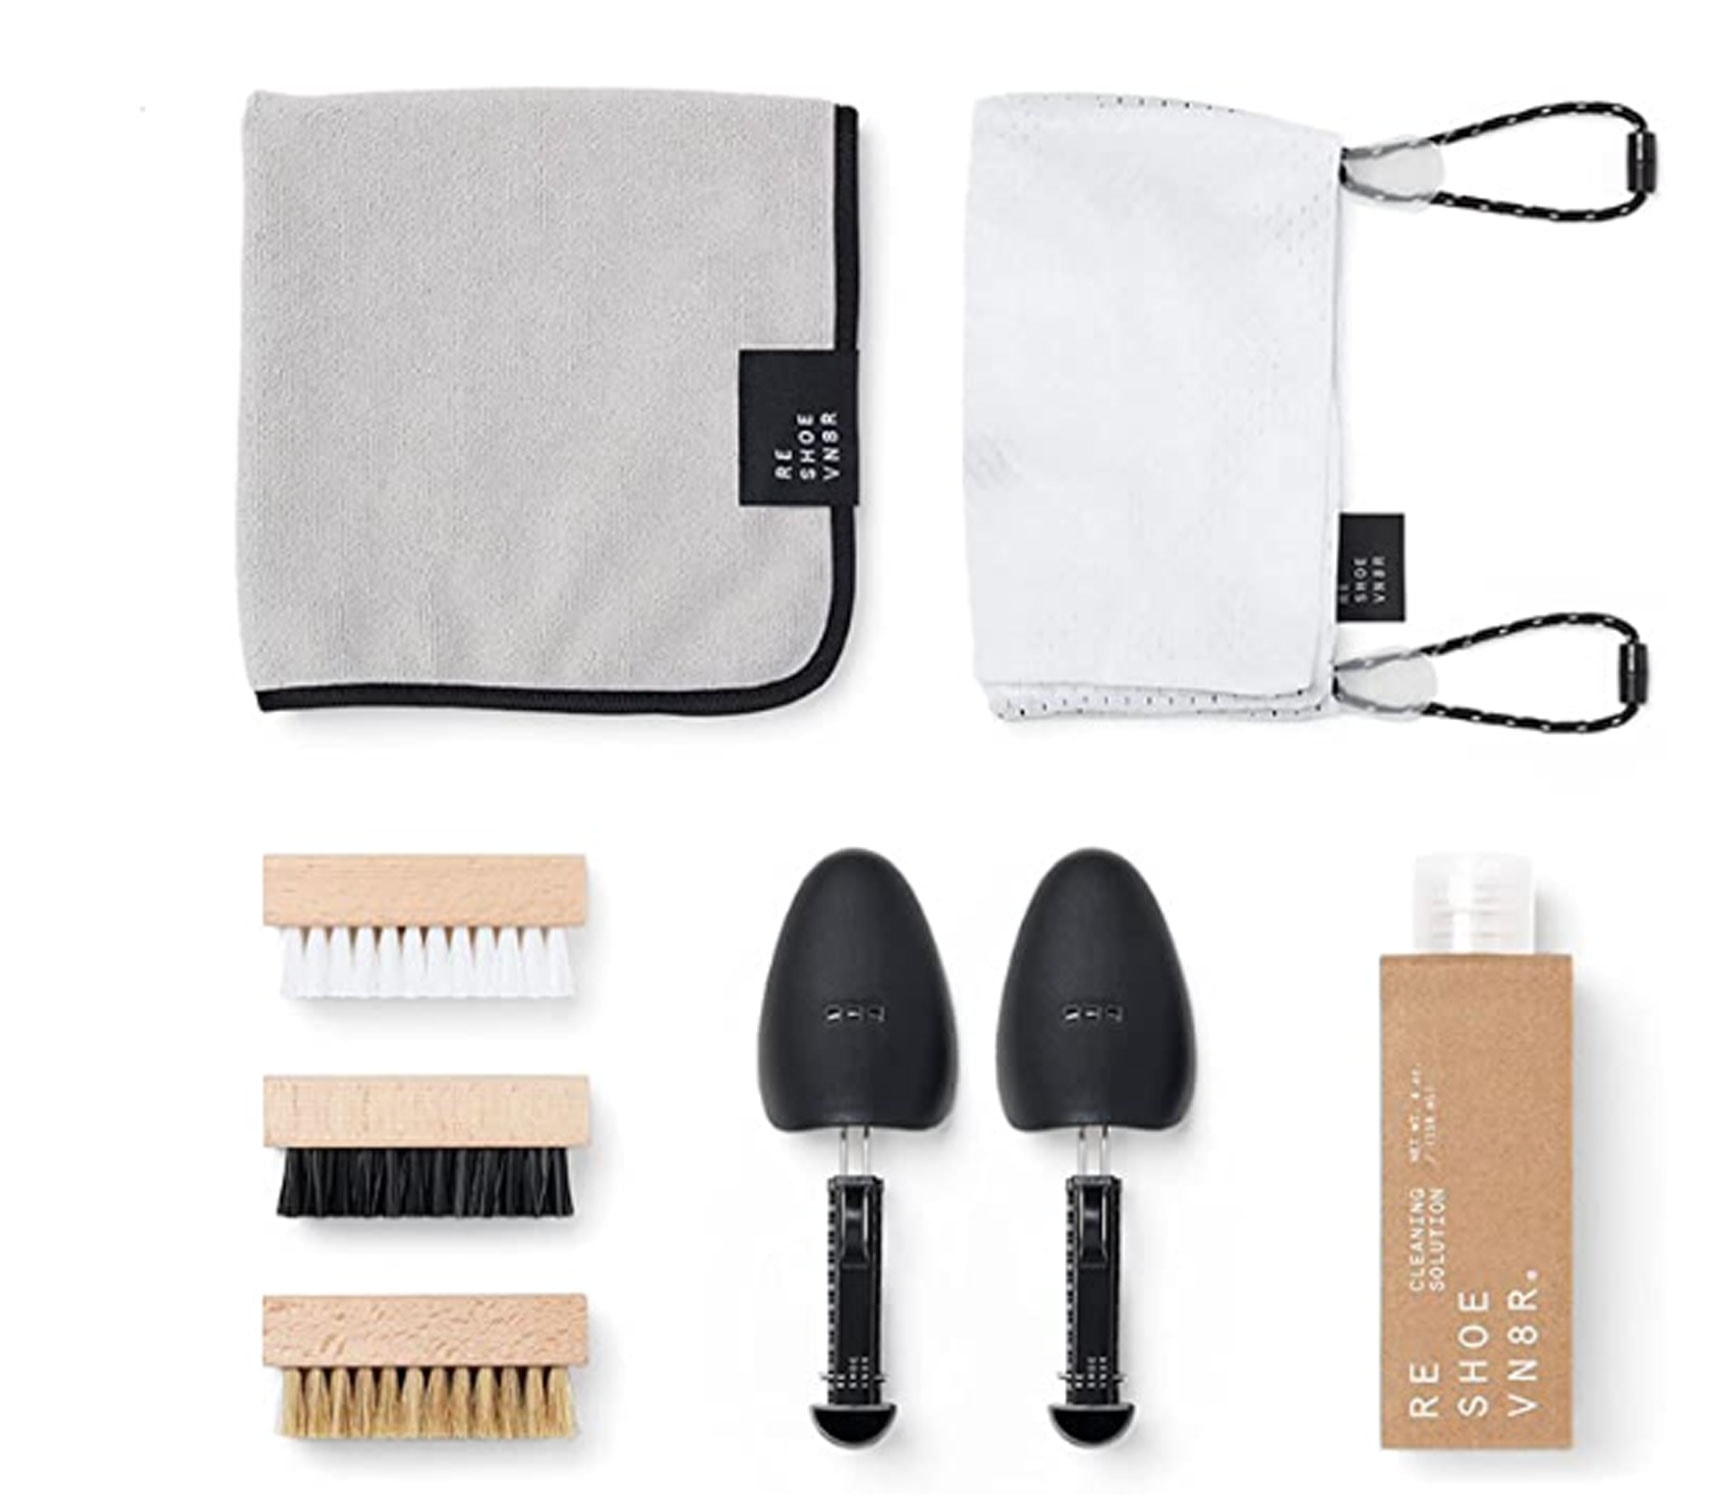
Anyone that wears sneakers needs this kit! I love that wearing sneakers is the in thing right now, but what I don’t like is wearing dirty sneakers. This kit has everything you need to protect and clean your favorite pair of sneakers. I wished I had it when I started wearing these, but at least I’ll have it for when they arrive in off-white or marshmallow as Puma calls it!
5. How to make your grocery store flowers look nice
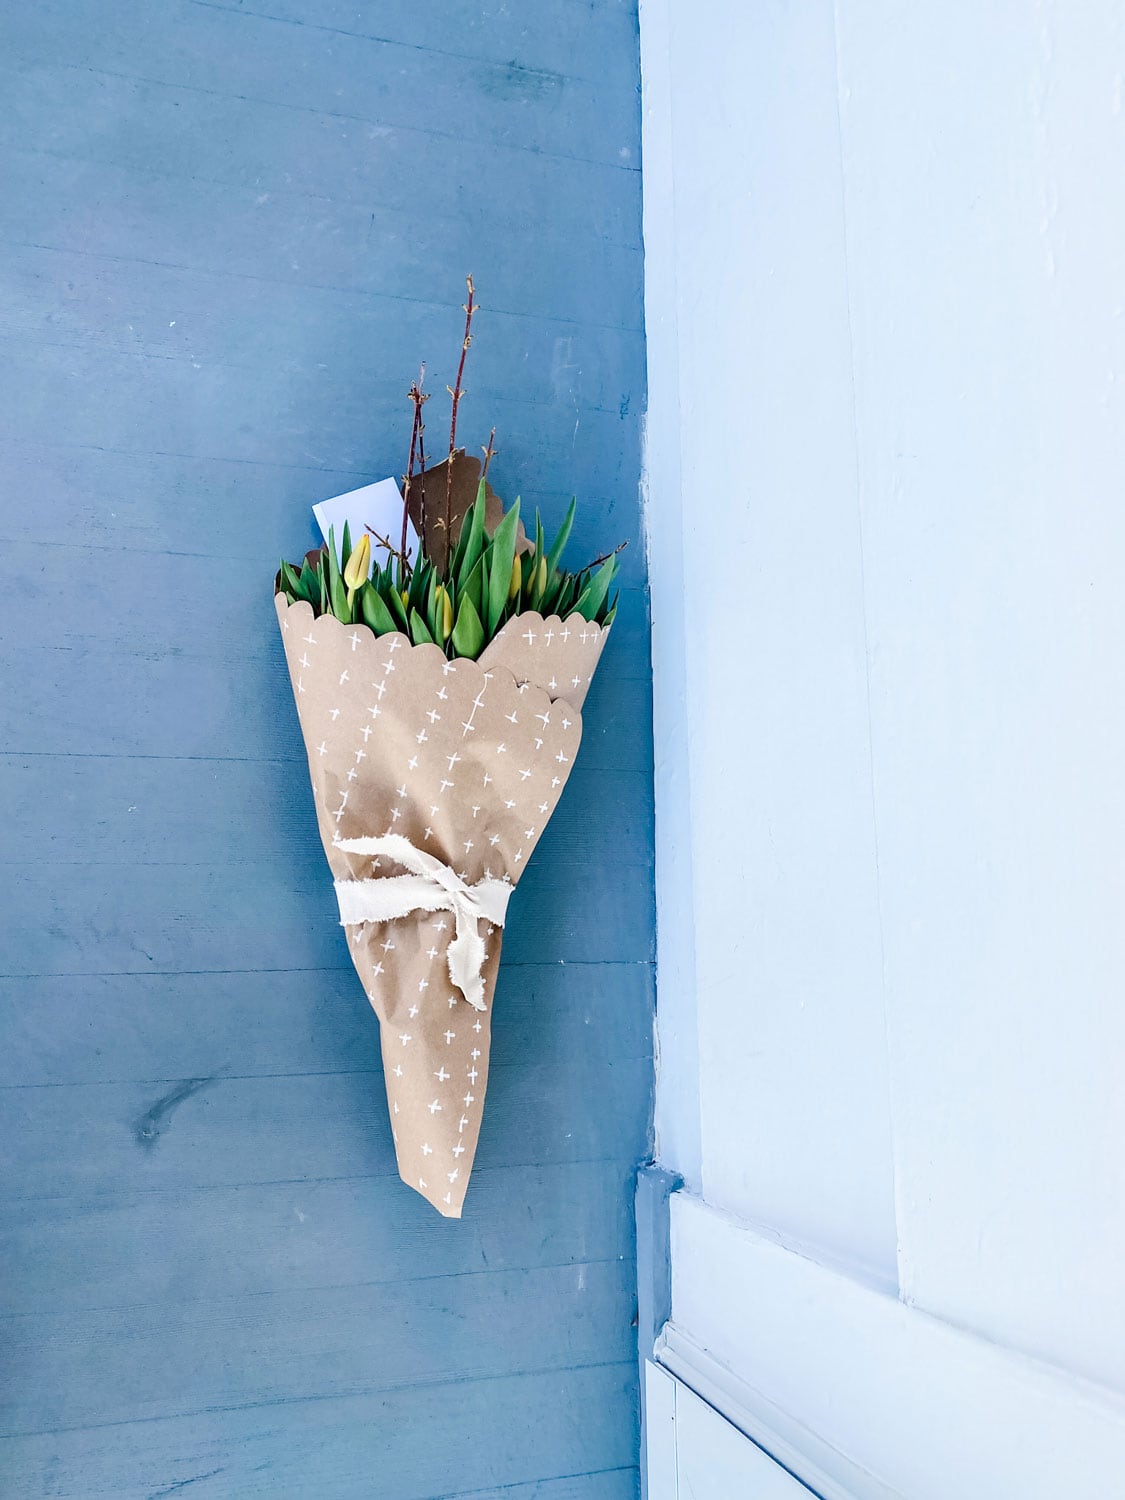
I love giving my grocery store flowers with a handmade wrap that is just too easy not to try! Use kraft paper, a sharpie (or a crayon would do), and decorate it. I did little + signs, next time I am absolutely going with waves!
Supplies to make grocery store flowers look like you bought them at a flower shop:

- kraft paper
- a sharpie paint pen
- ribbon or a piece of frayed fabric torn into a thin strip
- scissors
- branches or greens to add to your store-bought flowers
How to make a pretty wrap for your grocery store flowers
- Cut the kraft paper to the size you’ll need.
- Decorate the piece of Kraft paper. Write a name, draw a pattern or even some stripes.
- Roll it up and cut a scallopped edge. Repeat this on one of the sides.
- Lay your flowers onto the paper so that the pattern is on the outside and roll them up. I added a few forsythia branches from my yard along with two big bundles of tulips. Tie it up with some ribbon or frayed fabric (my new favorite kind ribbon) and tuck in a note.
Your flowers look so much prettier than the plastic wrap with the bar code and it took maybe 5 minutes! Your friends are worth it, right?
That’s all I have this week, let’s go see what Mary Ann and Cindy found!


This is such a fun post. Love the indoor Spring planter!!!
Annie I love that shoe kit and I need to sign up for that pilates. I am going to check it out today via your link! And I love your spring box and how to make grocery flowers special. You have the best ideas! Can’t wait to hear about your London trip!