
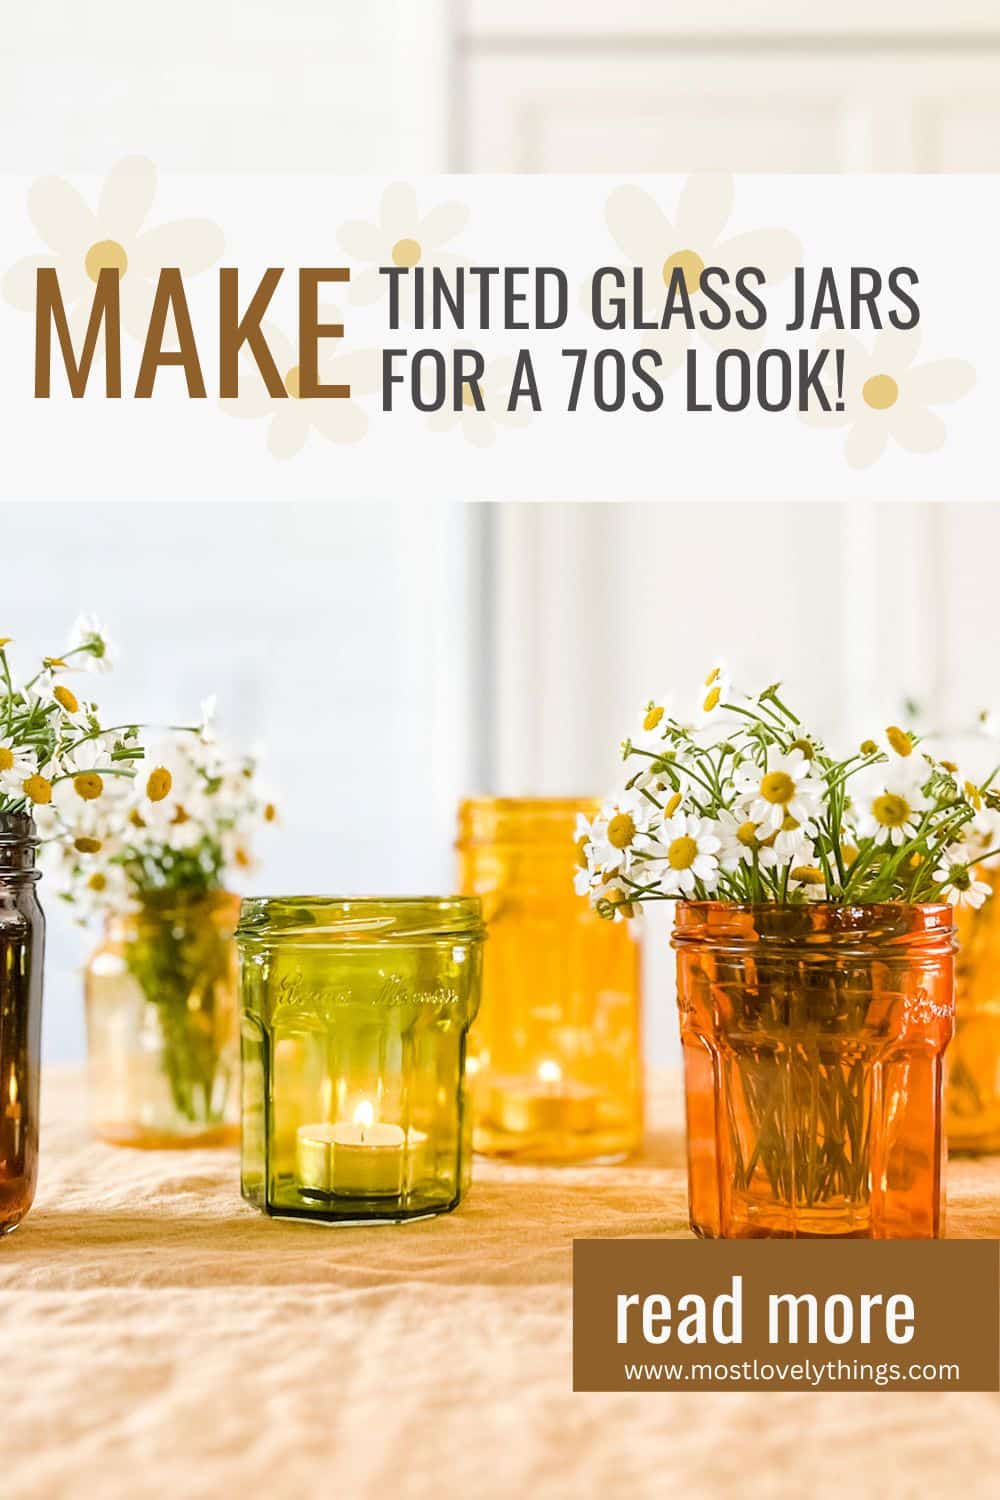
How to Make Colored Glass Jars and Get the Vintage Look
Here’s how to make colored glass jars and get a vintage look. I love a pretty glass jar or bottle in all their different shapes, sizes, and kinds. I find them romantic and charming and upcycle them regularly for anything that makes sense; sparkling water, pickles, pickled vegetables, overnight oats, and vases for flowers, to name a few.
So when I recently learned about a simple process of coloring or tinting them, I have to admit, I went a little crazy. But coloring turns them into delightful little vintage-inspired pieces that will add character and style to any space and anything. They add a nice touch of nostalgia and give off the groovy vibes of the 1970s.
You can have a lot of fun reimagining, repurposing, and reviving glass jars with this easy project. Whether for yourself or as the ideal outdoor fun project with kids, these glass jars are just plain COOL!
What you need
- Old clear glass jars in varying sizes and shapes are easily found in thrift stores.
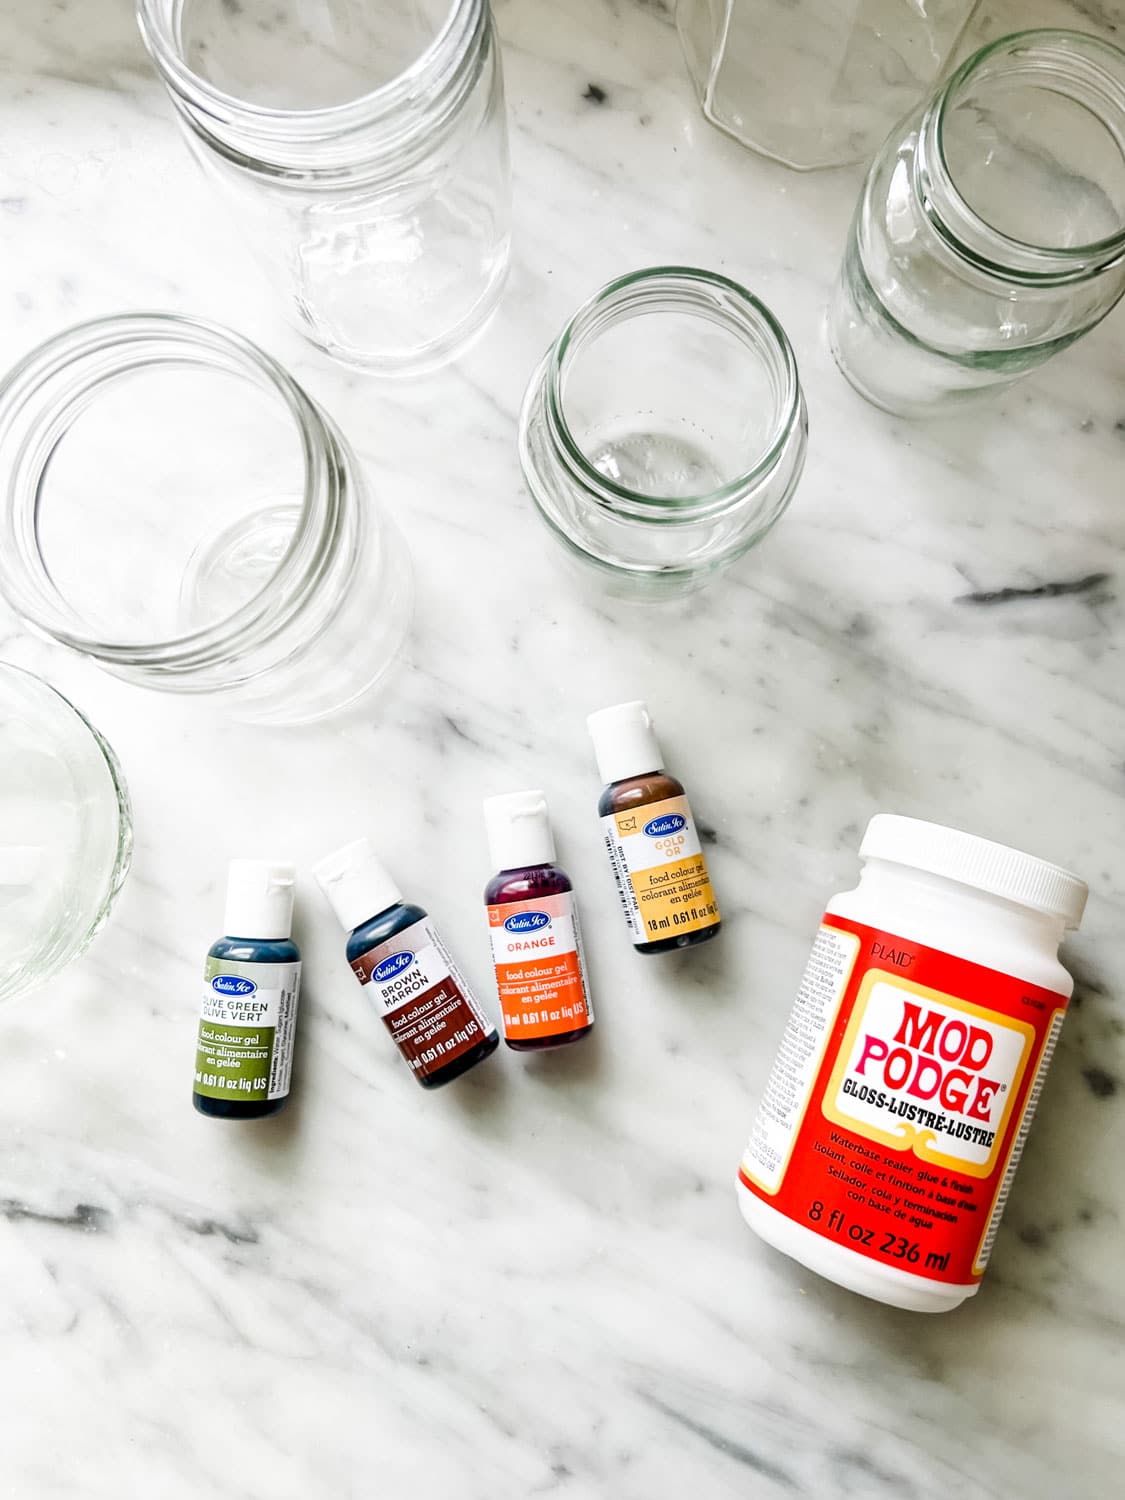
- Mod Podge (you can buy it on Amazon or at local craft stores)
- Food color gel (I used green, brown, yellow, and orange)
- Small bowl for mixing paint (one bowl for each color you plan on using)
- Kraft paper to cover and protect your work surface
- Basic popsicle sticks for glass jars to rest on while drying
- A preheated 200-degree oven for baking
- Baking sheet
- Paper plates
- disposable gloves
How to Color the Jars
- Preheat oven to 200 degrees.
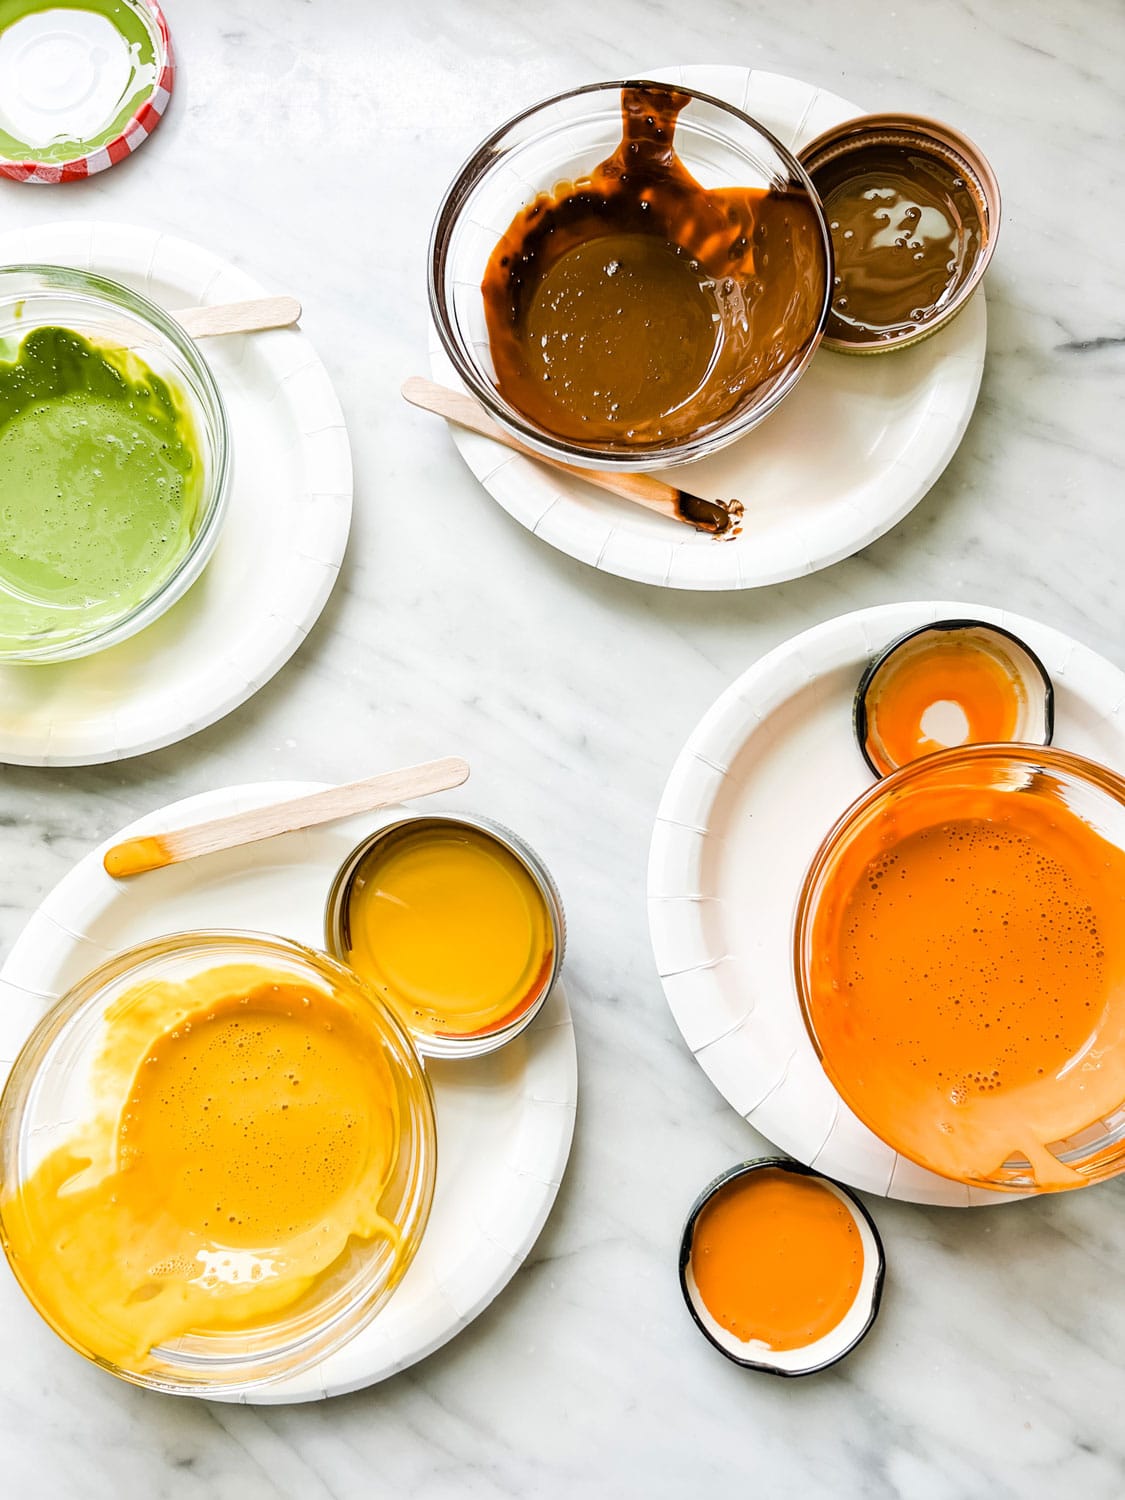
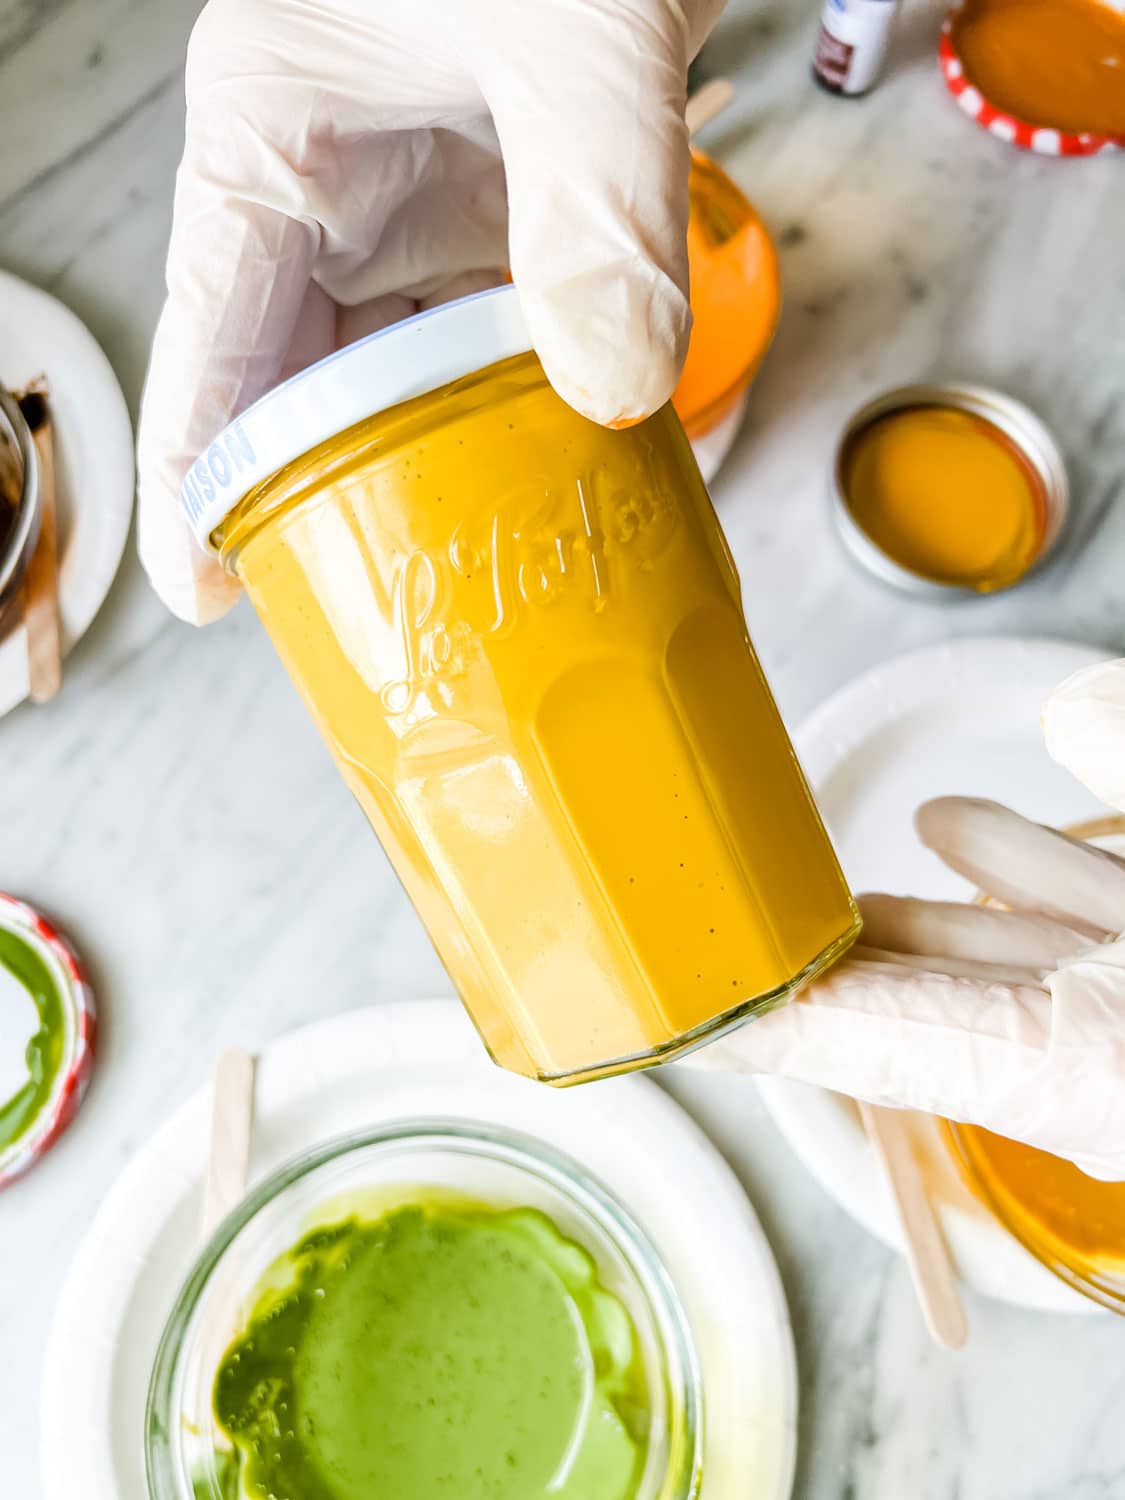
- Drop a healthy spoonful of Modge Podge into a glass bowl.
- Add a few drops of food coloring (some I used only one color, and others I mixed until I liked the color).
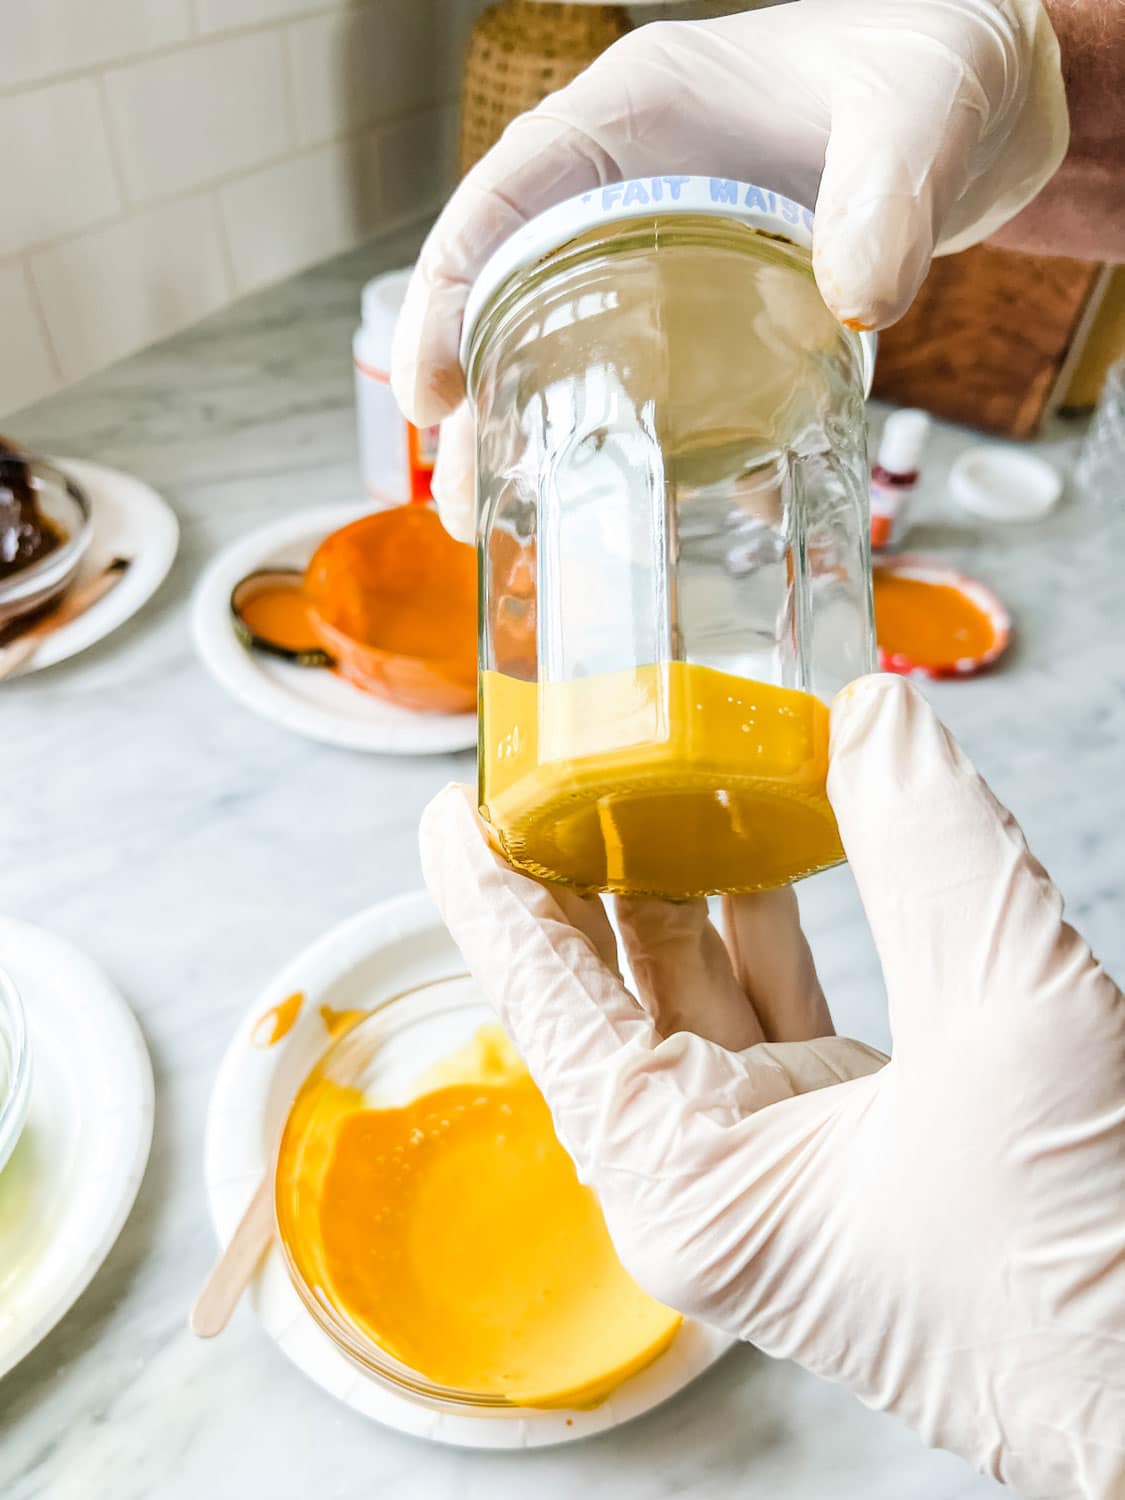
- Add a little bit of water to thin out the mixture (you don’t need as much paint as you think) and pour it into the jar (it needs to be runny enough to coat the sides of the jar when swirling). Note: Don’t shake the bottles; gently swirl and turn to cover the inside of the jar. Shaking creates bubbles that will leave an uneven surface when drying and baking.
- Pour excess paint back into the mixing bowl, turn the jar right side down, and place on two popsicle sticks so that any excess paint drains; let the jars dry upside down (you don’t want excess paint to dry in the bottom of the jar).
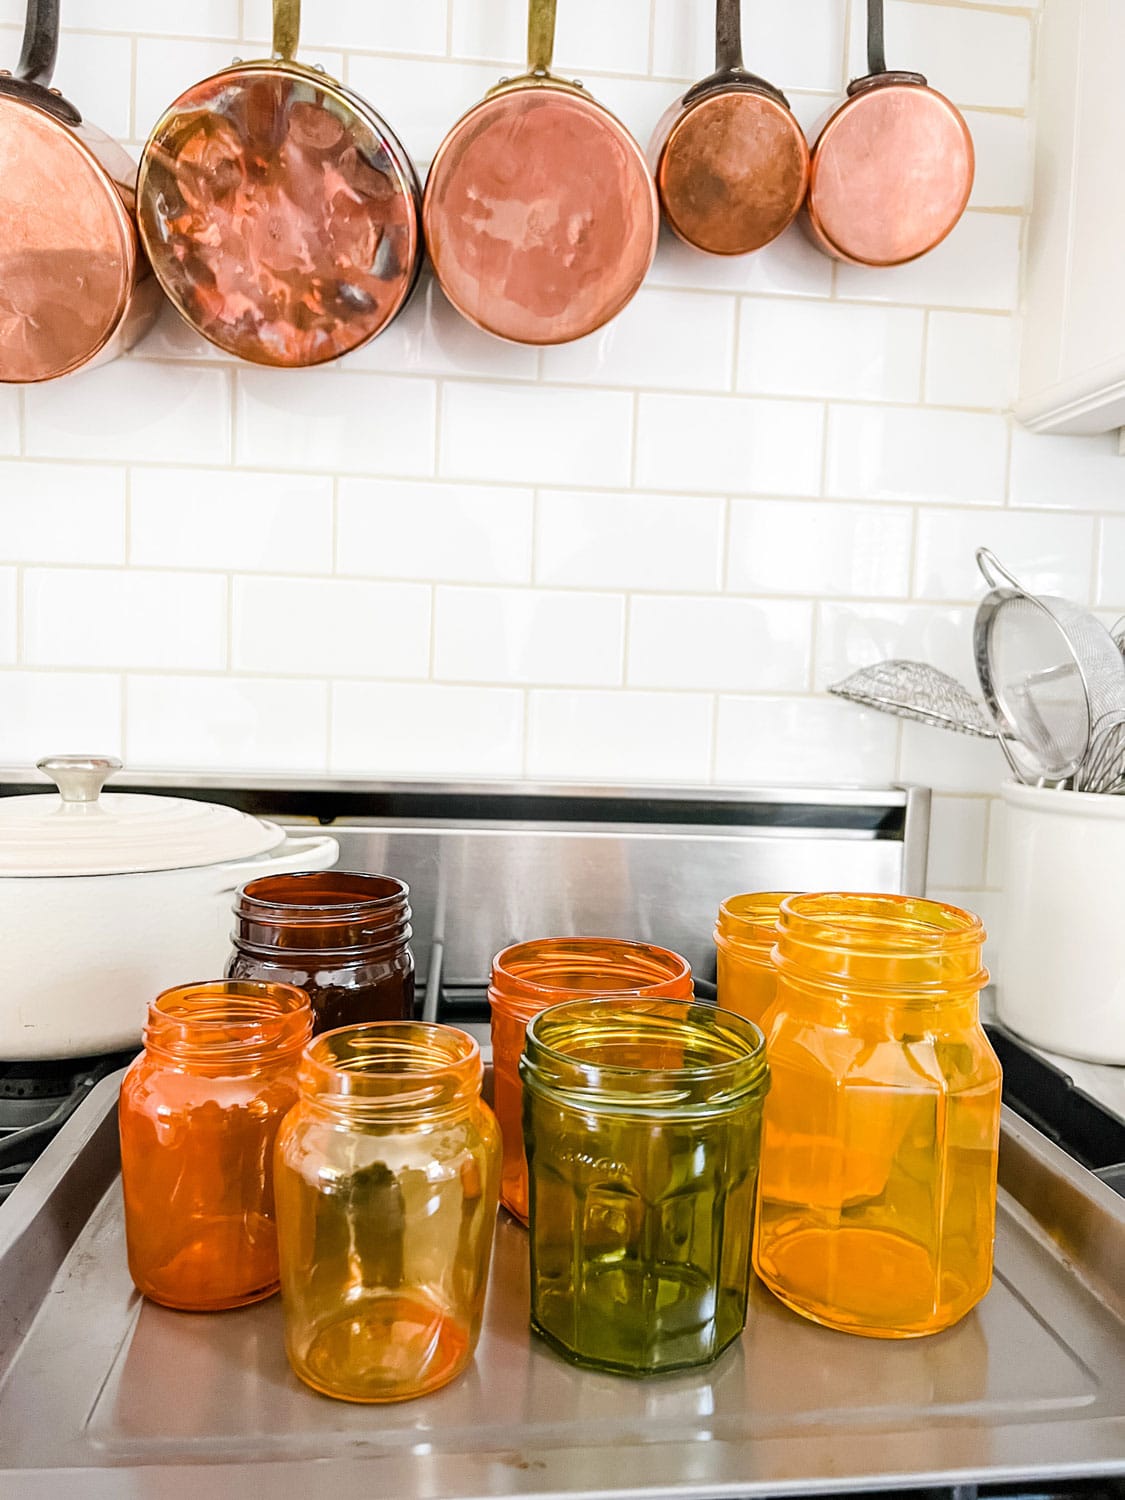
- Once the jars are completely dry, turn them right side up, put them on a cookie sheet, and place them in the oven for about 40 minutes to an hour.
- Once the jars are clear, remove them from the oven.


How to Use Your Tinted Jars
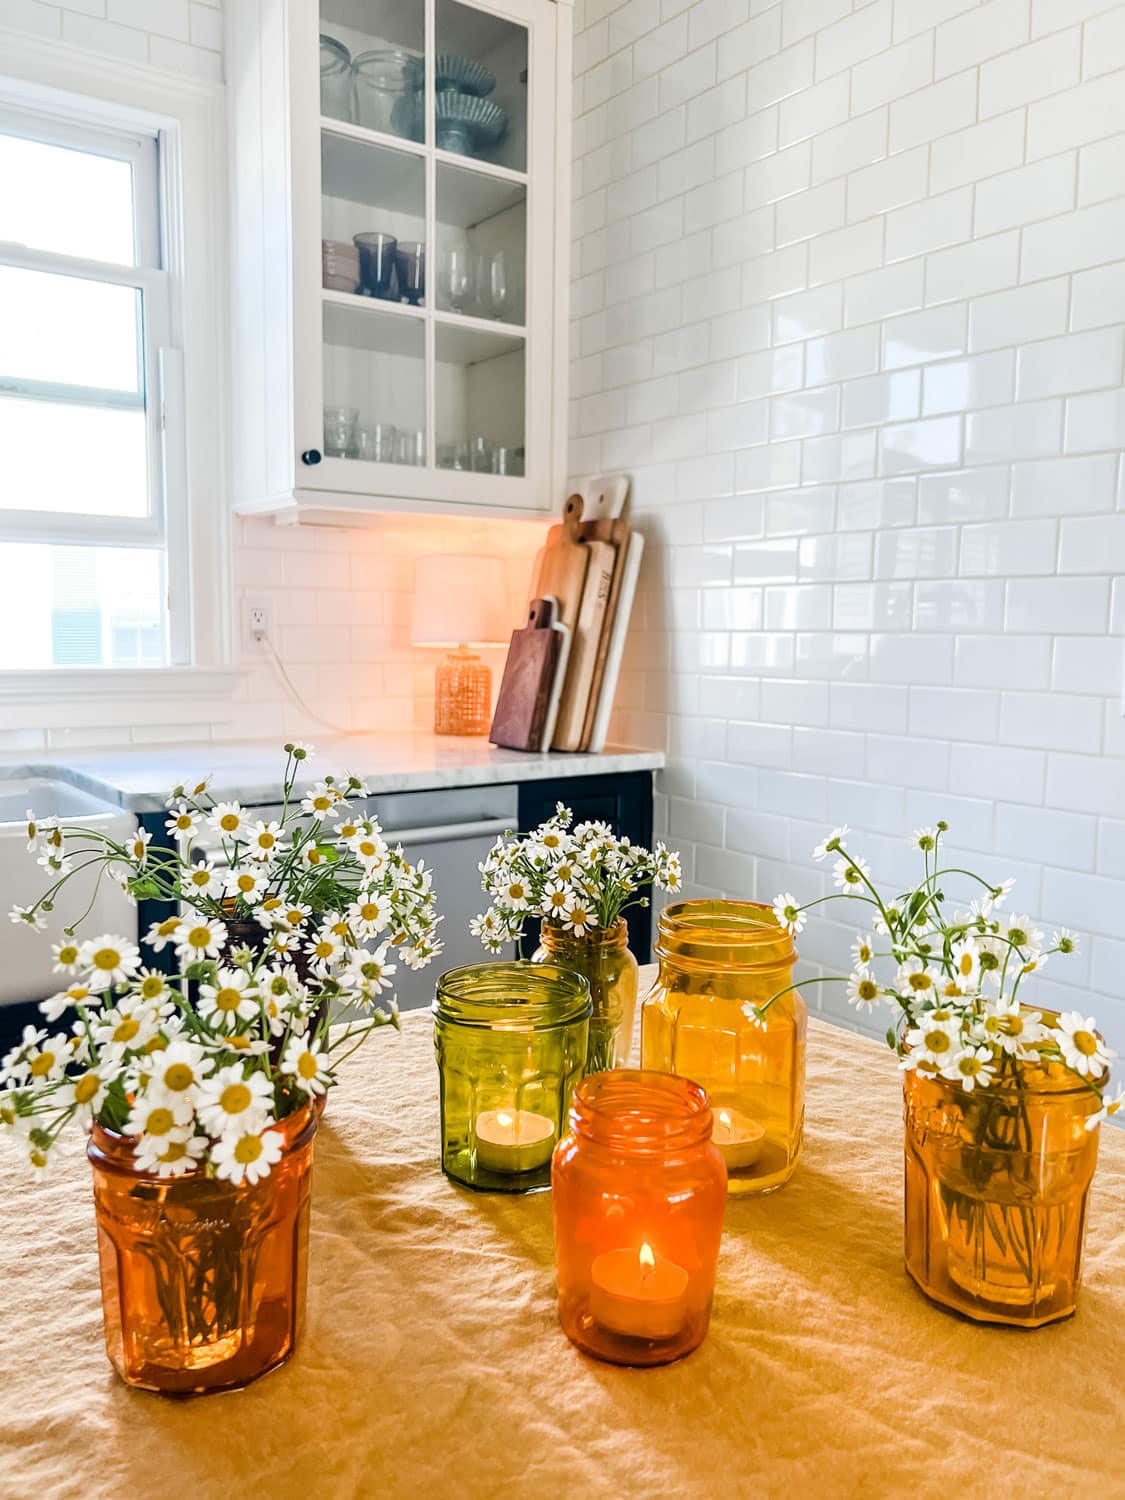
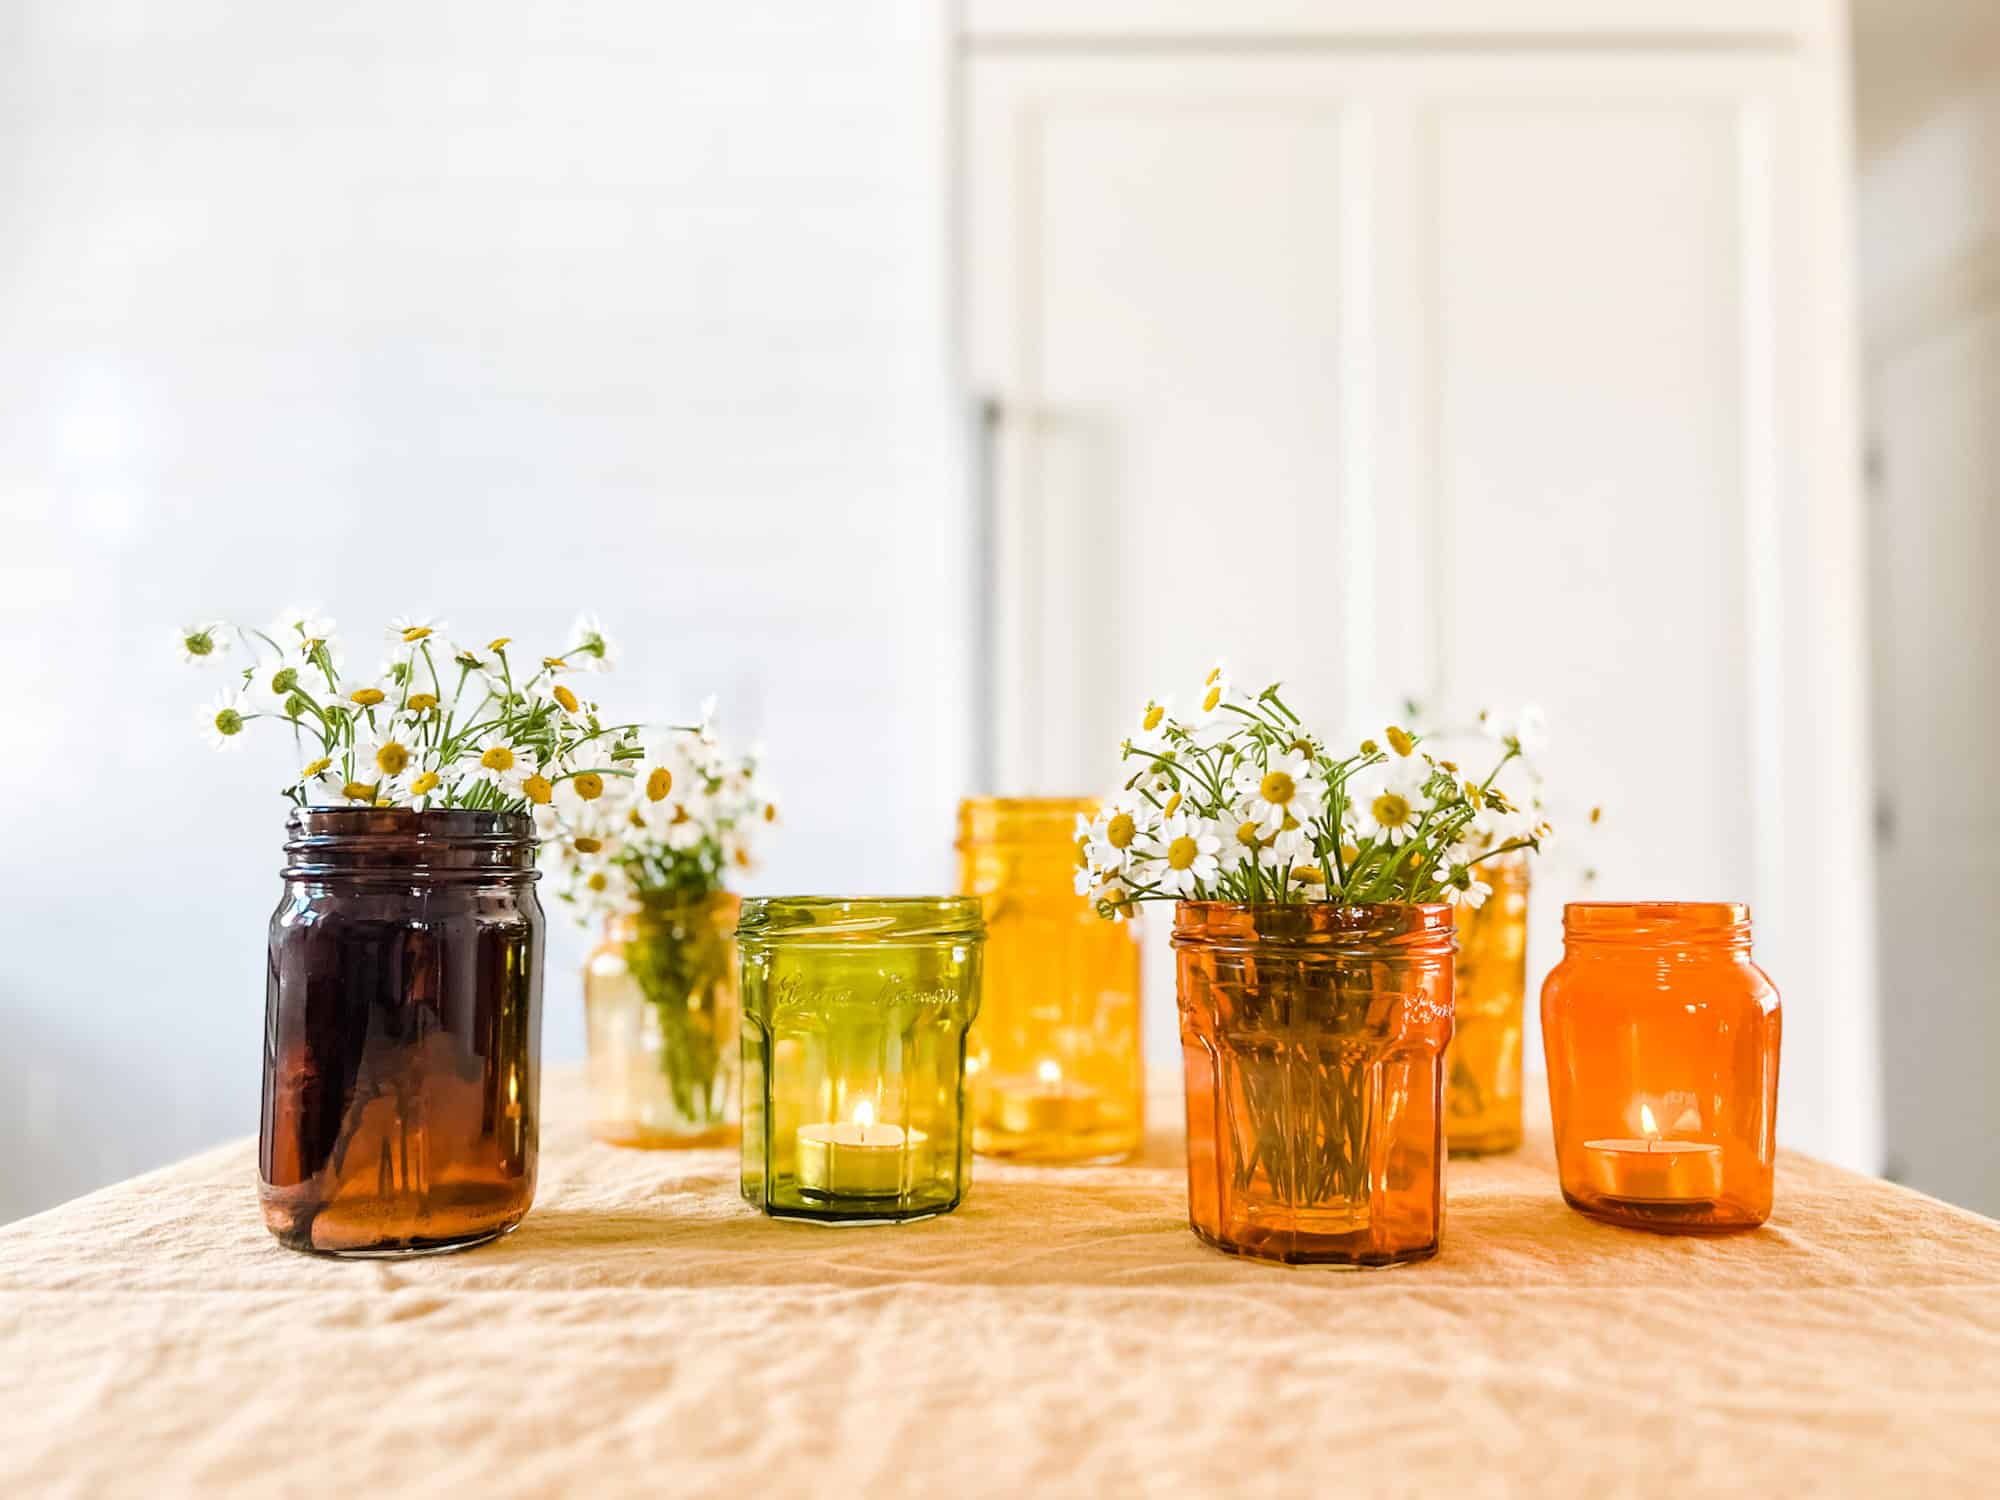
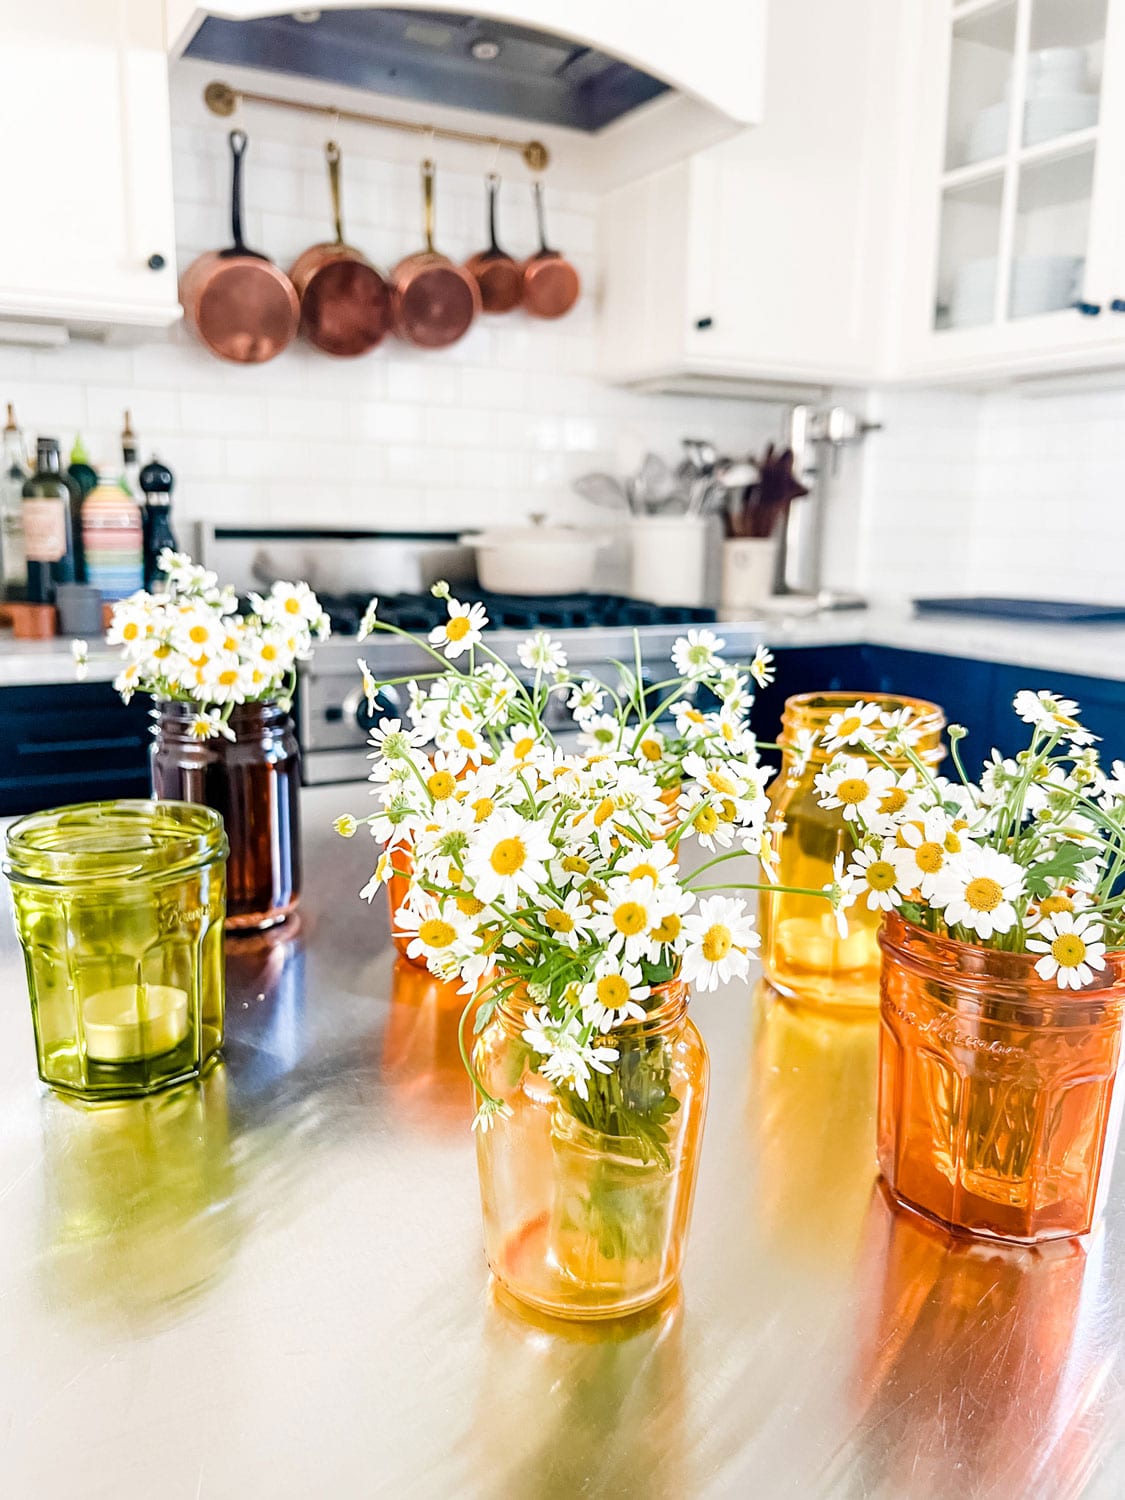
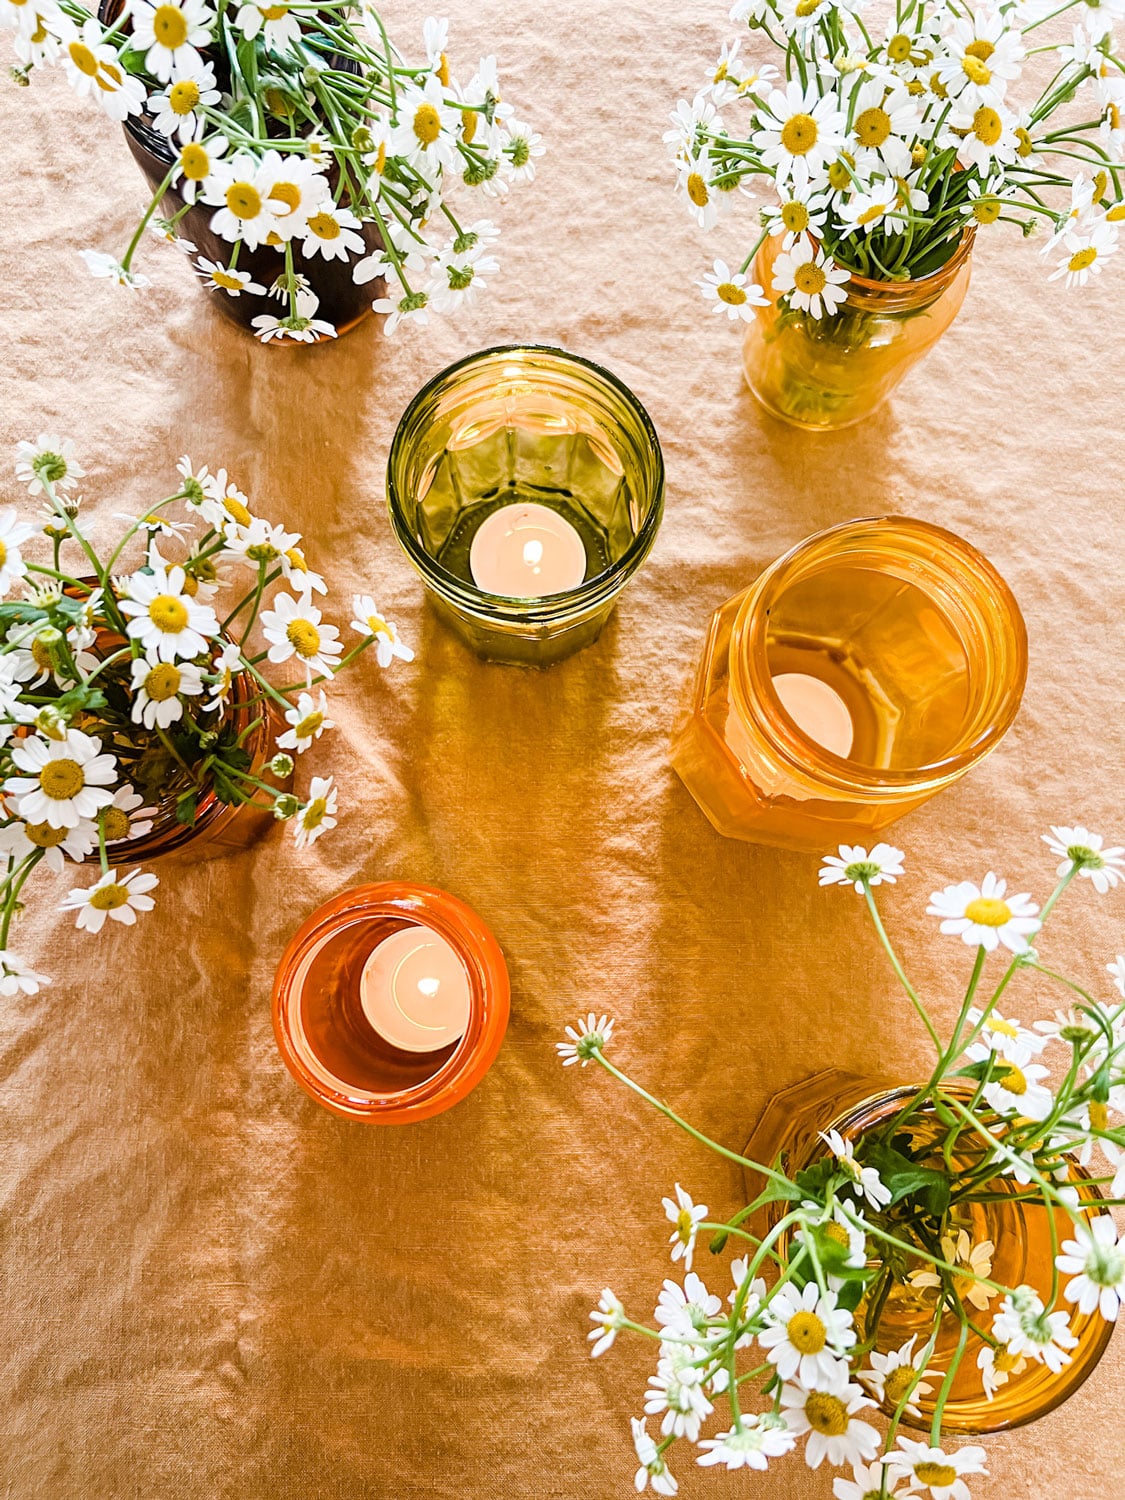
There are so many great ways to use these jars. Whether you use them as eclectic flower vases, tea lights or candle holders, or quirky storage containers, what I find most fun and rewarding about them is taking everyday ordinary items and repurposing them into cherished little treasures. The best part is using your creativity to make something that works for your home.
For future reference:
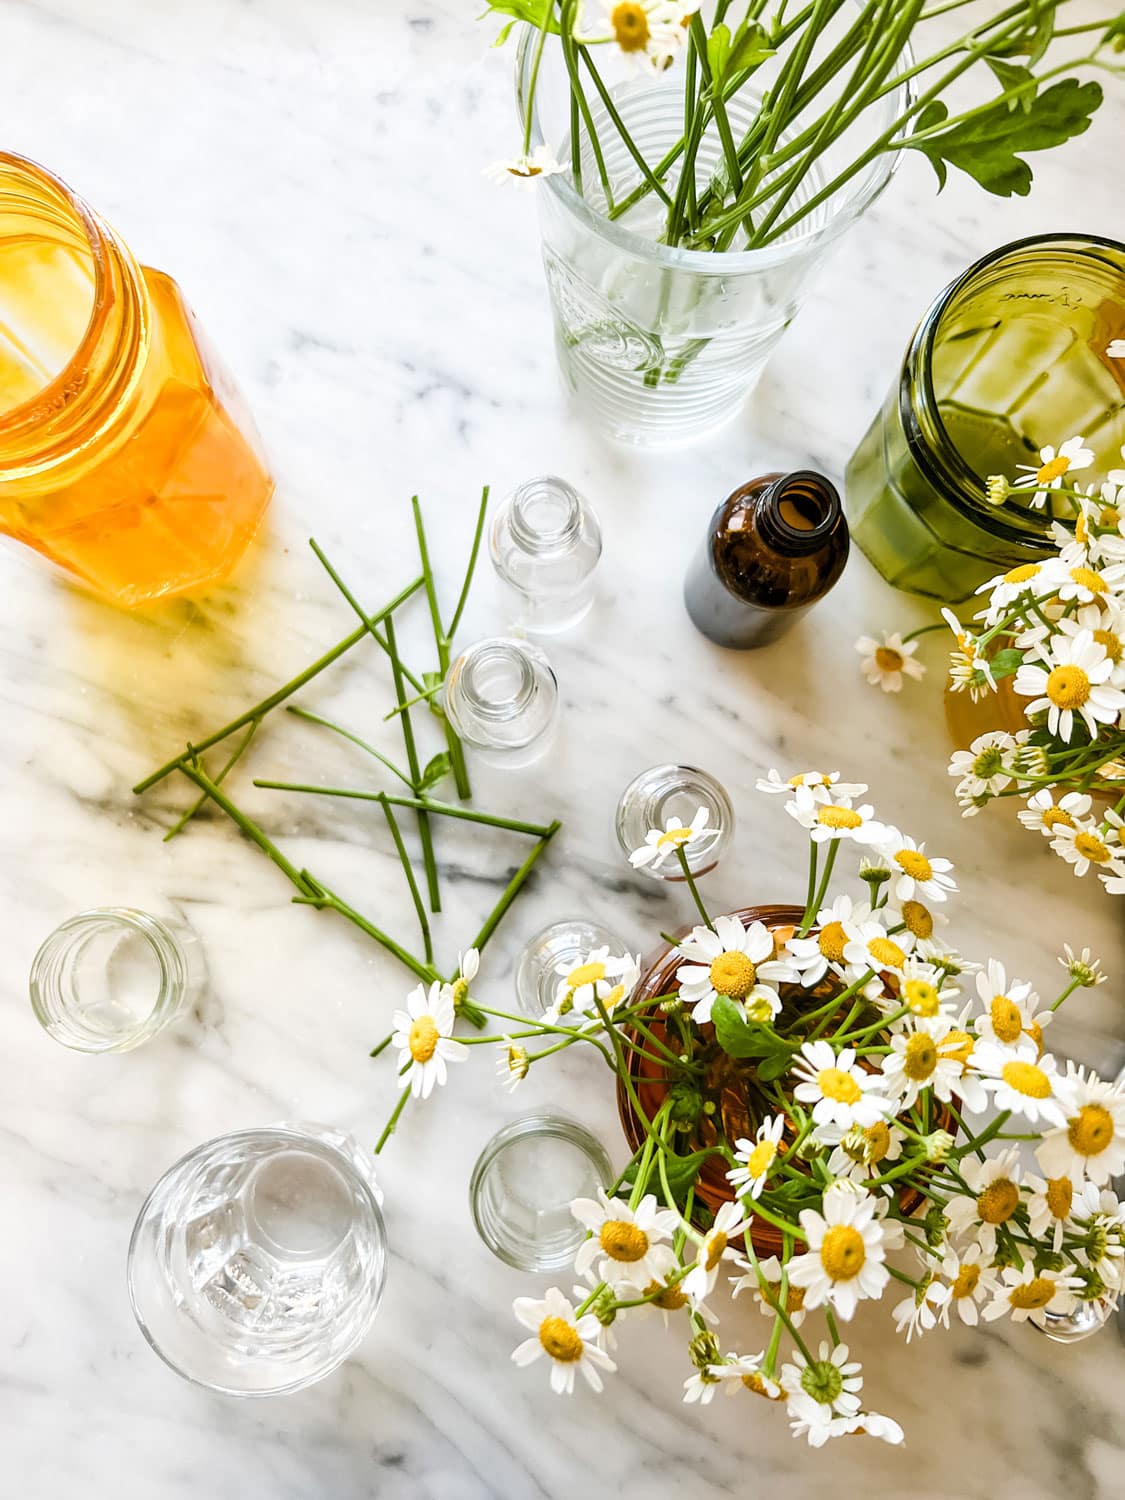
I used small clear glass bottles and cups to hold water for the chamomile flowers inside the jars to prevent the tinted glass from becoming cloudy. Next time, I may consider using slightly larger jars that would accommodate a larger cup or bottle inside for flowers.
Note: I would recommend dried flowers if using them for vases. The paint is not water resistant. When water is added to the jars after baking, the paint becomes cloudy again. However, once the water is removed and the jars have had a few hours to dry, they become translucent again.
Pin for Later
Thank you for reading How to Make Colored Glass Jars and Get the Vintage Look; you may also enjoy this post where we upcycle tin cans.


Do you think if after following all instructions for coloring the glasses I could make a candle out of those glasses or would additional heat destroy the color?
Thank you for your article, my friends, and I always enjoy them
HI Elaine! I used a votive inside, but I’m not sure about adding hot wax.
Hi Annie, do you think there’s anyway I could tint the outside of the jars instead of the inside I’m using these to grow herbs my kitchen window I don’t think it would be safe to put Herbs in the jar and the liquid messes up the tint anyway, I just found out, I was thinking maybe I could dip it instead of filling them and then put it in the oven I don’t know do you have any experience? Does anyone know? Thanks so much I think these are gorgeous. I’m going to use them anyway for dried flowers and tea, lights and maybe fairy lights. Thanks so much for your help and your ideas Linda .
Linda!
I love your idea of dipping them so the paint/glue is on the outside! If I had some Mod Podge left, I would have tried it today! Please let me know if you try it! And I’ll report back when I do too!
Thanks for your idea and for taking the time to comment!
Annie
TLDR:/YES you can pain the outside of the jars.
Hello! I found your article yesterday and absolutely LOVED how your glass jars turned out. I have been saving glass jars for a while and wanted to use them for planting hydroponic plants. However, I was worried about the long-term effects of water and dyed glass on the plants, as I wanted to ensure they have a beautiful and healthy environment. So, I painted the outside of the jars. I aimed for a textured look (think sea glass) and sponged the Mod Podge mixture on the outside. It worked PERFECTLY, and my jars are gorgeous.
Hi Rachel! I’ve been wanting to try painting the outside of jars for that very reason! Thank you for letting me know you had good success!
I love the dark brown jar….is there anyway you can advise me on the color you used…it’s beautiful ❤️
Elizabeth, I must have just mixed the primary colors to get brown…but I don’t recall exactly what I used. I was so thrilled with the 70s vibe of all of the colors. I wish I could recall more specifics!
I can’t get mine to get that dark/ vibrant. Any tips?
hmmm….did you use food coloring gel? I did it twice, and both times they turned out pretty vibrant.
Do you think coating the inside of the glass with polyurethane or some sort of clear sealant would help maintain the clear colored look with water inside the jar?
Hi Sarah! That’s a good idea…I’m going to try that! I’ll keep you posted!
I have quart canning jars that are colored on the outside pink. They have a letter stenciled on the outside with acrylic paint. In tried to remove the letter & the pink came off too with water. can you tell me how the thin transparent coat was applied to the outside? it appears to have been sprayed on as there are no brush marks.
HI Edith,
It was actually baked into the glass. The paint was swirled on the inside and then baked. They however cannot be used with water. They are great with dried flowers or tea lights.
I made the painted jars like you said, but I had some trouble with the modge podge sticking to the sides and not running down making bare spots. I repainted the bare spots but it was difficult. Do you know what I did wrong? Maybe to much water, Im not sure. But the colors look very pretty when they dry.
Hi Leslie,
I’m not exactly sure, but I do recall my paint/mod podge mixture was pretty thick and I had to swirl it slowly to get it to coat the inside of the jar. I’m sorry to hear you had trouble.
Annie
could you maybe add tissue paper bits to this?(on the inside,so they would have to be small)
Maybe, that does kind of remind me of doing this in art class as a kid.
Im afraid of them bursting in the oven lol
HI Francine! I’ve never had a problem, it’s at a very low heat. I don’t think you will have any problem!