
How to build a coffee table bench in 10 easy steps. We rearranged our living room to have more seating and that meant we needed a small (more narrow) coffee table. In the past, we’ve used a bench, but when we moved from New Canaan I gave it away! So we designed and built a pretty simple bench that I like even better! It didn’t take Brent long at all and now our room is ready for the holidays! Having a small home took some adjustment, but it’s all about getting the right pieces to make the room work.
Getting our Living Room ready for the holidays with new Pillows & throws from Garnet Hill
Making the bench to use as a coffee table was high on our list of priorities. Once we had that, I started thinking of other simple ways to update, freshen and cozy up the living room. We kept our existing furniture for now, and just updated with new throws and pillows from Garnet Hill. The space feels completely refreshed with some minimal changes. It really is all about the little things!
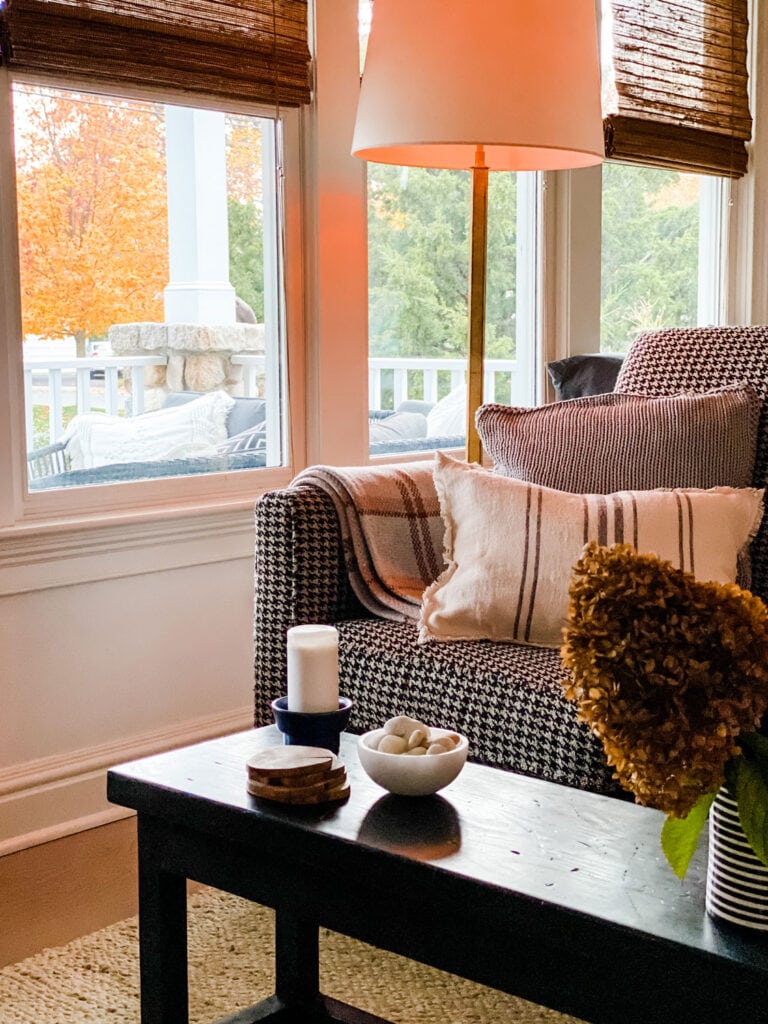
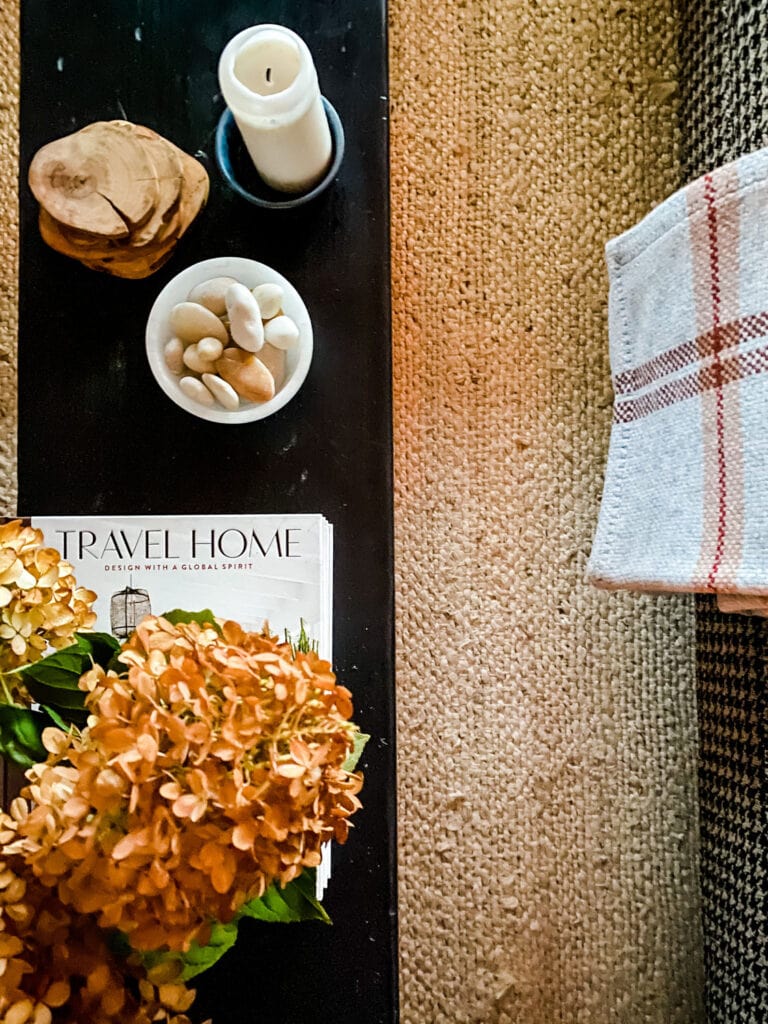
Garnet Hill has so many cozy throws and pillows in different colors and textures. We stayed pretty neutral, but with all the textures, different fabrics for pillows, everything looks beautiful. And the best part is that it’s all so cozy and comfortable. Perfect for the start of our New England winter.
French Stripe Pillows in all sizes


We used the new French Stripe Pillow-Covers in all sizes to mix in with the Chunky Knit Pillow Cover and Throw in gray. Then we added two of the Wool & Cashmere throws to warm up the leather swivel chairs. On the sofa, I couldn’t resist the new Herringbone Rustic Linen Throw.
Herringbone Rustic Linen Throw

The rug is from Target! It was just what I was looking for and after I saw it at my friend Nancy’s house, I ordered it the next day! You can see it Nancy’s living room in this post.
Our Cozy Corner Bench


I used our existing linen pillow covers from Garnet Hill for our corner bench and added a Wool and Cashmere pillow along with a Chunky Knit Pillow in gray. The painting bottom right is by @throughaidenseyes
How to build a coffee table bench in 10 easy steps
At the outset, a lot of DIY projects can seem more overwhelming than they actually are. This is one of those projects. However, when you break it down into simple steps, even those who haven’t done a lot of woodworking can complete this project in a weekend. And when you step back and look at the finished product, you’ll be amazed at what you accomplished.
Measuring and cutting are the two crucial elements of this project. If you do that right, everything else will come together fairly easily and quickly. We have a radial saw so we used that to make all the cuts. However, if you don’t have a power saw of some kind, you can have Home Depot or Lowes make all the custom cuts for you. You just need to make sure you have all your measurements clearly defined before going to the store. Act like you know what you’re doing and they’ll give you exactly what you want. We’ve found that some stores will charge you a nominal fee for the cuts while others won’t. It’s kind of hit and miss and up to the store managers, I guess.
For those of you who maybe haven’t done any woodworking, keep in mind that a 2” X12” X8’ piece of wood is actually 1 ½” by 11 ½” by 8 feet. And a 1” X4” X8’ piece of wood is really ¾” by 3 ½” by 8 feet. And, you guessed it, a 2’X2’X8’ is really 1 ½” by 1 ½” by 8 feet. Not sure why they do it that way, but they do.
The Supplies You will need:
1 2” X12” X8’
2 1” X4” X8
4 2” X2” X6’
3 ½” self-setting screws
4 small L-brackets
Black stain (Tricorn Black from Sherwin Williams)
Furniture wax
Paintable caulk (for filling in any gaps)
The Tools You Will Need
Rotating buffer (you can also hand-buff wax with a soft cloth)
If you’re making your bench the same size we did, we’ve made it easier for you. Here are the cuts you’ll need
Benchtop – 48”
Legs – four at 12”
The top skirt of the frame – 2 pieces at 45” and 2 pieces at 6 1/2”
Bottom runners – 2 pieces at 45” and 2 pieces at 6 1/2”
Step 1 – Top of the bench
We used the 2X12 for the top of the bench and cut that to the desired length (our bench is 48” long and approximately 16” high).
Step 2 – Legs
Next, we cut the four legs (2X2 wood) to fit our dimensions (our legs are 12”).
Step 3 – Top frame
Now we cut the 2 1X4s to 45” (running approximately the length of the bench) and 2 at 6 ½” for the sides of the frame.
Step 4 – Bottom runners
Next, we cut the runners for the bottom of the bench – 2 2X2s the same length as the 1X4s running the length of the bench and 2 2X2s for the side runners.
Step 5 – Assembly


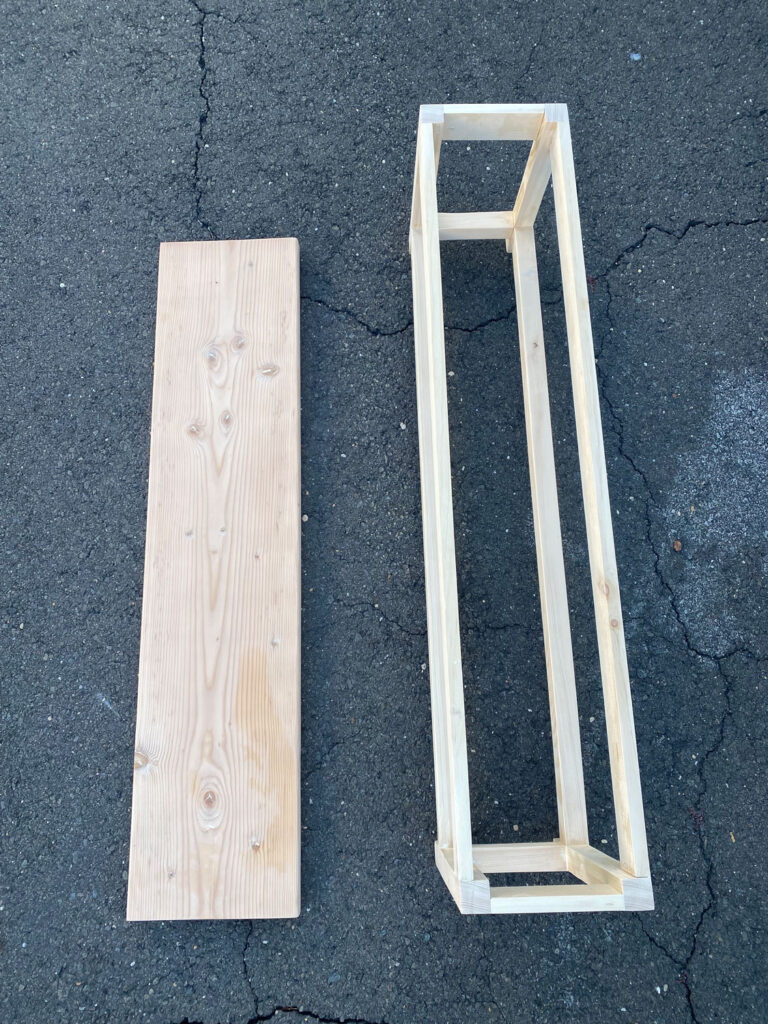

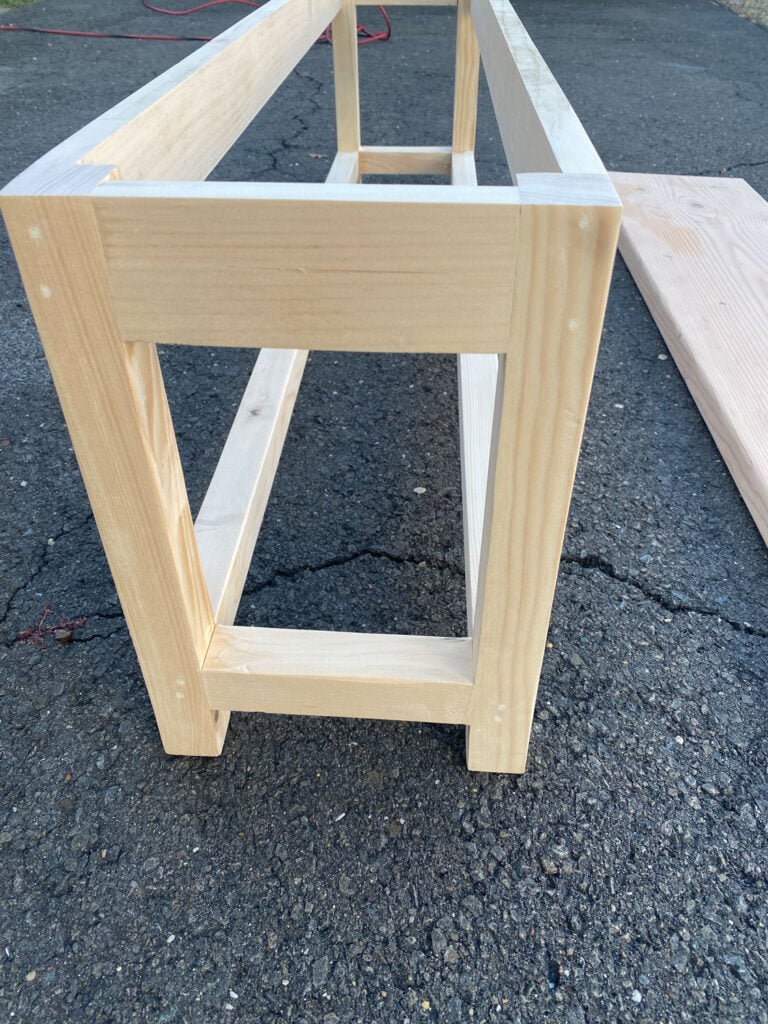
Here’s how to put your coffee table bench together
Since most people don’t have a “doweling jig”, which is what professional woodworkers would use for putting the frame together, we assembled the frame in a somewhat unconventional but very sturdy and workable way. We used L-brackets to secure the frame pieces to the legs and then used Number 8 3 ½ inch self-setting screws to anchor the frame to the legs. In essence, we now have two metal screws per piece anchoring the frame to the legs rather than two wooden dowels which is the traditional way of securing the frame pieces to the legs. We used this method on all front and side pieces. And once they were secured, we removed the L-brackets to use again later in the project – only this next time, permanently.

Step 6 – Sanding your DIY Coffee Table Bench
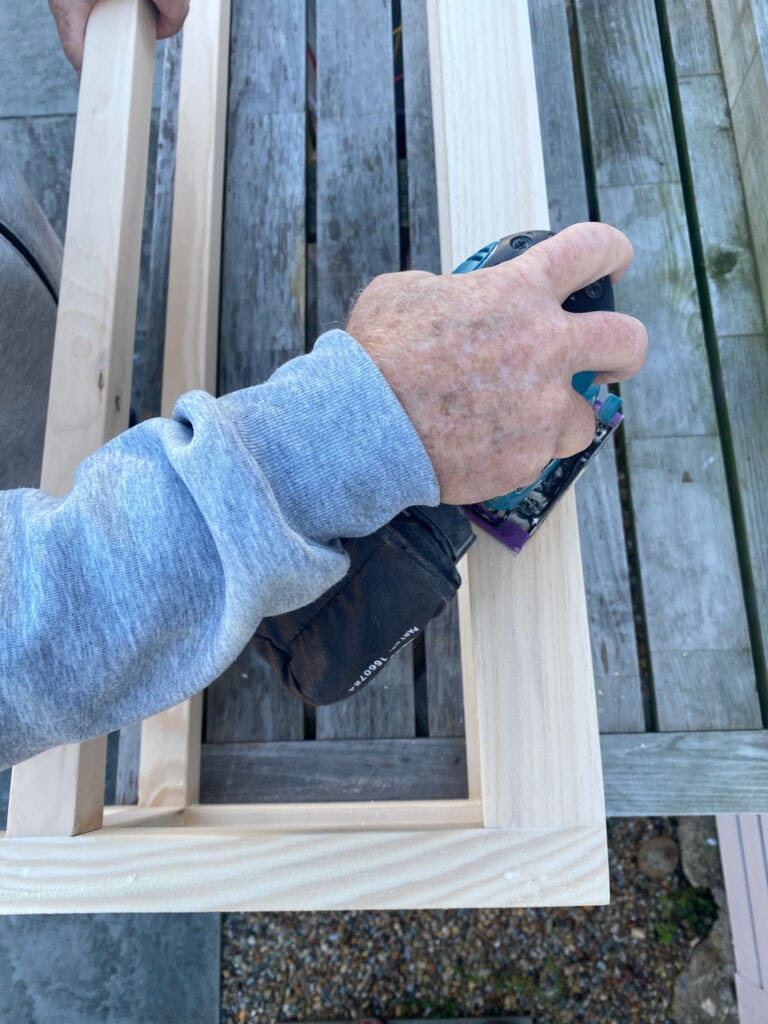
Before securing the top of the bench to the frame, we filled all the screw holes with wood filler and any imperfections we wanted to be covered. We then sanded all pieces to our desired finish beginning with the top and then moving on to the frame.
How to build a coffee table bench in 10 easy steps
Step 7 – Securing the top of the coffe table bench to the frame

Now it’s time to secure the top to the frame. We wanted approximately a 1” overhang on all sides of the bench. The best way to do this is to draw a 1” outline around the bottom of the bench. Just measure 1” in from both sides and ends and using a 36” ruler, draw those lines in pencil. Next, turn the frame upside down and line it up with the pencil lines you just drew. Using the L-brackets, secure the frame to the top making sure the frame is always aligned with the pencil marks. Use one L-bracket for each side and end.
Once you have secured the L-brackets, turn the bench right side up screw one 3 ½ “ screw through the tabletop and into each leg. Fill in the screw holes, let them dry and sand the top one more time.
And last, if there is a small gap between the tabletop and the 1X4s, you can use a small amount of painter’s caulk to fill that in.
Step 7 – Distressing your beautifully sanded and finished bench


We have to admit, the first few times we distressed a finished piece of furniture, it was hard. After all, we just spent hours meticulously cutting, assembling, and sanding the piece – only to then take a hammer, chains, and other tools to beat it up. But after you get over the initial hesitancy, it’s kind of fun to “get after it.”
For the distressing, we used a hammer, nail punch, a piece of 6” chain, a pair of pliers, and a house key.
Go slow at first getting used to what kind of distress each tool causes. And then proceed to your liking. The amount of distressing is personal taste. So our suggestion is to go slow at first to determine what you like and dislike.
Once you’ve inflicted your desired amount of distressing, run over everything again with the sander to smooth out all the imperfections and jagged edges.
Step 9 – Staining
You can really use any color and any brand of stain that you like. We used Sherwin Williams exterior stain that we had leftover from a previous project. The color was Tricorn Black.
Apply the stain with a paintbrush and just make sure that you apply it as evenly as possible to prevent any streaking. One coat usually works but we almost always use two coats. If there are any run marks or drips from the first coat, you can sand them down and cover them again with the second coat.
Once the stain has dried, you’re ready for the last part of the project.
Step 10 – Waxing
We prefer waxing over Varathane or varnish. All are acceptable ways of finishing a project. However, we prefer the look and feel of wax. And once a year or so, you can apply another coat of wax as needed.
We happen to really like Annie Sloan furniture wax, However, any furniture wax will work. Make sure you have a soft cloth and apply a liberal coat of wax to the entire piece. Once the wax had some time to dry, we used an electric rotating buffer to polish the wax. But if you don’t have one and don’t feel like buying one, you can use a separate soft cloth to polish the wax. It just takes a little more time and work.
We usually repeat the waxing process a second time. But again, that’s a personal preference. The is no right or wrong or perfect finish.
How to build a coffee table bench in 10 easy steps changed the whole dynamic of our room and we could not be more thrilled!
Annie your coffee table looks great. I use the exact same tools to distress, except I have never tried a key. I never even thought of it. I am going to try that if I can ever get Steve to build anything again. I love your living room and the darling coffee table. Good job Brent!
This is super helpful! We’ve been helping my memaw clean out her apartment and we threw her old coffee table in the dumpster rental we got. I’ve been looking at replacing it, but I love the idea of building it myself. I also love the idea of distressing it, but I’m a little nervous to do it, but I might as well try now! Thank you for the tips!