
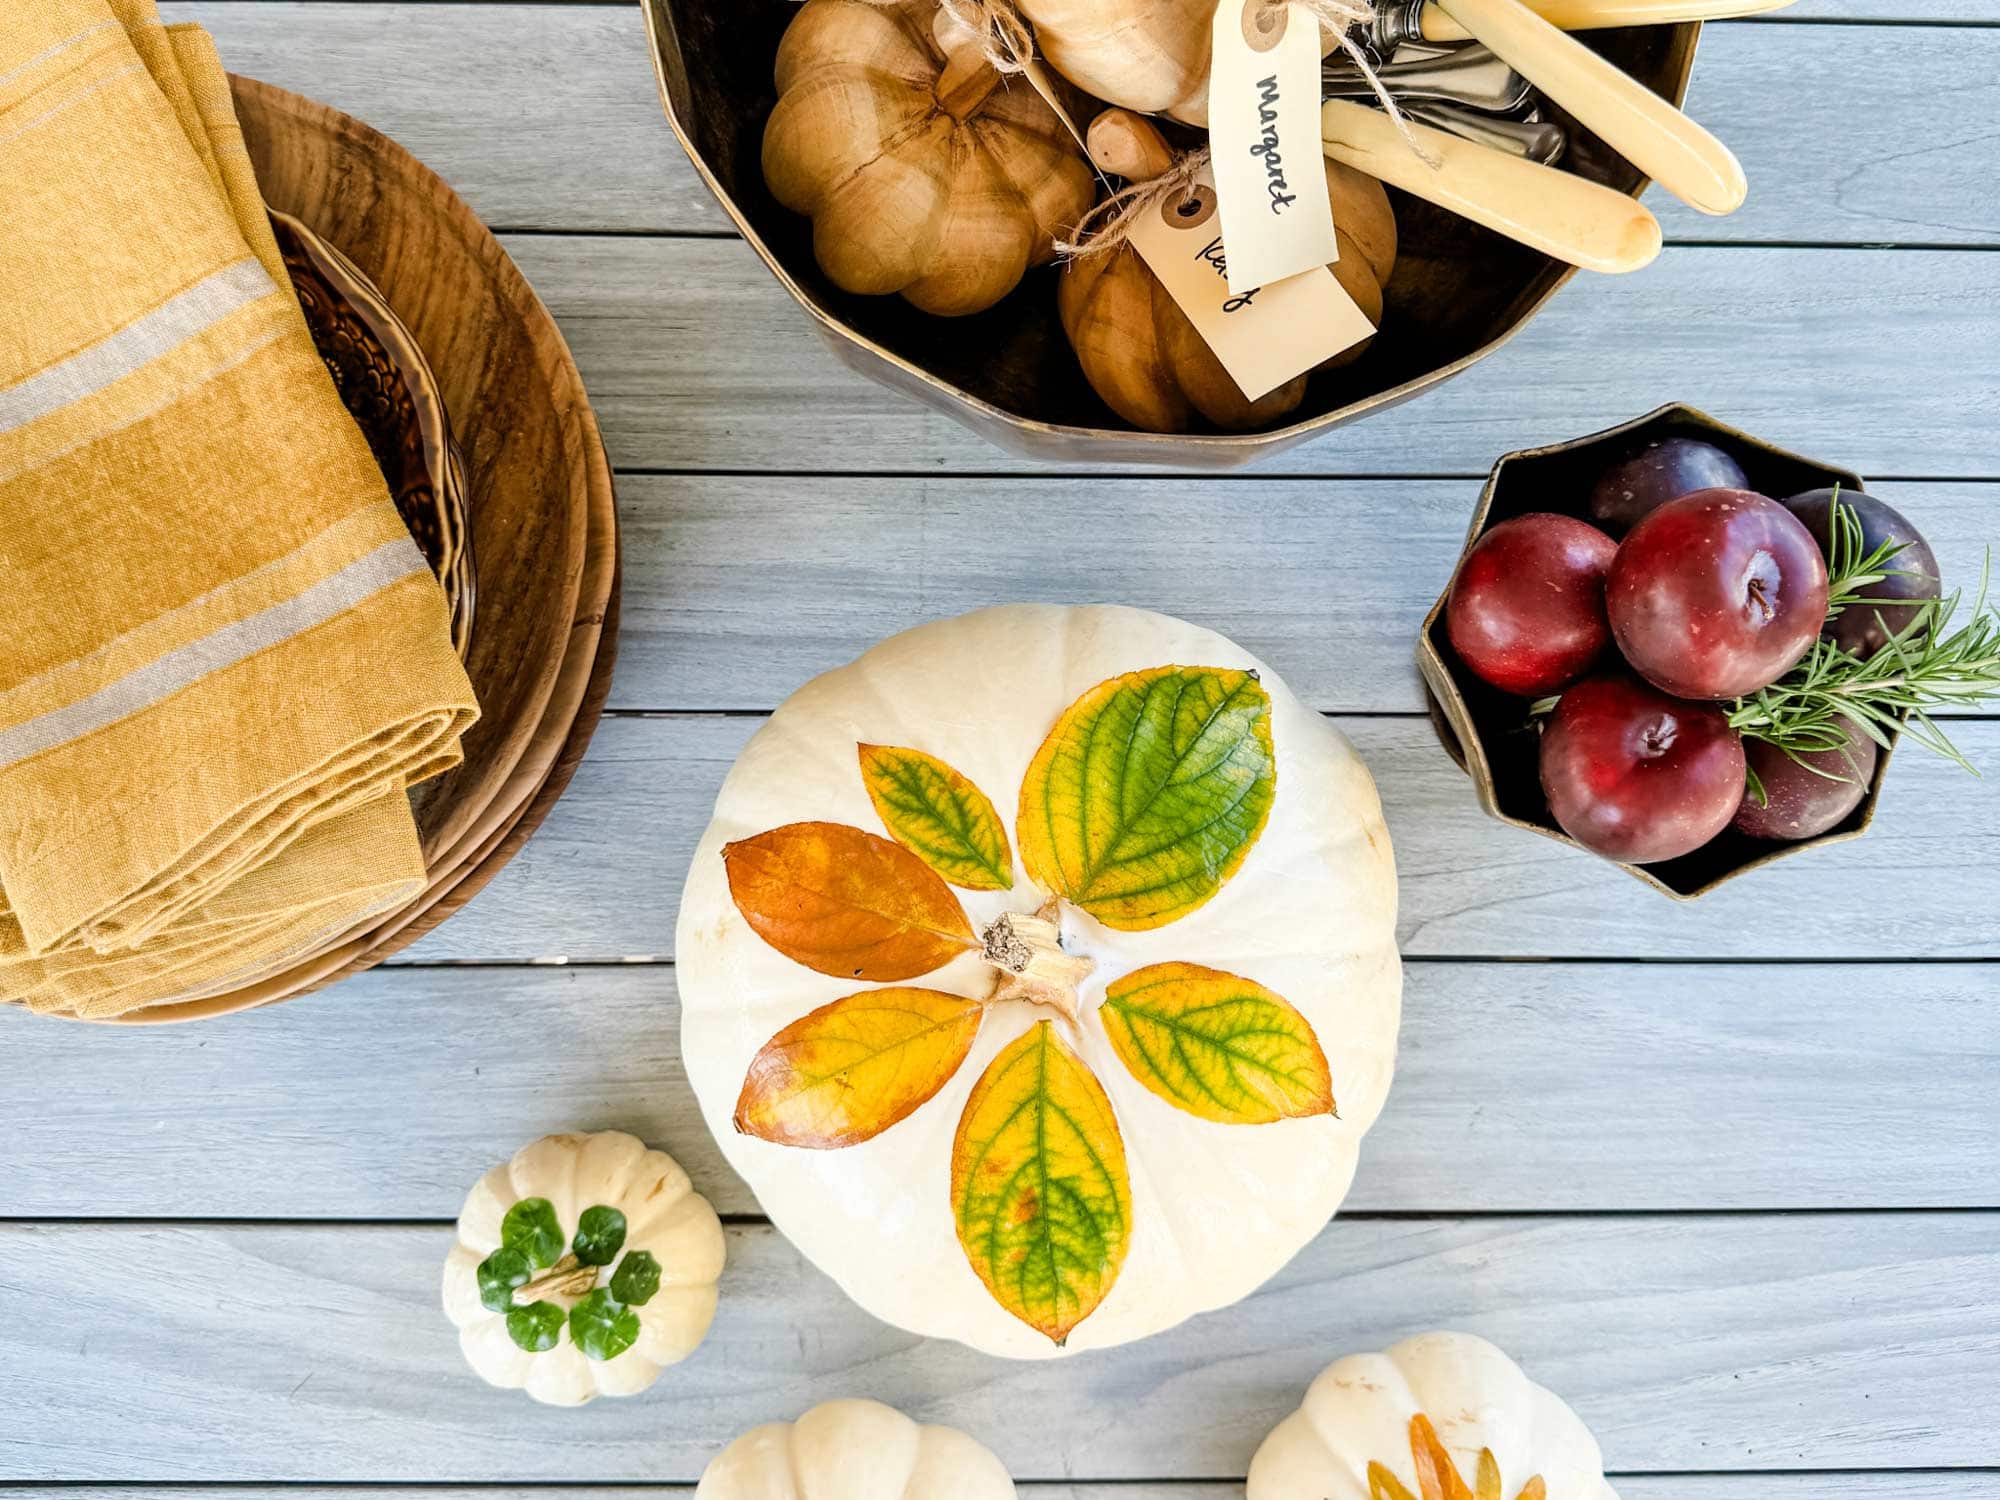
DIY: Make These Decoupage Pumpkins this Fall
I’m joining a few friends for pumpkin crafts! I made these pretty decoupage pumpkins using mostly golden leaves from my garden. I love white pumpkins, so I knew I would start with those. I was inspired by one of my favorite garden books. It’s currently on backorder but will be back in stock in early November, and there are so many winter and Christmas ideas in the book. It would be an excellent gift for anyone who loves gardening or doing DIY projects in the garden. But I digress; let’s get back to fall projects.
What you will need to make these decoupage pumpkins
(Available for less at your local craft store or Amazon)
- White or Casper pumpkins or any pretty pumpkins you choose
- Leaves (thinner leaves work best to adhere to the pumpkin)
- Spray mount glue
- Mod Podge
- Paint brush or foam brush (something you can toss)
- Hot glue (optional)
- Kraft paper or paper bag to cover the work surface
- Paper bag to place leaves in when using spray mount glue
- Damp cloth (to clean pumpkins and your hands while working)
Can faux pumpkins be used?
I have not tried using faux pumpkins, but they would also work. Faux pumpkins can be pretty costly, though, so it might be a good idea to practice first. While I was making mine, I did learn a few things as I finished a few and then started another one. I wouldn’t want to use a faux one for practice.
Steps to making this decoupage pumpkin craft
- Clean the top of the pumpkin where you will be using decoupage.
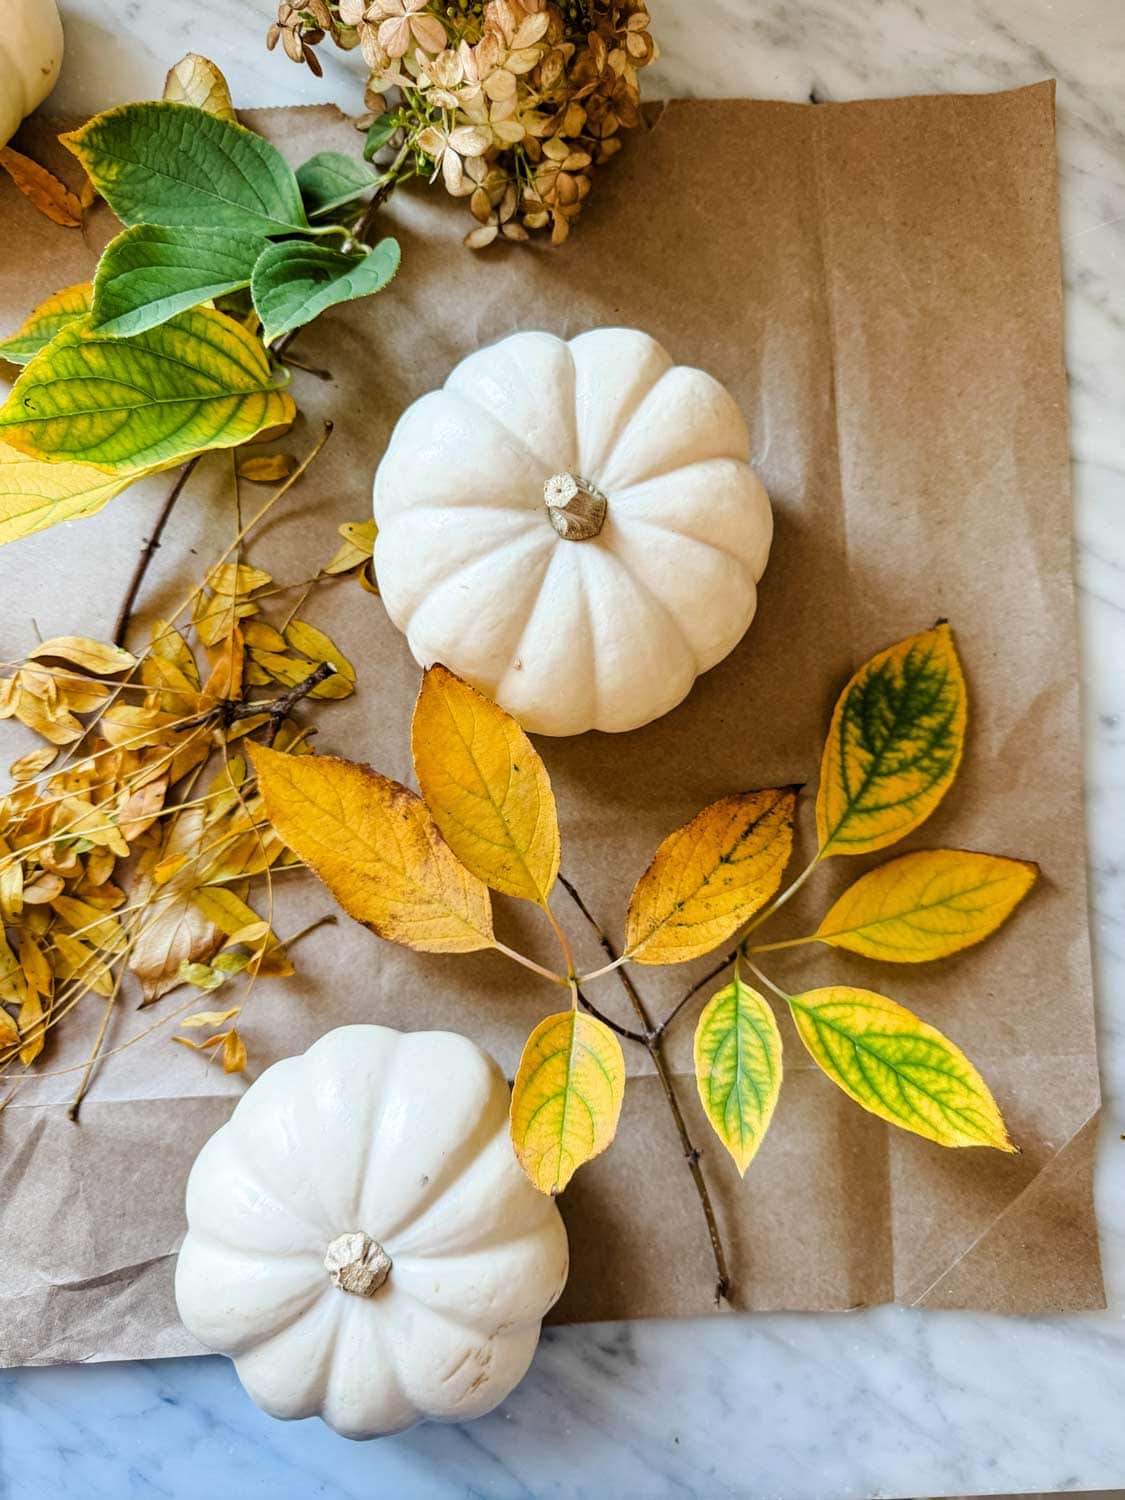
- Collect leaves from your back yard, garden, or the park
- Place leaves between the pages of a book unless you are ready to use them immediately to prevent the leaves from curling at the edges. You want them to be flat.
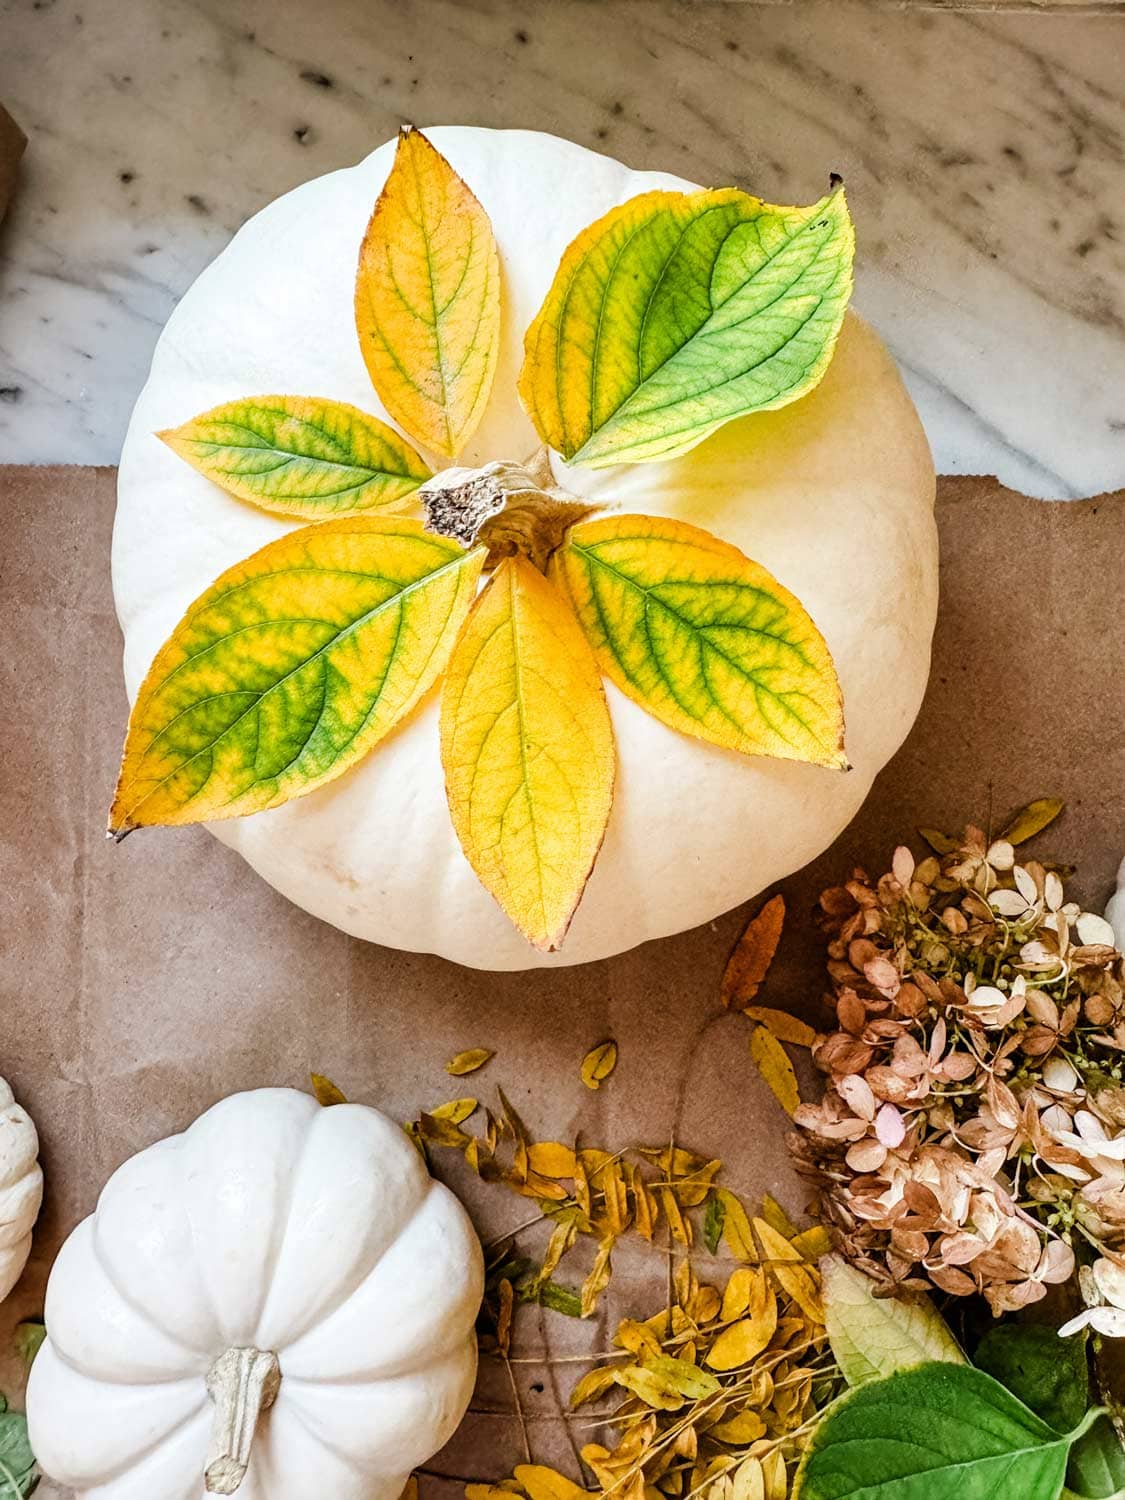
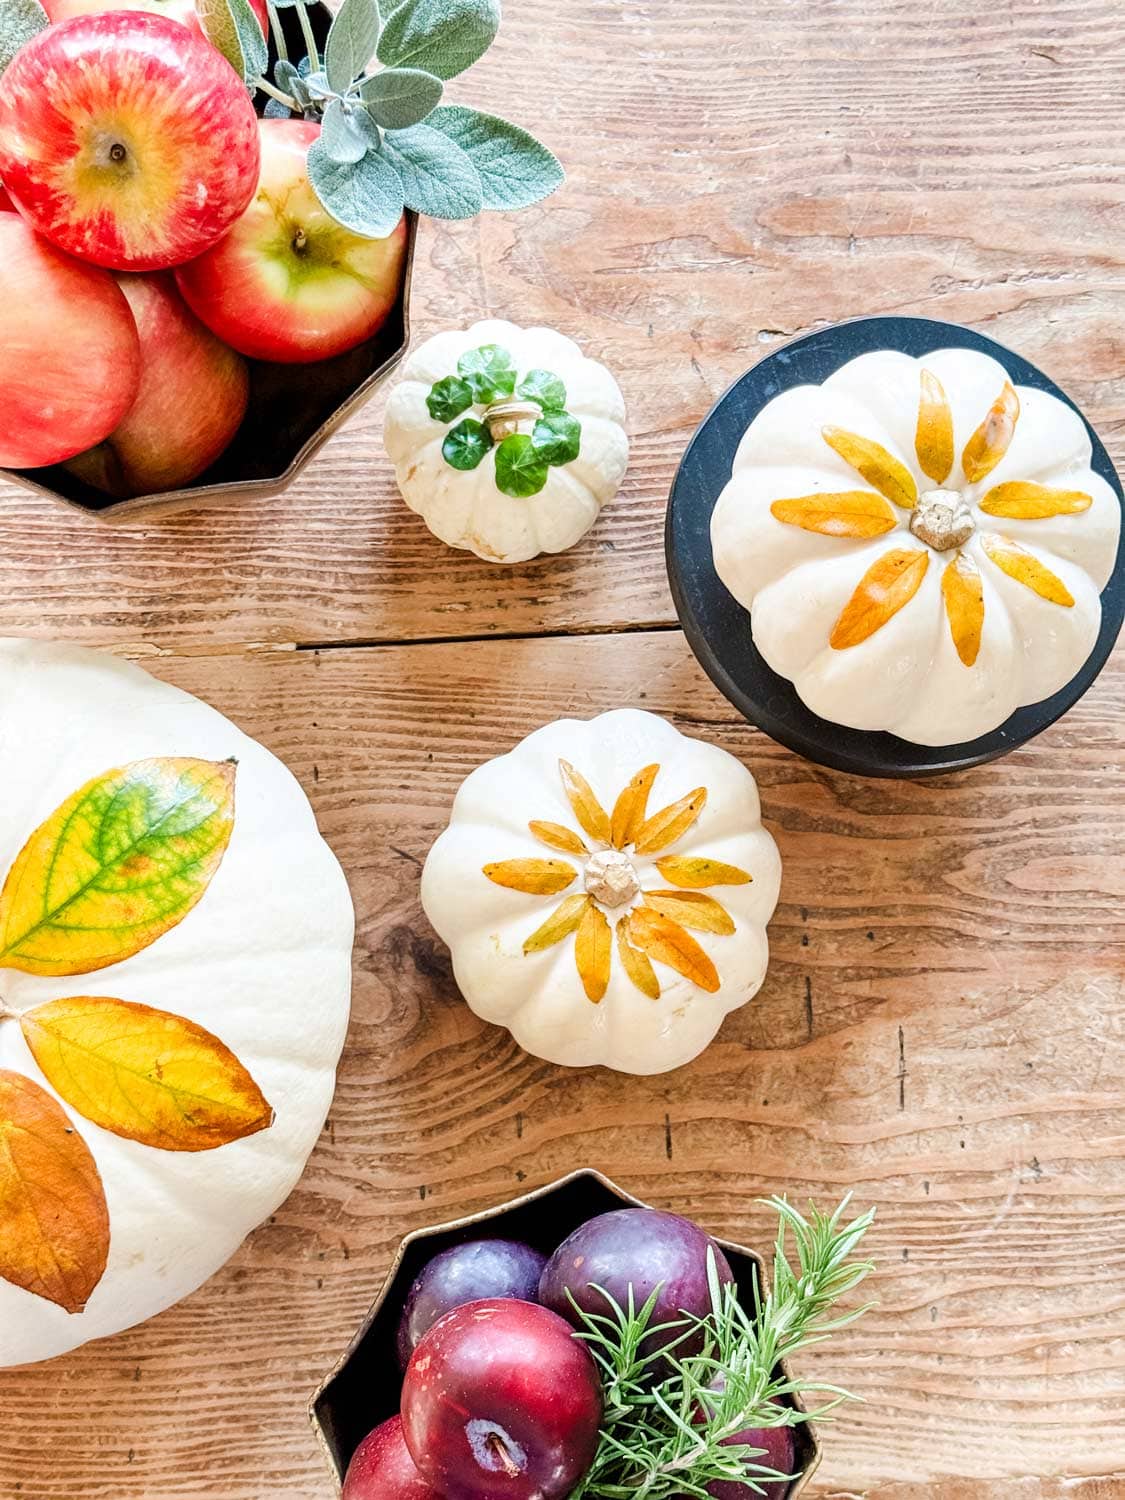
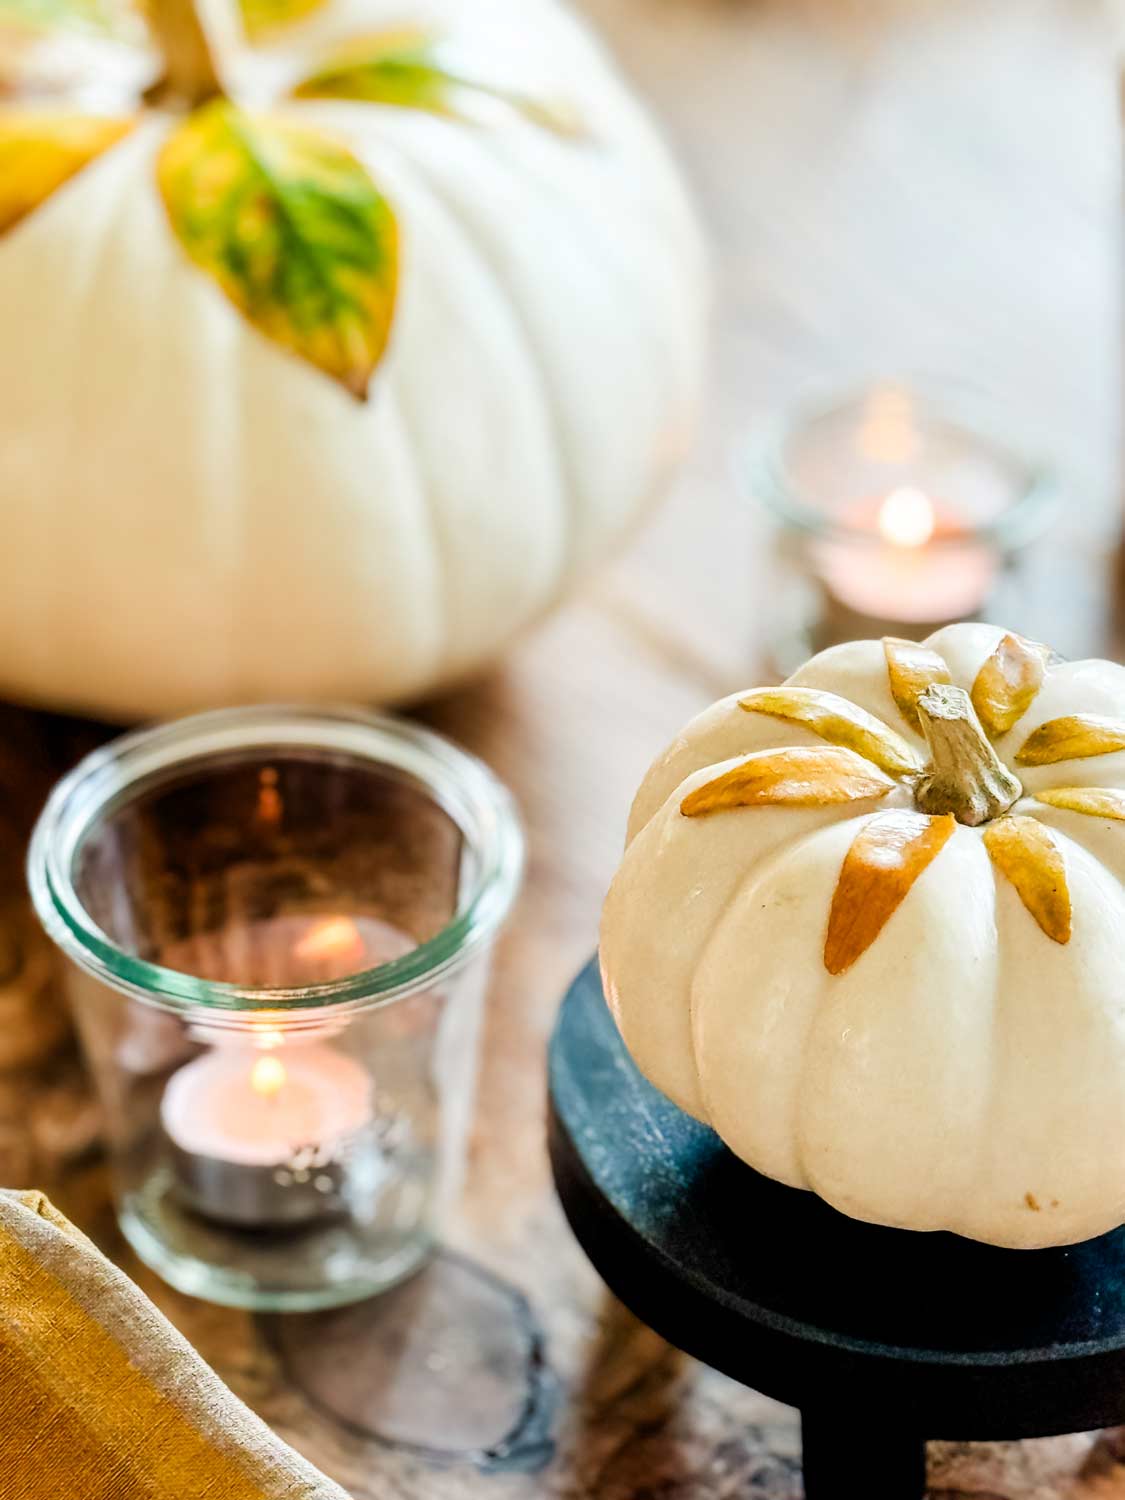
- Arrange them on your pumpkin. I used the stem of the pumpkin as the centerpoint. I made a star pattern with leaves around the stem.
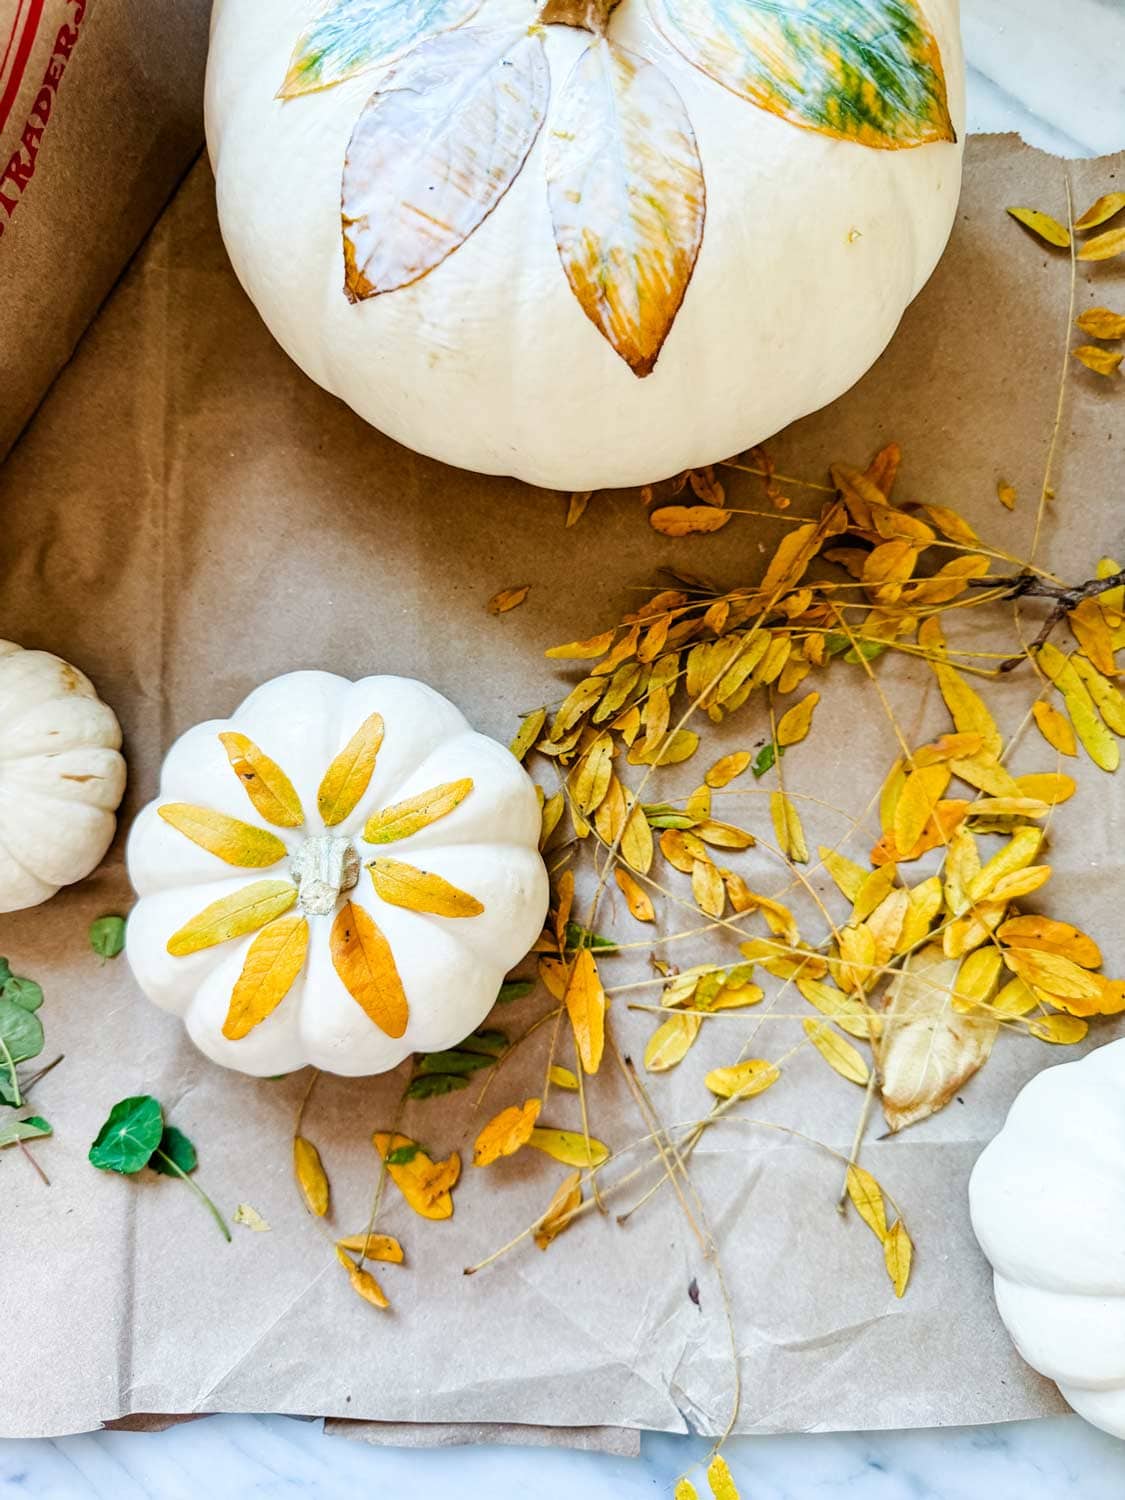
- Spray each leaf lightly with a little spray mount, and working quickly, arrange it on your pumpkin.
- If necessary, use a little hot glue to adhere any areas that didn’t adhere to the spray mount,
- Using a paint brush, apply a thin layer of Mod Podge. Allow it to dry, then repeat a few times until all the leaves have adhered to the pumpkin.
- Allow it to dry in the sun, then move to a shady, dry spot to set fully overnight.


How to make your own Mod Podge
If you have a bottle of Elmer’s School Glue on hand, you don’t need to spend the extra cost on Mod Podge. Take a glass jar, fill it halfway with Elmer’s Glue, and thin it with water. Add a little at a time, shaking to combine fully until you have the consistency you want.
What other craft pumpkins can you make using Mod Podge?
Paper napkins can be used to decorate pumpkins similarly. It’s easier to cover the entire pumpkin using napkins rather than leaves. I have seen some really elegant pumpkins created using patterned napkins.
If you enjoyed reading DIY: Make These Decoupage Pumpkins this Fall, you may also like this craft project.
How to Make Adorable Mini Pumpkin Planters with Real Pumpkins


Oh I love these!! The natural leaves on the pumpkins look so beautiful. Pinned 🙂
xoxo
Annie, you amaze me with every project!