Are smart door home locks really worth installing? We’ve been talking about installing keyless locks or smart locks in our home for quite a while. And now, we finally decided to do it with Emtek products. So yes, smart locks are definitely worth installing and we’ll tell you why.
The benefits of smart door home locks
We love Emtek hardware for both functionality and design. There are so many options to choose from that you can certainly find something that fits all your needs.
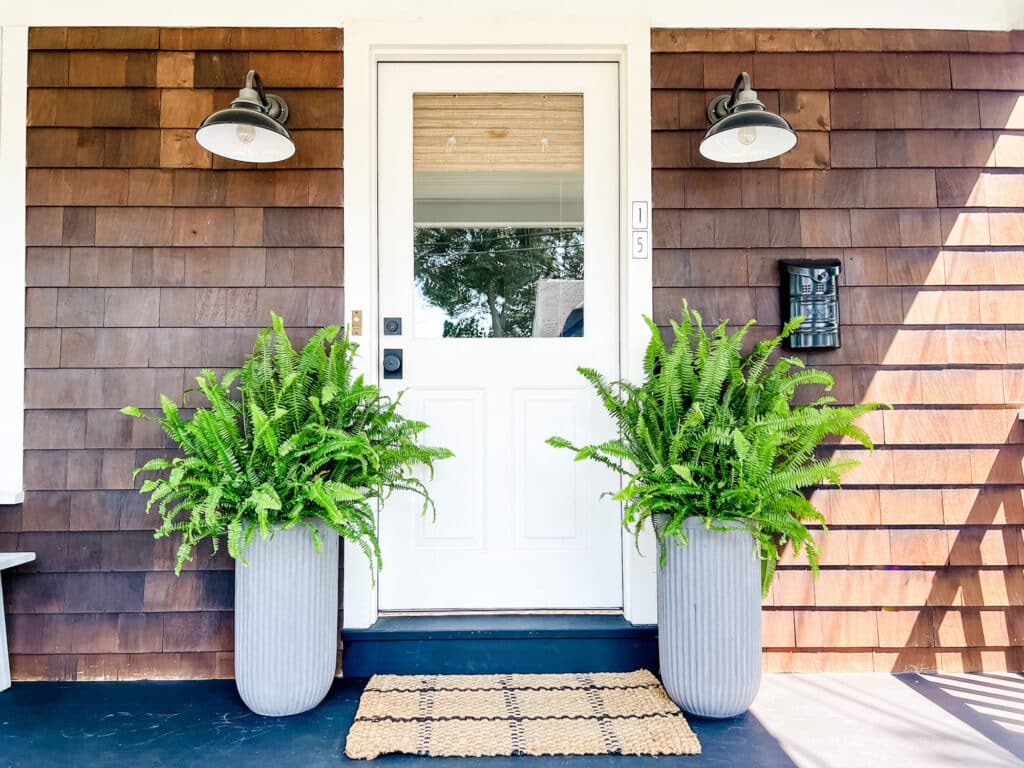
We’ve been using Emtek for a long time. In fact, we’re on our fourth home installing Emtek on all the doors – interior and exterior. So it was natural for us to turn to Emtek’s line of smart locks and we found options for retrofitting our front and back doors and an entirely new setup for our side door which leads to the basement and our pantry.
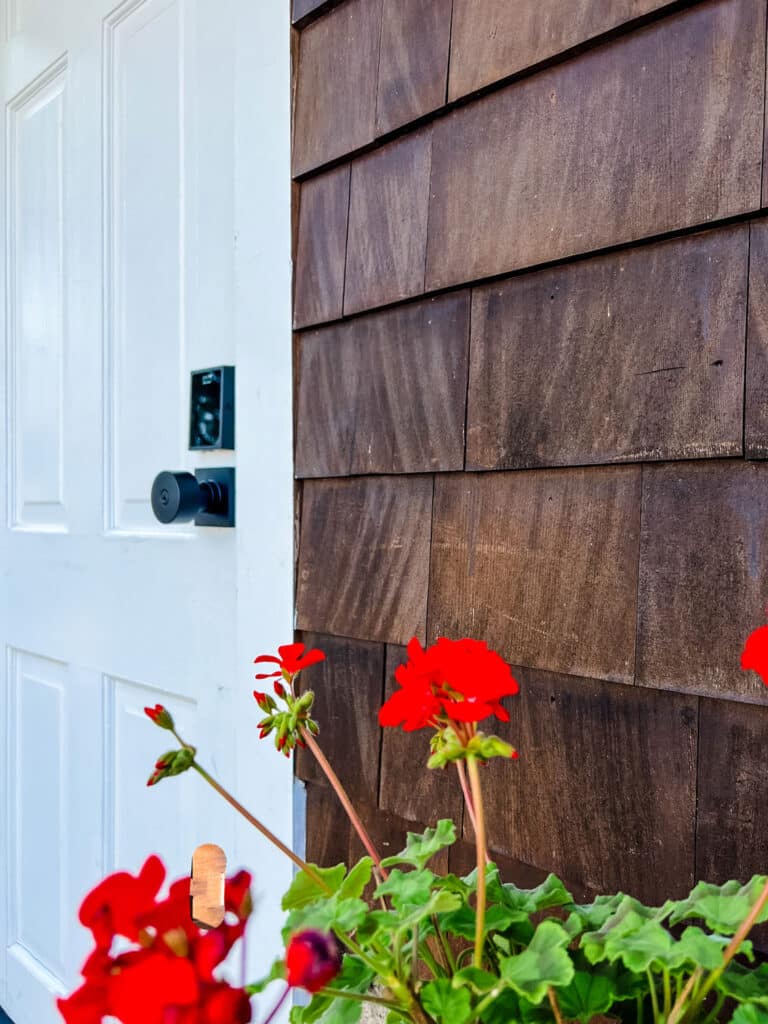
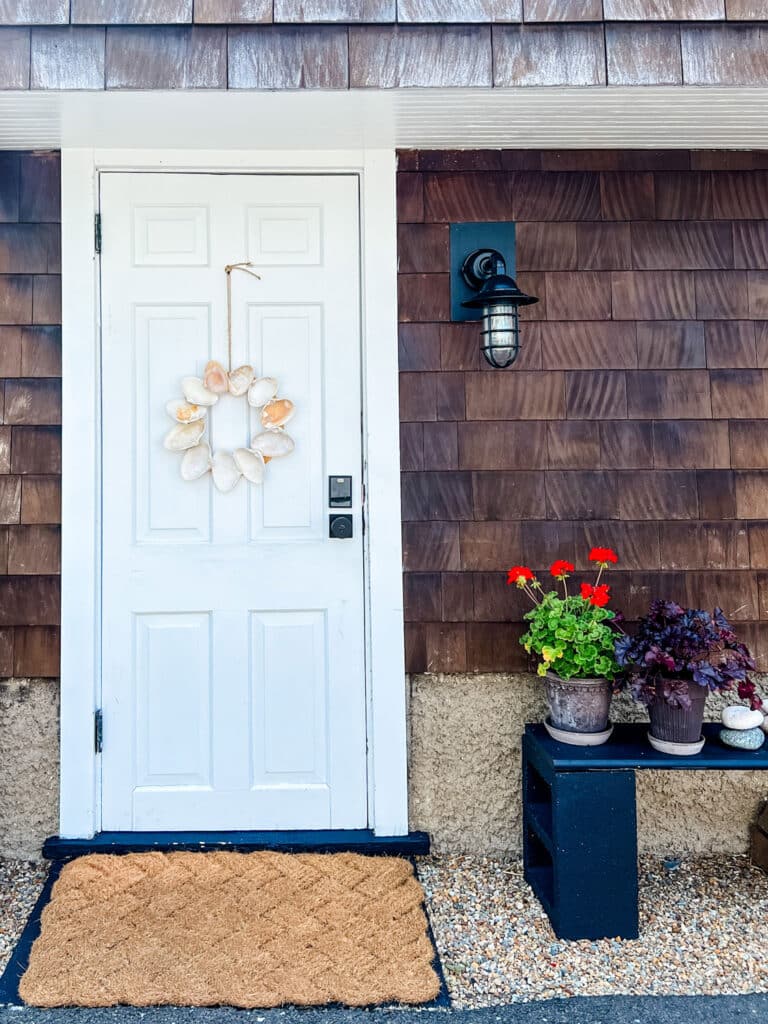
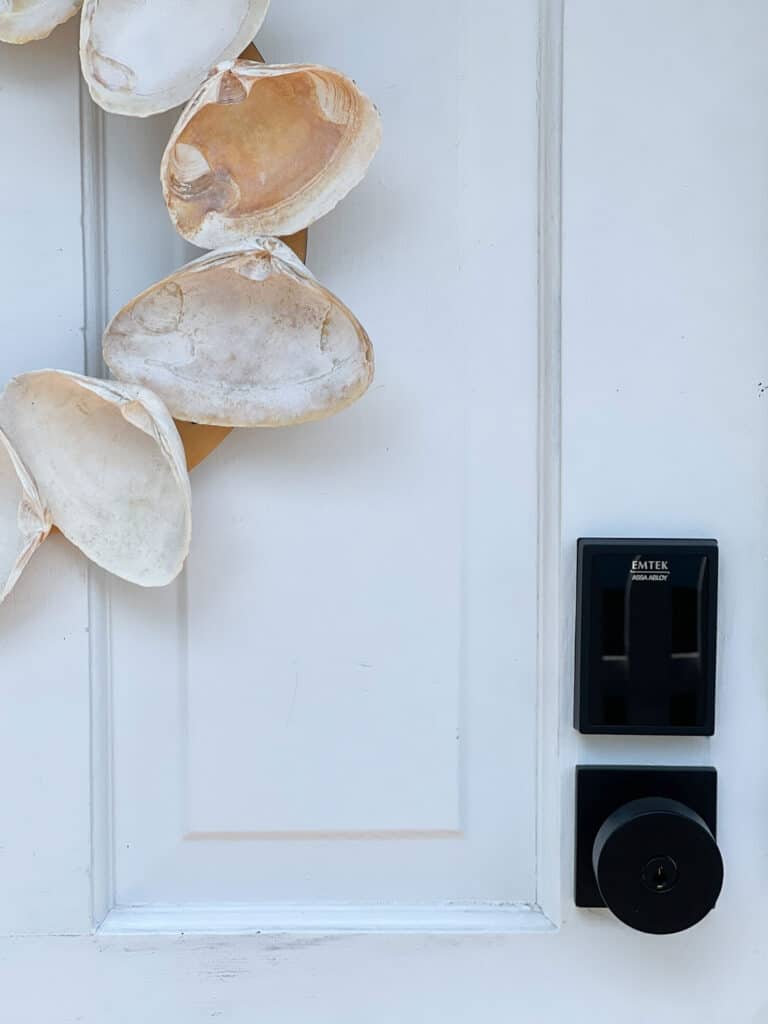
What we didn’t want was a modern-looking electronically controlled setup. And Emtek had the perfect solution. The front and back doors maintain the look and feel of an old keyed deadbolt which is appropriate for a house built in 1920. But on the inside is an electronically motorized deadbolt. It’s the best of both worlds.
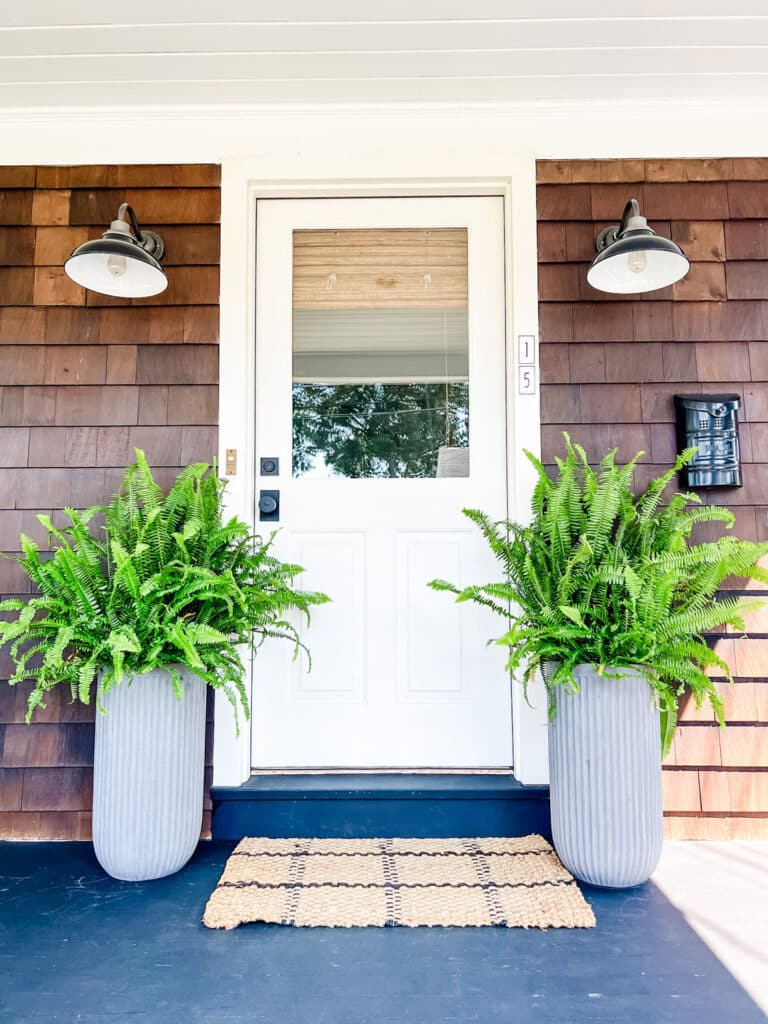
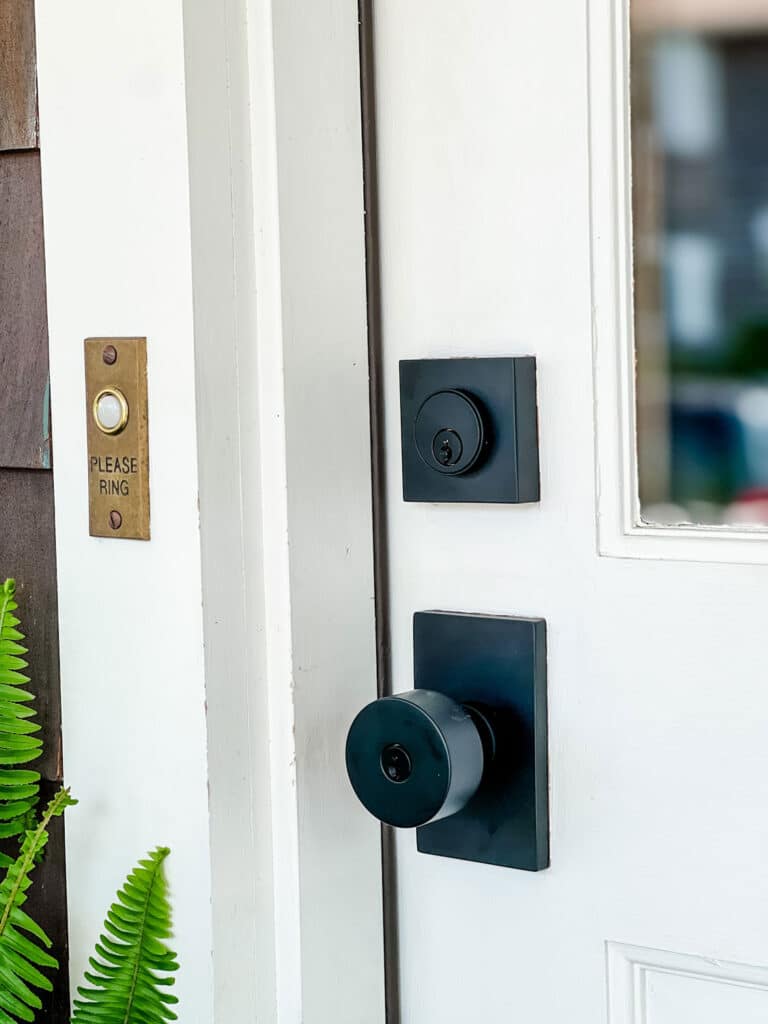
There are a lot of different reasons for installing smart locks and it’s a very personal decision that is driven by your needs and wants. Here is why we did it.
Enhanced convenience and accessibility
Smart locks offer a significant upgrade in terms of convenience and accessibility compared to traditional locks. With smart locks, you no longer need to worry about house keys or the risks of losing them (although they still work if you need or want them). With smart locks, you can enjoy keyless entry through your smartphone using a mobile app.
Whether you’re coming home with arms full of groceries or welcoming guests while you’re away, the ability to unlock your door with a tap on your phone or with voice assistants provides real convenience, not to mention ease of use.
Additionally, smart locks allow you to easily manage access permissions for family members, guests, or service providers. You can grant temporary access, set schedules, or even revoke access remotely, providing a flexible and secure solution for controlling who enters your home. And since all locks are battery-operated, you don’t need to worry about a power outage.
Improved security features
Security is most important to us when it comes to protecting ourselves and our homes. Smart locks also offer several advanced features now that boost your overall security while considering convenience. And who can’t use a little convenience in their lives, right?
These locks utilize robust encryption and authentication protocols, making it extremely difficult for hackers to compromise their security. And, smart locks provide real-time notifications and activity logs, giving you complete visibility into who enters and exits your home and when. This feature is especially valuable for monitoring children and keeping track of service providers.
Additionally, smart locks can seamlessly integrate with your existing home security system. You can have peace of mind knowing that your smart lock is an integral part of your entire security setup.
Integration with smart home systems/smart home security systems
One of the key advantages of smart locks is their ability to integrate seamlessly with your smart home ecosystem. By connecting your smart lock to other compatible smart home devices, such as video doorbells or surveillance cameras, you can create an entire home security network. For example, when someone rings your video doorbell, you can see who it is and unlock the door remotely, all from the convenience of your smartphone.
Smart locks can also be integrated with popular virtual assistants like Alexa or Google Assistant, allowing for voice-controlled access. Now, when you come home with those arms full of groceries you can just say, “hey Siri or Alexa, unlock the front door” as you approach the house.
In summary, here is why we decided to install what we think is the best smart lock:
- We can still use physical keys
- We can grant access remotely
- We can control everything in a smartphone app
- Since they are smart devices, they seamlessly integrate with Google Home, Amazon Alexa, Apple Home Kit, Apple Watch, most alarm systems, and with most any device that utilizes voice control
- Our side door utilizes a PIN code so when we are working in the yard and don’t have physical keys or our phones with us, we can still get to the tools we need
How to install Emtek smart locks on your home
Our front and back doors have identical setups so I’m going to show you the front door only. We decided on a keypad lock for our side door so that will be the second install that I will show. Since the door knob on the side door is identical to the front and back doors, I’ll just show the keypad installation as you’ll follow the same process for the door knob that you did on the front door.
Our front door has a deadbolt and a door knob, and I’ll show you how to do both here. So let’s get started.
Note: Because we were retrofitting our current back and front door setups, touch-up paint was not necessary. However, the side door setup was entirely new so we did do some sanding and painting before we finished installing the deadbolt and door knob.
Installing the front door setup
Step 1: Remove your current hardware
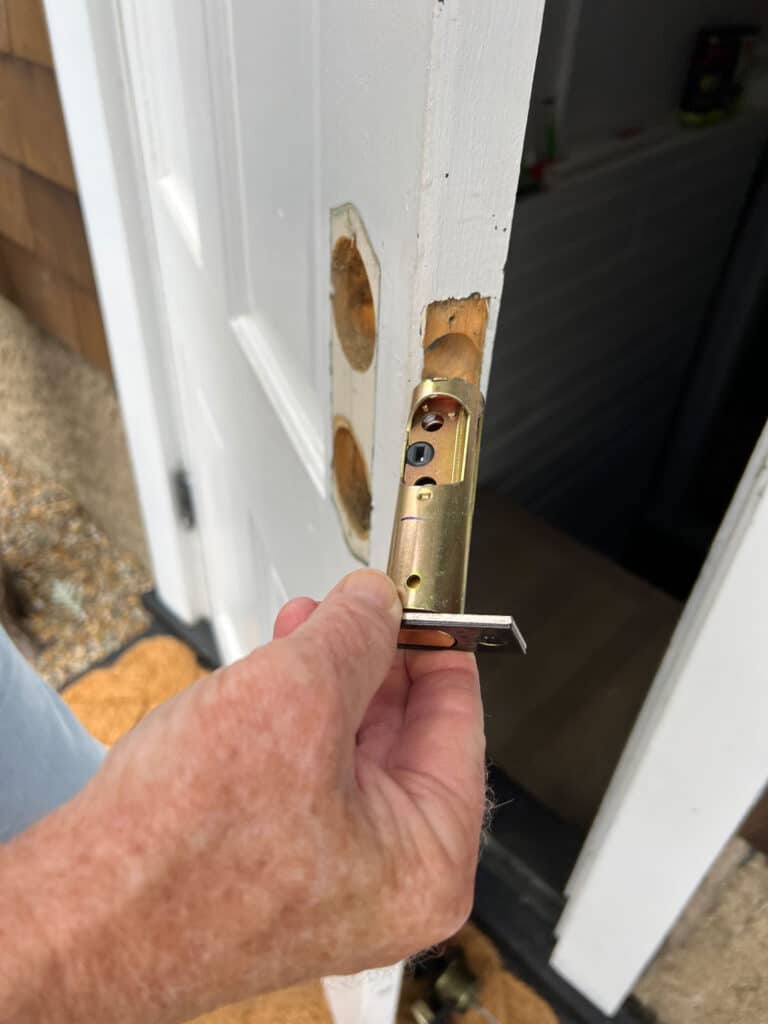
The first thing you need to do is remove your current hardware and clean any debris from the holes in the door.
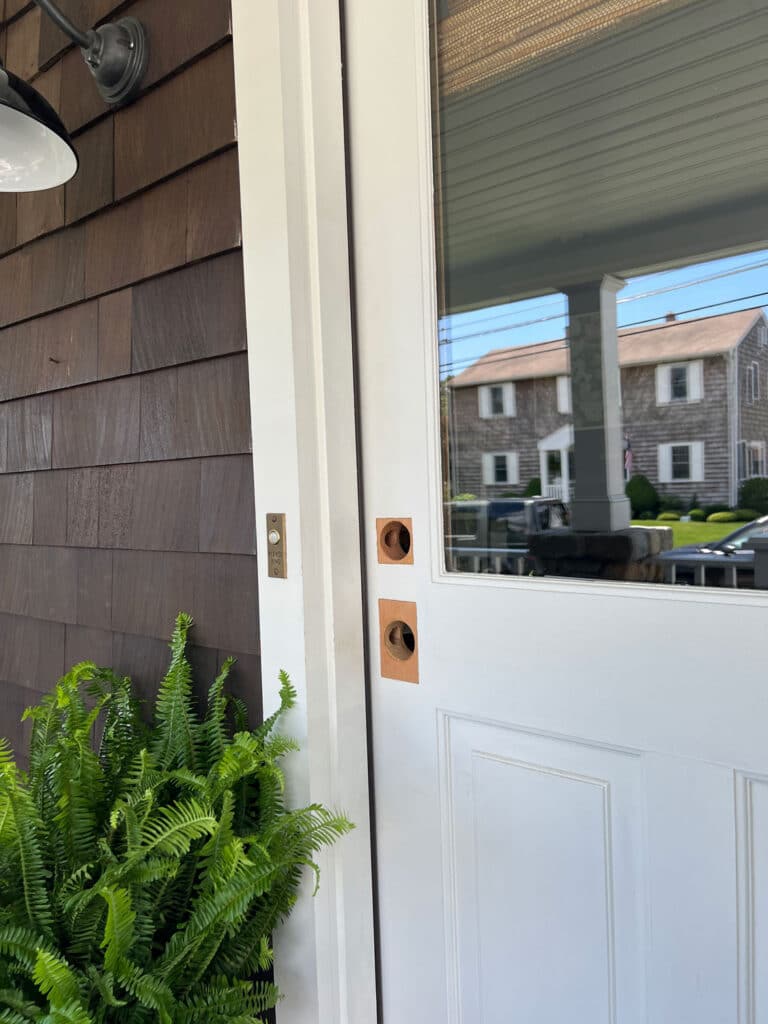
Step 2: Installing the door knob
Our setup came with two latches; a shorter one and a longer one. You’ll need to determine which one fits your current configuration. For our front door, we used the shorter latch. So once you’ve determined the correct size, insert the latch and tighten the supplied wood screws to securely fasten the latch to the door.
Next, insert the keyed door knob on the outside of the door. Insert the locking knob piece on the inside of the door and secure it with the supplied machine screws.


Now, insert the back plate over the locking knob, add the O-ring and tighten with the small supplied wrench. This will secure the back plate to the door. But don’t tighten it all the way yet. You’ll want to grab a small level and place it on top of the back plate to make sure it is level.
Adjust as necessary and then tighten the O-ring securely with the wrench holding the back plate in place to ensure it doesn’t move. Before you tighten it all the way, use a level to make sure the the plate is sitting straight on the door.


Now, slide the door knob in place and tighten the screw with the supplied Allen wrench and make sure the door knob works properly and the door opens and closes smoothly.


Step 3: Installing the motorized deadbolt
Determine the right latch size, insert it into the door, and attach it with the wood screws.


Next, inset plastic piece onto the latch from the outside of the door, assemble the lock cylinder, and then insert the lock cylinder connecting it to the latch.

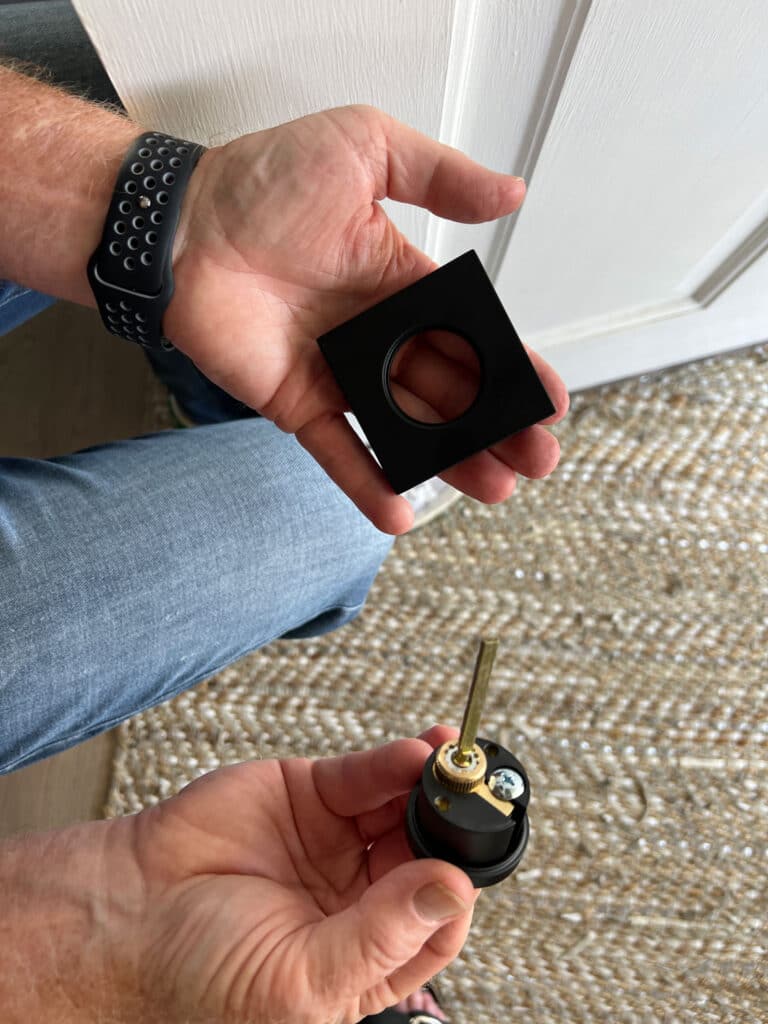

Remove the battery cover by loosening the screw on the bottom of the unit. Install the interior mounting plate on the inside of the door.


Secure the interior mounting plate with two machine screws. Insert the batteries into the motorized unit and slide it onto the interior mounting plate and secure it with two small machine screws.


Once the motorized unit is securely fastened to the interior mounting, you can place the cover over the unit and secure it with the small screw on the bottom. However, before you replace the cover, you’ll want to download the Yale Access app and follow the directions for syncing your lock and setting up the Wi-Fi module and Wi-Fi bridge which will connect to your home network. You’ll need to scan the bar code at the top of the motorized unit.


Side note: battery life is difficult to predict so we change out the batteries with daylight savings time changes.
Installing the side door numeric keypad with access code setup
Some of this section will be redundant with installing the front door hardware because many of the steps are similar or exactly the same. And having one lock setup already will make this one much easier and it will go much more quickly. There are only a few small differences.
Step 1: Remove your current hardware
Once gain, the first thing you need to do is remove your current hardware and clean any debris from the holes in the door.
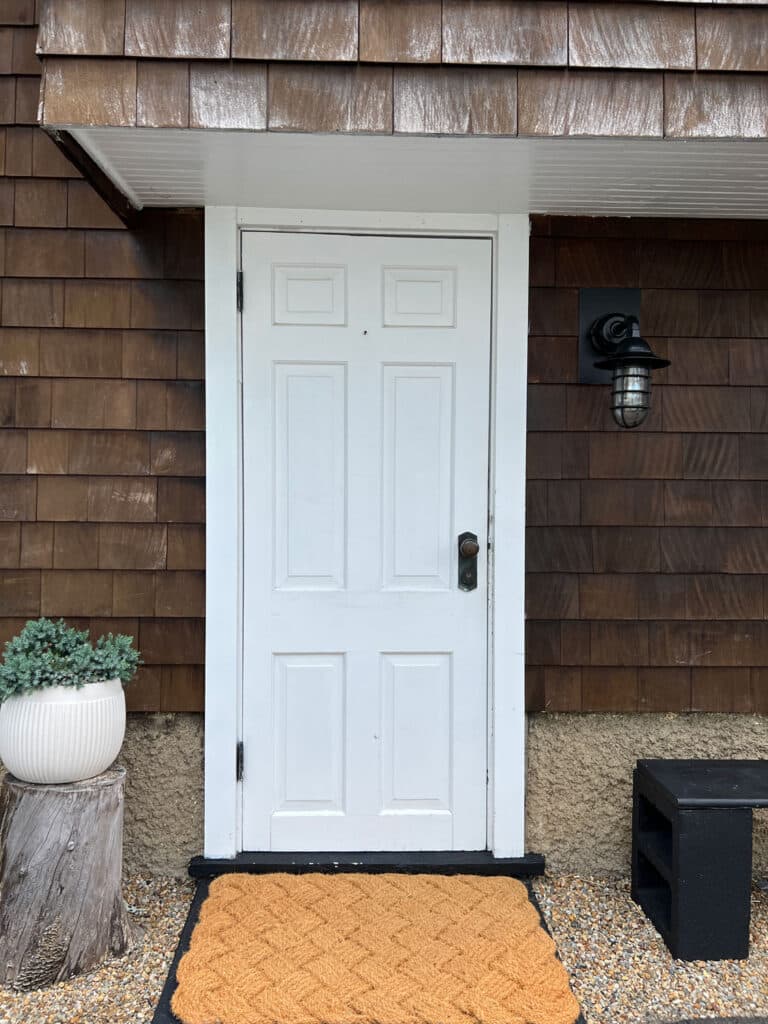

Step 2: Install the Motorized Touchscreen SMART Keypad Deadbolt
Again, the setup comes with two different sizes of latches, so select the one that fits your current setup, slide it in place, and secure it with the wood screws. Now insert the plastic ring (similar to the front door deadbolt) and slide the numeric keypad onto the front of the door.


Remove the battery cover by unscrewing the screw on the bottom of the unit. Install the interior mounting plate on the inside of the door making sure it lines up with the numeric keypad unit on the front of the door with the powder cord sliding through the small opening. Secure the unit with two machine-threaded bolts.


Plug the cord into the motorized unit, slide it in place, and secure it with two small black machine-threaded screws.


Step 3: Install the door knob set up
This step is an exact repeat of installing the door knob on our front door. Follow the same steps as you did in Step 2 of Installing the door knob. But here are a few more photos just so you see how it looks.


While we’ve tried to be comprehensive in our descriptions and photos here, we would still recommend closely following the manufacturer’s directions. You’ll likely save yourself a little time and aggravation.
Note: Setting up the Yale access app is really quite simple. However, if you do run into a few problems during setup, they have a toll-free number you can call. We had one quick question and got them on the phone with almost no wait time. Customer support: 855-213-5841
If you enjoyed reading; The benefits of smart door home locks, you may enjoy this post as well: Why we love & use BEHR DYNASTY™ & BEHR MARQUEE® Paint
Leave a Reply